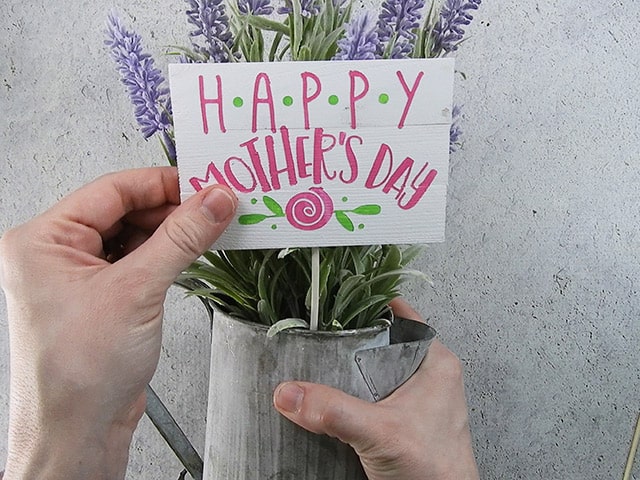
Flowers are always a wonderful gift. But, how about dressing up a bouquet with a custom flower pick? These picks are really easy to make. You can make them small or large and you can customize them for any holiday or occasion. I made these flower picks out of paint stirrers and wooden skewers, so they cost next to nothing to create! Since Mother’s Day is almost here, I thought I’d add a cute Mother’s Day design to mine.
HERE’S WHAT YOU NEED
- Paint Stirrers (I found mine at Home Depot)
- Wooden Skewers
- Vinyl (Color doesn’t matter)
- Transfer Tape
- Weeding Tool
- Wood Glue
- Paint (I used white, pink, and green)
- Electronic cutter (cricut explore, silhouette or other cutter)
- Cut File (available for free in my resource library)
HERE’S WHAT YOU DO
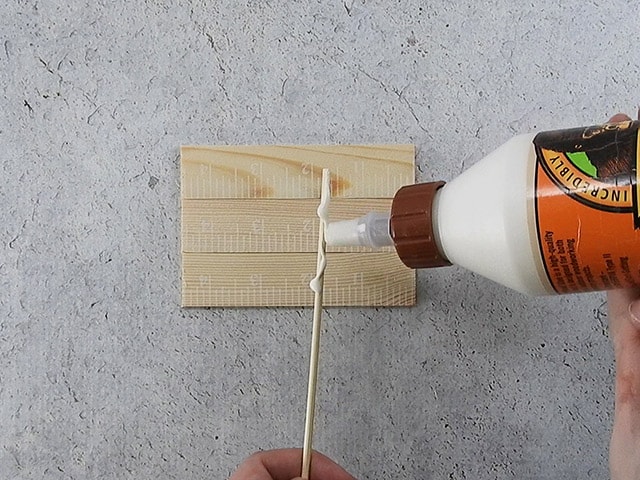
Start by cutting the paint stirrers down to size. I cut 3 pieces at about 4.5″ long. Line up the pieces so the edges are straight. Run a bead along the top edge of a wooden skewer.
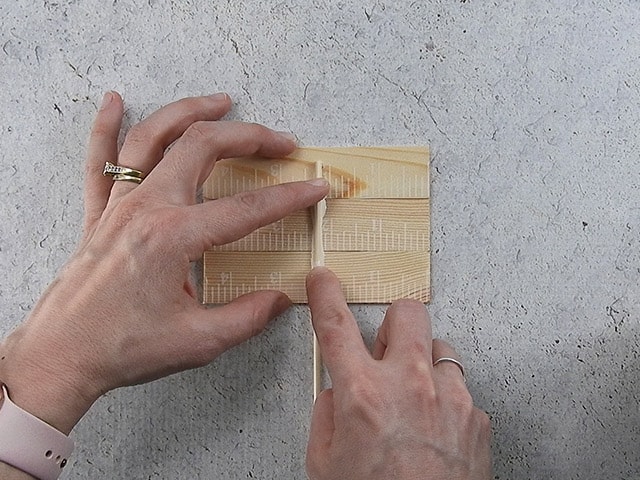
Then, place the skewer on the center of the wood piece. Hold it in place for a minute or two while the glue starts to dry.
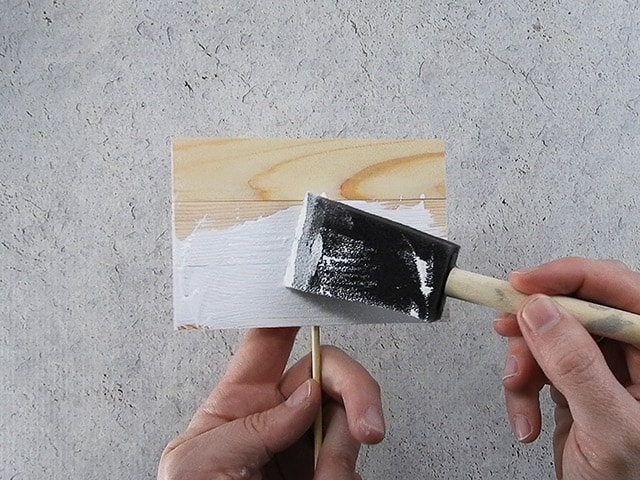
Once the glue has dried, paint the wood.
While the paint is drying, open the design up in your software program and size it accordingly. I sized the design at 4.25″ x 2.75″. Add a rectangle around your design to create a stencil. To make aligning the stencil easier, make the rectangle the same size as the wood sign. So, my rectangle measured 4.5″ x 3″. Cut out the design with your cutter and weed away the excess vinyl.
Do you need more help with creating a vinyl stencil? Check out these posts.
How to Make a Vinyl in Cricut Design Space.
How to Make a Vinyl Stencil in Silhouette Studio
Then, weed away the excess vinyl.
Cut a piece of transfer tape just a little large than your design. Place it over the vinyl and rub over the design to help it stick to the transfer tape.
Remove the vinyl backing. I like to flip over the design and pull the backing away from the vinyl. This way, the vinyl doesn’t get bent or creased.
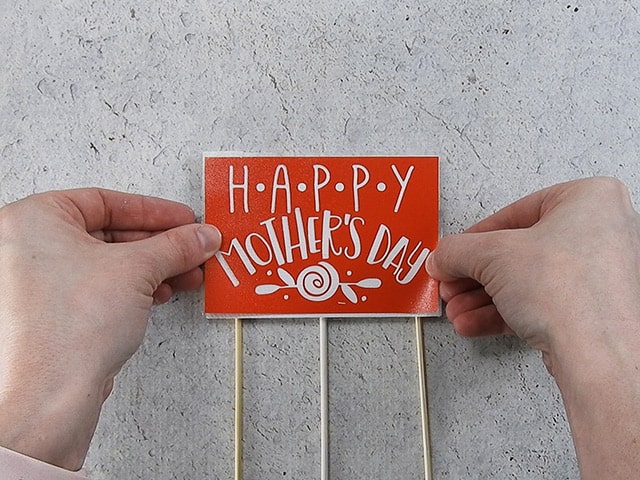
Place the vinyl stencil on the wood sign. Match up the straight edge of the stencil with the straight edge of the wood. Rub over the design to get it to stick to the wood.
Carefully remove the transfer tape. Rub over the vinyl again to be sure everything is sticking to the wood.
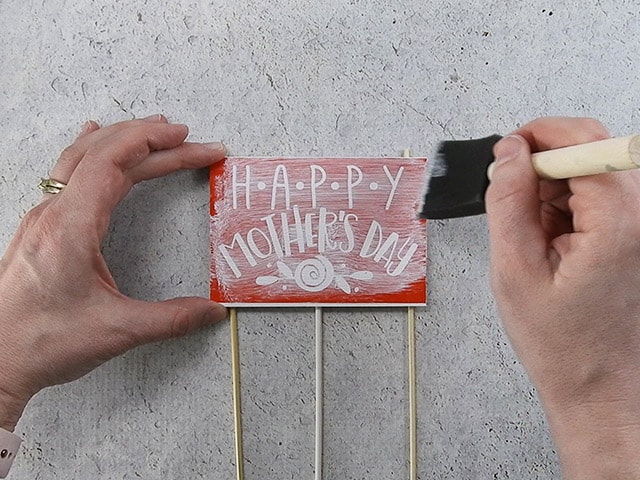
Because the wood is a little rough, I recommend painting a light coat of your base paint color over the vinyl stencil. This will help to minimize bleeding.
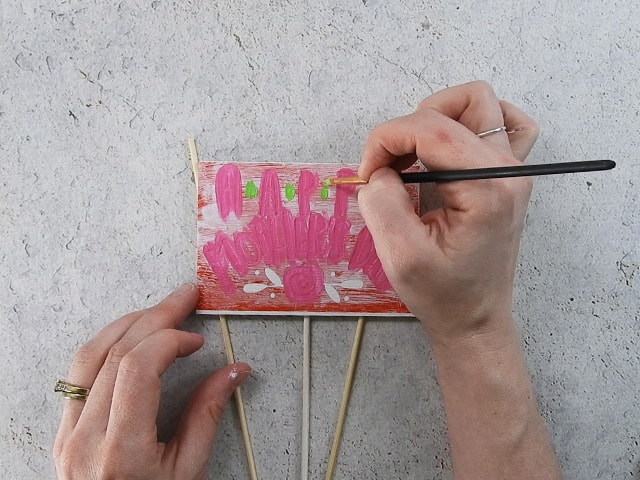
After the paint dries, start filling in the design with light layers of paint.
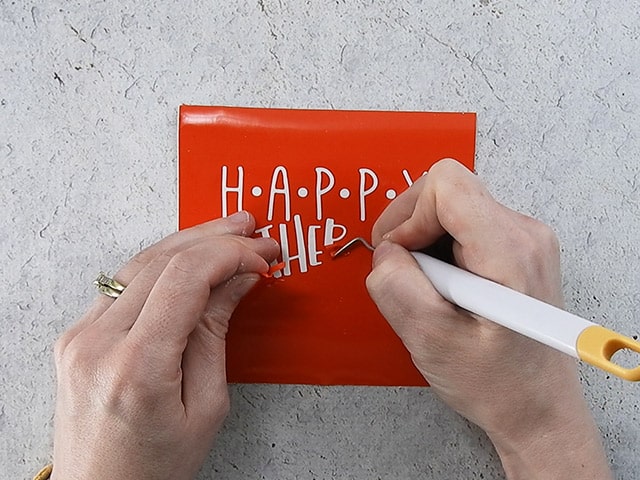
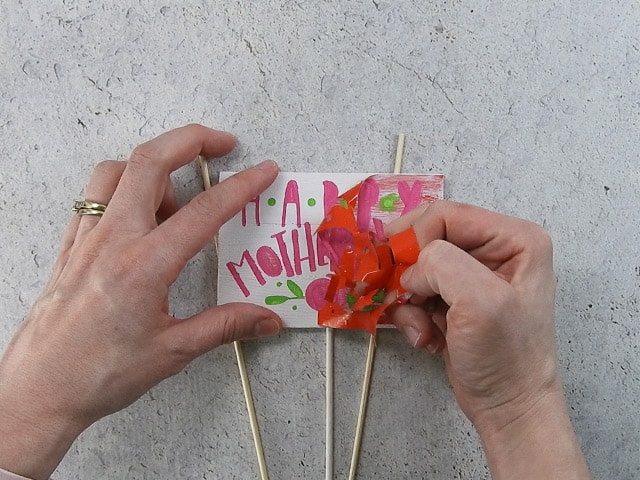
After the paint has dried a few minutes, you can carefully pull up the vinyl stencil. Use a weeding tool to remove the centers of the letters.
Then, place the pick in your flowers and your floral arrangement is ready to go!
Did you enjoy this post? Help spread the word! Share this post on your favorite Pinterest board. Thanks!

Want to make your own? Get the free cut file for this project in the resource library





Thanks Angie!
Hey Cassie! You’re welcome.
I simply love your creativity, designs and tutorials! Awesome stuff, Awesome info, Awesome website.
best.comment.ever!
So cute, love the size for gift giving. Thanks so much Angie!
You bet!