So, you’re either thinking about getting a Cricut Explore or you’ve already taken the jump and purchased one. Yay! Cricut machines are awesome! They are fun to use and you can make so many amazing things. Once you get started, you may never want to stop.

This post contains affiliate links for your convenience (which means if you make a purchase after clicking a link I will earn a small commission but it won’t cost you a penny more)! Read my full disclosure policy.
What is a Cricut?
A Cricut is similar to a home printer, but instead of using ink, it uses a small blade to cut paper, cardstock, vinyl, fabric, and more. I like to think of it as a pair of digital scissors that will cut whatever I tell it to cut. Not only does it cut, but you can also draw with pens & markers, emboss, engrave, and score. Really, the possibilities are endless.
The Cricut Explore machines, as well as the Cricut Maker, all use the same software, Cricut Design Space. In the software, you can design nearly anything you want to be cut out of a variety of materials. You can cut letters, words, phrases, shapes, cards, patterns and so much more. Seriously, there is no limit to what you can create and cut.
The Cricut can cut over 100 materials! Amazing. It will cut everything from vinyl, cardstock, paper, and chipboard to fabric, wood veneer, and leather. I typically use my machine to cut vinyl, but there are so many other things I would love to try.
Today, I’m sharing a little bit about my Cricut Explore Air Machine. I bought my machine a few months ago and kept it in the shipping box until I finished my office/craft area. I was so excited when I pulled it out and realized the accent color on the machine is the same color as my walls. I seriously had forgotten what color I had ordered and it just happened to match my paint. How cool is that? Anyway, I digress, back to the machine!
What’s in the Box?
- Cricut Explore Air
- Blade
- Standard Grip Cutting Mat
- Blade
- Power Cord
- USB Cord
- Silver Cricut Pen
- Getting Started Packet with Sample Materials
Getting Started with your Machine
Setting up your Cricut Machine is super easy. You just plug the power cord into the machine and an outlet, then connect the USB cord to the machine and to your computer. That’s it! It doesn’t get much easier than that! Want to ditch the USB cord? You can! The Cricut Explore Air can communicate with your computer wirelessly through Bluetooth! I love it! My computer is on one side of the room and my Cricut is on a table on the other side. You can also use the Cricut with an iPad, but I haven’t tried that yet. There is a button on the left side that opens the machine. It opens kind-of slow and is fun to watch. You’ll notice a knob on the top of the machine that lists different types of materials you can cut. You just set the knob to the material you are cutting and the machine adjusts all the other settings. Super easy!
The Cricut Explore Air has some great features. It has a dual head, so you can have a blade on one side and a pen on the other side. This means you can cut and draw without ever switching out your tools. It’s also super fun to watch it switch between the two tools.
I also love the little storage compartment on the side. It’s perfect for storing your most used tools. And the storage compartment in the machine is great for keeping your tools safe while on the go. Speaking of most used tools, this Cricut tool set is the perfect addition to your new machine. The weeding tool, application tool, and scissors are a must for nearly all adhesive vinyl projects and the other tools will make your paper crafting projects so much easier.

When I loaded the mat for the first time, I noticed the little guides on the sides for the mat. These are awesome. No more worrying about if the mat is loaded straight or if it will get off track while it is cutting. Genius.

Another fun thing about opening a new Cricut machine is the Getting Started Packet. This packet includes the supplies you need to get started on a cute little card project. This project uses both the pen tool and the blade. How fun!
Getting Started with a Cricut Explore Air
The best way to learn how to use your machine is to just start! Since I’m 99.9% a vinyl girl, I’m gonna show you how to create your very first project using vinyl.
- Adhesive Vinyl
- Transfer Tape
- Something to put your vinyl on (laptop, frame, mug, etc.)
- Electronic cutter (cricut explore, silhouette or other cutter)
- Cut File
HERE’S WHAT YOU DO
The software you use for a Cricut machine is called Cricut Design Space. It is an online program, so you’ll need to be connected to the internet to use it. Go to design.cricut.com. Before you can get to Design Space, you’ll either need to login with an account you’ve already set up or create a new account. Once you’ve logged in, you’ll want to click on the New Project link. There’s actually two of them, one in the middle on the left and one in the upper right corner.

You will then be taken to the canvas screen. This is where you will do all of your designing before you send anything to your machine to cut.
Start by uploading your design into Cricut Design Space. I’m going to be using this Craftiness is Happiness SVG file.
Do you need help learning how to import SVG files into Design Space? Here’s a step-by-step tutorial that walks you through the whole process.

Next, you’re going to size the design so it will fit on your surface. To do this, you’ll click on the blue circle on the lower right-hand corner of your design. You’ll see small squares appear in the corners and around the edges of the design. Hold down the left mouse button and drag the arrow in or out to decrease on increase the size. If the lock on the lower left-hand corner of the design is closed, the design will stay proportional. If you don’t want to maintain proportions, click on the lock to open it. The blue circle will change to green and you can size the design to whatever dimensions you choose.
I’m going to make the design about 10″ wide and I want it to stay proportional, so I’m going to keep the lock closed and drag the mouse until I get to my desired size. You can also just type in your dimensions at the top of the screen.

Move the design to the upper left corner of the grid. Then right-click and click attach. If you don’t click attach, when you send your design to cut, the letters will be all mixed up.

Now the design is sized and ready to cut! Click on the Make It button in the upper right corner of the screen.

Now it’s time to get your cutting mat ready. Your new Cricut machine came with a brand new 12″ cutting mat and that is what you will put the vinyl on before you make any cuts. Brand new mats come with a clear liner to protect the mat. Remove the liner and save it for when you’re finished cutting.

Place your sheet of vinyl on the mat, with the colored side facing up.
Turn on your machine and press the open button to lift the lid. Place the mat under the alignment tabs.

Then, press the load/unload button on the machine (the button with the up/down arrow). The machine will pull the mat under the rollers. Finally, turn the dial to vinyl. Now, you’re ready to cut!

Cutting your Vinyl Decal
Back in Design Space, click on the continue button. Once you click continue, the button on the machine with the Cricut logo will light up. Press it once and your machine will start cutting!

The little machine will go to work cutting out everything on the screen.

Once it has stopped cutting, press the load/unload button one more time. The machine will unload the mat.
Carefully remove the whole sheet of vinyl (including the backing) from off the cutting mat, then replace the clear liner on the cutting mat. Get in the habit of replacing the liner as soon as you are finished using the mat. It will protect your mat from and debris and will keep it sticky longer.

Trim around the design and save your big scraps for later. You’ll be able to them in other projects.
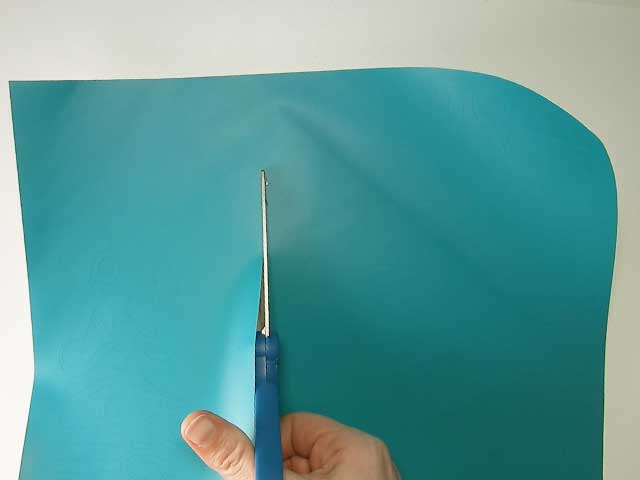
Weed the Excess Vinyl
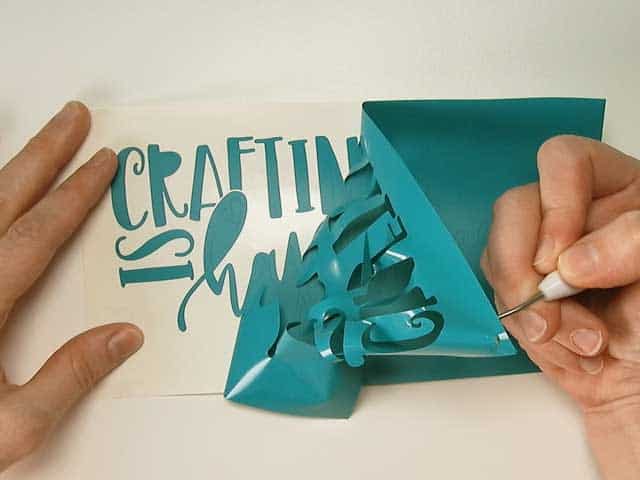
The next step is called weeding. Weeding is the term we use for removing the excess vinyl around the design, including the insides of letters like a, e, o, etc.
Weed the excess vinyl from around your design, I love using a weeding tool
. This tool is especially useful for removing the insides of letters.
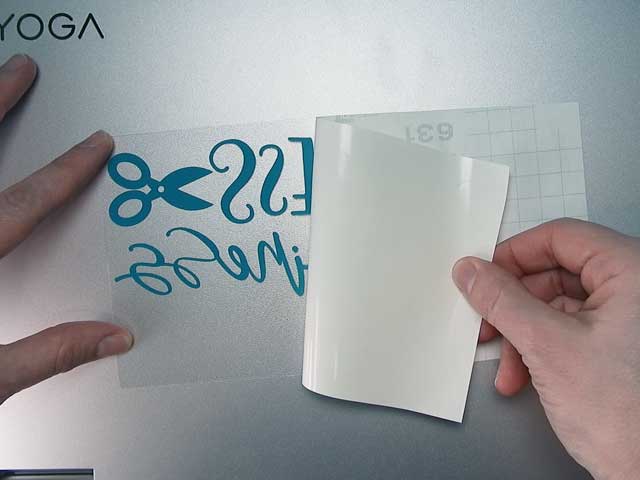
Next, cut a piece of the transfer tape a little larger than your design. Use an application tool to burnish (rub) the transfer tape onto the decal and trim to size. Now, you can remove the vinyl backing.
 Remove the vinyl backing
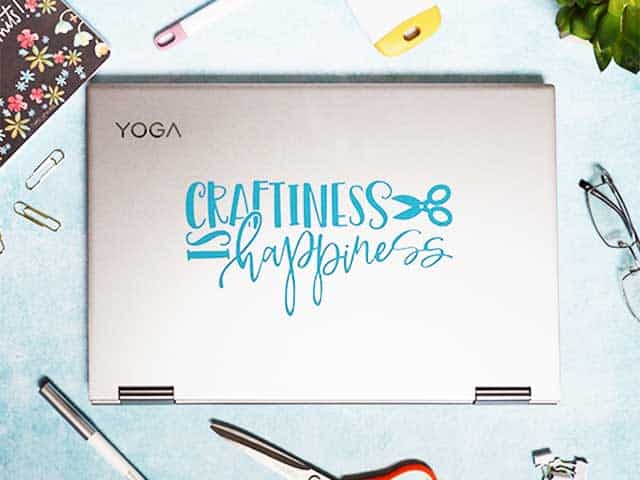
Position the design over your blank object. Burnish the vinyl again with the application tool.
![]()
Then, remove the transfer tape.
![]()
That’s it! Wasn’t it easy? And isn’t it the truth, crafting is happiness!
Now that you’ve got the basics down, how about tryout out some more advanced techniques with your machine?
- How to Cut Multi-Colored Designs in Design Space
- How to Make a Vinyl Stencil in Cricut Design Space
- How to Use Heat Transfer Vinyl