HERE’S WHAT YOU NEED
-
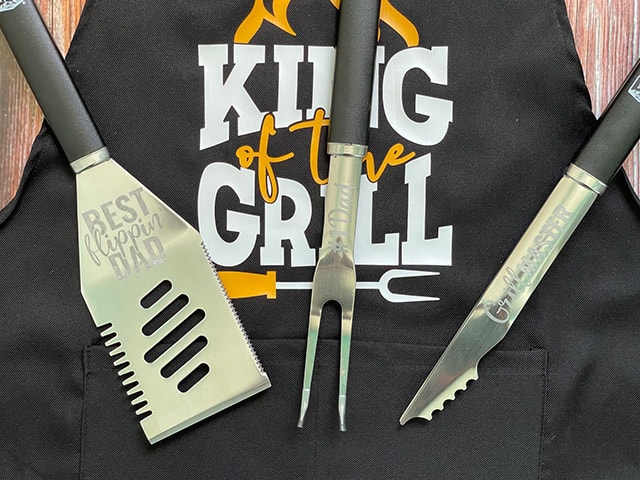
- Stainless Steel Grilling Tools
- Vinyl
- Transfer Tape
- Weeding Tool
- Scraper
- Acetone
- Ferric Chloride
- Safety Gear (Gloves, masks, glasses)
- Cotton Balls
- Bowl
- Baking Soda
- Electronic cutter (cricut explore, silhouette or other cutter)
- Cut File – Dad Grilling Designs BA1544 (available for free in my resource library)
HERE’S WHAT YOU DO
STEP 1: DOWNLOAD THE FREE SVG FILE
The first thing you’ll need to do is get the free SVG file you’ll use for this project. I keep all the SVG files I use for the projects I make in my SVG Library. These SVG files work with Cricut and Silhouette machines, as well as many others. This library is open to everyone and is free! You can access the library here. Look for the file called Dad Grilling Designs BA1544. It will be listed under the Father’s Day category.
STEP 2: CUT AND WEED VINYL DESIGN
Open the designs and resize them so they fit on your grilling tools. You might need to ungroup your designs so you can resize each design individually. Once you’ve resized the designs, you’ll need to add a rectangle around each one to create a stencil.
Do you need help turning a design into a stencil? Check out this step-by-step tutorial for Silhouette Users here and for Circut Users here.
When everything is ready to go, cut out the design. When everything is finished cutting, remove the vinyl from your cutting mat and trim off any unused vinyl.
Weed away the excess vinyl from around the design.
Since this is a stencil, you’ll be pulling out the letters from inside of the rectangle. You can use a weeding tool to help you with this step.
Cut a piece of transfer tape a little bigger than the design. Place the transfer tape sticky side up on your surface, then place the vinyl on top of the transfer tape and smooth it down.
![]()
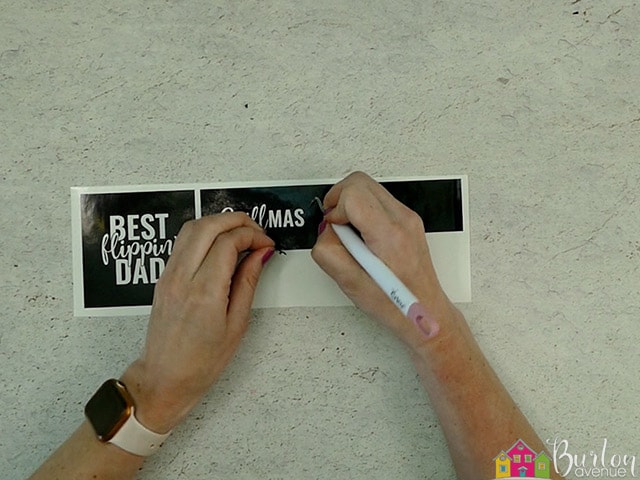
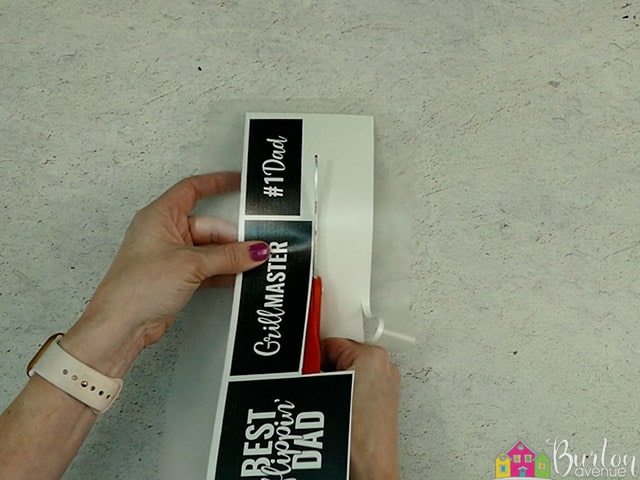
Rub over the design firmly with your scraper tool. Then, trim off the excess transfer tape and vinyl backing and cut apart the different phrases.
STEP 3: APPLY STENCILS TO GRILLING TOOLS
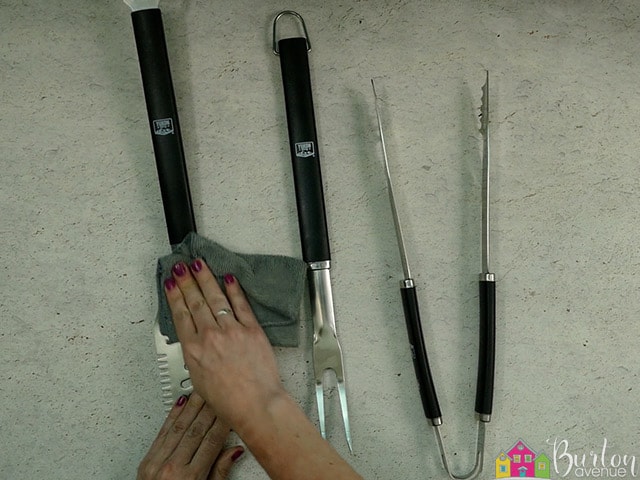
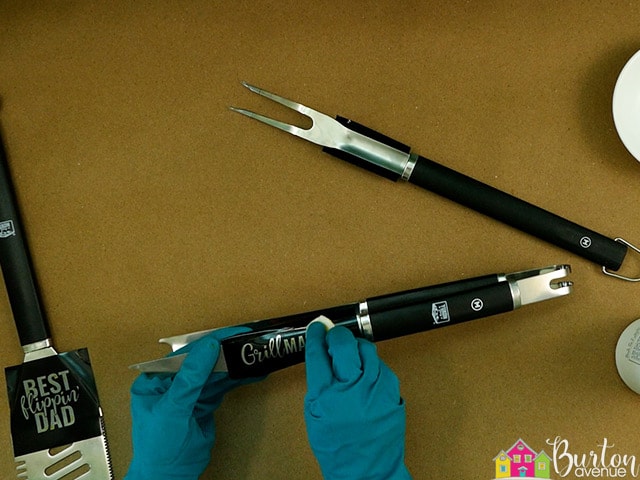
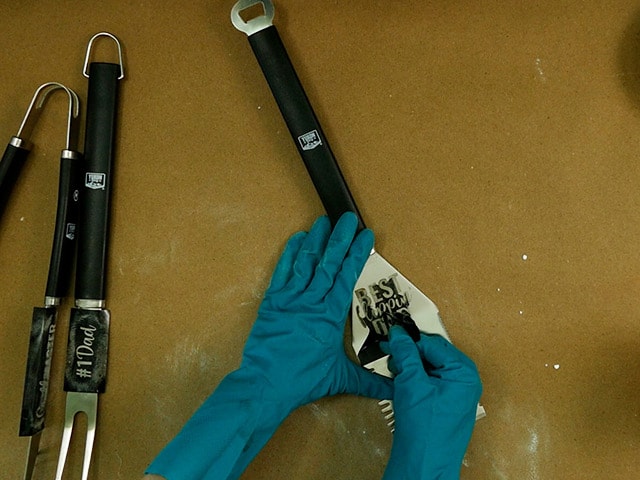
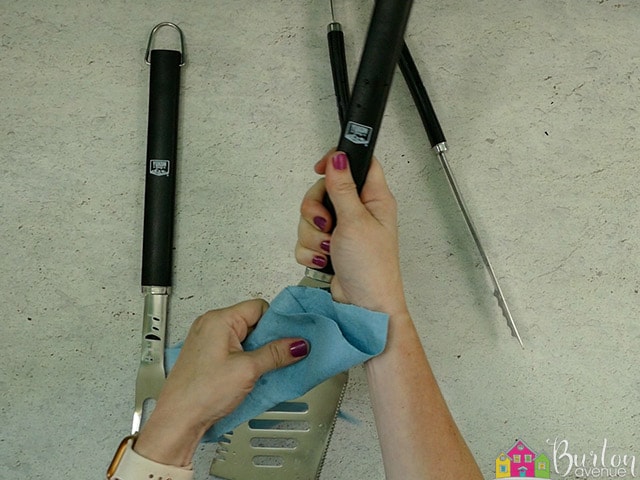
Clean the surface of your tools with acetone. This will provide a clean surface for the etch resist to adhere to. Try not to touch the surface with your fingers after cleaning. The oil from your fingers can mess with the etch.
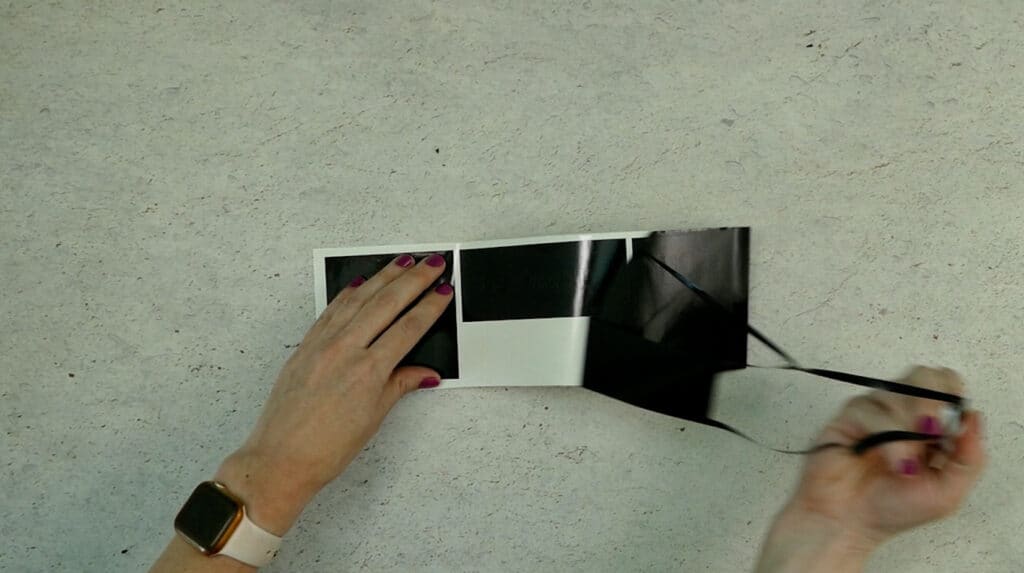
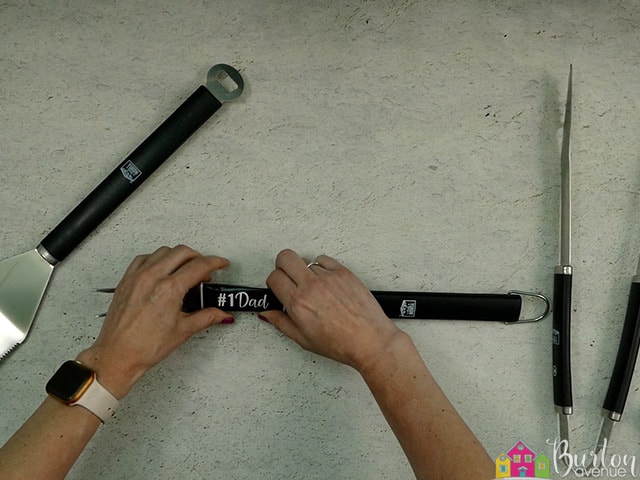
Grab one of the designs and fold it around one of the grilling tools. You should be able to see the edges of the tools through the vinyl. Use those edges to help make sure the design is straight and centered. Once it looks good, make crease marks in the vinyl.
Now, you can remove the vinyl backing.
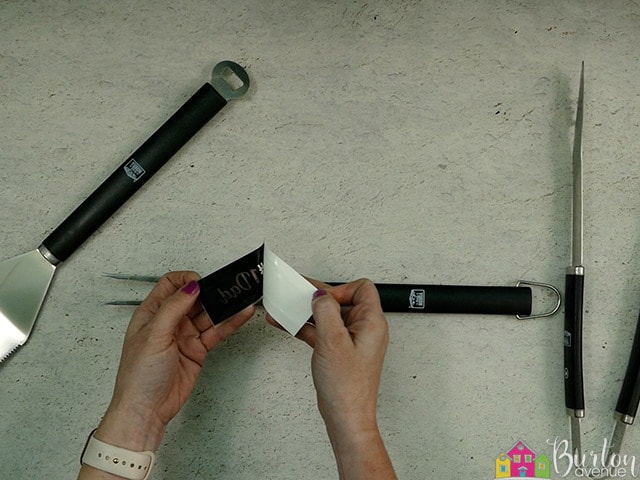
Apply the vinyl to the tool, using the crease marks to make sure the design is straight and centered. 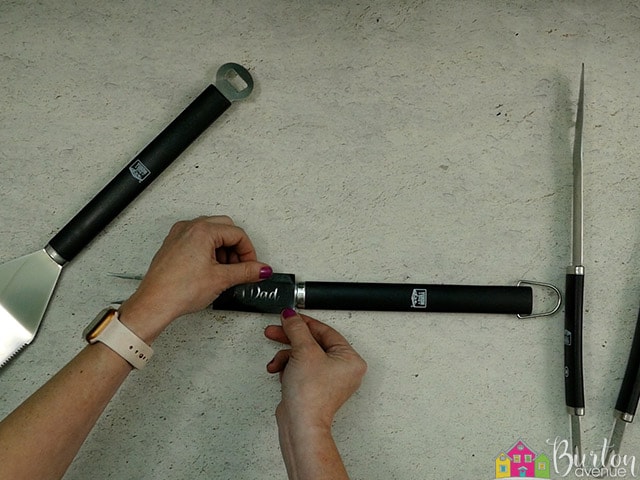 Rub over the vinyl with your fingers or a scraper.
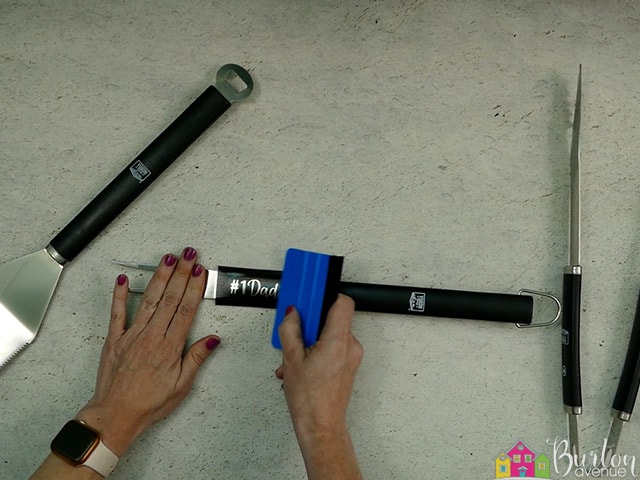
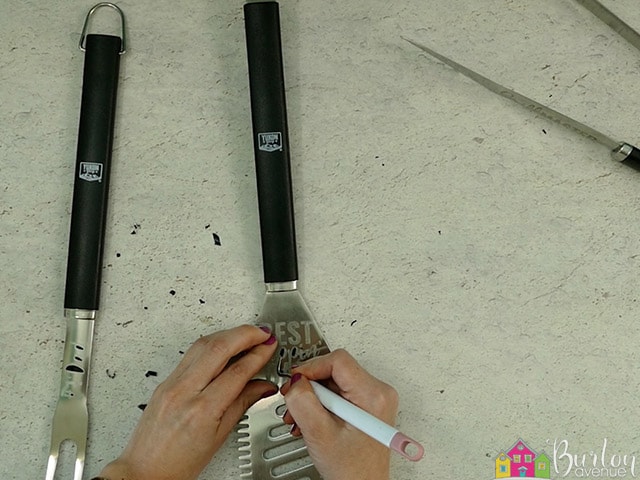
Then, carefully pull off the transfer tape.
![]()
Repeat these steps with the other tools.
STEP 4: ETCH THE METAL
Now it’s time to etch!
Since we are using this ferric chloride, there are some safety precautions you should take before getting started with the etching. First, do the etching outside or in a well-ventilated area. You’ll want to wear a mask, safety glasses, and gloves. And just be sure to work as safely as possible.
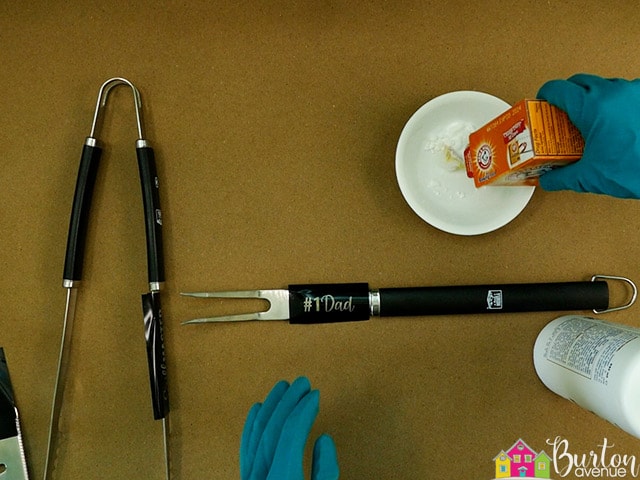
Grab a cotton ball and pour little ferric chloride on it. Don’t get too much on the cotton ball, just enough that you can dab it on your surface. Pat the ferric acid onto the design until it is totally covered.
Once you’ve done the first coat on all the tools, place your cotton ball in the bowl and sprinkle some baking soda over it to neutralize the acid.
Wait a few minutes. Then, grab a new cotton ball and do it all again.
You’ll want to repeat these steps several times over the course of about 10-15 minutes. I did it 4 times.
Once you’ve finished, add the last cotton ball to the bowl and sprinkle some baking soda over it. You will need to neutralize the metal pieces as well. Sprinkle baking soda over your design and rub it in a little bit. Shake off the baking soda and then you can pull off the vinyl stencil.
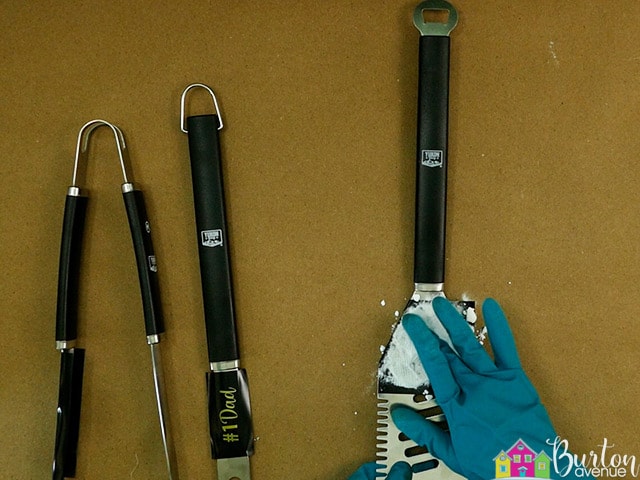
There will probably be lots of small pieces of vinyl that don’t come off. Since you’re still wearing gloves, they’ll be a little tricky to pull off. So, just leave them for a bit.
Next, you’ll want to wash the metal really well with some soap and water. Pat the tools dry with a paper towel.
Now, you can remove all those bits of vinyl. If you use a weeding tool, be super careful not to scratch the metal. I found it was just as easy to use my fingernails to scrape off the vinyl. Wipe off any fingerprints and that’s all there is to it!
I think they turned out so cool.
Just a little disclaimer, this is my first experience with etching metal, so I don’ know how it affects rusting. Just to be safe, I would make sure to thoroughly wash and dry these grilling tools after each use.
Did you enjoy this post? Help spread the word! Share this post on your favorite Pinterest board. Thanks!
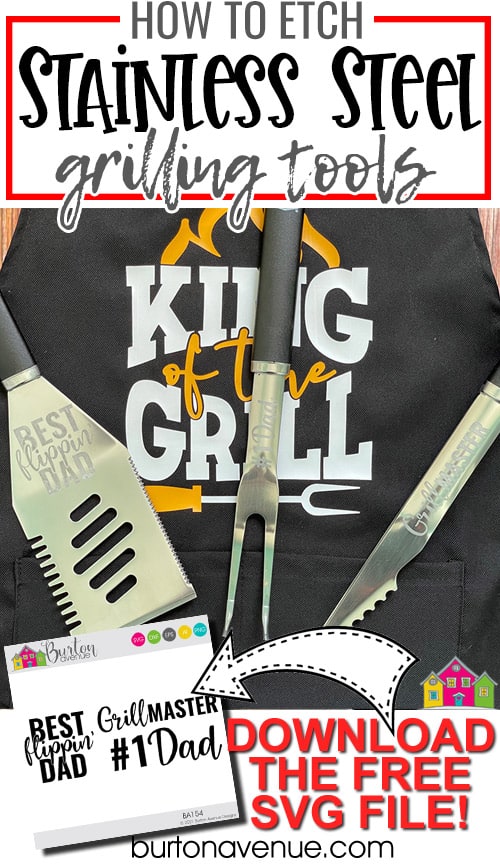
Want to make your own? Get the free cut file for this project in the resource library