Hand-painted wood signs have become super popular these days. Every time you hop on Pinterest, you probably see several wood signs pop up in your feed. Not only do they look amazing, but if you own a Silhouette machine, they’re also easy to make yourself! In just a few easy steps, you can turn nearly any design into a stencil-ready design. Today, I’d like to show you how to set up and create a vinyl stencil in Silhouette Studio.
You can use a design you’ve created yourself or a design you’ve already downloaded. I’m going to use this file called Life is Short Lick the Spoon. You can get it free for personal use by clicking here. If you need help importing SVG files into Silhouette Studio, this tutorial will walk you step by step through the whole process. If you don’t have the designer edition of Silhouette Studio, you’ll need to use DXF files and you can find the tutorial here.
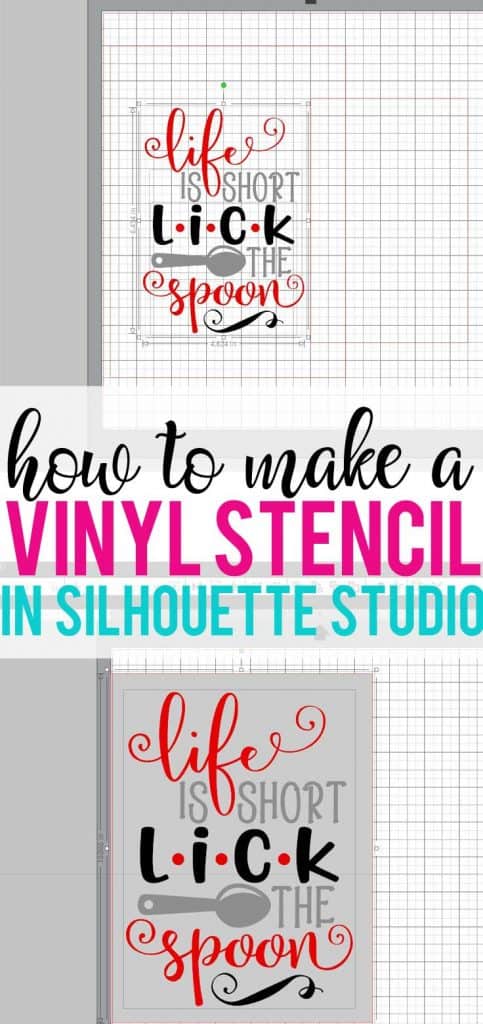
How to Create a Vinyl Stencil in Silhouette Studio
Start by opening the file you want to turn into a stencil. Some designs come grouped. If your design isn’t grouped, you should group all the elements together. You can do this by selecting the entire design and clicking the group icon in the center of the top of the screen (or right-click and select group). This will keep everything in place while you’re creating the stencil.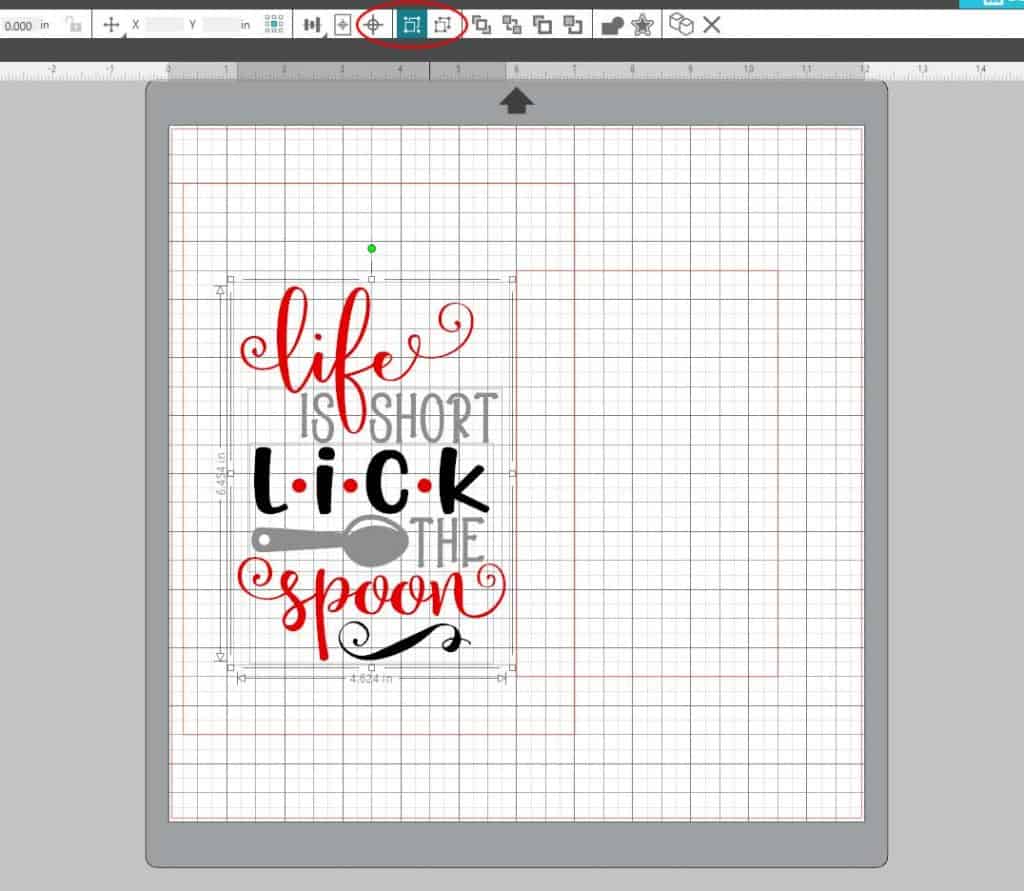
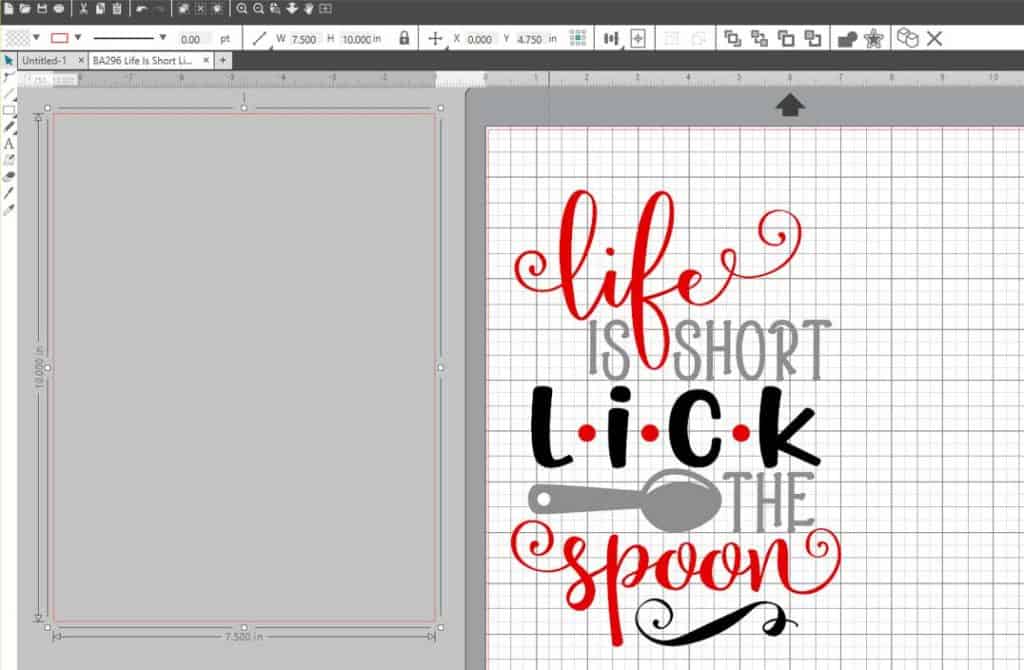
On the left-hand side, click on shapes, then draw a rectangle. This box will represent the wood you are going to put your stencil on.
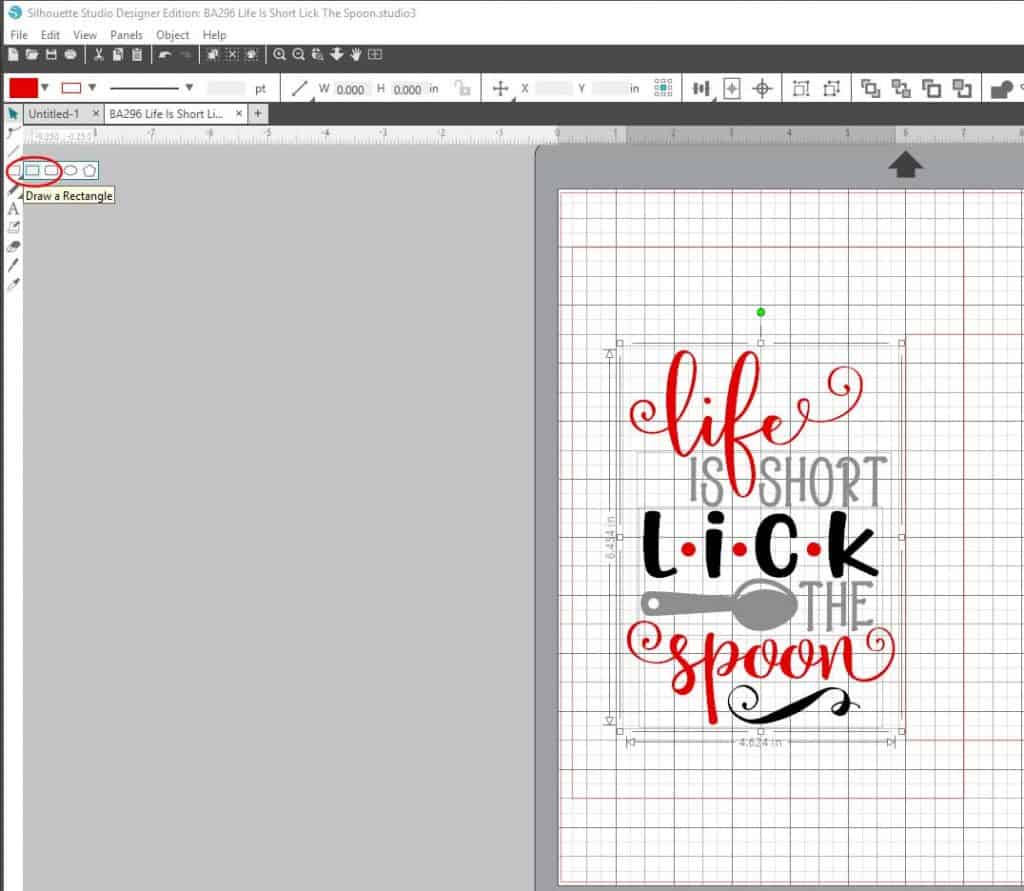
Draw the rectangle so it’s the same size as your board. The board I will be using is 7.5″ x 10″, so I dragged the mouse down until the size of the rectangle was 7.5″ x 10″.
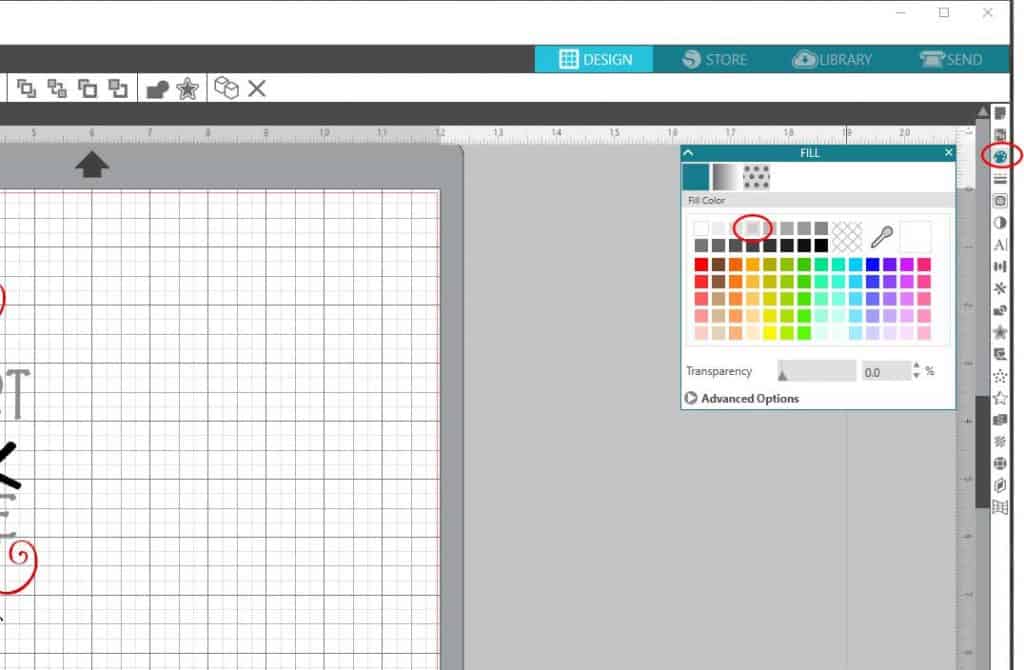
With the rectangle still selected, click on the Fill Panel icon on the right side of the screen. Then, select a color. I chose a light gray, but the color really doesn’t matter. It just makes it easier to see the rectangle if it’s filled in.
Select your design again and then click the Bring to Front Icon. This is located at the top in the middle of your screen (you can also right-click and choose Bring to Front).
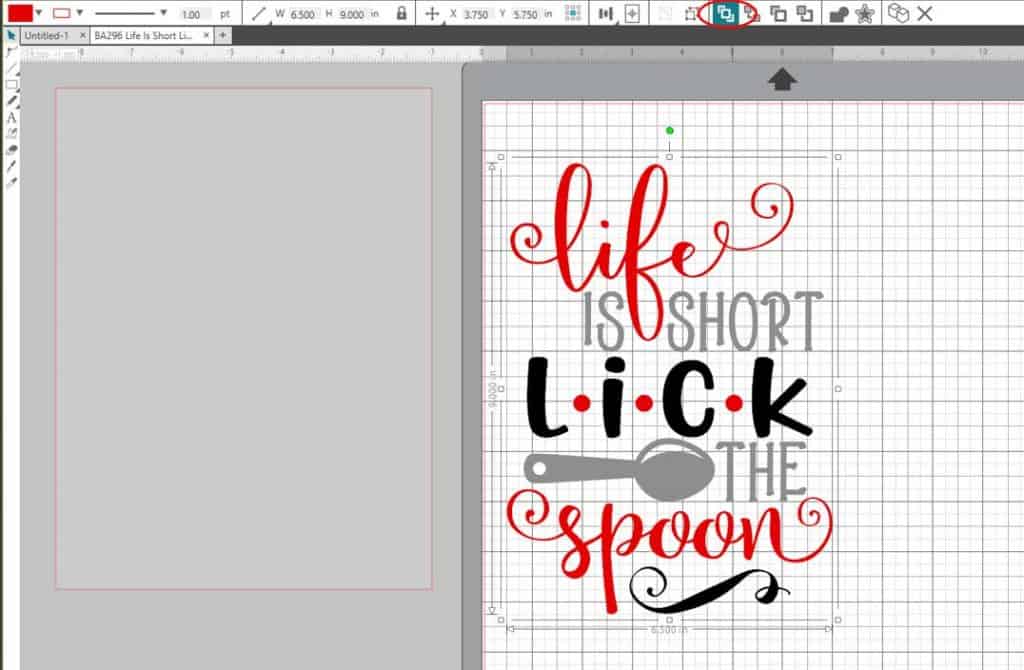
Next, move the rectangle behind the design. Now, you need to resize the design until it fits the space of the rectangle. Select the design and drag the boxes in the corners or on the sides until the design is the size you want it to be. I usually make my design about an inch smaller, both width and height, than my board, so I have a .5″ border on all sides.
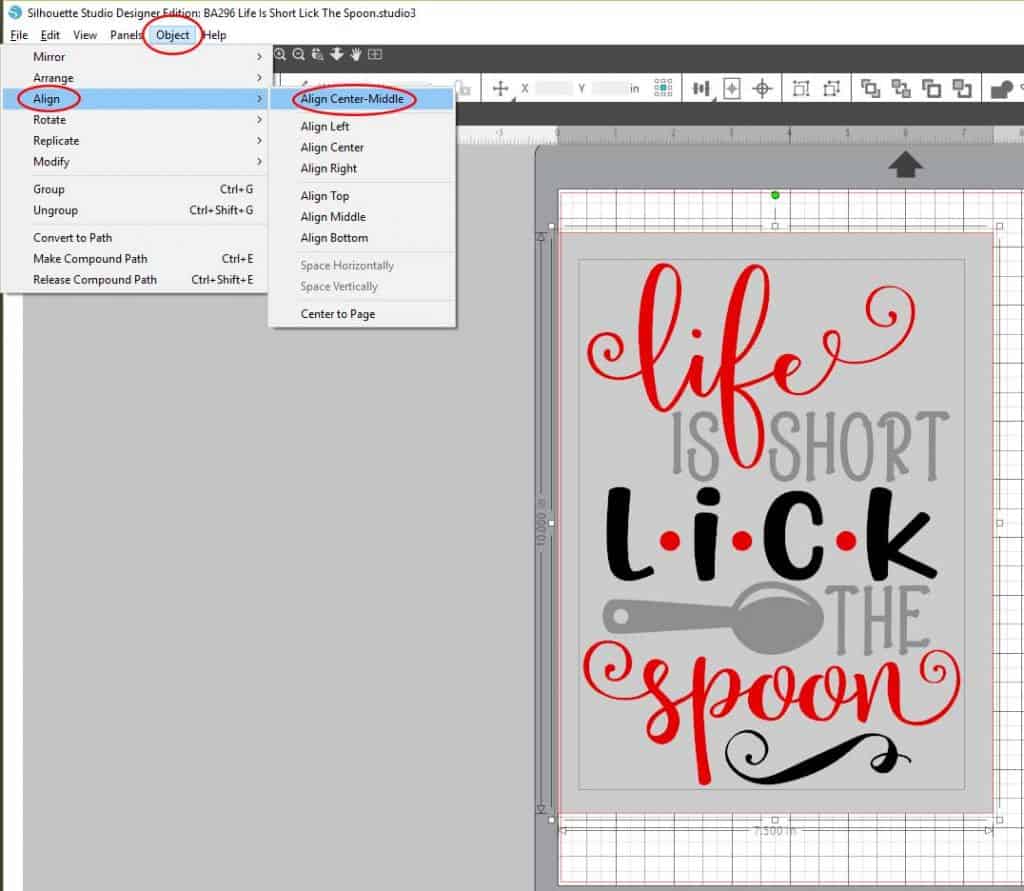
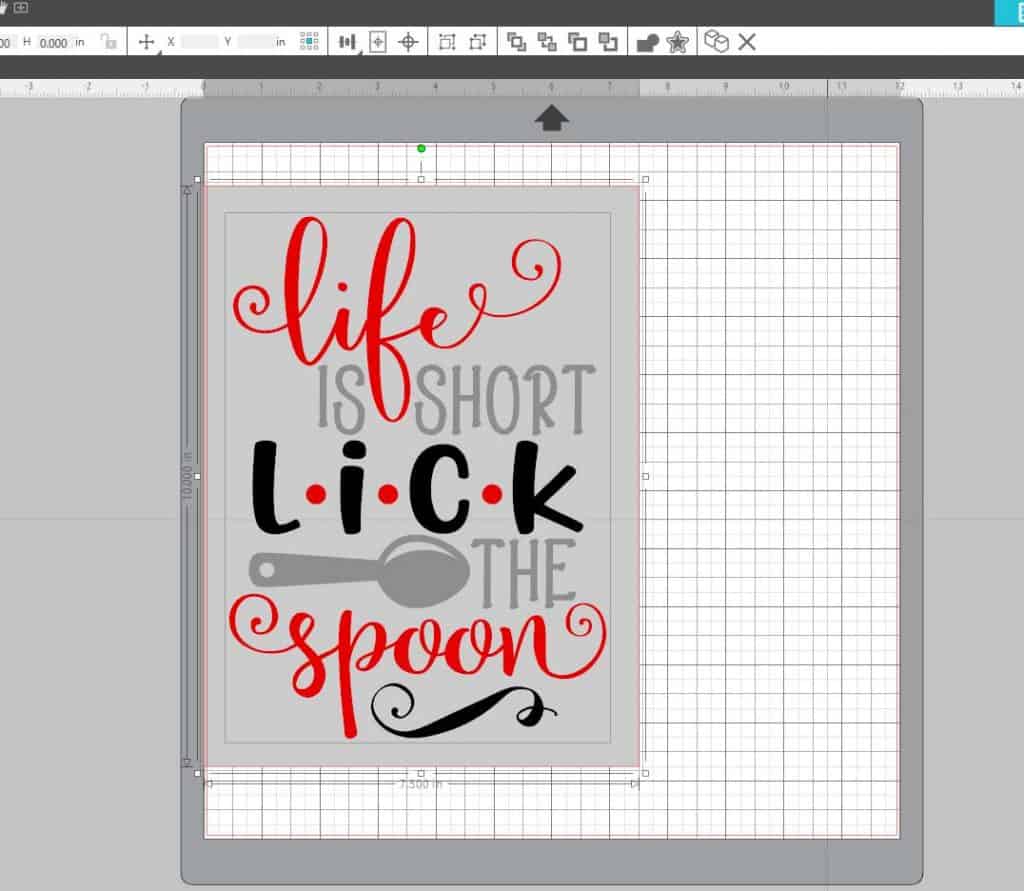 After you have resized the design, select both the design and the box. From the menu bar, click Object -> Align -> Align Center-Middle. This will center everything selected both vertically and horizontally.
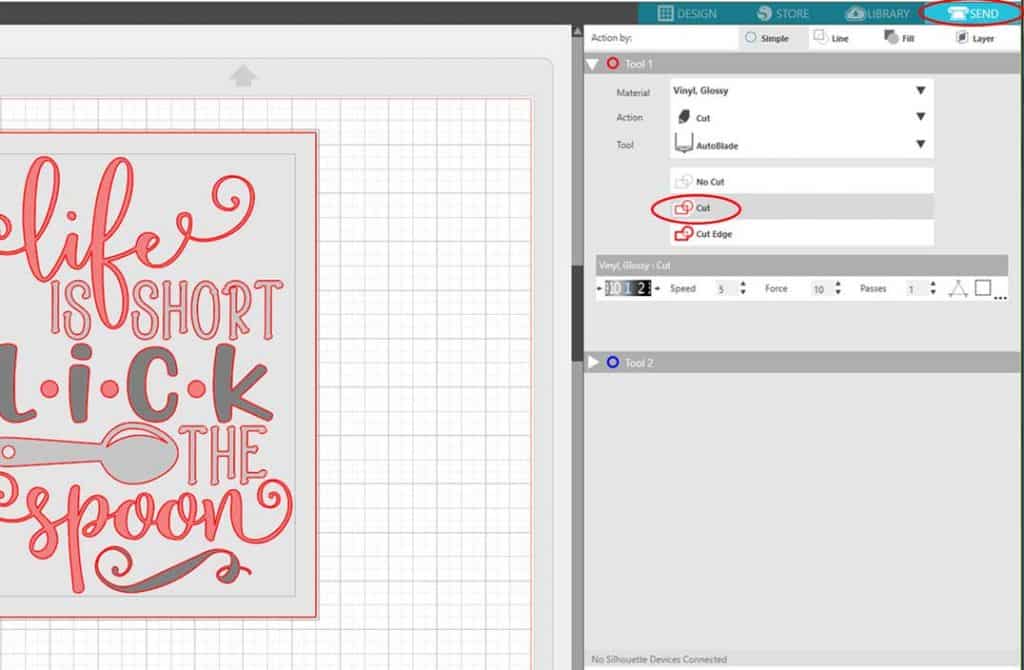
With both the design and the rectangle selected, click on Send in the upper right-hand corner. Make sure to click Cut to turn on the cut lines. The design is now ready to cut!