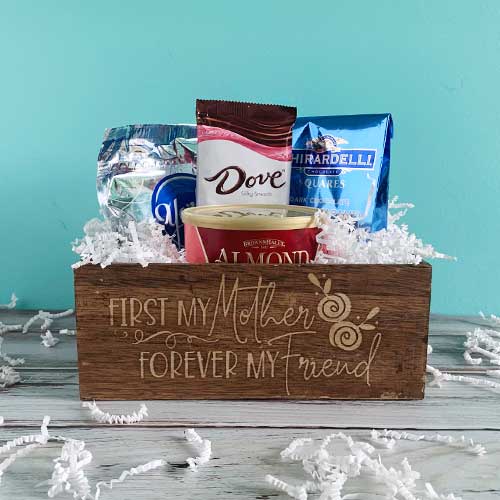
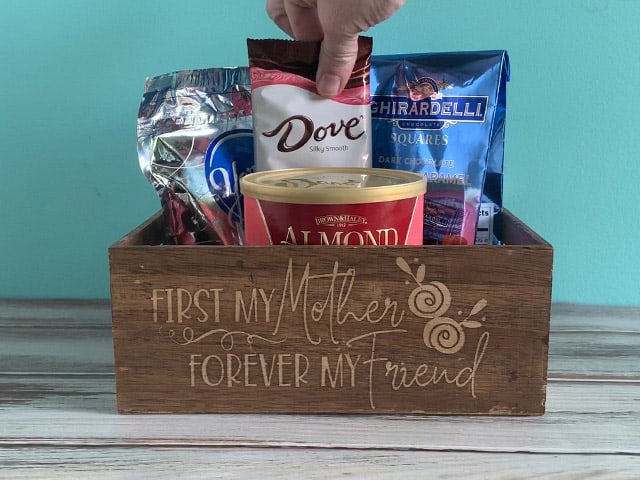
This week, I’m sharing some quick and easy gifts for Mother’s Day. I’m super excited to show this stenciled gift box because I love the way it turned out! Gift boxes are easy to put together and are so versatile. You can fill them up with treats, spa items, books, movies and so much more.
When I first came up with this idea, I was thinking I would paint the box white and stencil the design with colored paint. But then, I decided I wanted the box to have a more natural look. So, I decided to stencil it with stain instead. Doesn’t it look cool?
HERE’S WHAT YOU NEED
- Wooden Box (I found mine at Michaels)
- Mod Podge
- Vinyl (Color doesn’t matter)
- Transfer Tape
- Weeding Tool
- Paint Brush and Rag
- Application Tool
- Stain
- Cutting Mat
- Electronic cutter (cricut explore, silhouette or other cutter)
- Cut File (available for free in my resource library)
HERE’S WHAT YOU DO
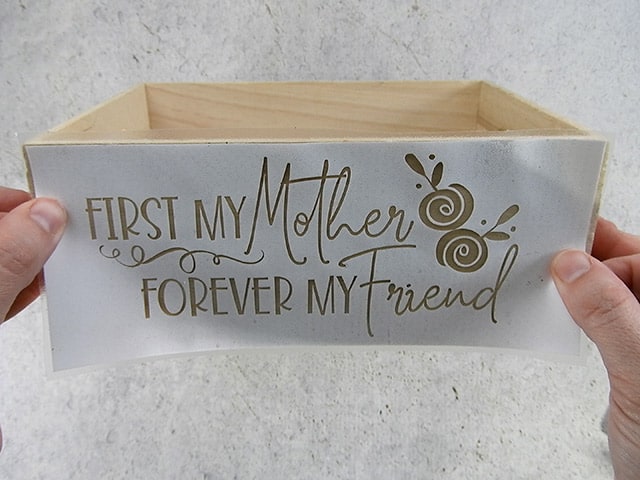
Start by opening the design in your software program. Size the design to fit on the side of your box. Add a rectangle around the design to create a stencil. Make the rectangle the same size as the box side. This will help you put the stencil on straight. Then, cut the design out of vinyl and weed away the negative space.
Do you need more help with creating a vinyl stencil? Check out these posts.
How to Make a Vinyl in Cricut Design Space.
How to Make a Vinyl Stencil in Silhouette Studio
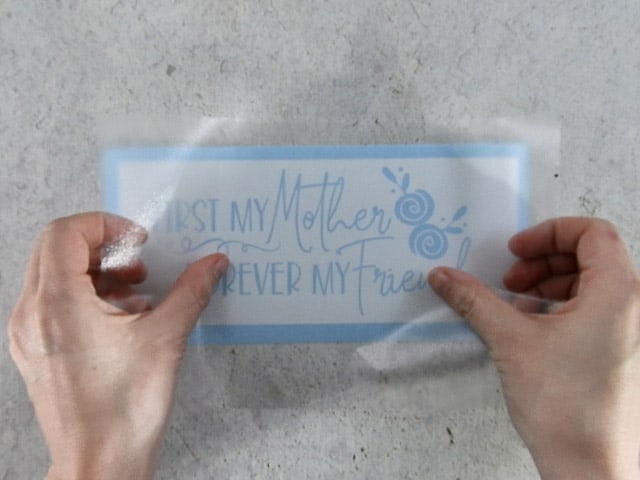
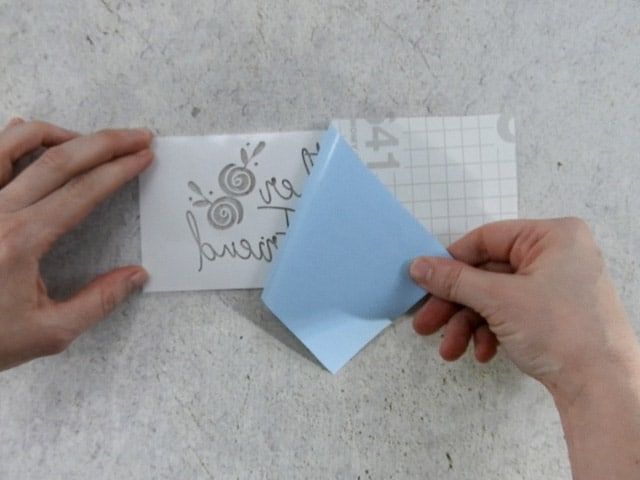
Cut a piece of transfer tape just a little larger than your design. Place it over the vinyl and rub over the tape with an application tool. Trim off the excess transfer tape.
Flip the design over and pull off the vinyl backing.
Place the vinyl stencil on the wood box. Match up the straight edge of the stencil with the straight edge of the box. Rub over the design again to get it to stick to the wood.
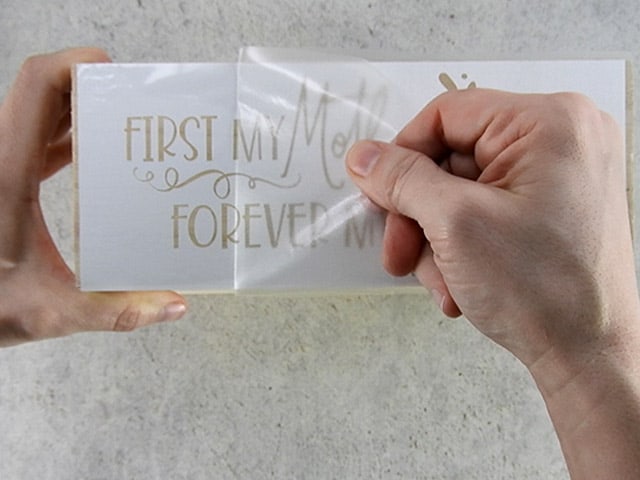
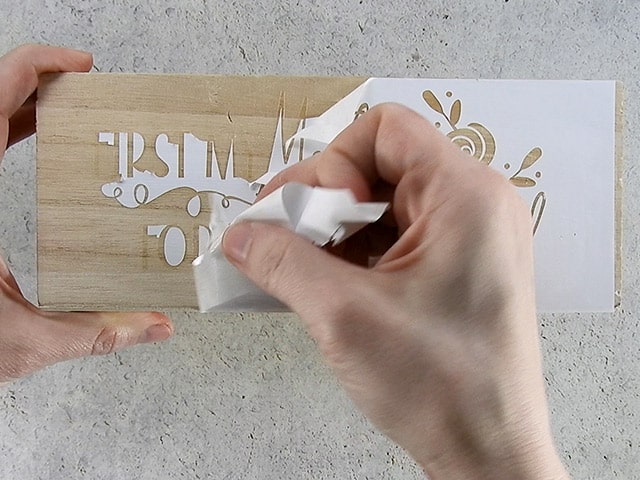
Carefully remove the transfer tape and rub over the design one more time. You want to make sure the vinyl is sticking to the wood.
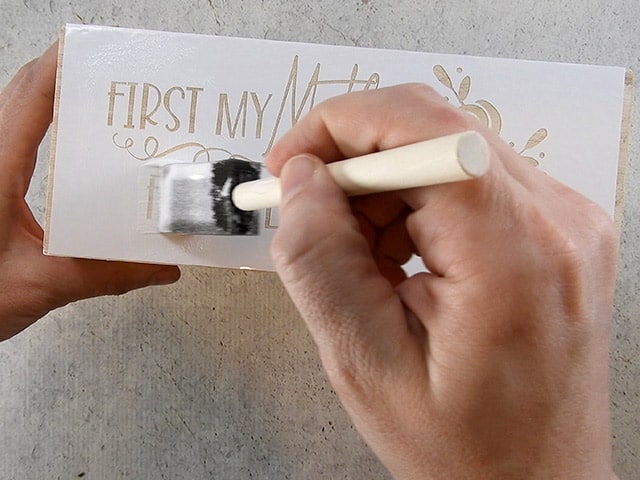
Paint on 2 thin layers of Mod Podge. Let the Mod Podge dry between coats. The Modge Podge will block the stain from getting on the design.
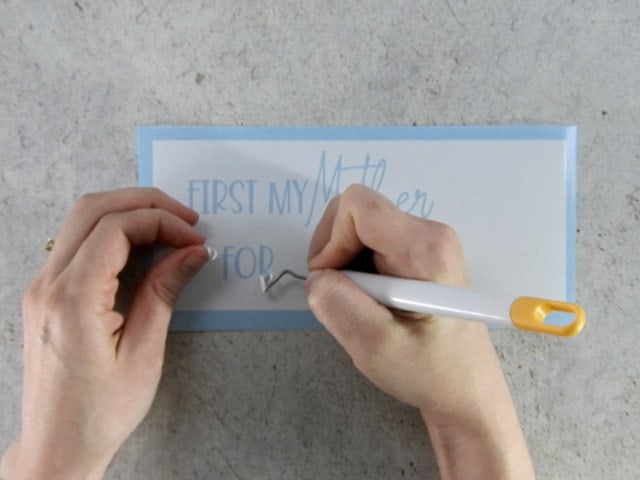
Once the 2nd coat has dried, pull off the vinyl stencil. Use a weeding tool to remove the centers of the letters.
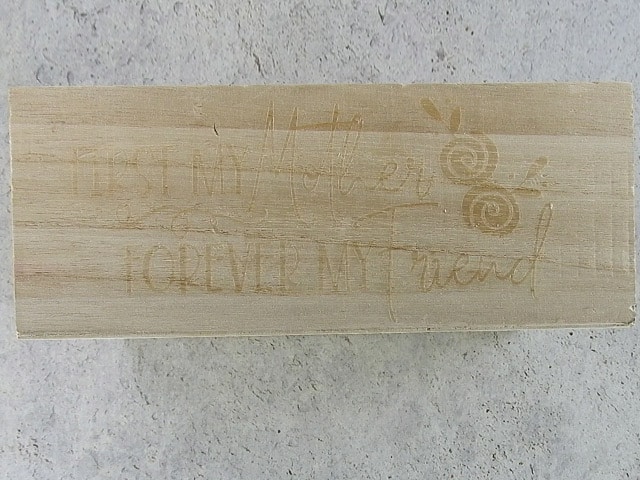
You’ll be able to faintly see the design on the wood box.
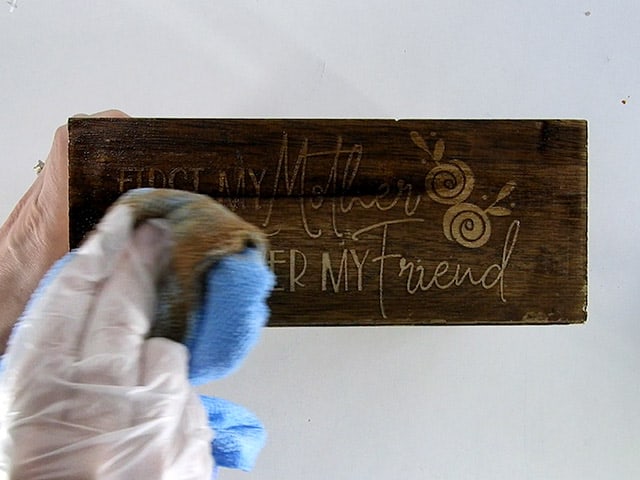
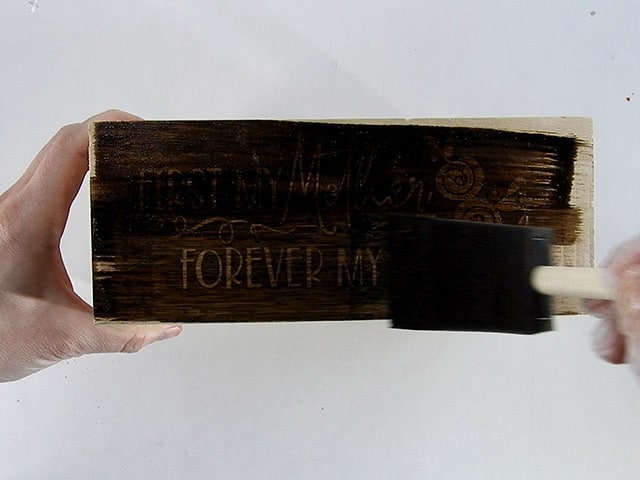
Get your staining supplies ready. You’ll need to do the next steps as quickly as possible. You’ll need your stain, paintbrush, rag, and gloves. Now, it’s time to stain! Quickly brush on enough stain to cover the side of the box.
As soon as the side is covered with stain, grab your rag and quickly remove as much excess stain as possible. The quicker you can remove the stain, the better. The longer it stays on, the more bleeding you’ll have. Even going quick, you’ll probably still have a little bleeding, but it should only be a tiny bit. Once the side is stained, you can finish staining the rest of the box.
Did you enjoy this post? Help spread the word! Share this post on your favorite Pinterest board. Thanks!
Want to make your own? Get the free cut file for this project in the resource library


This is awesome and one trick I have nener seen before, thanks for sharing!!
Where did you find your box at?
Thanks! I found the box at Michaels.
So this looks amazing!
I never tried it before but now i sure will! Thank you so much
You bet!
Where did you get the box? Love the idea of staining as the stencil – never thought of it!
I found my box at Michaels