Hand-painted wood signs have become super popular these days. Every time you hop on Pinterest, you probably see several wood signs pop up in your feed. Not only do they look amazing, but if you own a Cricut machine, they’re also easy to make yourself! In just a few easy steps, you can turn nearly any design into a stencil-ready design. Today, I’d like to show you how to set up and create a stencil for your Cricut.
You can use a design you’ve created yourself or a design you’ve already downloaded. I’m going to use this file called Life is Short Lick the Spoon. You can get it free for personal use by clicking here. If you need help importing SVG files into Design Space, this tutorial will walk you step by step through the whole process.
How to Make a Stencil with your Cricut
Start by opening the file you want to turn into a stencil. Some designs come grouped. If your design isn’t grouped, you should group all the elements together. You can do this by selecting the entire design and clicking the group icon in the top right corner (or right click and select group). This will keep everything in place while you’re creating the stencil.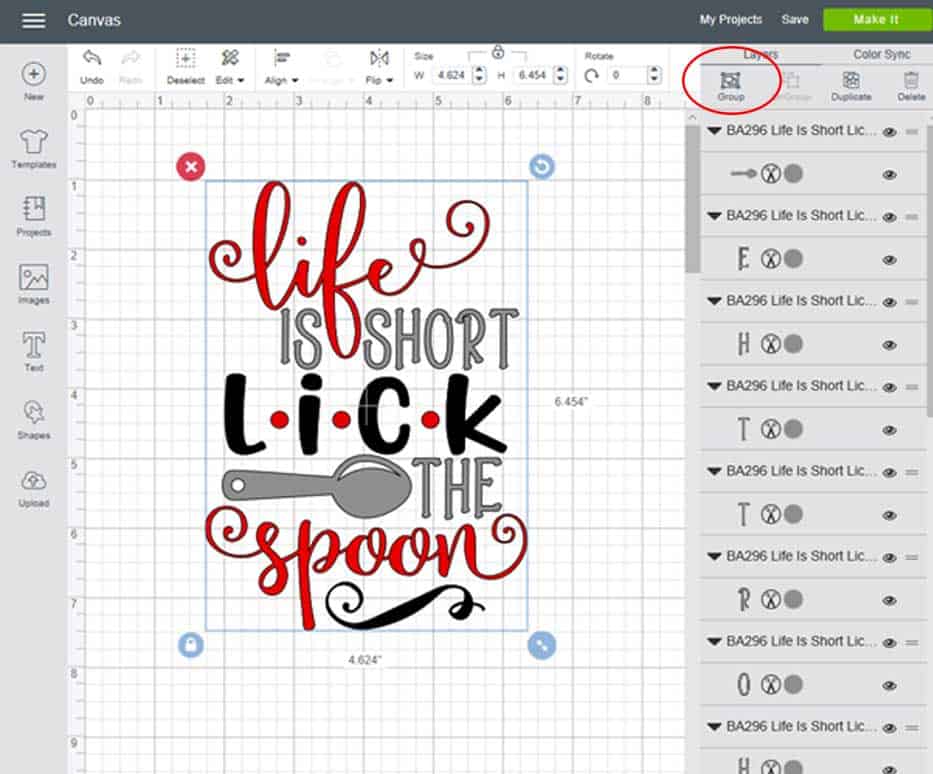
On the left-hand side, click on shapes, then select square. This box will represent the wood you are going to put your stencil on.
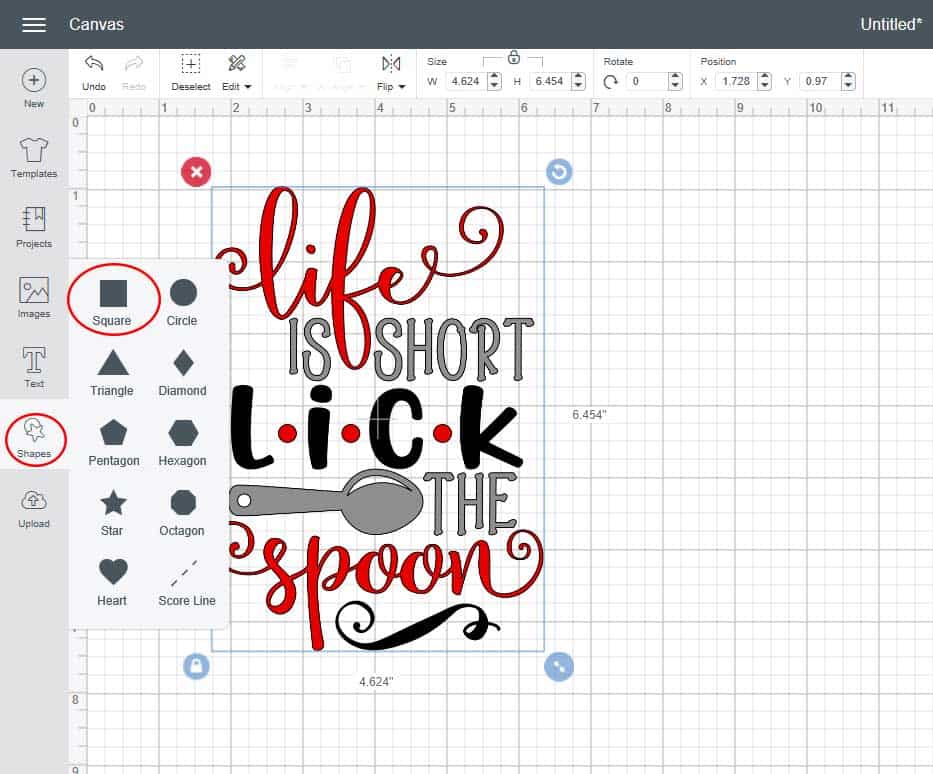
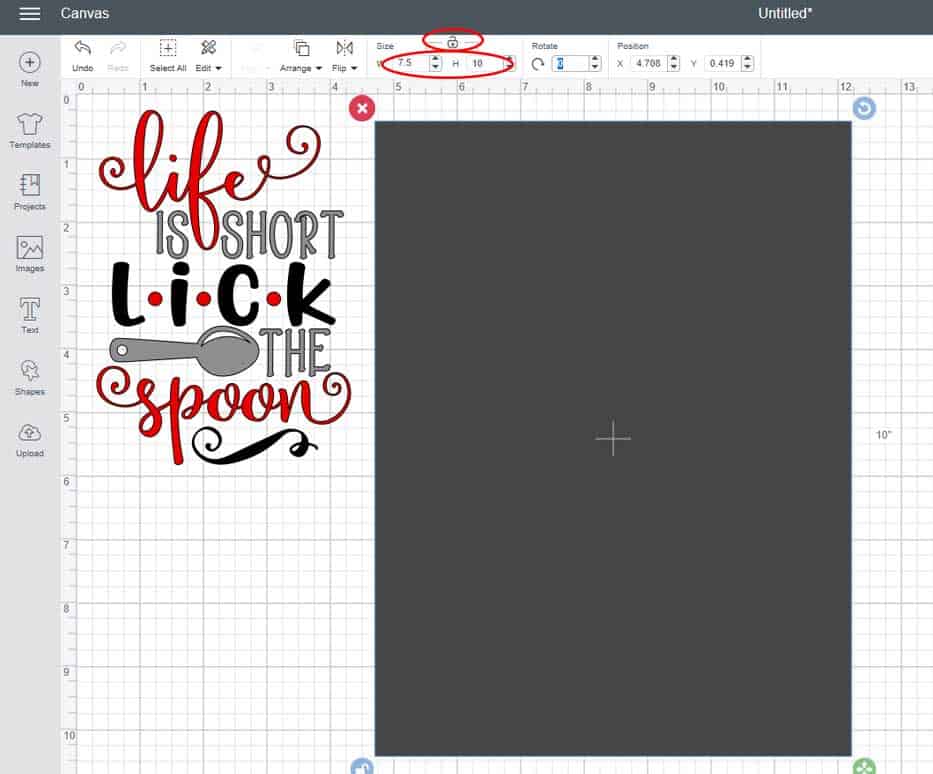
Move the square to the right of your design. Then, click on the lock icon. This will allow you to resize the box to any size you want. Measure the size of your board and enter the dimensions of the Width and Height. The board I will be using is 7.5″ x 10″, so I put those numbers in the boxes.
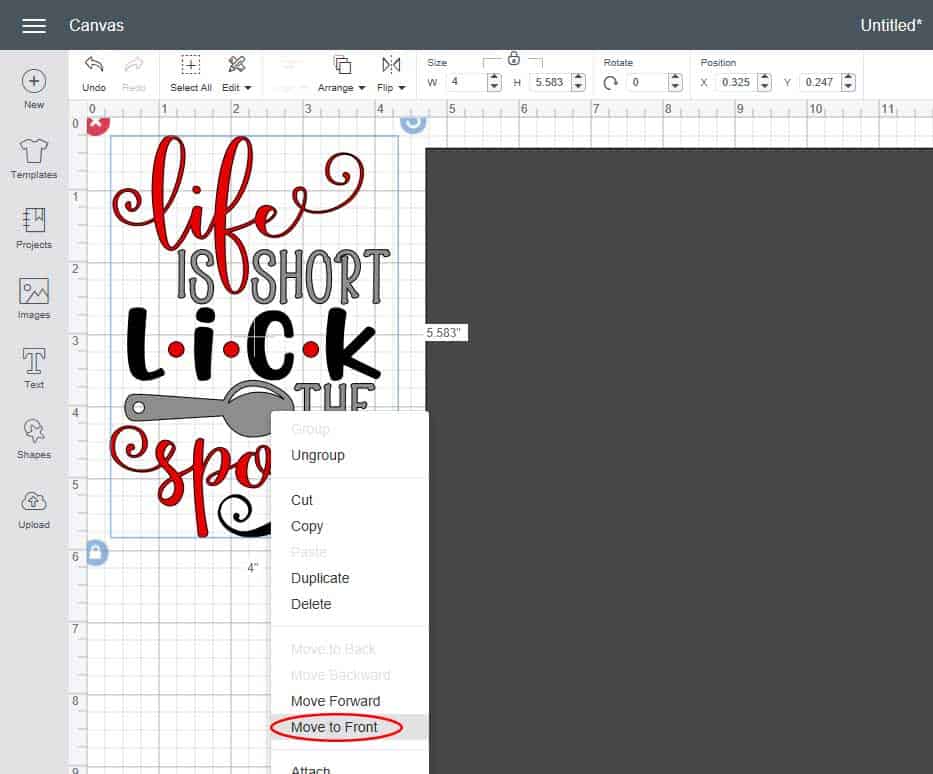
Select your design again, right-click, and then choose Move to front. Then, move the design onto the rectangle.
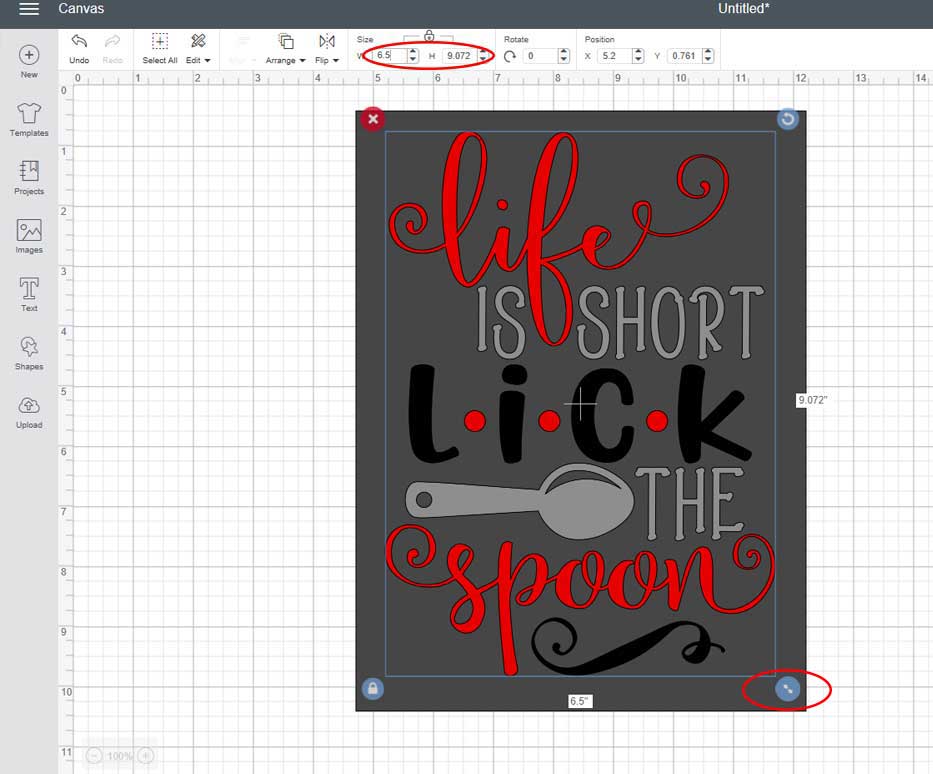
If you know the dimensions you want your design to be, you can either enter width and height. You can also click and drag the arrow on the bottom right to resize the design. I usually make my design about an inch smaller, both width and height, than my board, so I have a .5″ border on all sides. If you want your design to stay proportional, leave the lock icon locked and just enter the height or the width. I put in 6.5″ as the width and it automatically adjusted the height to just about 9″ (I also could have entered the height and it would have automatically adjusted the width proportionally). If you want to change both the width and the height, click on the lock icon so it’s unlocked and then enter your dimensions.
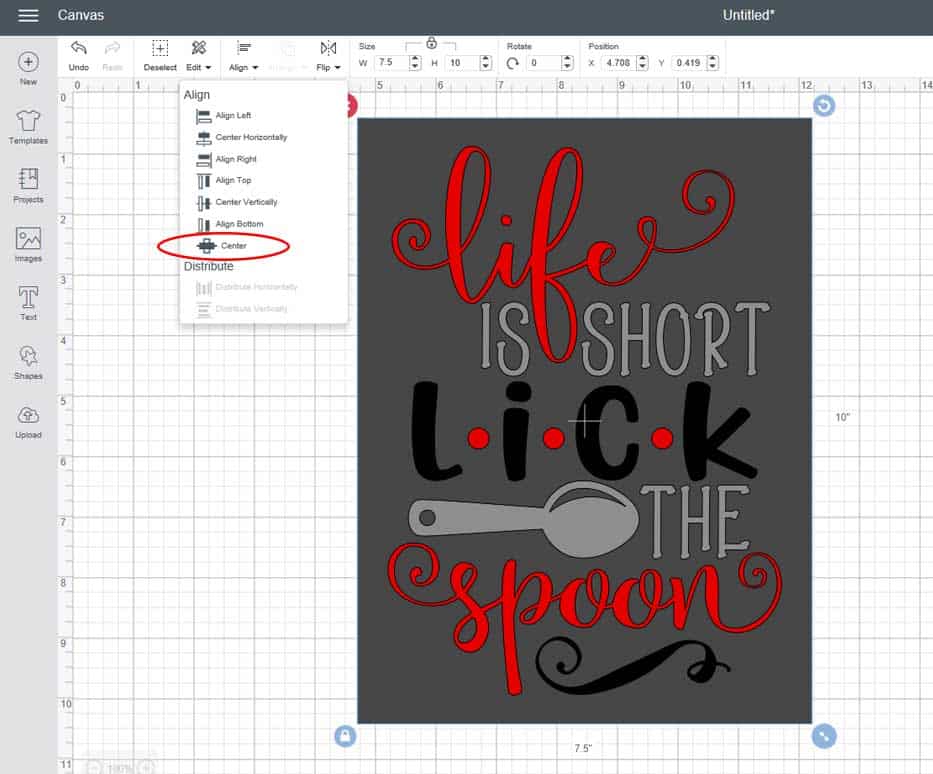
Next, select both the design and the box. Click Align and then click center. This will center everything selected both vertically and horizontally.
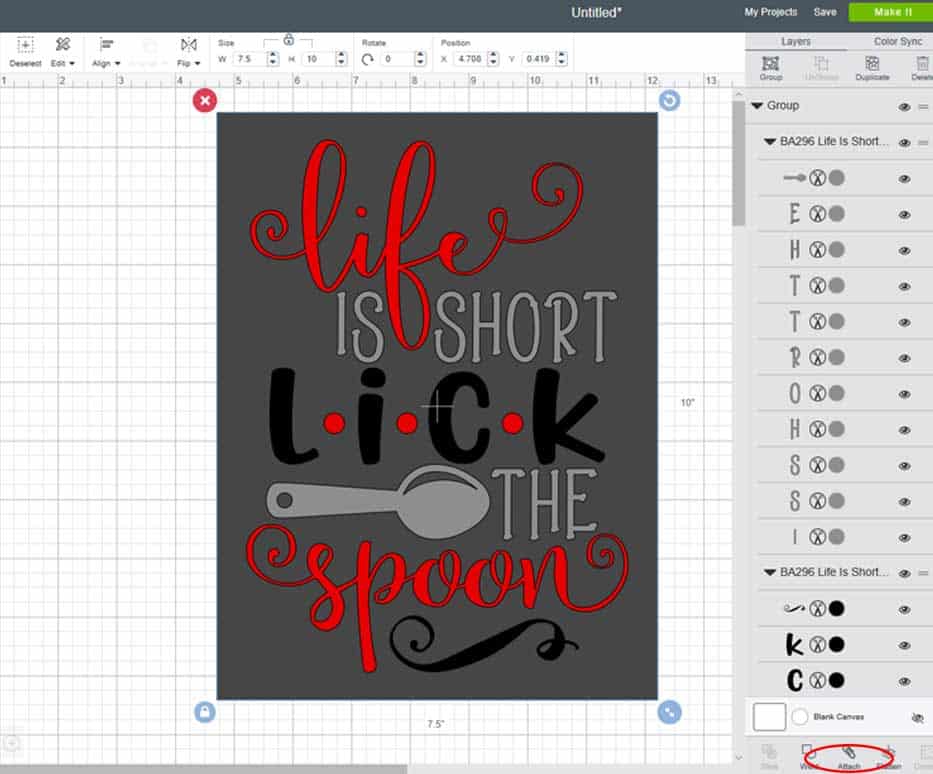
While both the design and the box are still selected, click on the attach icon located at the bottom right of the screen (you can also right click and choose attach).
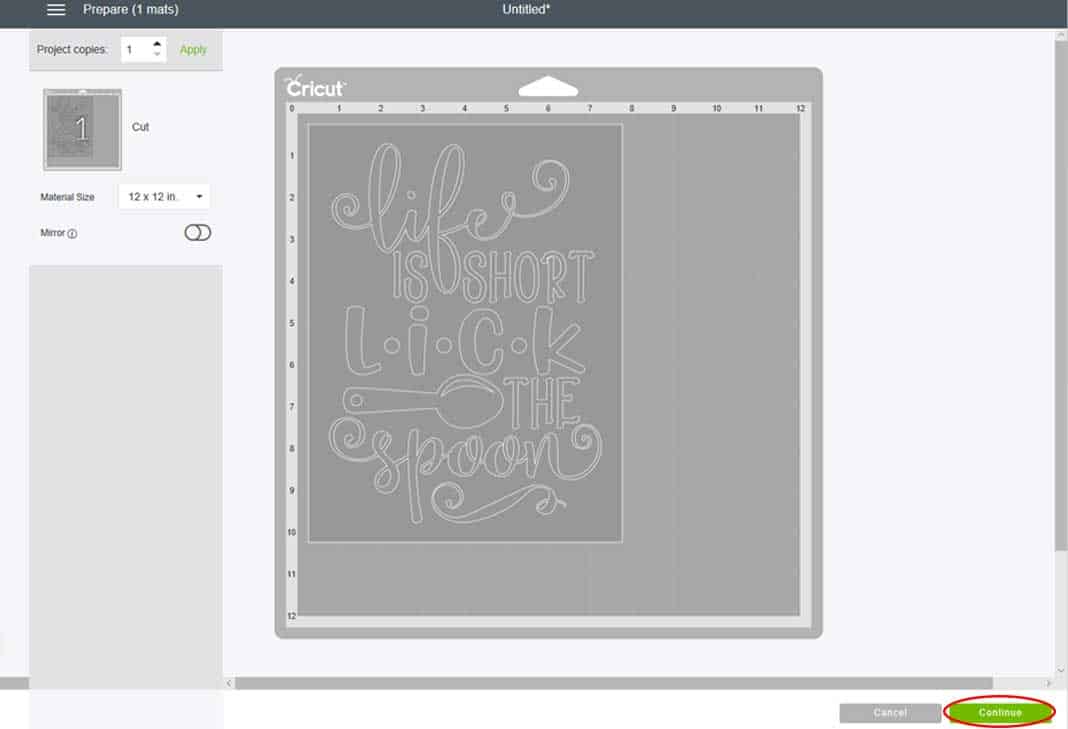
The design is now ready to cut! Click on the Make It button in the top right corner.

Since it’s a stencil and everything is one color, your design will show up on just one mat. Load your vinyl into your machine and click continue.
You might need to select your machine in the Connect Machine box. Be sure the dial is set to the material you are cutting. Place your material on the cutting mat, smooth it out so there aren’t any wrinkles or bubbles. Then, load it into your machine by pressing the up and down arrow button. Once the C button starts flashing, press it and the machine will start cutting.