 This post contains affiliate links for your convenience (which means if you make a purchase after clicking a link I will earn a small commission but it won’t cost you a penny more)! Read my full disclosure policy.
HERE’S WHAT YOU NEED
- Coir Doormat (18″ x 30″)
- Paint (I used Black & Red)
- Stencil Brush
- Vinyl (I prefer using Oracal 631)
- Painters tape or packing tape
- Application Tool
- Iron or Easy Press
- Transfer Tape
- Spray Protective Finish
- Black & White Rug (Optional)
- Electronic cutter (cricut explore, silhouette or other cutter)
- Cut File (available for free in my resource library)
HERE’S WHAT YOU DO
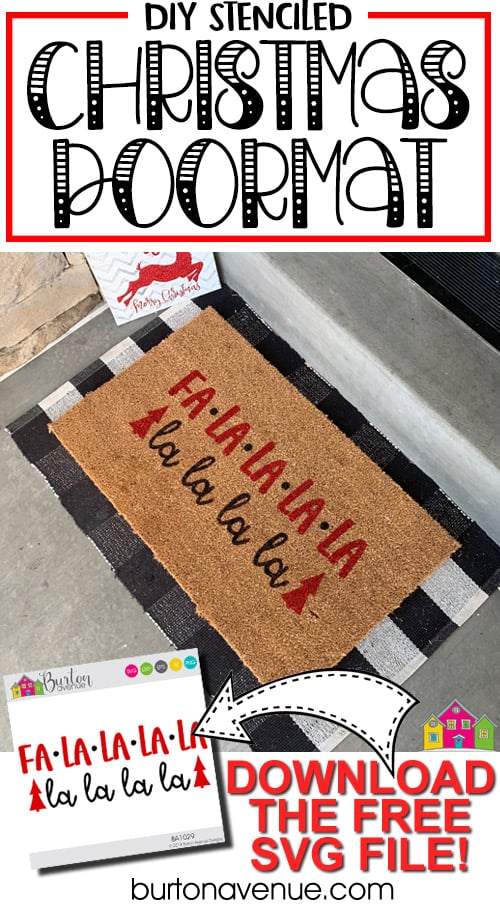
STEP 1: DOWNLOAD THE FREE SVG FILE
The first thing you’ll need to do is get the free SVG file you’ll use for this project. I keep all the SVG files I use for the projects I make in my SVG Library. These SVG files work with Cricut and Silhouette machines, as well as many others. This library is open to everyone and is free! You can access the library here. Look for the file called Fa La La La La. It will either be listed under the most recent projects/cut files or under the Christmas category-25 Days of Craftmas 2019 – Day 15.
STEP 2: PREPARE VINYL STENCIL
Open the design in your software program and size it to fit on your doormat. Then, add a rectangle around the design to create a stencil.
Do you need more help with creating a vinyl stencil? Check out these posts.
How to Make a Vinyl in Cricut Design Space.
How to Make a Vinyl Stencil in Silhouette Studio
I sized my design to about 21″ x 8″. Most Cricut and Silhouette machines can cut this size. Then, I added a rectangle around the design that was 23.5″ x 10″. If you have a Silhouette portrait, you’ll need to piece together the design.
I like to use Oracal 631 for my doormat stencils. The transfer tape doesn’t stick quite as well to the matte finish, which in turn, makes it a little easier to get the transfer tape off once the vinyl is on the mat.
I tested freezer paper, cardstock, and vinyl for the stencil. You can read the full tutorial here. Because the coir mats are so rough, it takes a good amount of time (and patience) to get any stencil to stay in place. After testing them all, I decided that vinyl is my favorite.
When everything is sized correctly, you can cut the stencil with your Cricut or Silhouette. Once it has finished cutting, weed away the excess vinyl.

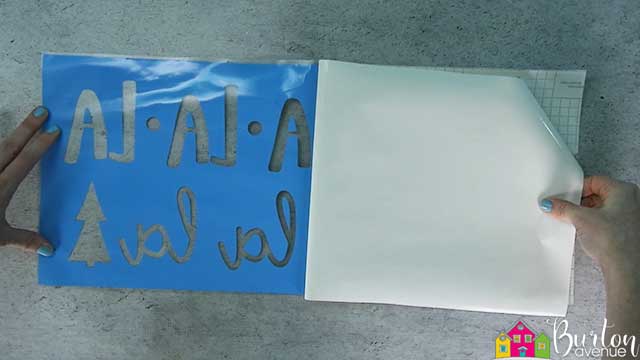
Cut a piece of transfer tape a little larger than the design. Before you put the vinyl on the tape, rub a t-shirt or towel over it. This will remove some of the tackiness, which will make transferring the vinyl to the doormat a little easier.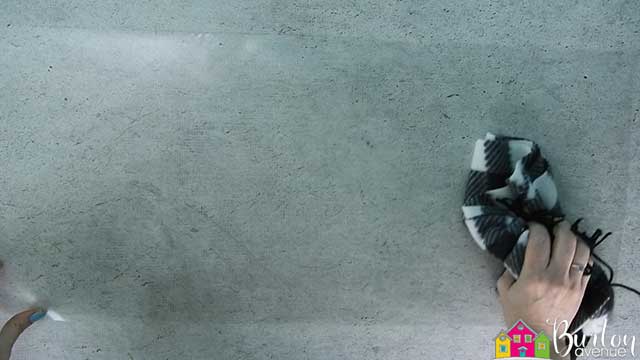
Place the vinyl on the transfer tape. Use an application tool to rub over the design. Then, trim off the excess transfer tape.
![]()
Pull off the vinyl backing. Because we removed some of the tackiness of the transfer tape, it might take a little extra work to get the backing off. Go slow and use your fingers to get the vinyl to stay on the transfer tape.
STEP 3: TRANSFER STENCIL TO DOORMAT
Place the vinyl on the doormat and use a ruler to center the design. The vinyl won’t really stick, so you can move it around until it’s centered. Just a note, sometimes these doormats aren’t cut evenly. If that’s the case with yours, just center as much as possible.
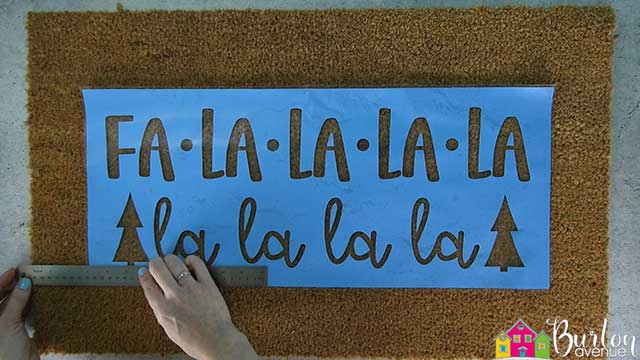
I just want to warn you…this part can be a bit of a pain and a little bit frustrating. But, it only took me about 10 minutes, so it’s totally doable, just be patient.:)
Carefully pull back about 2″ of the transfer tape.
![]()
Place a piece of tape over the edge of vinyl and doormat. This will help keep the vinyl in place while you remove the rest of the transfer tape.
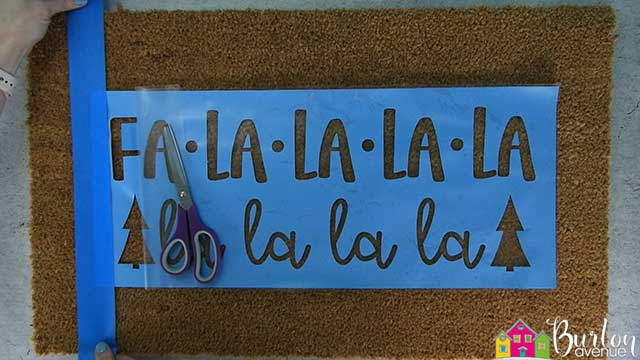
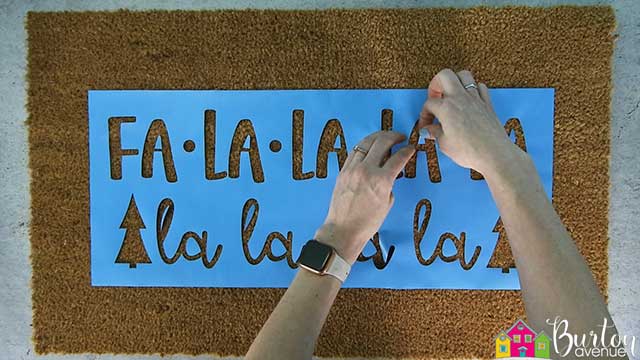
Use one hand to hold the vinyl in place and the other hand to pull off the transfer tape. Keep track of the insides of the letters, they can get lost.
![]()
At this point, don’t expect the vinyl to stick to the mat. All you’re doing in this step is removing the transfer tape from the vinyl.
![]()
If you’ve made it to this step, give yourself a pat on the back. The rest of the process is pretty simple from here on out.
Once the transfer tape is removed, go back over the design and straighten it out. You will probably need to center it again.
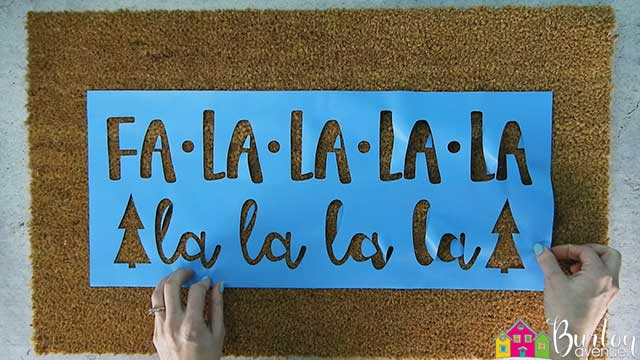
Make sure all the insides of the letters and loose pieces are in place. Once again, you’re still just placing the pieces on the mat, nothing will actually stick to it.
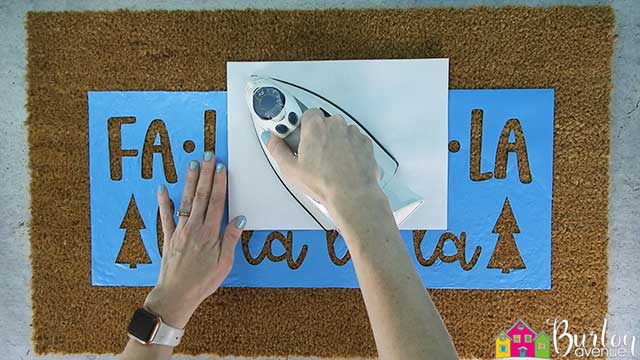
This next step is my secret weapon to making a great looking doormat. Applying heat makes the vinyl shrink, helps it adhere to the doormat, and helps create a really nice stencil.
You can use an iron or an easy press. Place copy paper or a teflon sheet over the design and iron for just a few seconds. You’ll know it’s worked if the vinyl is tight and you can see the texture of the doormat through the vinyl.
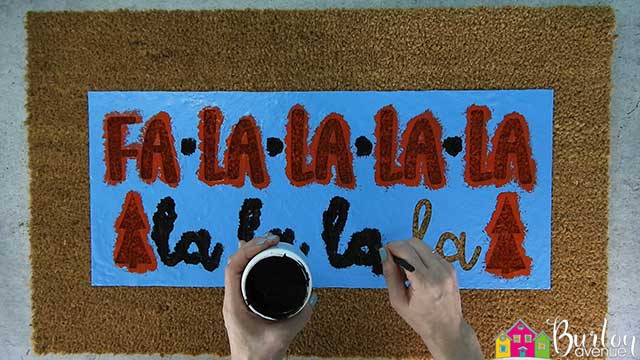
STEP 4: FILL IN THE STENCIL
Start filling in the design with paint.
I used Behr interior/exterior paint from home depot. I had it custom tinted to black and red.
Use a stencil brush and an up and down motion to apply the paint. Try not to brush back and forth. This will help minimize bleeding.
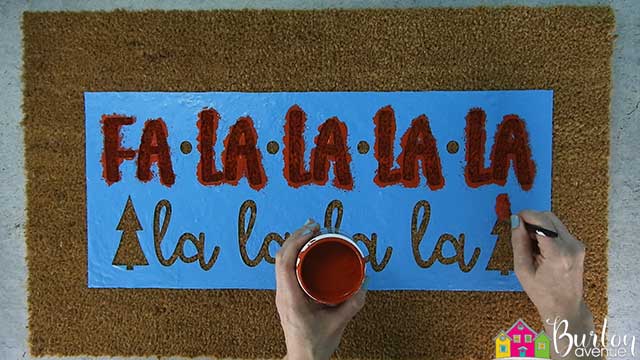
I did 2 coats of each color just to be sure I didn’t miss anywhere.
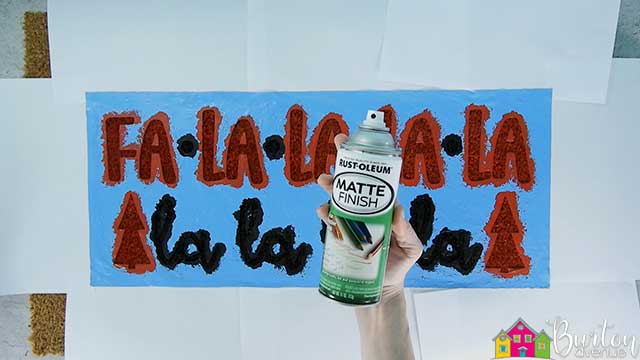
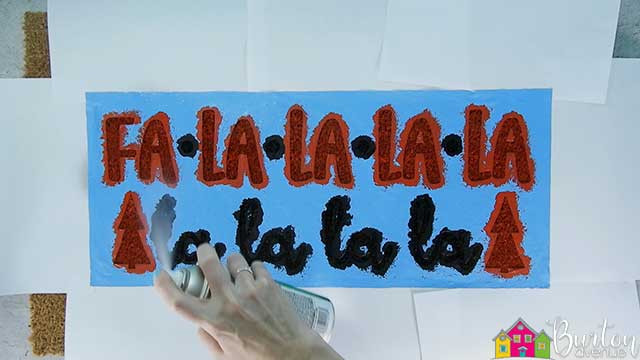
STEP 5: APPLY A PROTECTIVE FINISH (OPTIONAL)
To protect the paint, you can spray on a protective finish.
Let the paint dry and leave the stencil in place. Use copy paper or something similar to protect the rest of the mat from overspray. Then, just spray on a couple of coats of the finish.
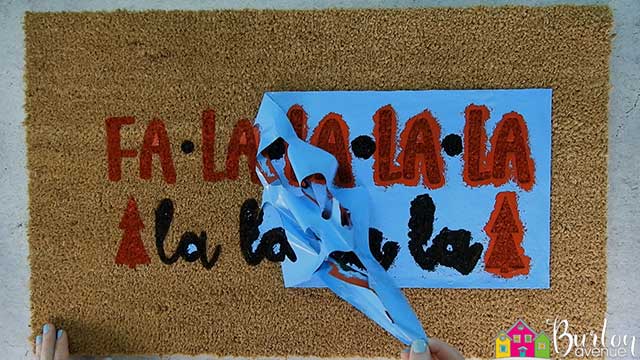
STEP 6: REMOVE VINYL STENCIL
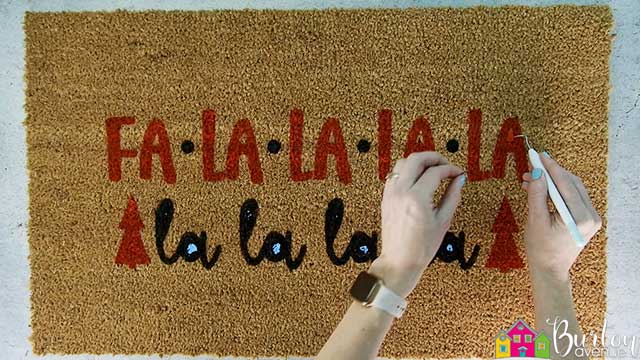
Once everything is dry, carefully pull off the stencil. You can use a craft knife or weeding tool to pull out the centers of the letters.
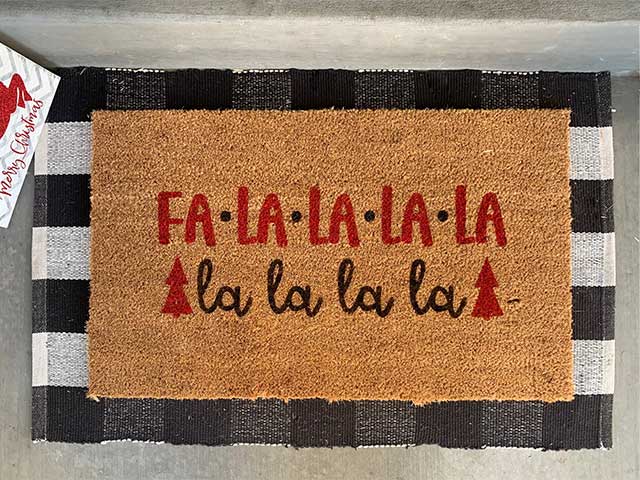
Look at those nice clean lines!
Even though it takes a bit of time to get the stencil in place, I think the end results are totally worth it.
I put my doormat on top of a black and white checked rug. It kind of frames the doormat and looks so cute!
Did you enjoy this post? Help spread the word! Share this post on your favorite Pinterest board. Thanks!