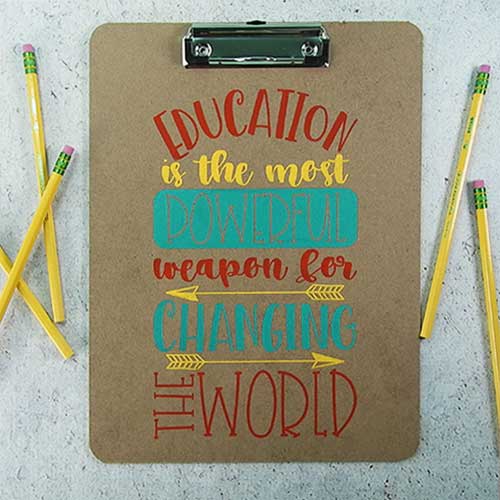
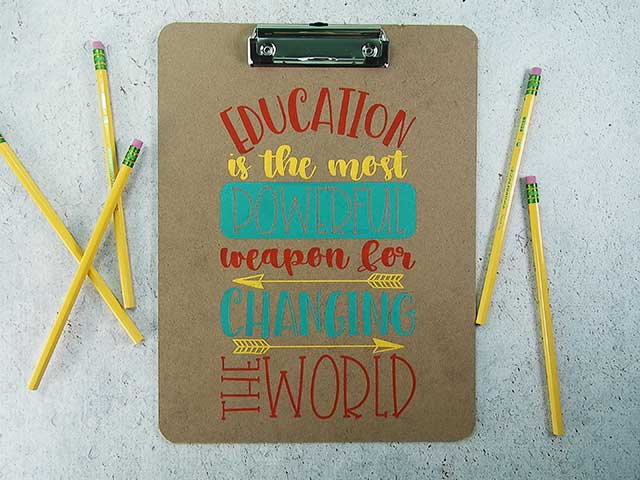
It’s another day of quick, easy, and inexpensive projects for Teachers. Today, I’m showing you how to make a custom stenciled clipboard. This project is really easy. I found the clipboard at the dollar store and everything else I had on hand, so it was inexpensive to make and it turned out really cute.
HERE’S WHAT YOU NEED
- Clipboard (I found mine the Dollar Tree)
- Stencil Vinyl (you can also use regular vinyl)
- Transfer Tape
- Mod Podge (Optional)
- Paint & Brush
- Weeding Tool
- Application Tool
- Electronic cutter (cricut explore, silhouette or other cutter)
- Cut File (available for free in my resource library)
HERE’S WHAT YOU DO
Start by measuring your clipboard to determine what size you’ll make the design. Then, import the design into your cutting software and size accordingly. Add a rectangle around the design to create a stencil.
Do you need more help with creating a vinyl stencil? Check out these posts.
How to Make a Vinyl in Cricut Design Space.
How to Make a Vinyl Stencil in Silhouette Studio
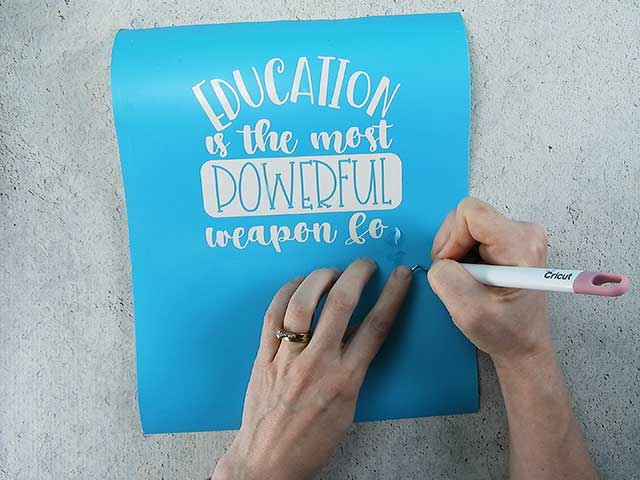
Then, cut out the design and weed away the excess vinyl.
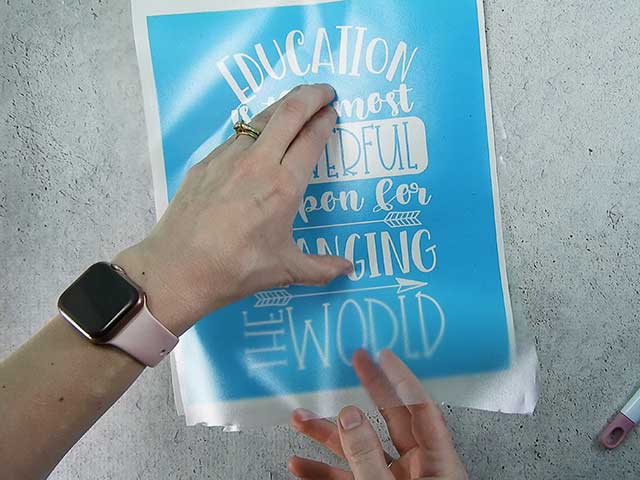
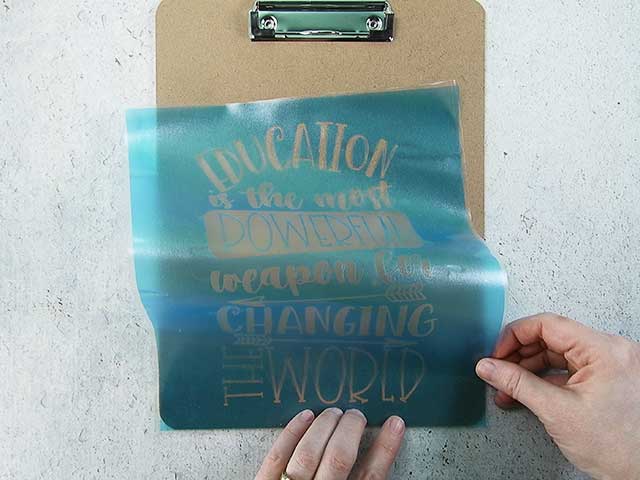
Cut a piece of transfer tape just a little large than your design. Place it over the vinyl and rub over the design to help the vinyl stick to the transfer tape.
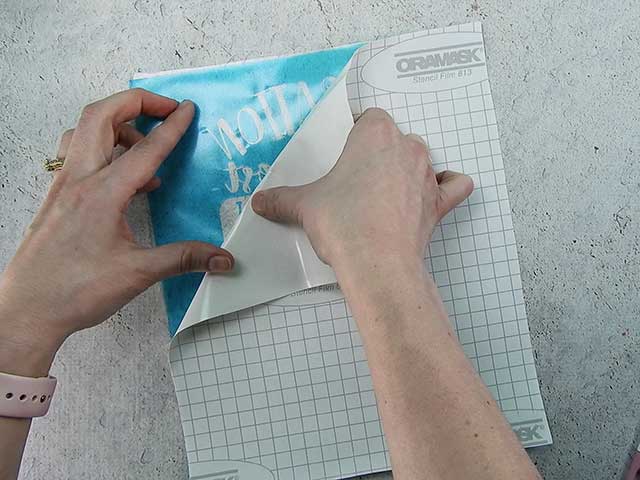
Remove the vinyl backing. I like to flip over the design and pull the backing away from the vinyl. This way, the vinyl doesn’t get bent or creased.
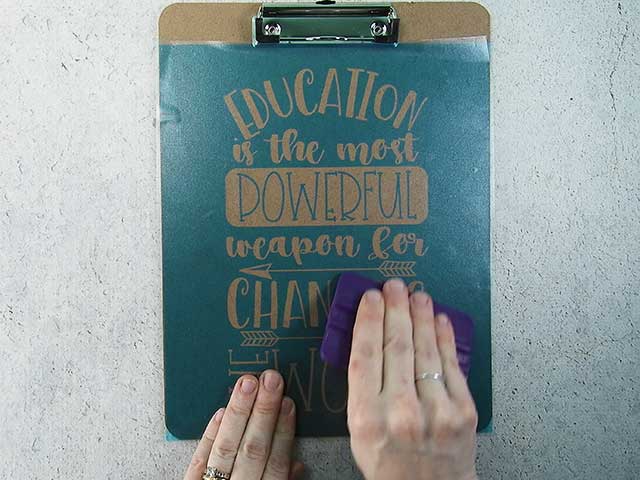
Place the vinyl stencil on the clipboard. Match up the straight edge of the stencil with the bottom of the clipboard.
Rub over the stencil to get it to stick to the clipboard.
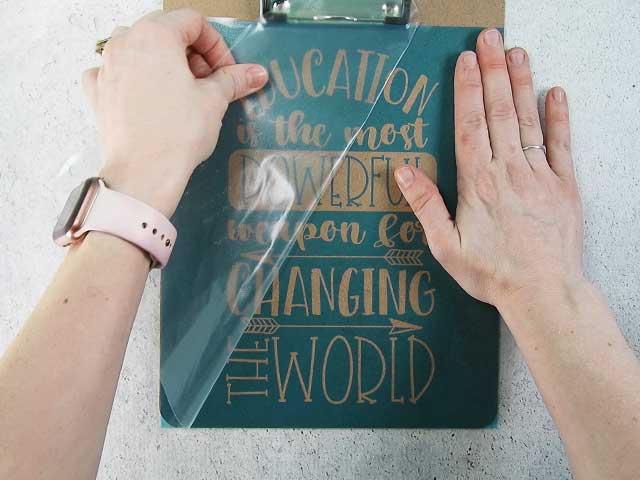
Carefully remove the transfer tape.
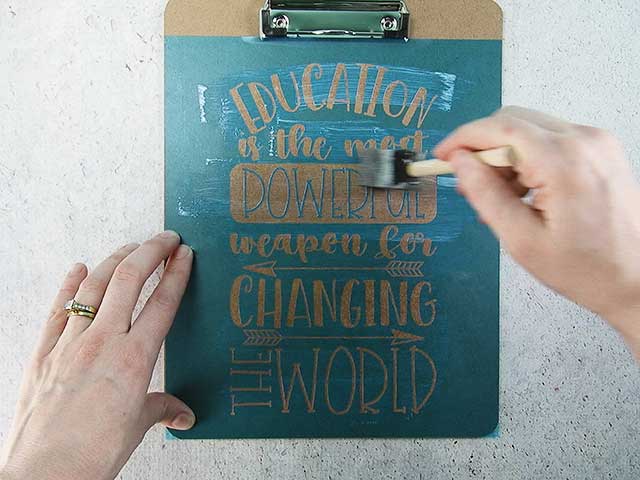
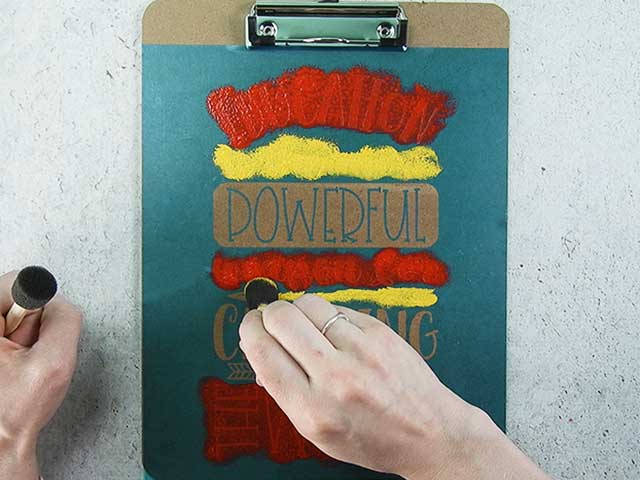
After the Mod Podge dries, start filling in the design with light layers of paint. An up and down motion is best to prevent bleeding.
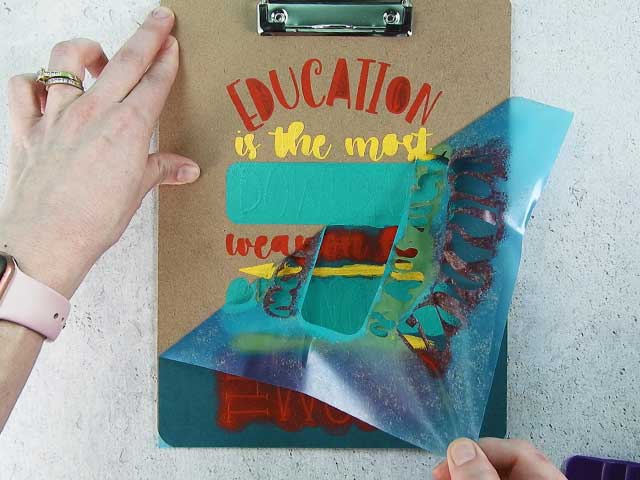
Once the paint is dry to the touch, you can pull off the stencil.
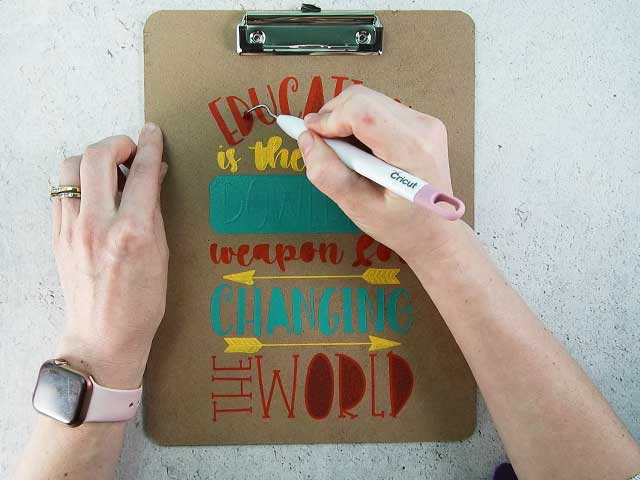
I like to use a weeding tool to pull up the small pieces between the letters.
Now, you’ve got a super cute custom clipboard for your teacher! It would be cute to add a thank you note or letter under the clip.
Did you enjoy this post? Help spread the word! Share this post on your favorite Pinterest board. Thanks!
Want to make your own? Get the free cut file for this project in the resource library

