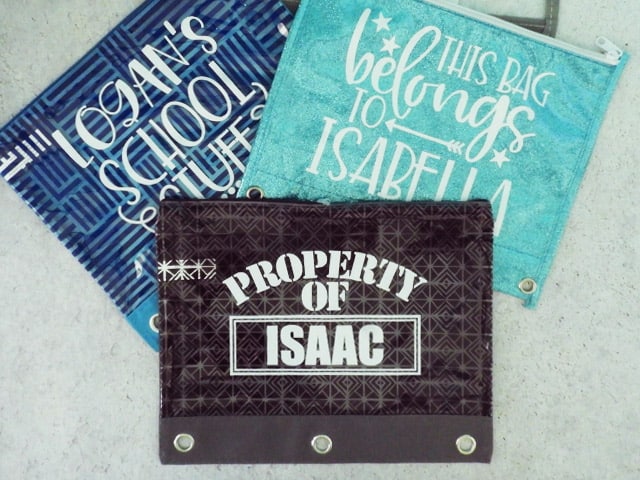
Earlier this week, I was at the dollar store for some supplies. In their back to school section, I noticed a big section of plastic pencil cases. Of course, I start thinking of how I could customize them using my Silhouette or Cricut. So, I grabbed a few different styles and brought them home. I created some cute new designs, cut them out of vinyl, and added them to the bags. They were super quick to make and turned out so cute.
HERE’S WHAT YOU NEED
- Pencil Pouches (I found mine at Dollar Tree)
- Vinyl
- Application Tool
- Transfer Tape
- Electronic cutter (cricut explore, silhouette or other cutter)
- Cut File (available for free in my resource library)
HERE’S WHAT YOU DO
STEP 1: DOWNLOAD THE FREE SVG FILE
The first thing you’ll need to do is get the free SVG file you’ll use for this project. I keep all the SVG files I use for the projects I make in my SVG Library. These SVG files work with Cricut and Silhouette machines, as well as many others. This library is open to everyone and is free! You can access the library here.
STEP 2: SIZE AND CUSTOMIZE DESIGN
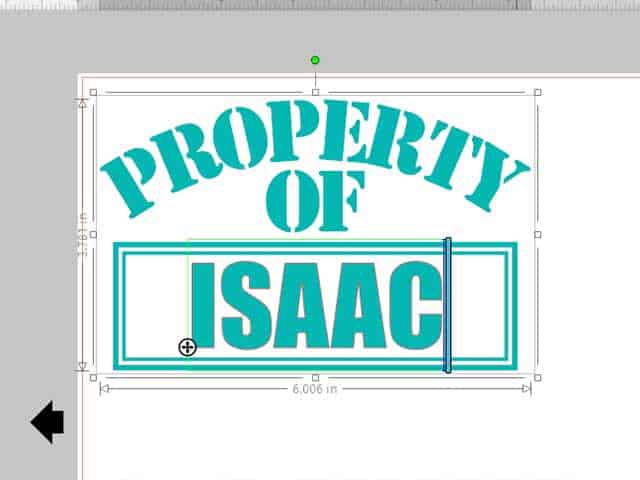
Open the file in your software program. You’ll need to ungroup everything and remove any designs you don’t want.
Measure the pencil pouch and size the design accordingly. Use the text tool to add a name.
STEP 3: CUT AND WEED VINYL STENCIL
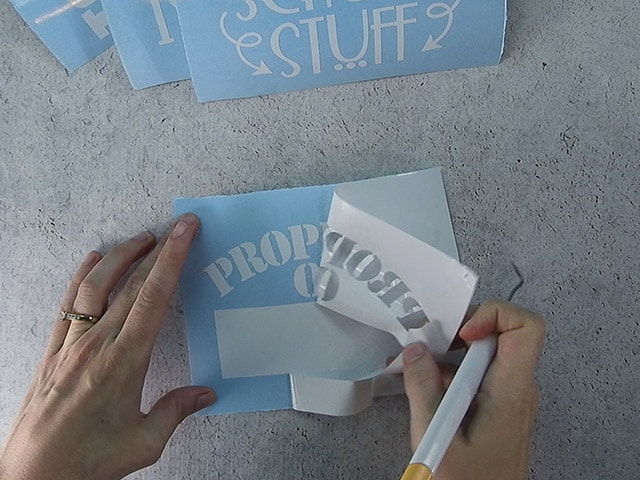
When everything is sized correctly, you can cut the vinyl with your Cricut or Silhouette. Once it has finished cutting, weed away the excess vinyl.
STEP 4: APPLY TRANSFER TAPE
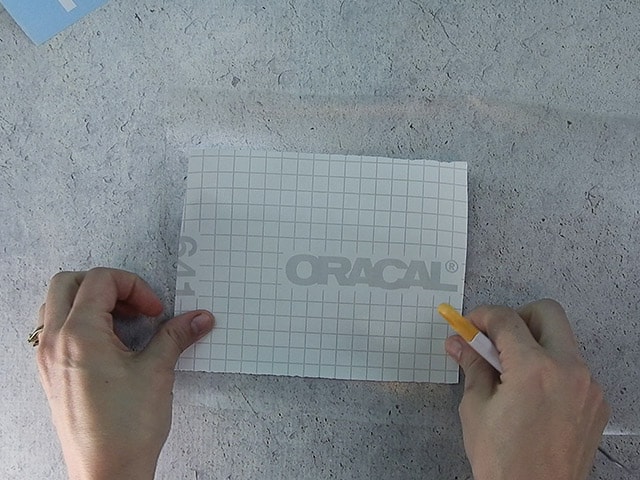
Cut a piece of transfer tape a little bigger than the design. Place the vinyl on the transfer tape and smooth it down. Then, trim off the excess transfer tape.
STEP 5: REMOVE VINYL BACKING
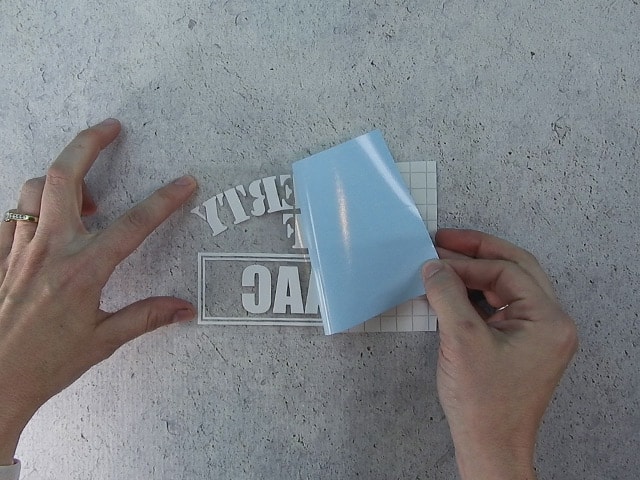
Rub over the design with an application tool to help the vinyl stick to the transfer tape. Then, carefully pull off the vinyl backing.
STEP 6: POSITION VINYL ON PENCIL POUCH
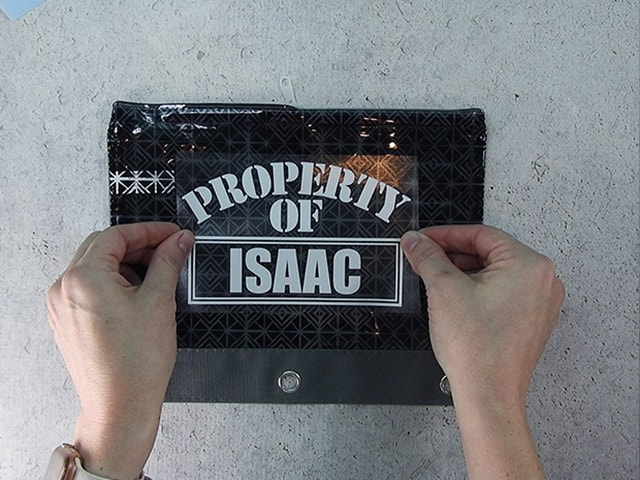
Position the design over the pencil pouch. You can use a ruler to center it, but I just eyed it. Once everything is centered and straight, press down on the design.
STEP 6: REMOVE TRANSFER TAPE
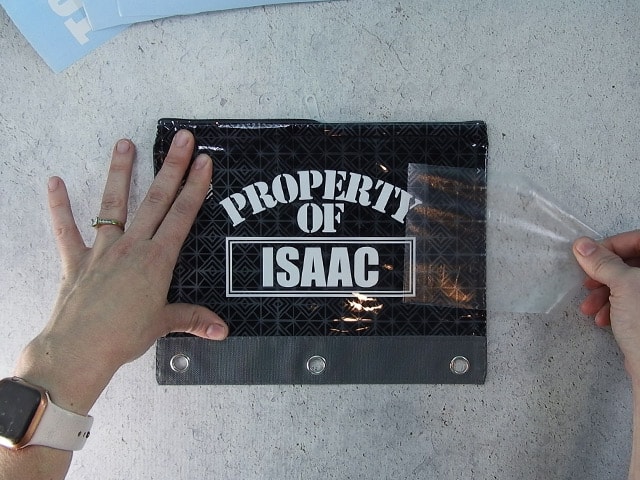
Rub over the design with an application tool. Then, pull off the transfer tape.
These custom pencil bags are so easy to make with your Silhouette or Cricut. My kids loved how they turned out!

