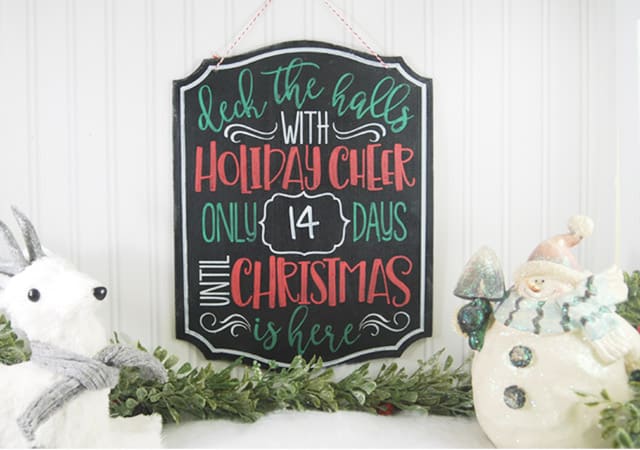
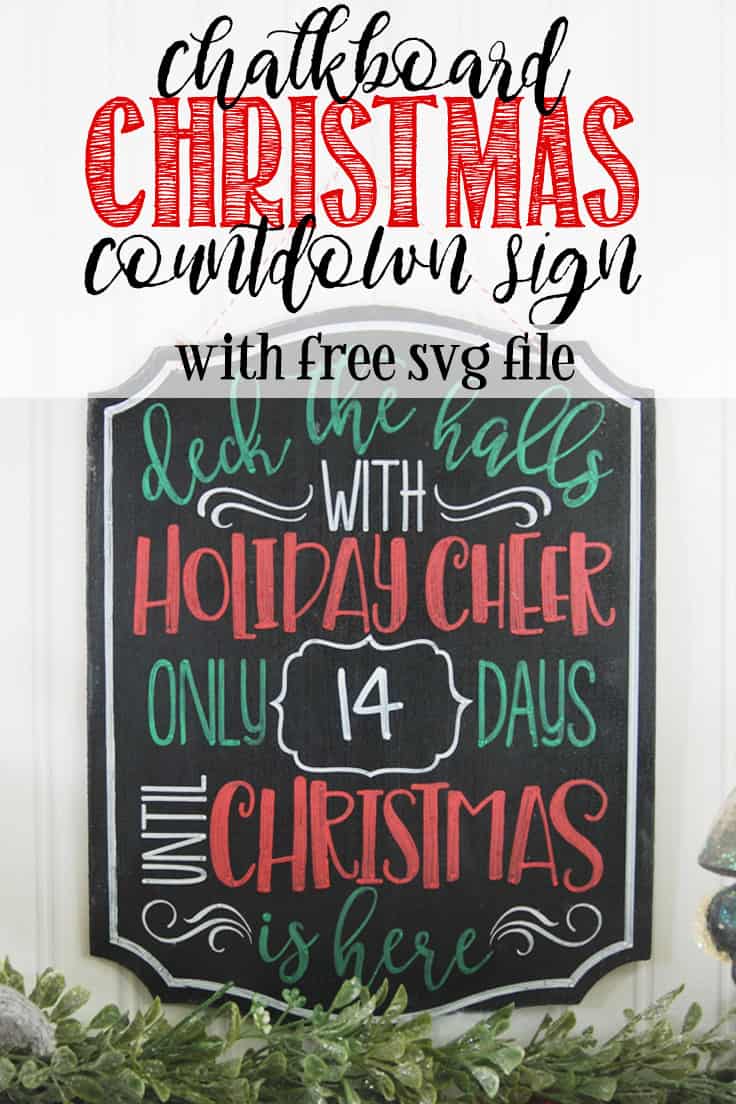
This festive Christmas countdown chalkboard sign is made using liquid chalk markers, giving it a bright, hand-lettered look that’s easy to update each day. Simply write the number of days left until Christmas inside the chalk area, and change it as the holiday gets closer. It’s a quick, easy Christmas advent craft that adds instant holiday cheer to your décor. Read on for the full tutorial!
HERE’S WHAT YOU NEED
- Wood
- Chalkboard Paint
- Smooth Finish Paint Roller
- Vinyl (Color doesn’t matter since it will be a stencil)
- Ribbon or Twine for Hanging
- Liquid Chalk Markers or chalk
- Transfer Tape
- Electronic cutter (cricut explore, silhouette or other cutter)
- Cut File (available for free in my resource library)
HERE’S WHAT YOU DO
The first thing you’ll need to do is get the free SVG file you’ll use for this project. I keep all the SVG files I use for the projects I make in my SVG Library. These SVG files work with Cricut and Silhouette machines, as well as many others. This library is open to everyone and is free! You can access the library here. Look for the file called Deck the Halls Countdown. It will either be listed under the Christmas category-25 Days of Craftmas 2018 – Day 3.
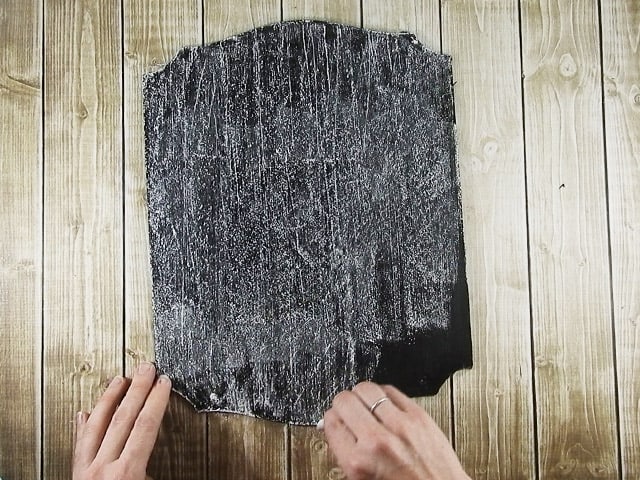
Cut your wood to the size and sand until it’s smooth. I used the back of a sign I purchased from the dollar store for my sign. It measures approx. 10.5″ x 13.5″ Use a smooth finish paint roller to paint on the chalkboard paint. You’ll need to do several light coats in order to cover the wood.

While the paint is drying, cut out the vinyl to make your stencil. I sized my vinyl decal to about 9.5″ x 12.5″, then I added a .5″ border around all the sides to create a stencil.
Do you need help creating stencil design? Check out this step by step tutorial for Silhouette Users here and for Circut Users here.
Cut the vinyl with your machine, weed away the excess vinyl, and apply the transfer tape. Make sure you weed away the inside of the letters so you can stencil that negative space.
Prime your chalkboard sign by turning a piece of chalk on its side and rubbing it over the entire board. Wipe off with a dry rag or paper towel.
Then, apply the vinyl to your chalkboard sign.
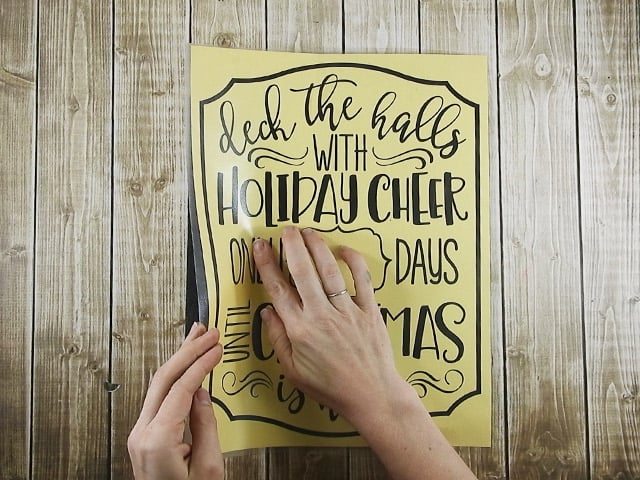
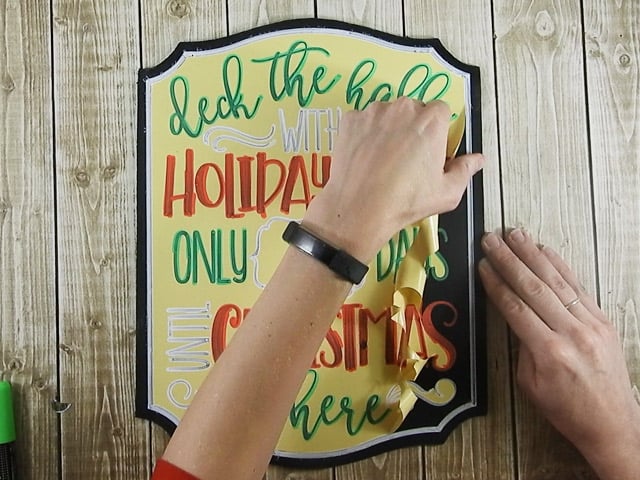
Rub over the entire image to be sure it sticks, then carefully remove the transfer tape.

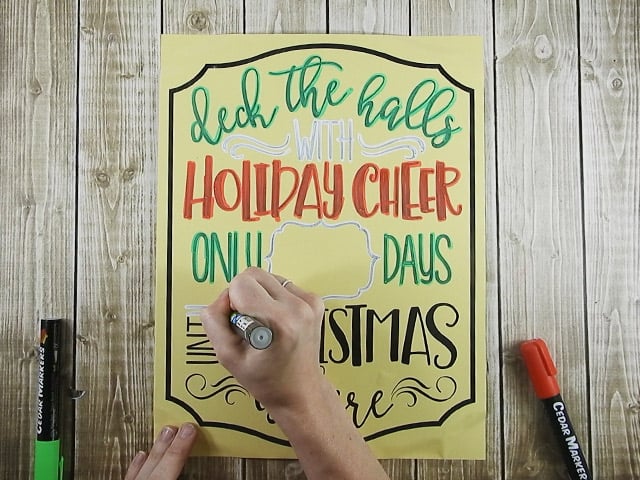
Now the fun part! Trace over the letters with the liquid chalk markers. Use light quick strokes to prevent bleeding. Also, use as few strokes as possible. Try not to go back and forth over the letters like you’re painting. Since this is a chalkboard sign, you want it to look a little imperfect, so the letters shouldn’t be completely solid.
To prevent the chalk from smudging, lightly spray over all the letters with hairspray. Once that has dried, carefully remove the vinyl. If there are any bad bleeds, you can clean them up with a cotton swab dipped in water.
Drill two holes on the top and add ribbon or twine to hang. Add your numbers to start counting down the days until Christmas. 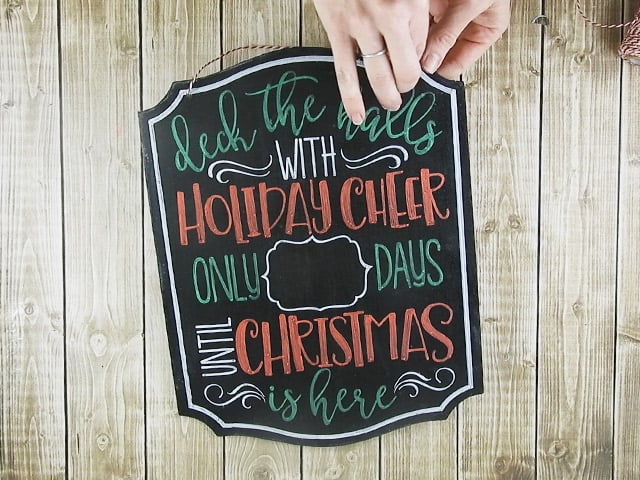
Add your numbers to start counting down the days until Christmas. Use a damp paper towel to erase the numbers.
Did you enjoy this post? I’d love for you to pin it to your favorite pinterest board.
Love this Angie, you have so many great ideas!