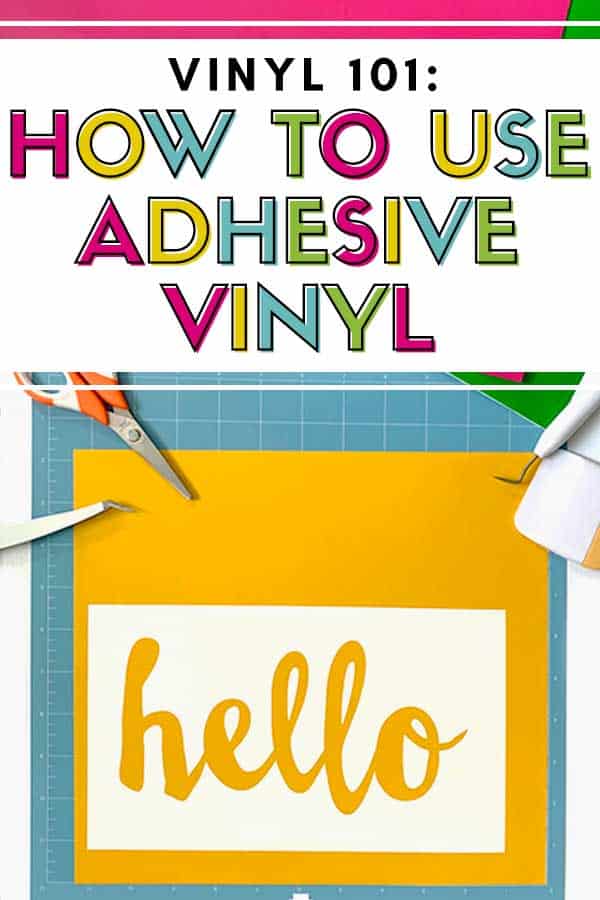
Cutting adhesive vinyl with your electronic cutter is fun and super easy, not to mention ADDICTIVE! Once you getting started with adhesive vinyl, you will want to decorate and personalize everything you see! Do you want to learn all about adhesive vinyl? Check out my Vinyl 101: Adhesive Vinyl Basics to learn all about it! Now, I’m going to walk you through the steps of how to use adhesive vinyl. There are a few simple steps involved when working with adhesive vinyl: prepare the design, cut, weed, apply transfer tape, and transfer the design to your blank.
This post contains affiliate links for your convenience (which means if you make a purchase after clicking a link I will earn a small commission but it won’t cost you a penny more)! Read my full disclosure policy.
Before you begin
Before you can make a vinyl decal, you’ll need to gather a few supplies. Some of these will come with your machine, others you can find around the house, others you’ll need to purchase.
- Electronic cutter (cricut explore, silhouette or other cutter)
- Adhesive Vinyl
- Transfer Tape (I recommend clear)
- Cut File
- Ruler
- Cutting Mat (cricut, silhouette, or other brand)
- Weeding Tool
- Application Tool
- Scissors
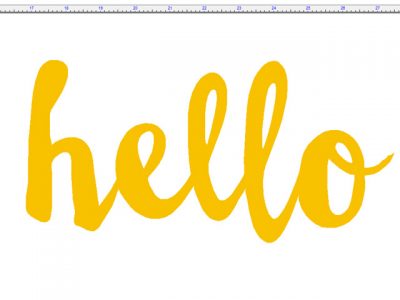
Step One: Prepare the Design
The first step in working with adhesive vinyl is to get your design file ready to cut. You’ll need a special file that works with your cutting machine, typically an SVG file, in order for the machine to cut your design. Once you have picked out your design and opened it in your machine’s software program, you’ll want to scale the design to size. You’ll need to measure your surface and determine how big or small you want to cut the design.
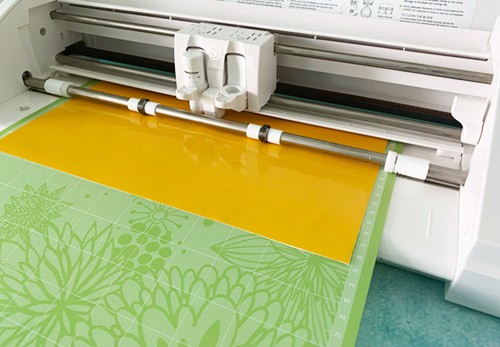
Step Two: Cut your Design from Vinyl
Once the design is sized and ready to go, you’ll need to prep the vinyl to be cut. Put your adhesive vinyl on your cutting mat, with the paper backing side down. Load the mat into your machine. Some machines can auto adjust the blade for the different types of materials it can cut. Other machines need to be adjusted manually. Choose the setting that works for your vinyl and send the design to your machine to cut.
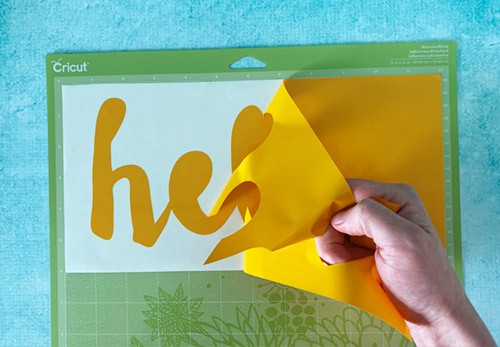
Step Three: Weed away the Excess Vinyl
Once your machine has finished cutting your design, remove the mat and vinyl from the machine. Remove the excess vinyl from around your design, including any inside pieces. This process is called weeding.
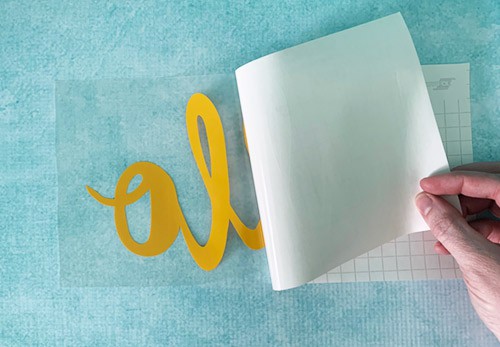
Step Four: Apply Transfer Tape
Now it’s time to move the vinyl design from the paper backing to the final surface. The quickest and easiest way to transfer everything at once is to use transfer tape or transfer paper. To do this, you’ll just cut a piece of the transfer material a little larger than your design. Use an application tool to smooth the transfer tape onto the decal and trim to size. Now, you can remove the vinyl backing.
![]()
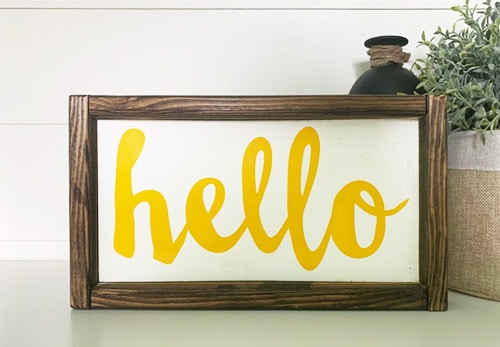
Step Five: Transfer Design to your Blank
The item you are applying the vinyl on is often called a “blank”. Blanks can be anything from wooden signs and tumblers to mugs and walls. Before you apply the vinyl to your blank, you need to be sure the surface is clean and smooth. You can use rubbing alcohol or wipes to clean off the area and remove any grease. Once it has dried, carefully place the vinyl decal over the surface and smooth it out with your application tool. Finally, remove the transfer tape from the decal and you’re finished!
![]()
Isn’t that easy?
Now that you know how easy adhesive vinyl is to work with, I hope you try to make your own vinyl decals and start decorating everything you get your hands on!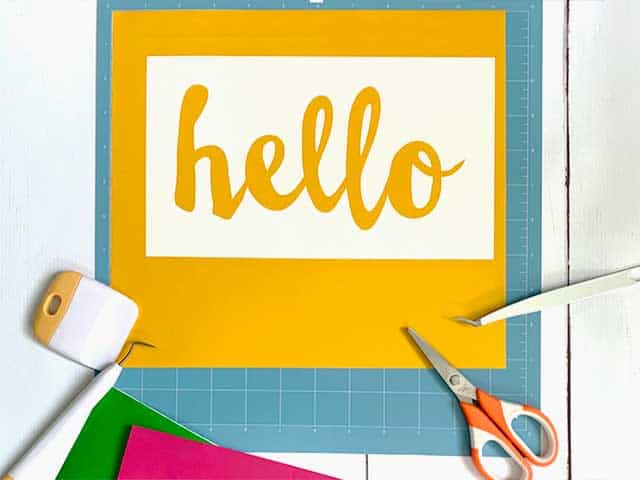
Now that you’ve got the basics down, how about trying some more advanced techniques?
- How to Cut Multi-Colored Designs in Design Space
- How to Cut Multi-Colored Designs in Silhouette Studio
- How to Make a Vinyl Stencil in Cricut Design Space
- How to Make a Vinyl Stencil in Silhouette Studio