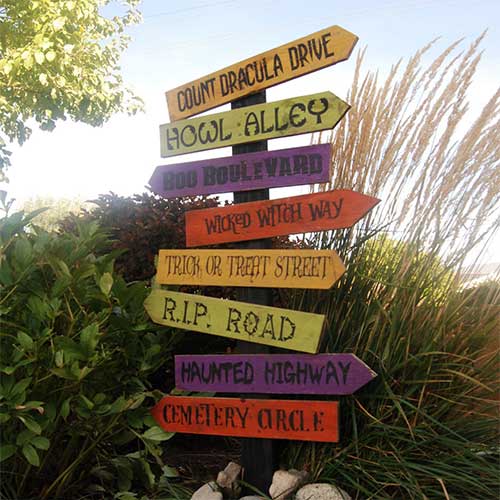
This is such a fun and easy Halloween project. I am lovin’ the way it turned out. Plus, it was made from pallet wood, so it was free! Follow the tutorial below to learn how to make your own.
This post contains affiliate links for your convenience (which means if you make a purchase after clicking a link I will earn a small commission but it won’t cost you a penny more)! Read my full disclosure policy.
HERE’S WHAT YOU NEED
- Wood for arrows (I used pallet wood)
- Wood to mount arrows to (I used a 2×4)
- Miter Saw (I have this one and I LOVE it) or hand saw
- Paint (I used an assortment of fall colors)
- Black Spray Paint
- Paint Brushes
- Sand Paper (Optional)
- Hammer
- Nails or Screws
- Vinyl (Color doesn’t matter)
- Spray Sealer (Optional)
- Transfer Tape
- Electronic cutter (cricut explore, silhouette or other cutter)
- Cut File (available for free in my resource library)
HERE’S WHAT YOU DO
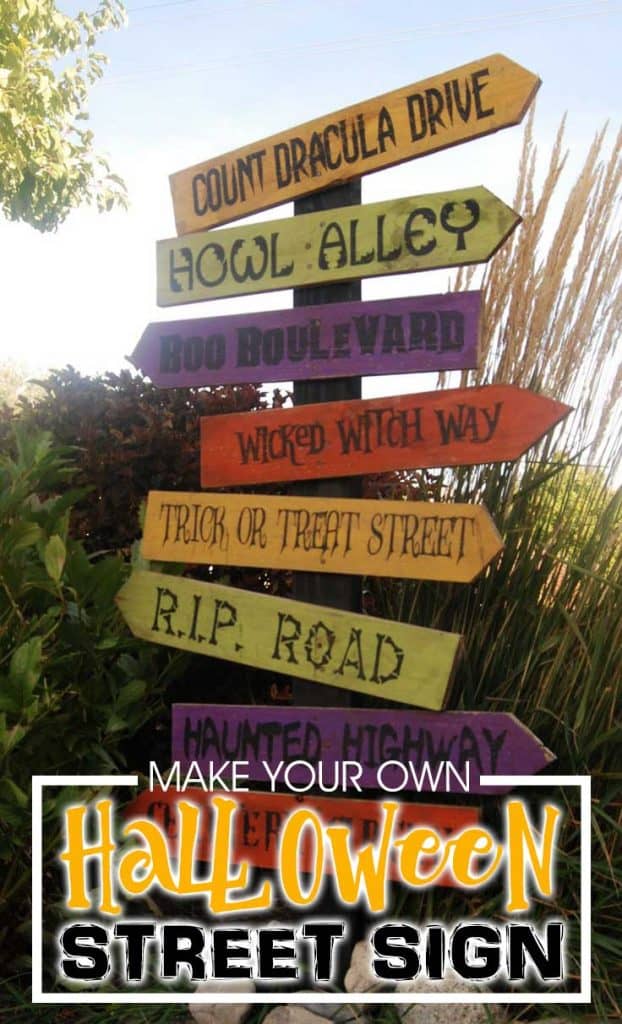
With a miter saw or hand saw, cut the pallet wood in half. Then, cut the ends at an angle to make an arrow shape. I didn’t mark or measure the angles because I wanted them to all
look different. Repeat until you have 8 arrows. Paint all the arrows and allow to dry.

While the paint is drying, make the stencils for the road names with your cutter.
Need help making a stencil with your cutter?
Use transfer tape to apply the stencil to the arrow.
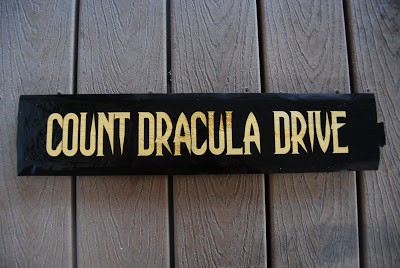
Paint over the design with black paint. I used spray paint for this part.
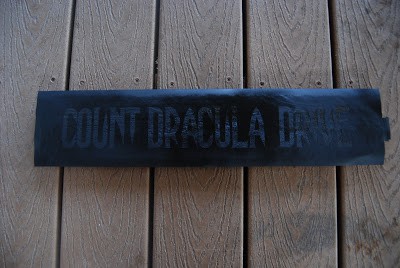
Once the paint is dry, remove the vinyl stencil.
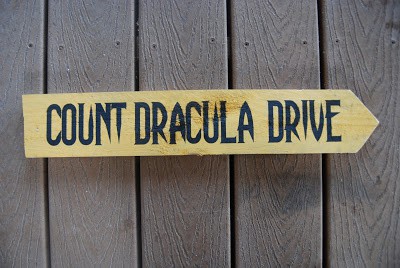
For a distressed look. lightly sand each arrow.

Decide how tall you want your sign to be and cut the 2×4 to size, add an extra 12″ or so to bury in the ground. Paint it black. Once it’s dry, lay out the arrows on it until you get them spaced and
angled the way you like. Use nails or screws to secure the arrows into place. If desired, you can spray the sign with sealer for extra protection.
angled the way you like. Use nails or screws to secure the arrows into place. If desired, you can spray the sign with sealer for extra protection.
I dug a small hole in the dirt and put the 2×4 in it. Then, I piled a bunch of rocks around it to keep it steady.

I love the colors and the fun Halloween Fonts. This project was fun and easy. And it looks so cute in my front yard! When Halloween is over, I think I’m gonna make one for fall!
Oh wow, these turned out amazing! I wish I had a yard so I could try this out. Can’t help but think how cute these would be on a farm with hayrides and pumpkin picking. Thanks so much for sharing!
Darling, thank you
Thank you!
LOVE LOVE LOVE this!! I can’t wait to make it!
Thank you! You are always so generous!!
Can you do a Christmas one too? I would love to make both. I happened to stumble across the halloween one when I was looking for a Christmas one on pinterest. Please and thank you!!!
I will try and do a Christmas version this year.