HERE’S WHAT YOU NEED
-
- Black Cardstock (I used 100 lb card stock)
- Clear Transparency Sheets
- Glue (I used hot glue and liquid glue)
- Black Hammered Spray Paint
- Book Ring
- LED Flickering Candle
- Electronic cutter (cricut explore, silhouette or other cutter)
- Cut File – Halloween Lantern BA1711 (available for free in my resource library)
HERE’S WHAT YOU DO
STEP 1: DOWNLOAD THE FREE SVG FILE
The first thing you’ll need to do is get the free SVG file you’ll use for this project. I keep all the SVG files I use for the projects I make in my SVG Library. These SVG files work with Cricut and Silhouette machines, as well as many others. This library is open to everyone and is free! You can access the library here. Look for the file called Halloween Lantern BA1711. It will be listed under the Halloween category.
STEP 2: CUT THE PIECES FOR THE LANTERN
Open the design in your software program. Keep everything grouped together and resize the design. If you resize the width to 22″ wide, you’ll be able to make a lantern that is about 5.5″ x 13″. This the about the biggest you can make the lantern. The smallest size you can make is about 4″ x 10″ and you would resize the width to 15.5” to create that size. Once everything is sized correctly, cut out the panels with your Cricut or Silhouette. I used 100 lb black cardstock for this project.
If you want the transparent panels to be orange, you’ll need to send the clear transparency sheets through your printer before you cut them with your machine. I’ve included a plain orange pdf that you can just open and print so the panels will be orange. Make sure you load the transparency sheet in your printer so that it prints on the textured side. Also, try not to touch the textured side with your fingers. It could leave a residue and the orange ink won’t.
Once the first piece of cardstock is finished cutting, remove it from the cutting mat. You’ll want to slightly bend the cutting mat and carefully pull off the cardstock.
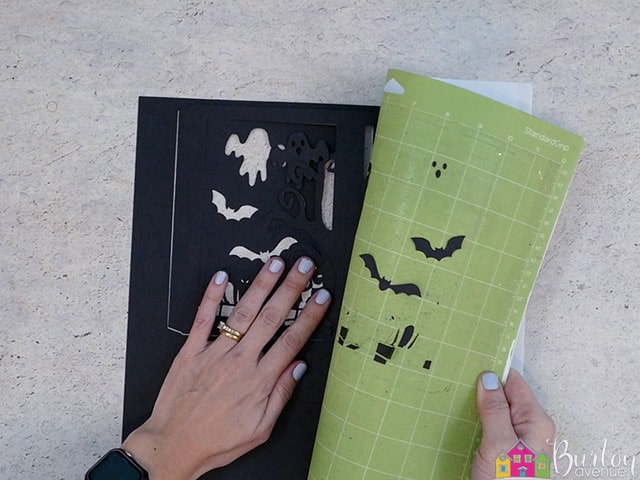
Remove any inside pieces that didn’t come off with the mat. Repeat until everything has been cut.

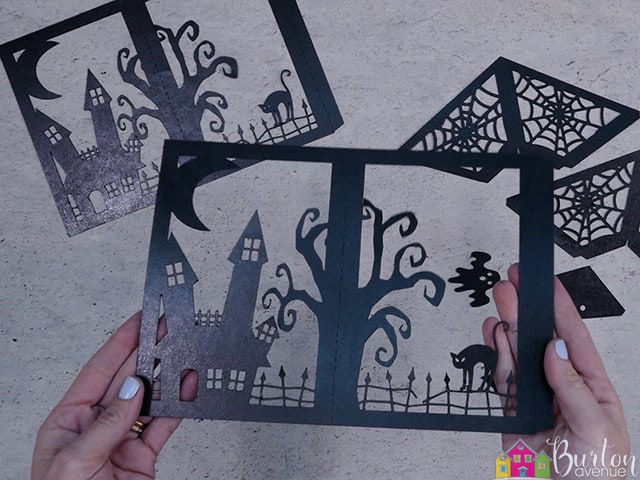
This step is optional, but I decided to spray all the pieces of black cardstock with black hammered spray paint.
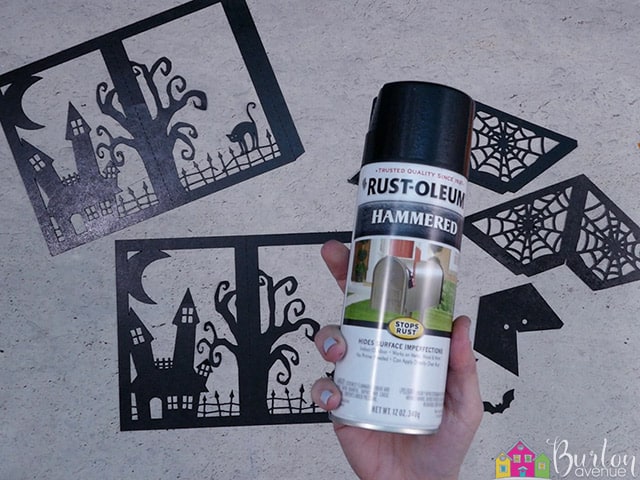
This makes the paper look a little bit like metal. It took about 4 light coats of paint. I also painted a book ring the same color. This will be used at the top of the lantern.
STEP 3: ATTACH TRANSPARENCY SHEETS
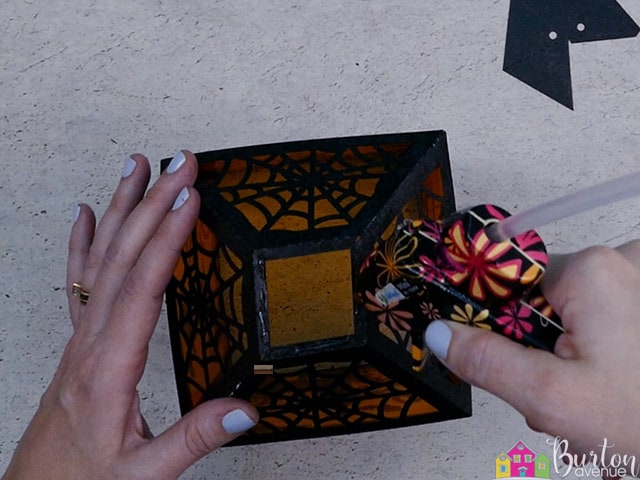
Grab the two bottom pieces and the 4 transparency cutouts. Add some glue on the borders, inside of the lanterns. You can also add a few drops on any of the larger pieces inside the border, like on the house, tree, moon, etc.
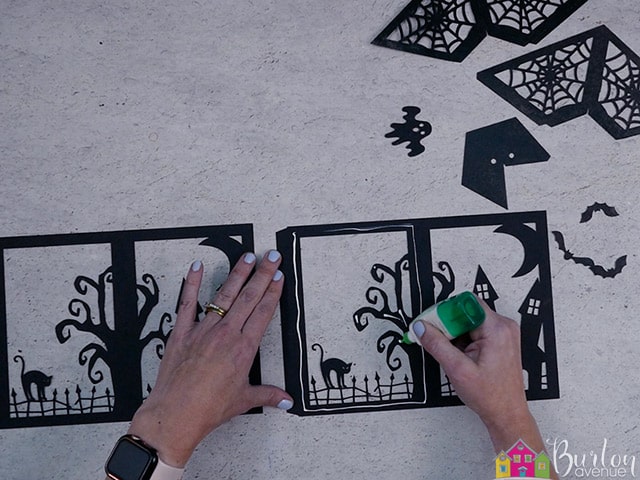
Place the transparency, smooth side down, onto the glue. Make sure the sheets are centered inside the border of the lantern frame. It should not go over any of the perforation lines. Try to only touch the edges of the transparency sheets, just to make sure you don’t smudge the orange ink.
![]()
You can place a piece of paper over the top so you can press the sheet onto the glue. Repeat this with the other three panels.
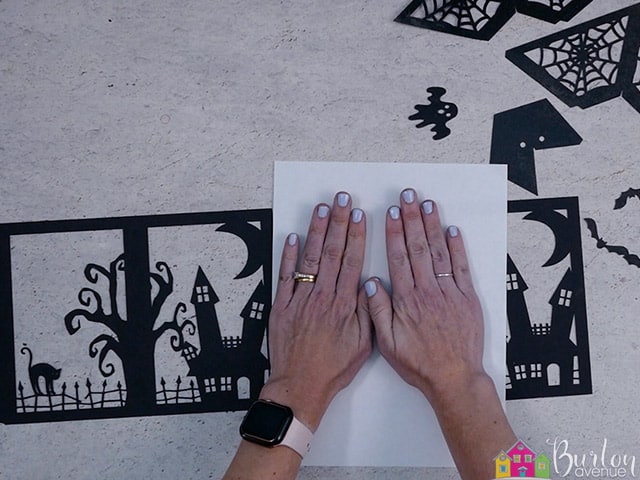
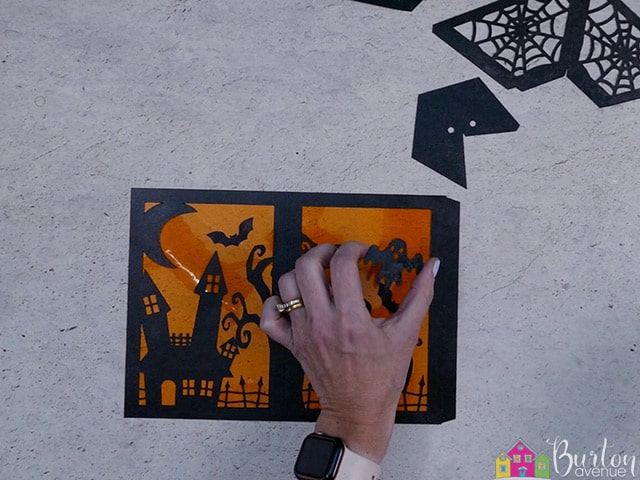
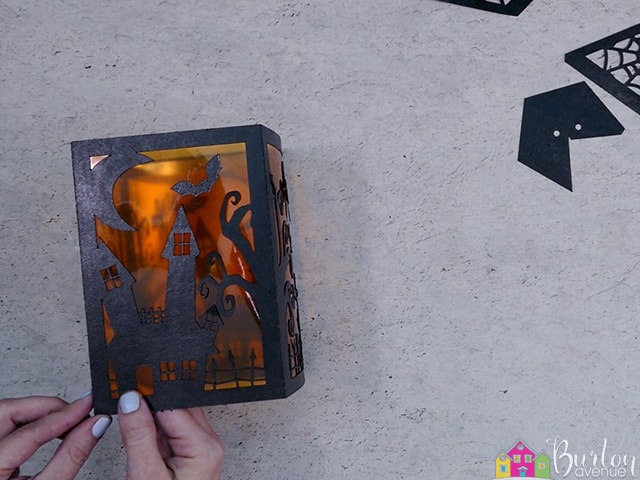
Flip the pieces over and carefully glue the bats and ghosts onto the transparency sheet.
STEP 4: ASSEMBLE THE LANTERN
Fold along the perforation lines. Add some glue onto the tabs and attach the two sections together to form a box.
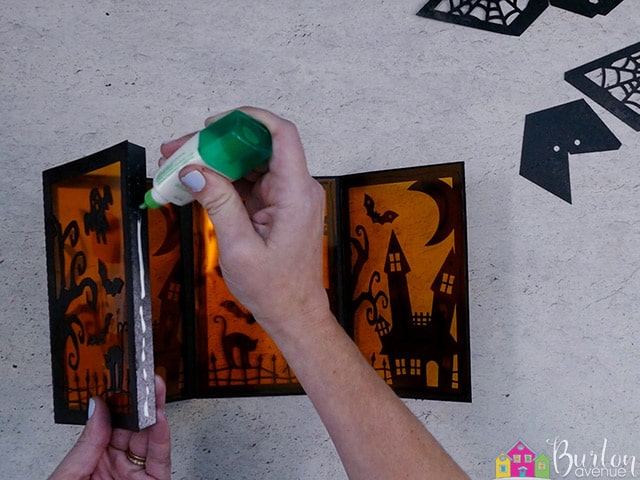
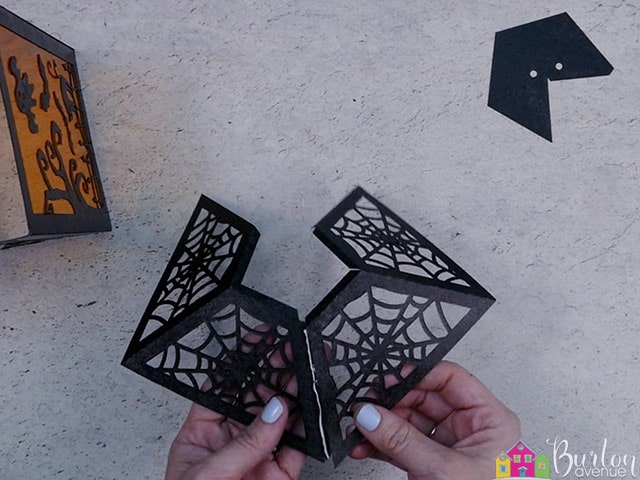
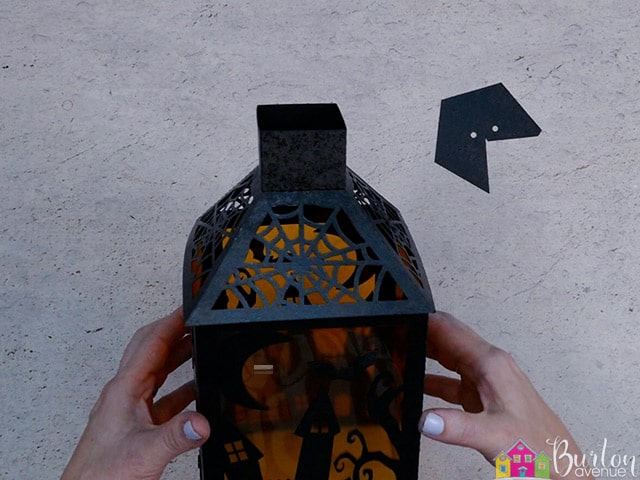
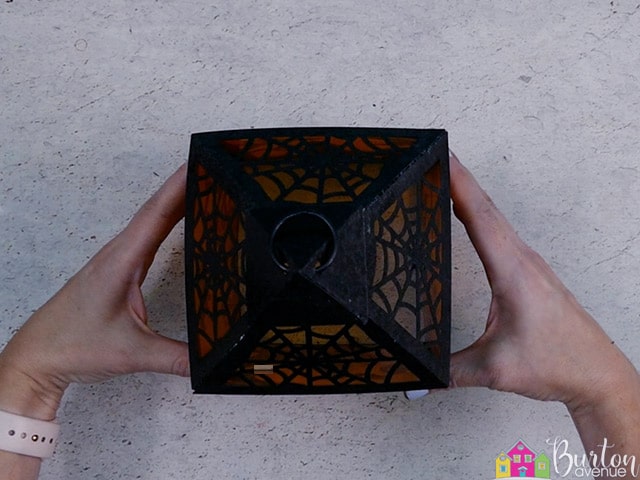
Next, grab the pieces with the spider webs. Fold along the perforation lines. Add some glue onto the tabs and attach the two sections together.
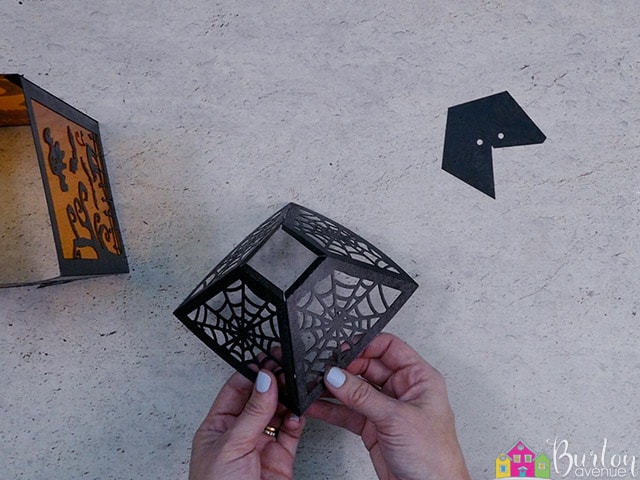
Add some hot glue on the four corners of the lantern
Place the spider web section over the top. Make sure everything is straight and then press that section onto the glue.
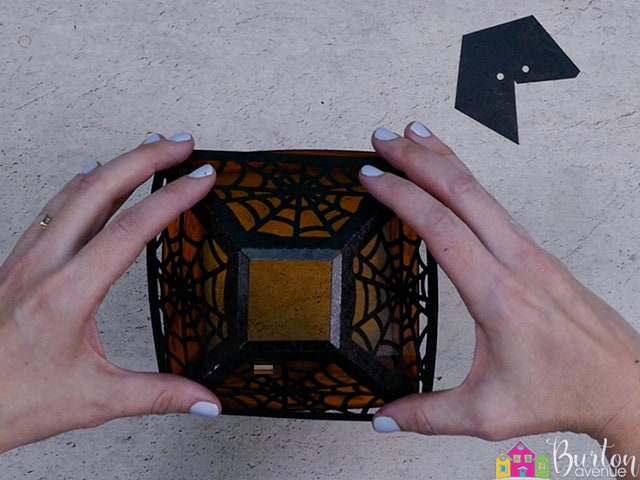
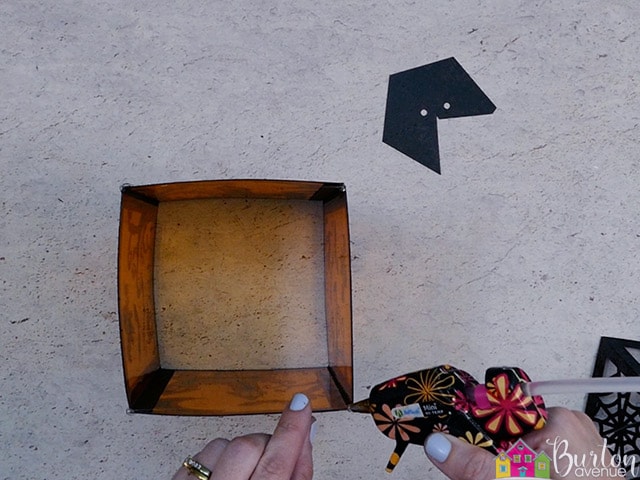
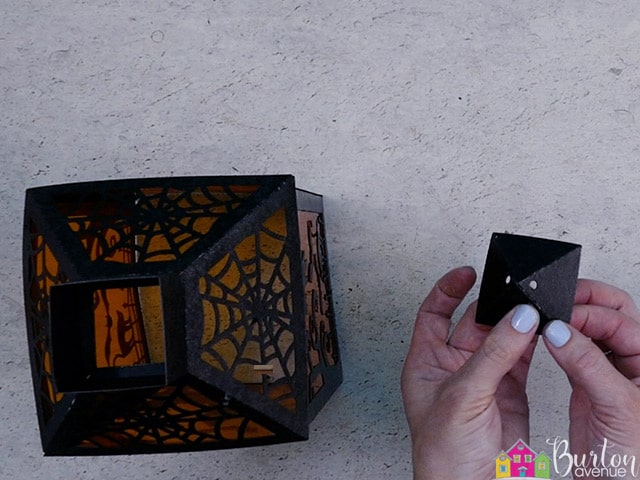
Grab the long rectangle piece and fold and glue that together to form a square.
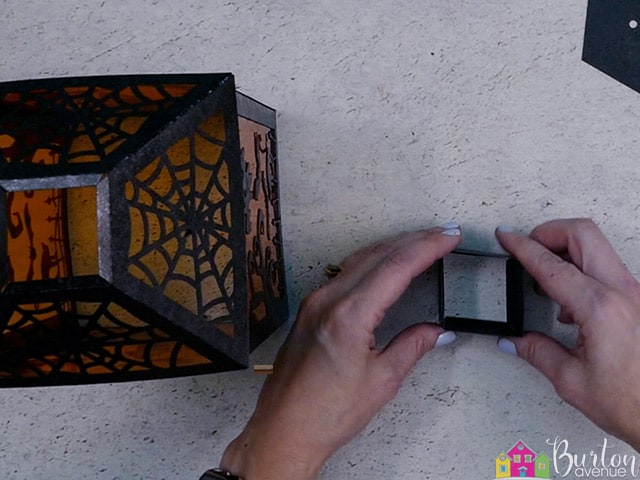
Add some glue onto the tabs of the spider web section and then place the square piece on top.
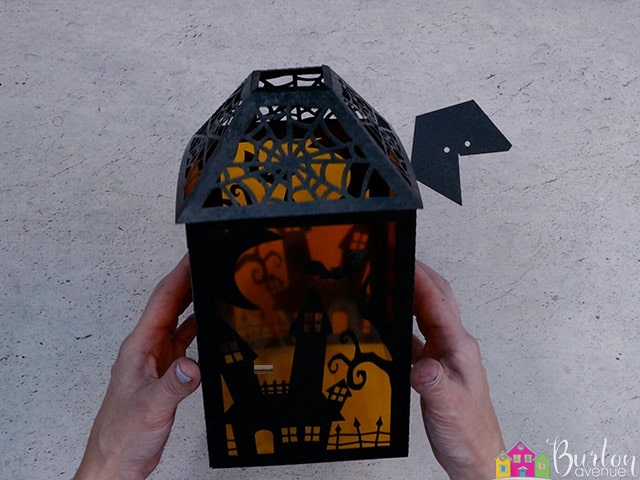
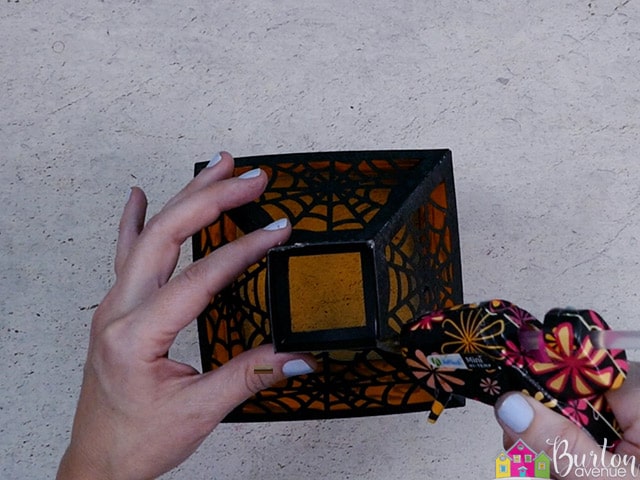
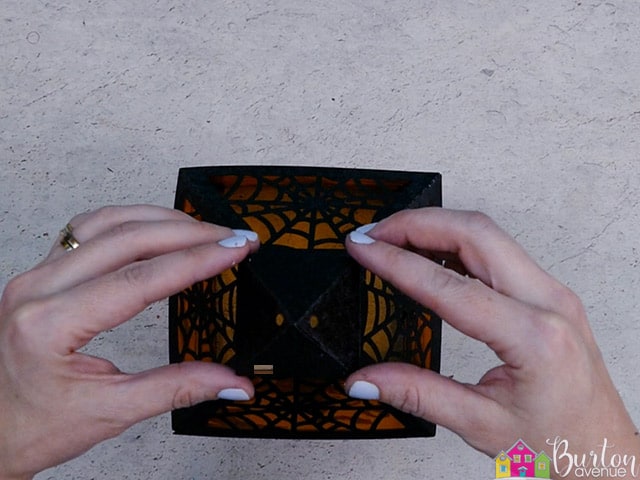
Now, fold and glue together the top triangle piece.
Add some glue around the top of the square on the lantern and then secure the triangle piece in place.
Finally, place the book ring through the holes at the top.
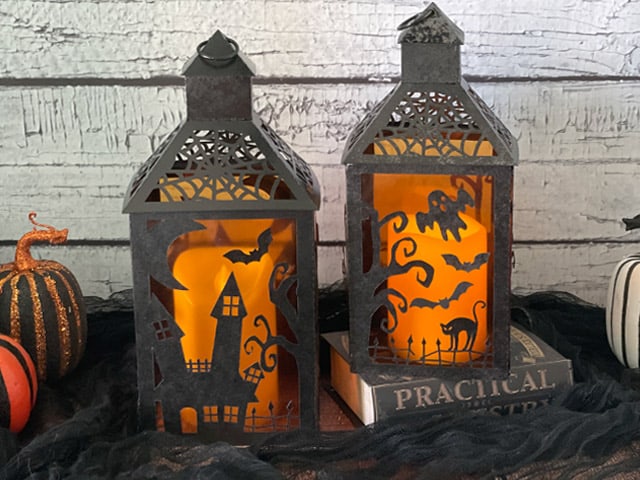
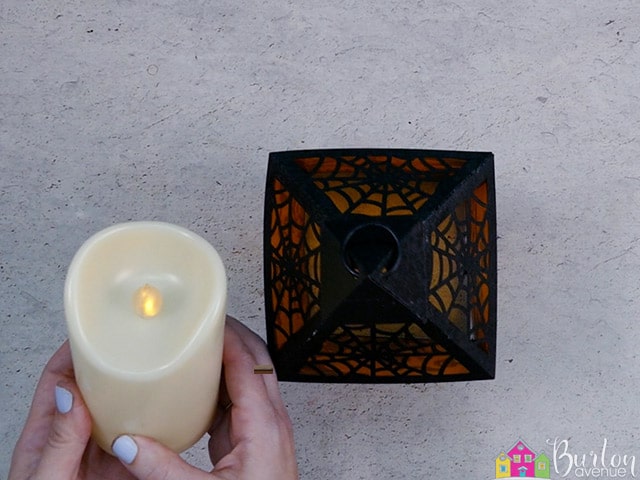
Add a flickering candle inside to complete this project. I found flickering candles that are on a timer, so you can set it and forget it. It turns on for 6 hours and then goes off for 18.
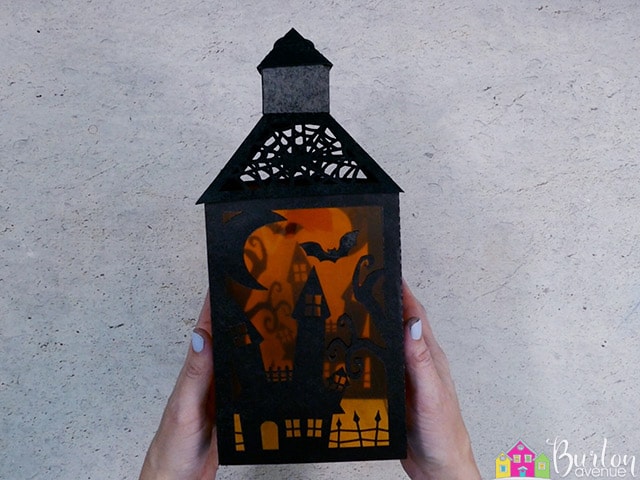
And that’s it, this project is finished. I just love how this turned out.
Did you enjoy this project? Make sure to pin it so you can find it later!
Want to make your own? Get the free cut file for this project in the resource library
Thank you!