HERE’S WHAT YOU NEED
-
- Clear Glass Cookie Jar (I used this one)
- Vinyl (Color doesn’t matter)
- Weeding Tool
- Scraper
- Transfer Tape
- Etching Cream (I used this brand)
- Brush
- Gloves
- Electronic cutter (cricut explore, silhouette or other cutter)
- Cut File – Mrs. Claus Cookie Co BA1832 (available for free in my resource library)
HERE’S WHAT YOU DO
STEP 1: DOWNLOAD THE FREE SVG FILE
The first thing you’ll need to do is get the free SVG file you’ll use for this project. I keep all the SVG files I use for the projects I make in my SVG Library. These SVG files work with Cricut and Silhouette machines, as well as many others. This library is open to everyone and is free! You can access the library here. Look for the file called Mrs. Claus Cookie Co BA1832. It will be listed under the Craftmas 2021 Category-Day 18.
STEP 2: CUT AND TAPE VINYL DESIGN
Open the design in your software program. Resize the design so it fits on your cookie jar, then add a rectangle around it to create a stencil.
I used Oracal 651 in black for the stencil, but you can use any color of vinyl.
Do you need more help with creating a vinyl stencil? Check out these posts.
How to Make a Vinyl in Cricut Design Space.
How to Make a Vinyl Stencil in Silhouette Studio
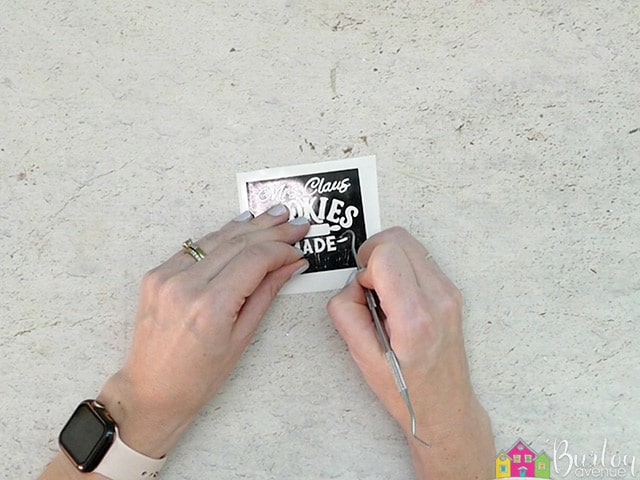
When everything is sized correctly, you can cut the stencil with your Cricut or Silhouette. Once it has finished cutting, weed away the excess vinyl.
Since this is a stencil, you’ll want to pull the letters and shapes out from inside the rectangle.
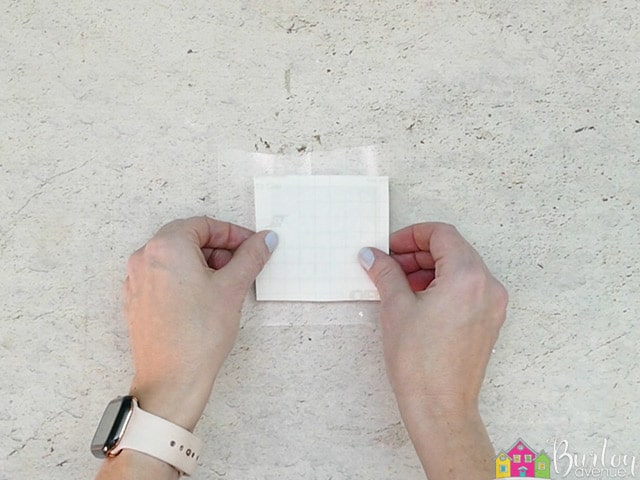
Cut a piece of transfer tape and place it sticky side up on your surface. Then place the vinyl on top of the transfer tape and smooth it down.
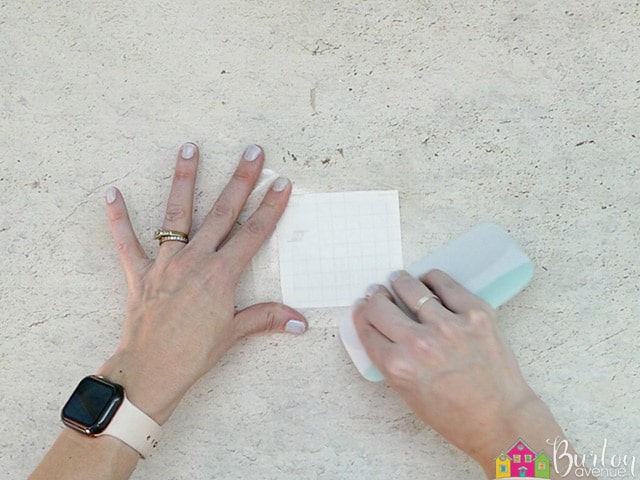
Rub over the design firmly with your scraper tool.
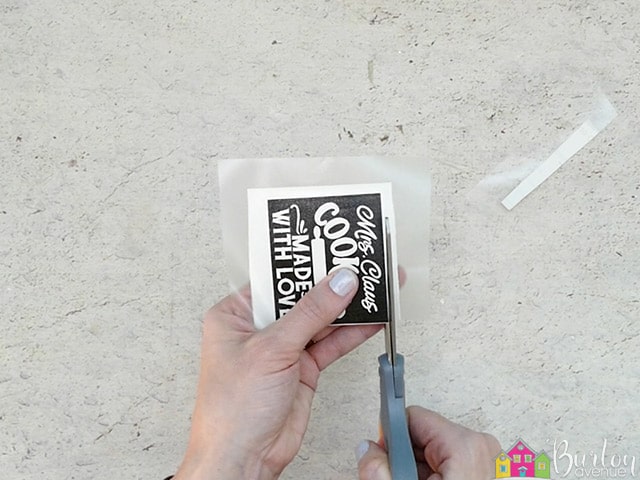
Then, trim off the excess transfer tape and vinyl backing.
Now that the vinyl is ready to go, let’s apply it to the cookie jar.
STEP 3: APPLY VINYL TO THE COOKIE JAR
The first thing you’ll need to do is clean the glass with some rubbing alcohol and let it air dry.
Now, it’s time to add the vinyl stencil
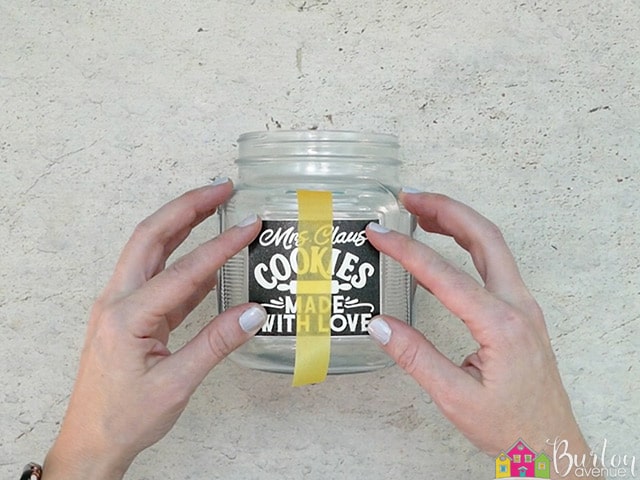
We’re going to be using the hinge method to apply these vinyl decals to our glass bottles. Place the design on the glass and put a piece of painter’s tape over it.
Adjust the design so it’s straight and centered.
Once you’re happy with the placement, press down firmly on the tape.
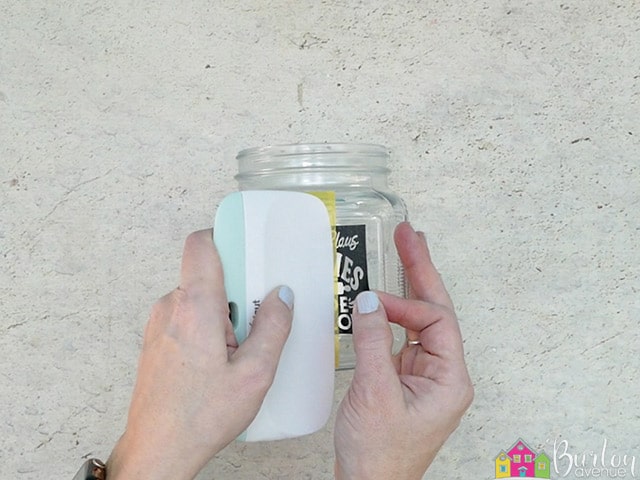
Next, you’re going to separate the vinyl and the backing from the right half of the design. Pull the vinyl over the tape and then cut off and remove the backing.
Use a scraper to press the design down. You’ll want to start at the tape and push to the right.
Now, remove the painter’s tape and the rest of the vinyl backing.
Press the rest of the design down. You’ll want to start where the tape was and push to the left.
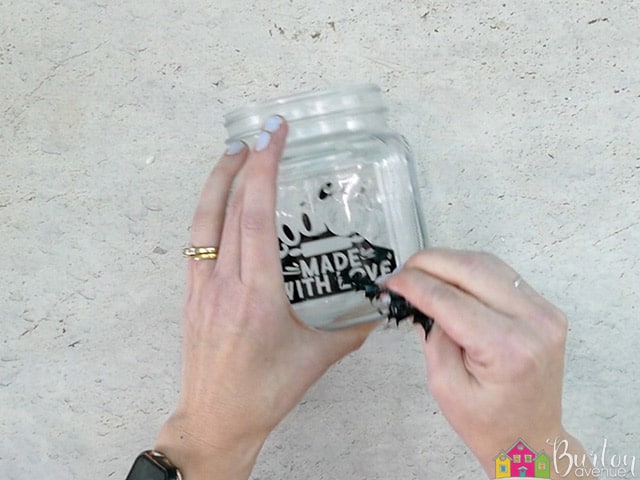
Now, you can carefully pull off the transfer tape.
Add some painter’s tape around the edge of the stencil to protect the rest of the glass from the etching cream.
STEP 4: APPLY ETCHING CREAM
Apply a thick layer of etching cream over the design. Just kind of dab it on. Don’t brush back and forth. It should be thick enough that you can’t really see the stencil through the cream. If you have gloves, you should wear them. If you don’t, make sure you don’t touch the cream at all.
When I use etching cream, I put it on and let it sit for about 2 1/2 minutes.
Then, I go back over the design and move the etching cream around a bit, just to make sure the cream has gotten everywhere. Then, I let it side for another 2 1/2 minutes.
When the time is up, I like to scrape as much etching cream off as possible and put it back in the bottle.
Now, rinse off the etching cream. Use plenty of water and wash thoroughly.
Once you’ve washed off the etching cream, you can pull off the stencil.
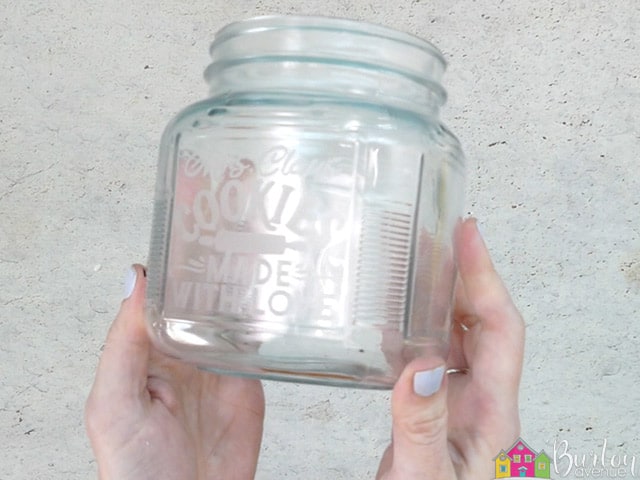
At first, the design will be a little hard to see. But, once the glass dries, the design will show up better.
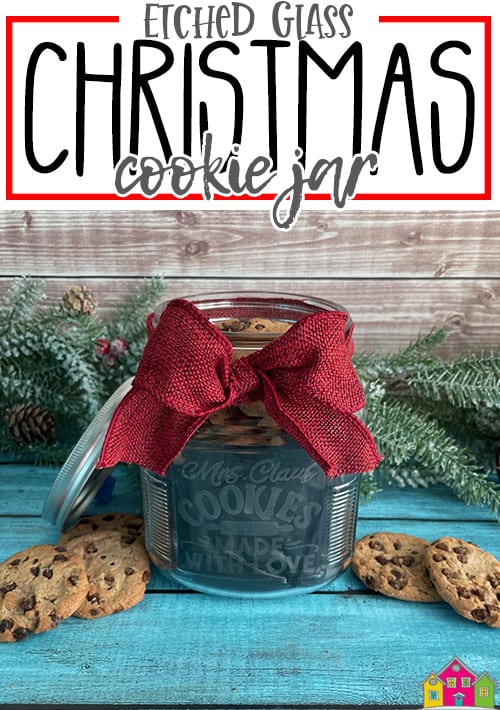
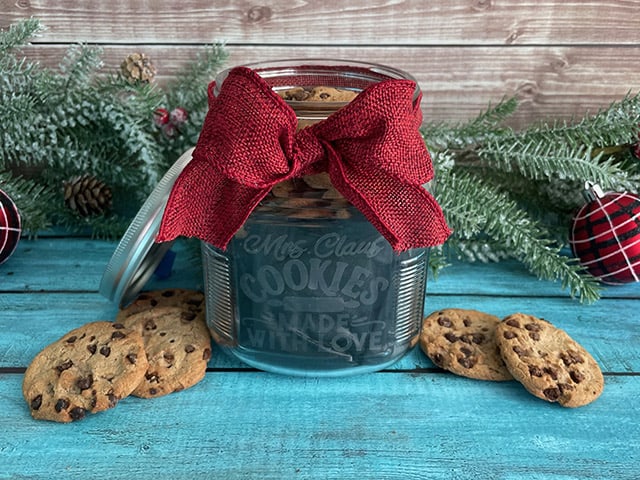
Now, just fill it up with some cookies and add a cute Christmas bow.
And that’s it, this Christmas cookie jar is finished!
Did you enjoy this post? Help spread the word! Share this post on your favorite Pinterest board. Thanks!
Want to make your own? Get the free cut file for this project in the resource library

