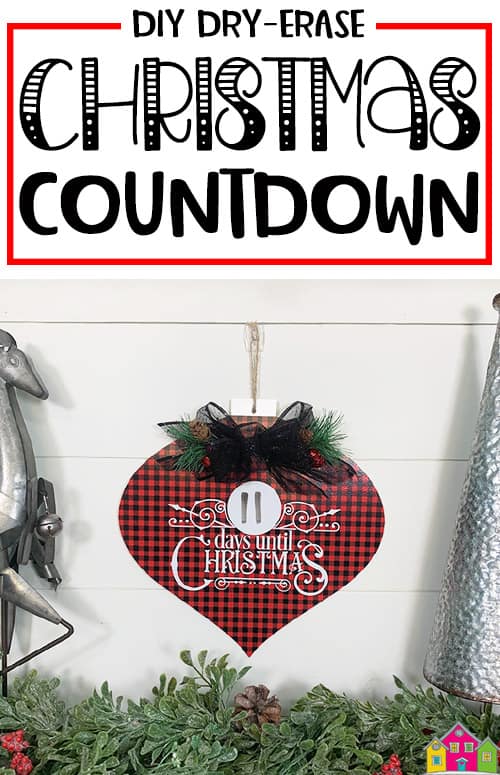
This dry erase Christmas countdown sign is a quick and easy project to make with your Cricut or Silhouette machine. The plaid ornament shape gives it a cozy, rustic feel, and the dry erase surface makes it simple to update the countdown each day. It’s a fun and festive craft that’s perfect for kicking off the holiday season. Read on for the full tutorial.
 This post contains affiliate links for your convenience (which means if you make a purchase after clicking a link I will earn a small commission but it won’t cost you a penny more)! Read my full disclosure policy.
HERE’S WHAT YOU NEED
- Wood Ornament Cutout (I found mine at Dollar Tree)
- Buffalo Check Printed Vinyl
- Dry Erase Vinyl
- Hot Glue & Gun
- Craft Knife
- Decorative Embellishments (Bow, Pine, Bells, Etc.)
- Painter’s Tape
- Scissors
- Application Tool
- Transfer Tape
- Electronic cutter (cricut explore, silhouette or other cutter)
- Cut File (available for free in my resource library)
HERE’S WHAT YOU DO
STEP 1: DOWNLOAD THE FREE SVG FILE
The first thing you’ll need to do is get the free SVG file you’ll use for this project. I keep all the SVG files I use for the projects I make in my SVG Library. These SVG files work with Cricut and Silhouette machines, as well as many others. These SVG files work with Cricut and Silhouette machines, as well as many others. This library is open to everyone and is free! You can access the library here. Look for the file called Decorative Days Until Christmas Cut File. It will either be listed under the most recent projects/cut files or under the Christmas Category – 25 Days of Craftmas 2020 – Day 1.
STEP 2: PREPARE THE VINYL DESIGN
Open the design in your software program and size it to fit in your frame. I made the width of my design about 7.5″ wide. I used white dry-erase vinyl for this sign.
When everything is sized correctly, you can cut the design with your Cricut or Silhouette. Once it has finished cutting, weed away the excess vinyl.
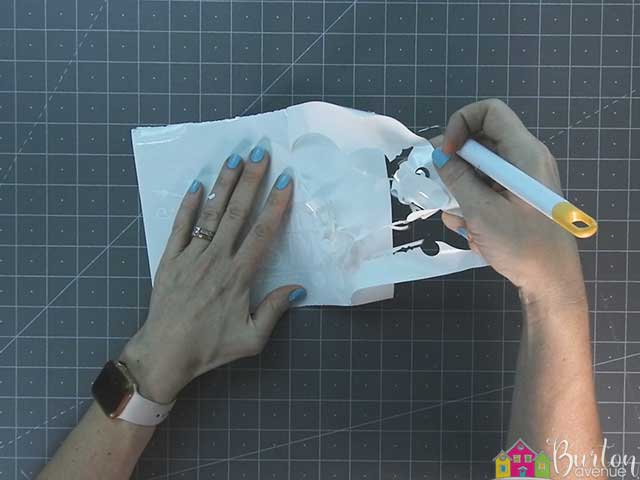
Cut a piece of transfer tape a little bigger than the design. Place the vinyl on the transfer tape and smooth it down. Then, trim off the excess transfer tape.
![]()
Carefully pull off the vinyl backing. Then, put the backing right back on. Sometimes, it’s a little tricky to pull off the vinyl backing of this specialty vinyl. Sometimes the transfer tape won’t pick up the design and it takes a little work to get it to stick. By removing the backing now and then carefully replacing it, it should come of really easily when we’re actually applying it to the sign.
STEP 3: COVER ORNAMENT WITH BUFFALO CHECK VINYL
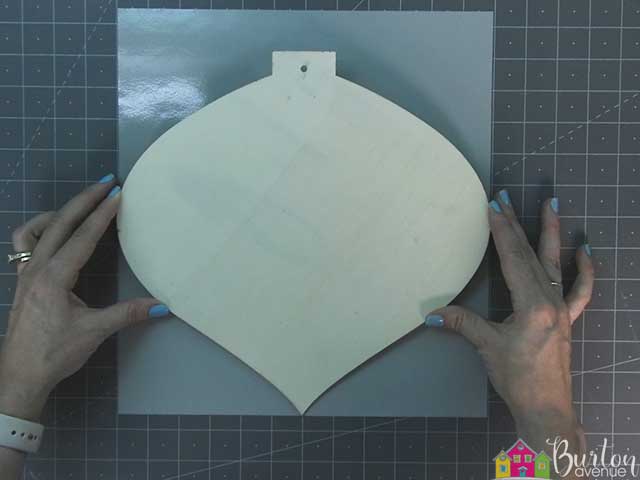
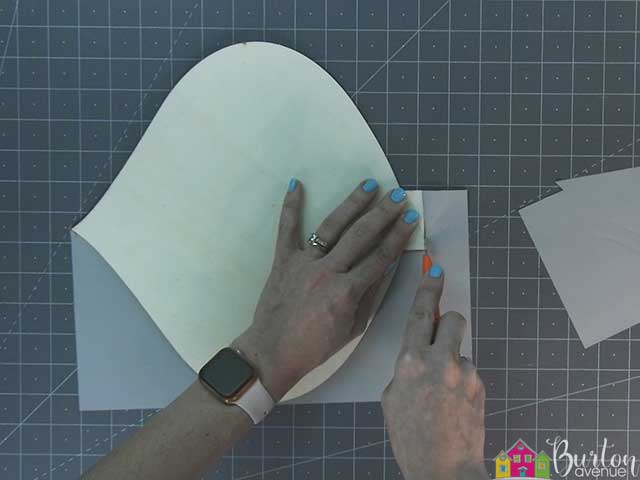
Untie and remove the hanger from the wooden ornament cutout. Flip over your sheet of Buffalo Check Printed Vinyl and pull off the backing. Carefully place the wood ornament over the top of the vinyl. Make it as straight a possible and then press down on the ornament.
Flip the sign over to check for bubbles or wrinkles. If there are any, you can carefully lift the vinyl and smooth it back down. Wrap a paper towel around your scraper so it doesn’t scratch the vinyl. Then, rub the scraper over the vinyl to help it stick to the wood.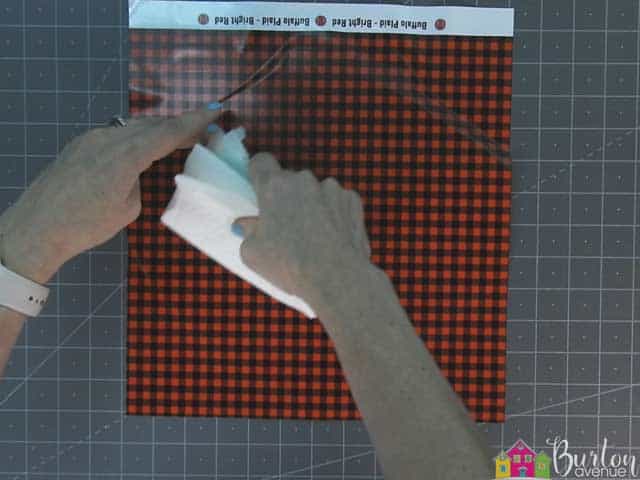
Use a craft knife to trim off the excess vinyl from around the edges of the ornament. Poke a hole in the vinyl to match the hole in the wood.
STEP 4: APPLY VINYL TO ORNAMENT
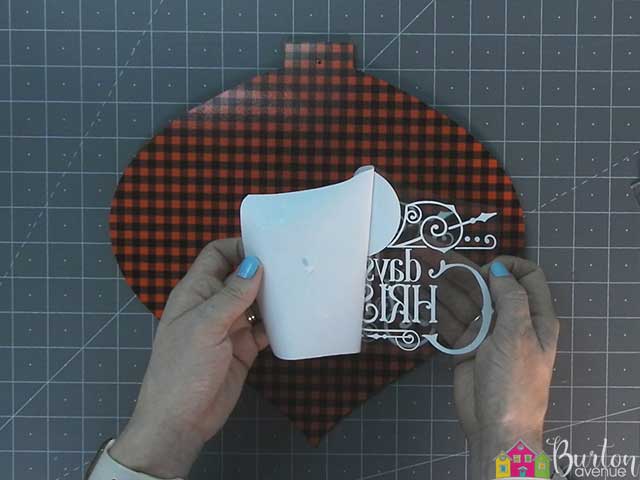
Place the design in the center of the ornament and then shift it down a few inches. It doesn’t have to be exact, just kind-of eye the center. You want it off center from top to bottom so there’s room for the bow.
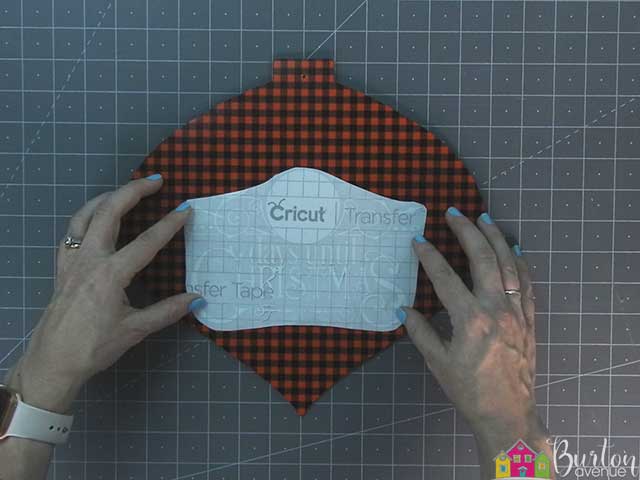
Place a piece of painters tape over the top of the design to keep it in place.

Now, you make sure the design is straight and centered from right to left. If you need to adjust the design, just lift up the tape enough to move it.
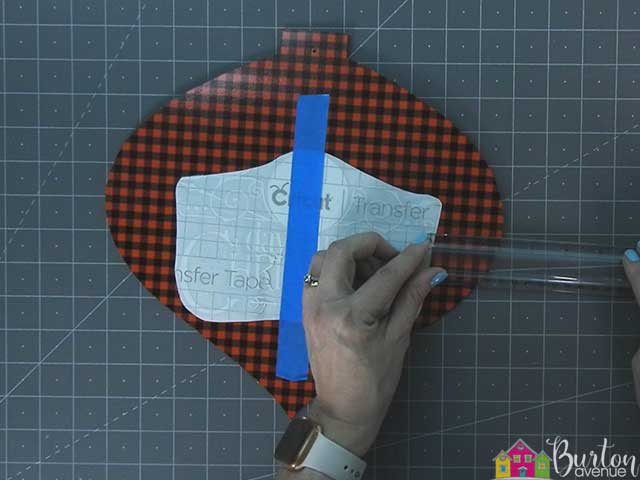
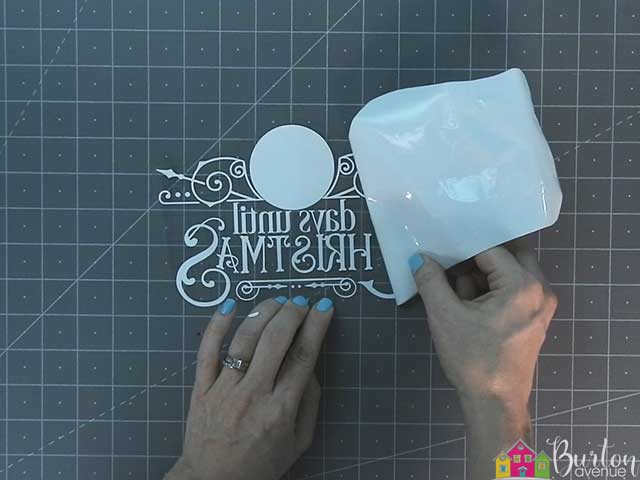
On one side of the design, separate the vinyl and transfer tape from the backing. Since we already removed the backing earlier, it should separate easily on this step.
![]()
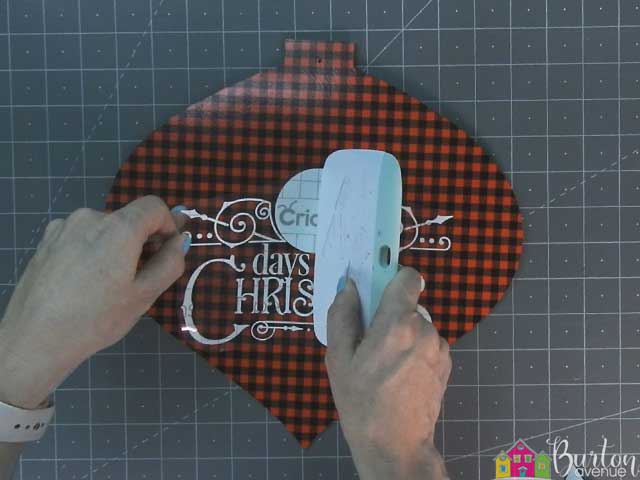
Then, trim off the vinyl backing.

Use your scraper to carefully press down the vinyl.
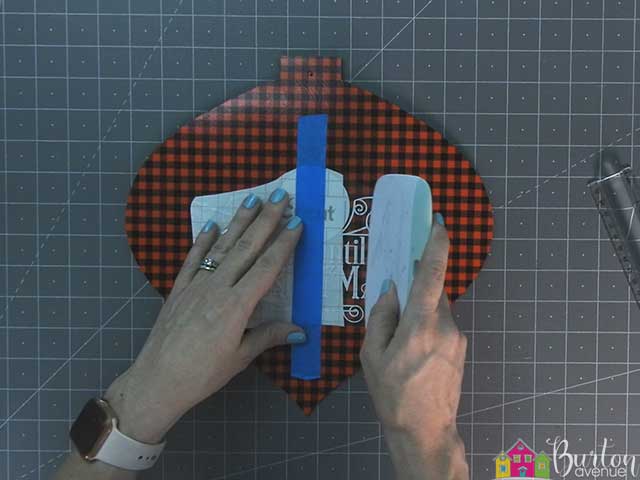
Remove the tape and the rest of the vinyl backing.
Press down the rest of the design.
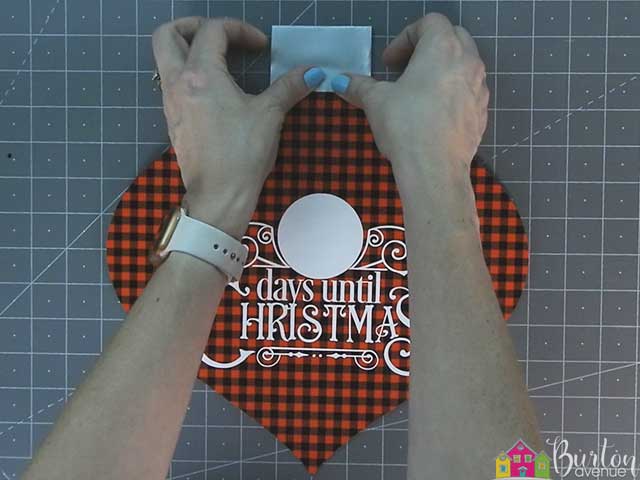
Then, pull of the transfer tape.
![]()
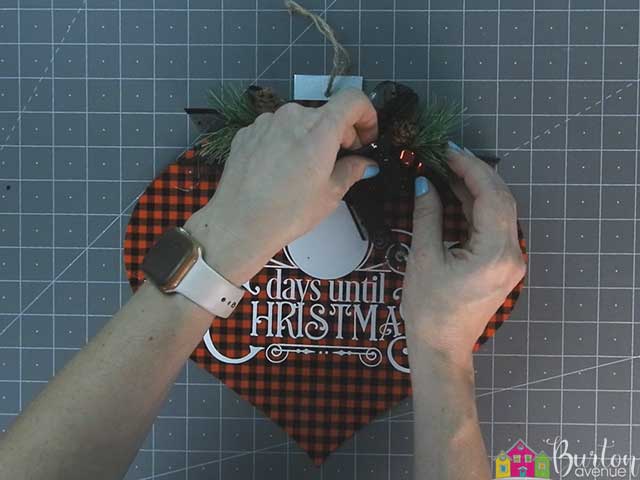
STEP 5: ADD EMBELLISHMENTS TO THE ORNAMENT
Now, it’s time to dress up this cute ornament. I decided it would look cute to add a little piece of silver vinyl for the hanger.
Cut a small piece of silver vinyl, remove the vinyl backing and press it down over the top of the ornament. Trim off the excess vinyl with a craft knife and poke another hole to thread the hanger through. Then, reattach the hanger.
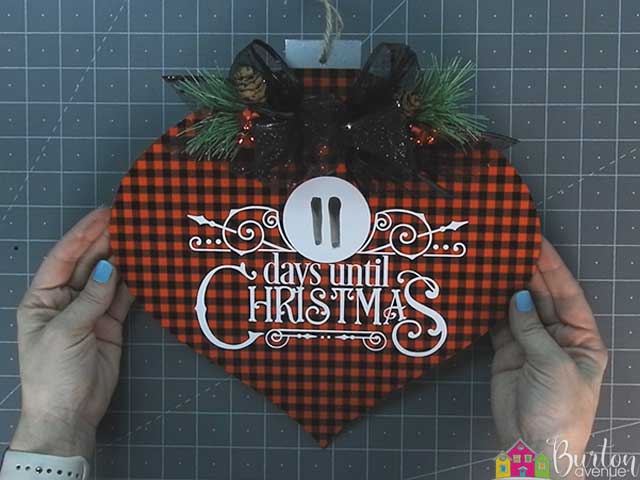
Add a pretty bow.
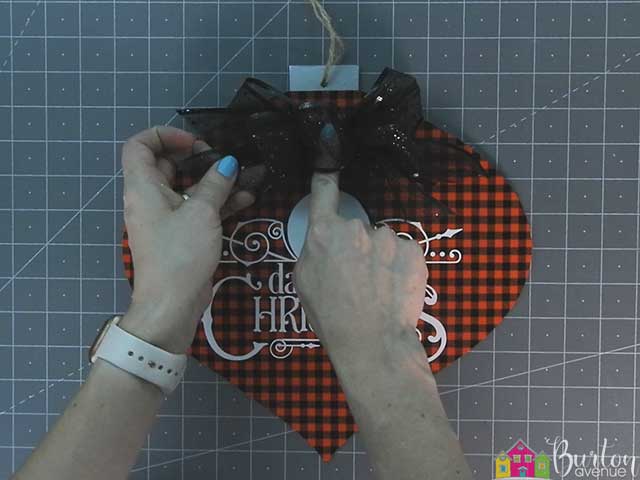
Then, glue on a couple of Christmas picks.
Now, you’re ready to countdown the days until Christmas. Just use a dry erase marker to easily add and erase the number of days.
Did you enjoy this post? Help spread the word! Share this post on your favorite Pinterest board. Thanks!
I really, really, REALLY like this project. Thank you for the free file and great instructions. Cannot wait to get my supplies and get started.