HERE’S WHAT YOU NEED
-
- Wood Squares (Mine measures approx 4″ x 4″‘)
- Vinyl (color doesn’t matter)
- Transfer Tape
- Wood Glue
- Stain
- Paintbrushes
- Clear Wood Finish Spray
- Electronic cutter (cricut explore, silhouette or other cutter)
- Cut File (available for free in my resource library)
HERE’S WHAT YOU DO
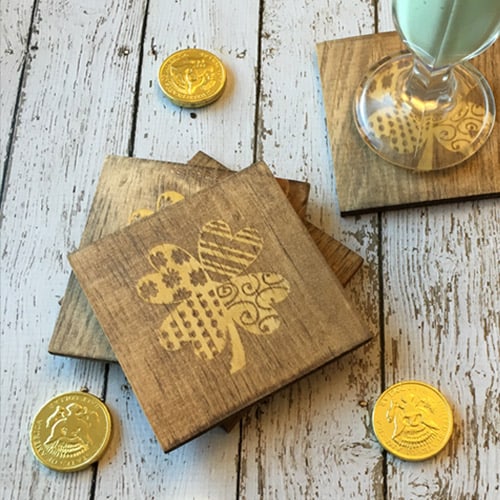
Cut and sand your wood squares. I bought these thin wood squares already cut to size and thought they’d work perfectly for coasters. Open the design in your software program. Size the design to fit on your coaster (mine is approx. 2.5″ x 2.75″). Add a 4″ square around the design to create a stencil. Then, cut the design out of vinyl and weed away the negative space. Use transfer tape to transfer the design onto the wood.
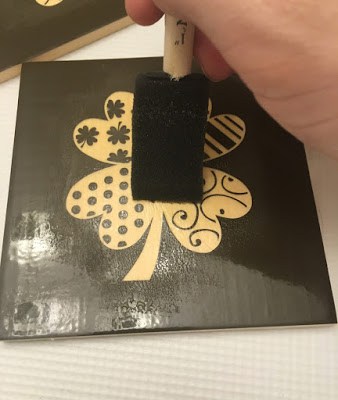
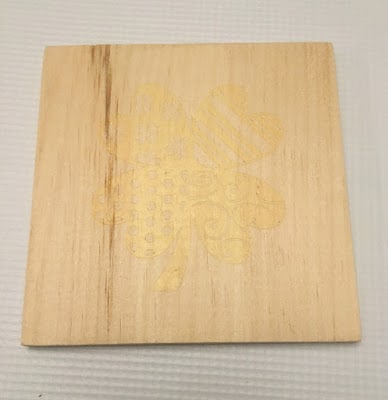
Apply a couple of thin coats of wood glue and let dry. Then, remove the vinyl stencil.
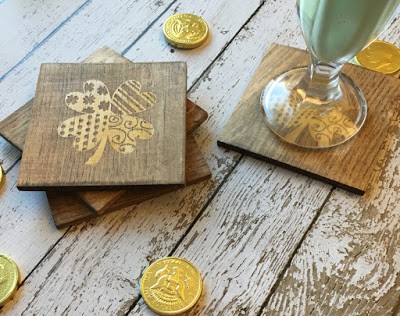
Finally, brush on some stain and wipe it off very quickly. Try to get as much stain off as possible. The quicker you can get the stain off, the better. The longer it stays on the wood, the more chance there is of bleeding. Even going quick, I still had a little bleeding. Once the stain has dried, apply a protective layer of clear wood finish.
Did you enjoy this post? Help spread the word!
Share this post on your favorite Pinterest board. Thanks!

