Today, I’m showing you how to make this wooden sign for Easter. The little carrots are the perfect addition and make this sign look extra cute! This project is super quick and super easy, it only took me about 15 minutes to create! I’m excited to show you how to make your own. Read on for the full tutorial.

HERE’S WHAT YOU NEED
- Wood Sign Blank (I found mine at Walmart)
- 3 Mini Carrots (I found mine at Dollar Tree)
- Black Vinyl
- Transfer Tape
- Weeding Tool
- Scraper
- Hot Glue Gun and Glue
- Electronic cutter (Cricut Explore & Maker Machines, Silhouette Machines, or many other digital cutters)
- Cut File – Cottontail Farm Carrot Patch Cut File BA2180 (click here to get the SVG file for free from my free SVG Library)
HERE’S WHAT YOU DO
STEP 1: DOWNLOAD THE FREE SVG FILE
The first thing you’ll need to do is get the free SVG file you’ll use for this project. I keep all the SVG files I use for the projects I make in my SVG Library. These SVG files work with Cricut and Silhouette machines and many others. This library is open to everyone and is free! You can access the library here. Look for the file called Cottontail Farm Carrot Patch Cut File BA2180. It will be listed under the Easter Category.
STEP 2: PREPARE THE VINYL DESIGN
Open the design in your cutting software and resize it to fit on your wooden sign. My sign measures about 15″ x 8″, so I resized the design to about 13.5″ x 7.5″. Make sure that your carrots are roughly the same size as the carrots in the design. Once everything is sized correctly, you can delete the carrots from the design. Then, cut the design with your Cricut or Silhouette.
Once everything is cut, weed away the excess vinyl.
Use a weeding tool to remove the centers of the letters.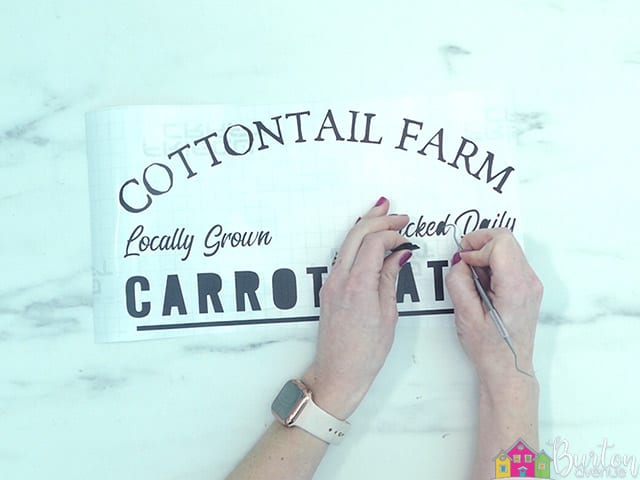
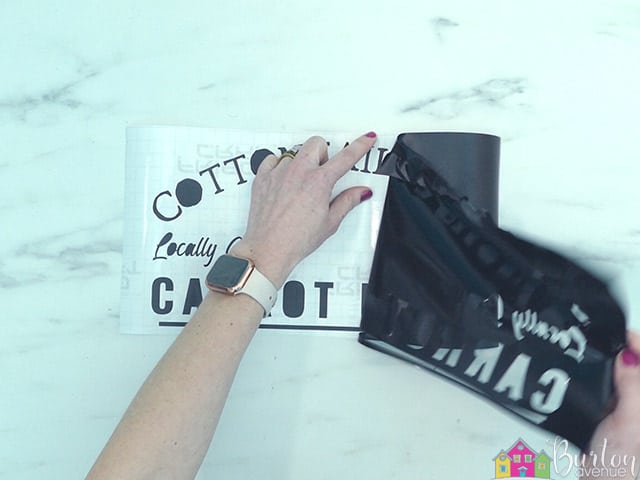
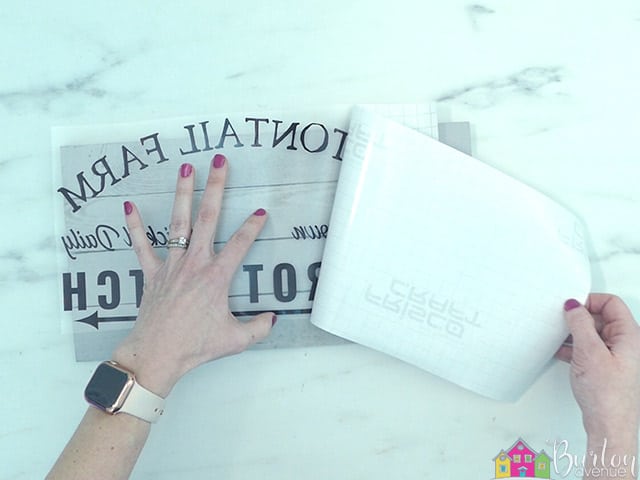
Cut a piece of transfer tape a little bigger than the design and place the vinyl on the transfer tape.
![]()
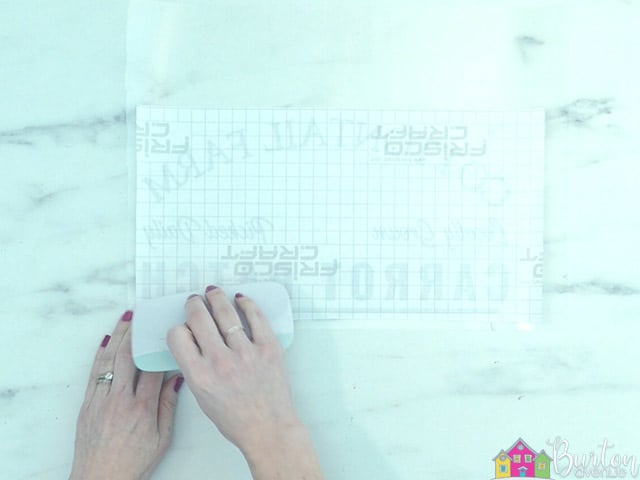
Rub over the design with your scraper.
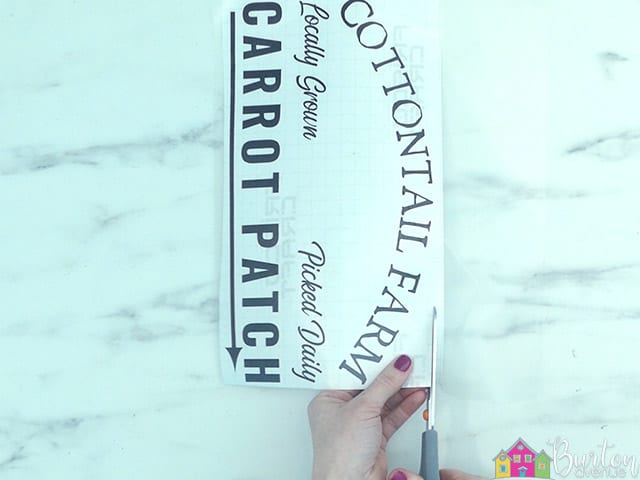
Cut off the excess transfer tape and vinyl backing.
STEP 3: APPLY VINYL TO WOOD SIGN
Flip the design over and carefully pull off the vinyl backing.
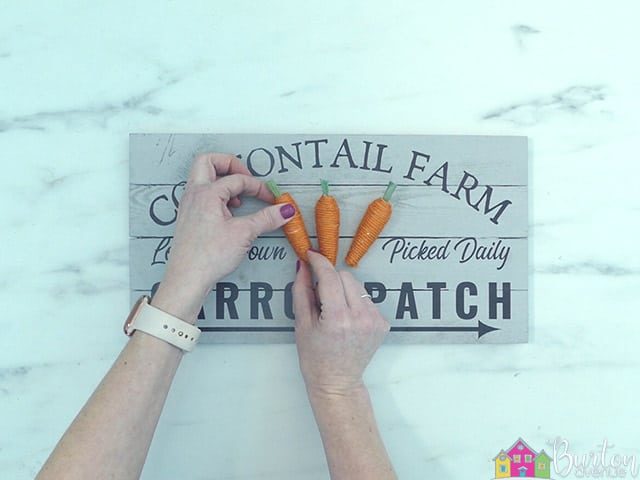
Place the design on the wood sign and center.
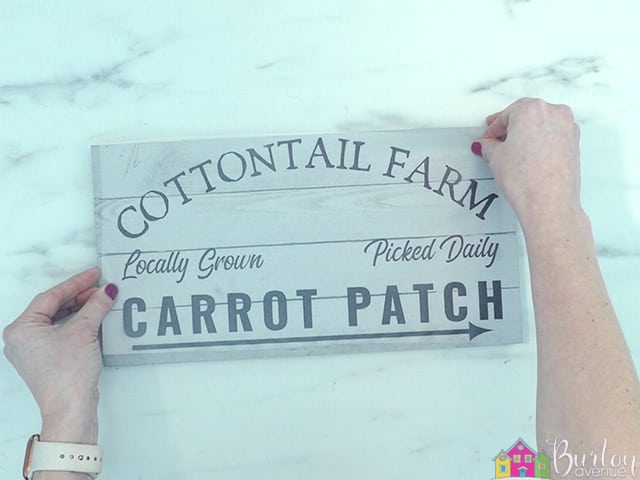
Rub over the design again.
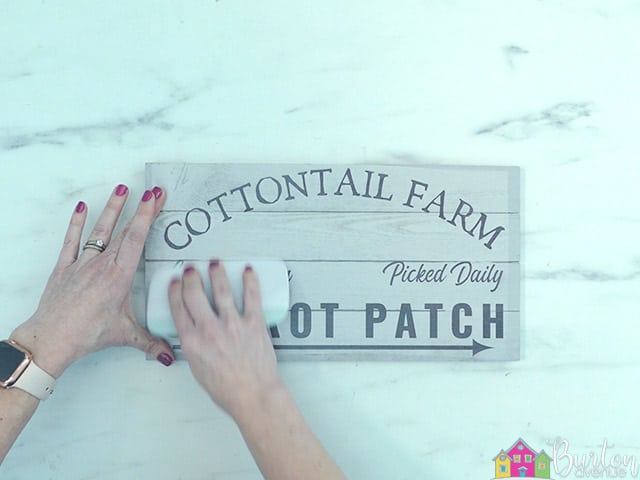
Then, carefully pull off the transfer tape.

STEP 4: FINISH THE SIGN
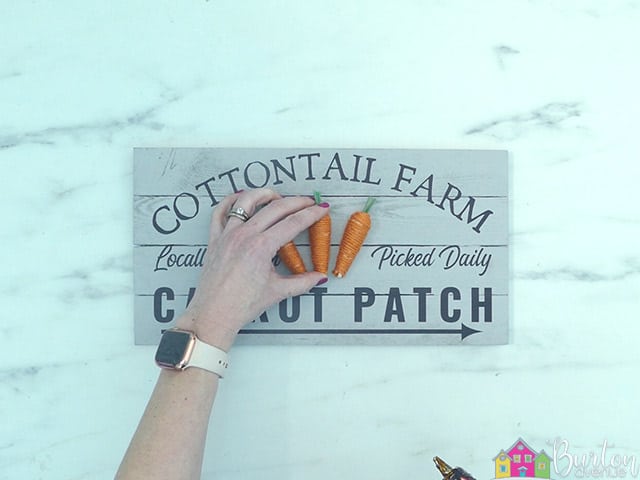
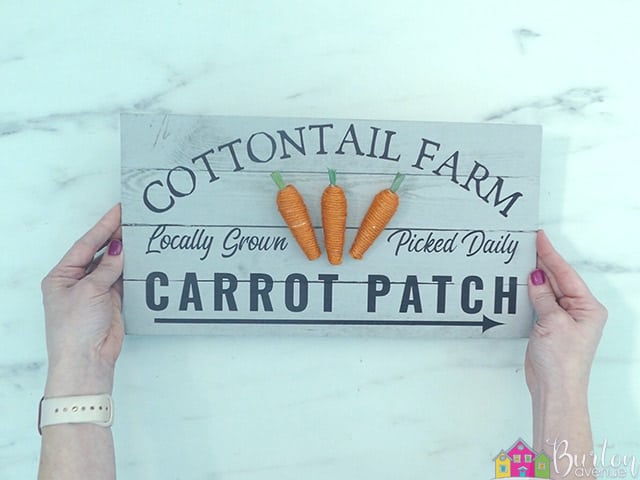
And that’s it! This project is finished. Didn’t it turn out so cute? I just love those little carrots!
Did you enjoy this post? Help spread the word! Share this post on your favorite Pinterest board. Thanks!

Want to make your own? Get the free cut file for this project in the resource library