Here’s what I used:
– Cork tiles (mine are 12″ x 12″)
– Vinyl for stencil
– Paint
– Electronic cutter (cricut explore, silhouette or other cutter)
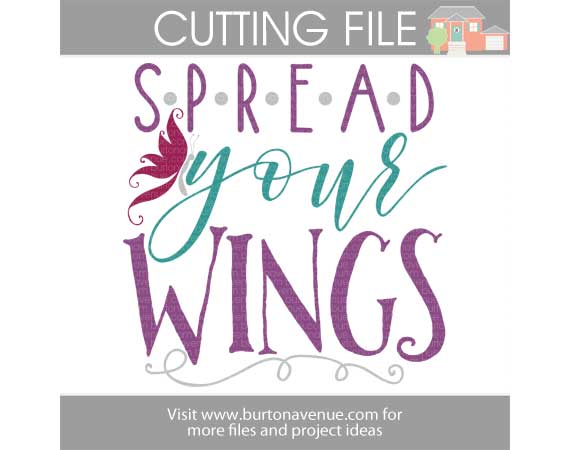
– Cut File (see link below)
Here is what I did:
All software programs work a little differently, but hopefully these instructions will give you an idea of how to do it in the program you use.
1. The entire design is 22″ x 22″. But to make working in the software easier, I decided to size everything at half size until I was ready to cut. I opened my cut file in my software and sized it at 11″ x 11″. I used the knife tool and cut the design down the middle and then across the middle, so I had four sections. I moved each section apart from the others so there was space between them. For this tutorial, I changed the color of each section to show how it looks. 3. Next, I added a 5.75″ box around each section. I didn’t center the box around the design, it is off-set on each section. Notice where the box touches the design, it’s different on each section. I thought this would make it easier to align the vinyl on the cork tile.
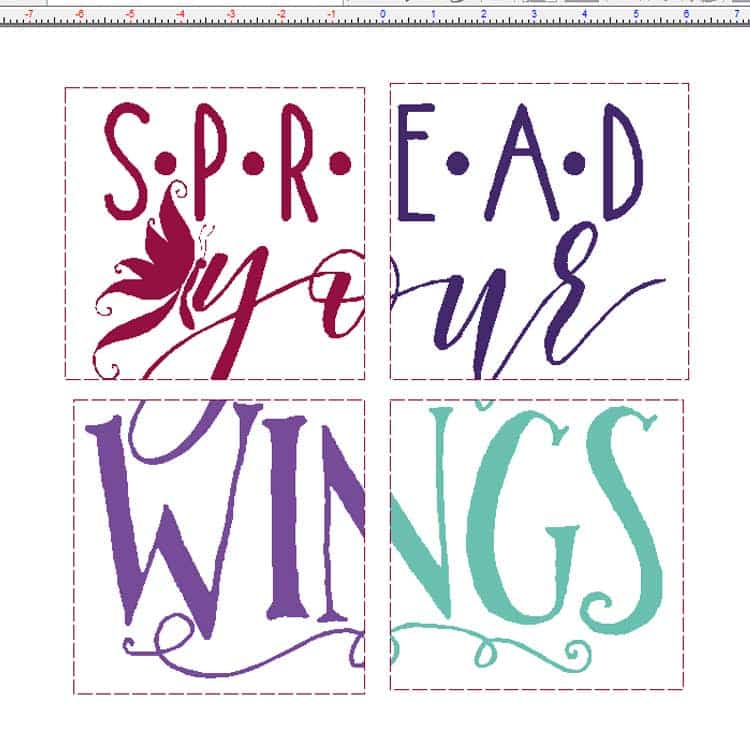
4. Then, I resized each box to 11.5″ x 11.5″ and they were ready to cut. This is what each section looked like when cut in vinyl. 5. After the vinyl was cut, I weeded away the excess and used transfer tape to apply it to the cork tile. Notice how two of the edges of the vinyl go right to the edge of the tile. I repeated this with the other three tiles.
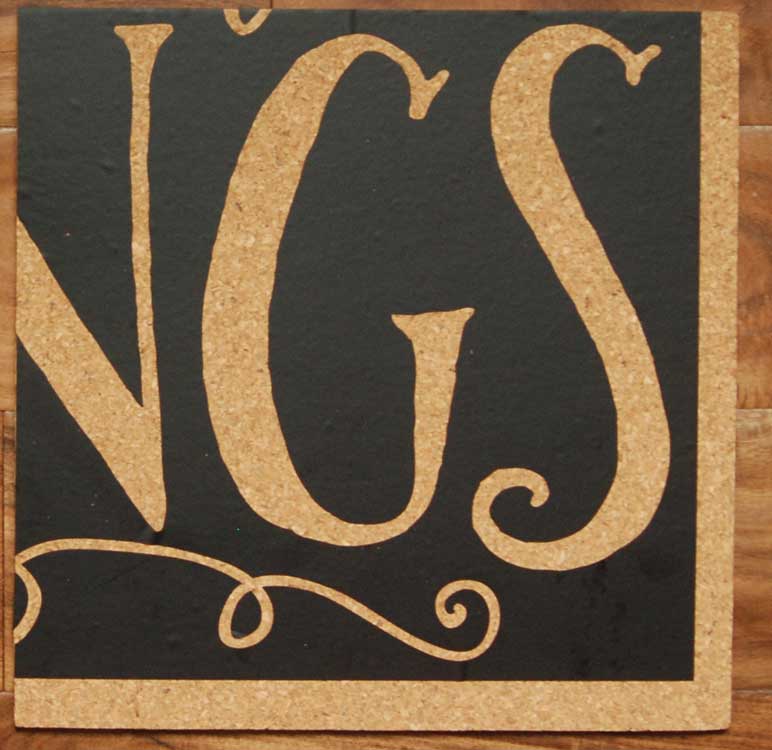
6. Now it’s time to paint. Rather than brushing the paint on, I used an up and down motion to dab the paint on.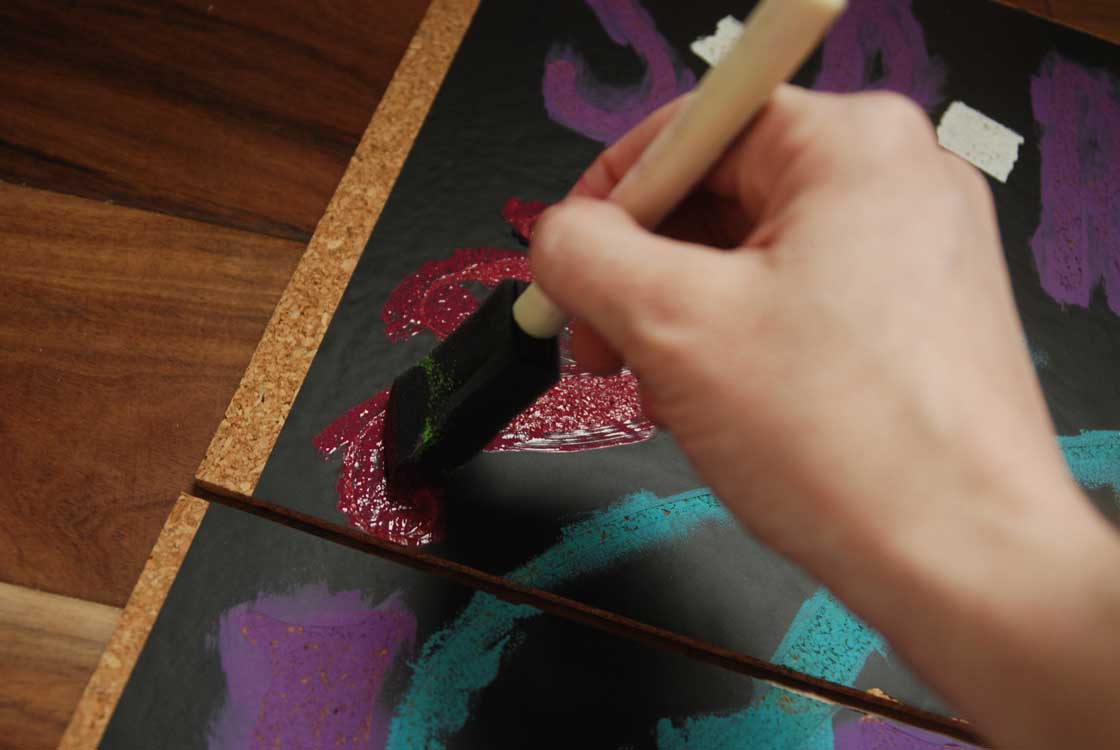
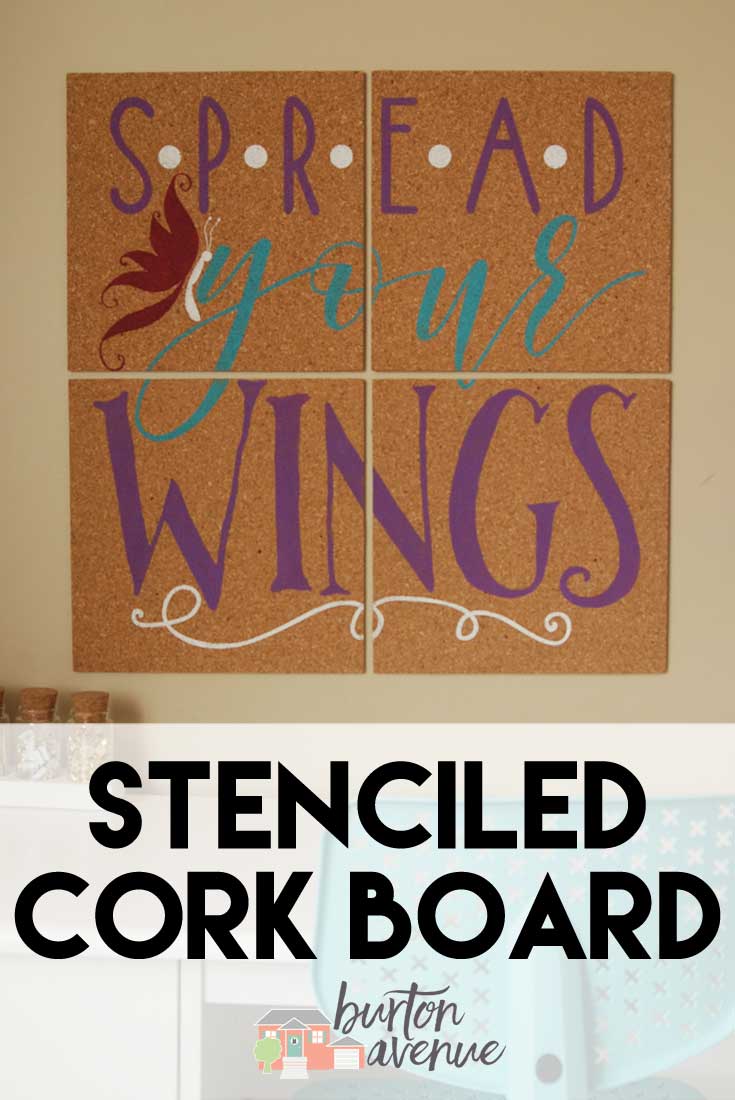
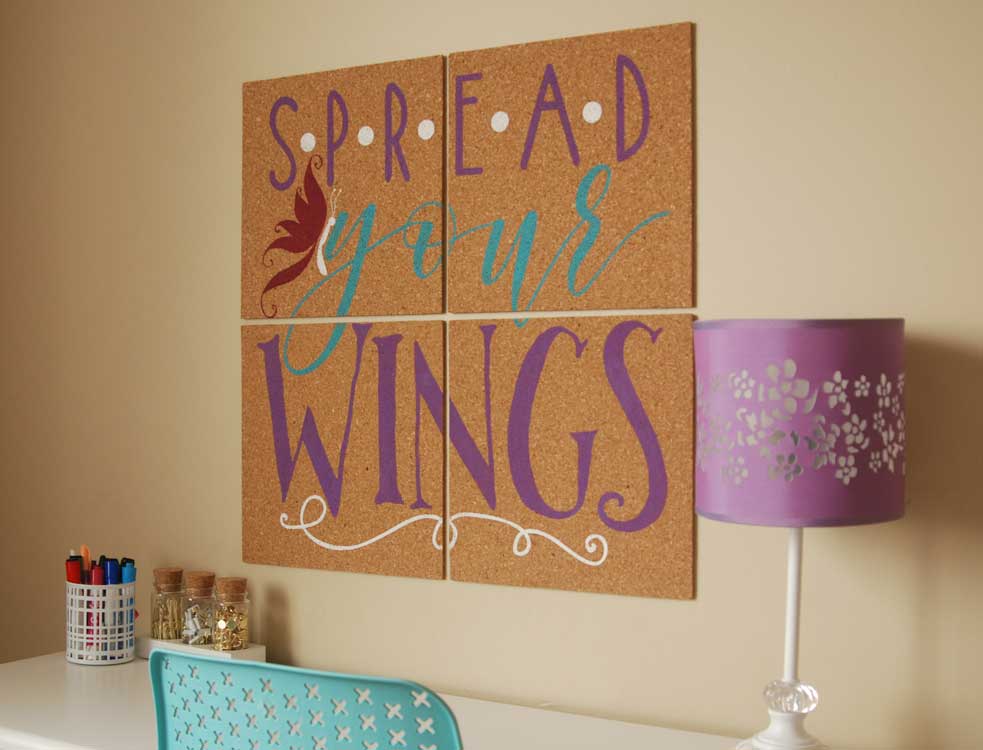
7. When the paint had mostly dried, I carefully removed the vinyl. 9. After it was completely dry, I hung it on the wall. The package came with adhesive squares, so hanging it up was easy.
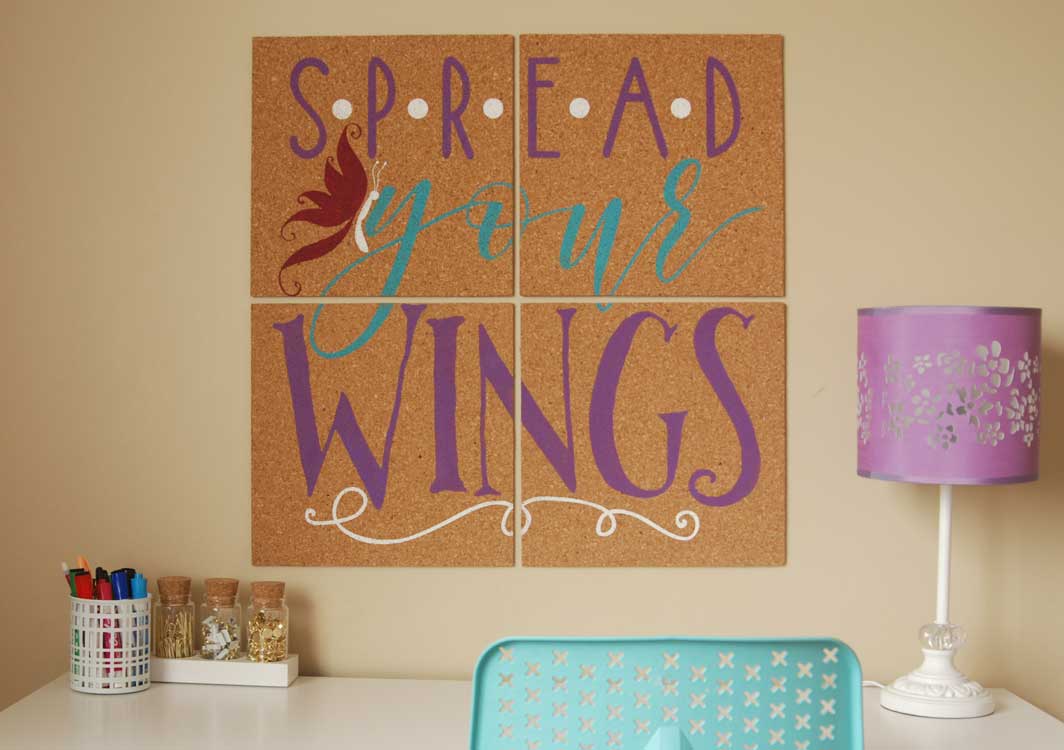
I think it turned out pretty cute.
What do you think? Would you try to stencil on cork board?
Disclosure: I was not compensated for this post, but will earn a small percentage for sales as an affiliate. As always, all opinions are 100% my own.
In case you’re new here…
I’ve been learning how to make my digital cutter files available in different file formats, so I can share them with you! Each Friday, I will post a link for a free file for your digital cutter! Downloads will be available through 4/21/17 and are for personal use only. You can purchase the file with a Commercial License from my shop. Here is this week’s freebie. Enjoy!
As always, if you have any problems with the files, please let me know (this is still a learning process for me). I’ve included .jpg, .png, .svg. .ai, .eps, .dxf, .gsd and .studio in the zip file. Just click to download.
Cricut Design Space Users: If you don’t see an SVG file in the zip folder, look for a Chrome HTML Document or something similar.
So Creative, Angie!! I absolutely love this idea!!
In Step #3 what do you mean when you said you didn’t “center the box?” I want to try to make this for my niece who is graduating in a few weeks…thought this would be cute to put in her dorm room.
Usually, when I do a box around a design, I center the design within the box. But, because the design wasn’t centered on each cork square, I didn’t center the box either. If you look at the picture in step 3, you can see that the box is touching part of the design. In the dark pink section, the box touches the bottom and right side of the design. In the dark purple, it touches the bottom and left side. On the light purple section, the box touches the top and right and in the mint section, it touches the top and left. Doing it this way helped me know exactly where to place they vinyl when doing the stencil because I could just match up the edge of the vinyl with the edge of the cork. I hope that makes sense:)