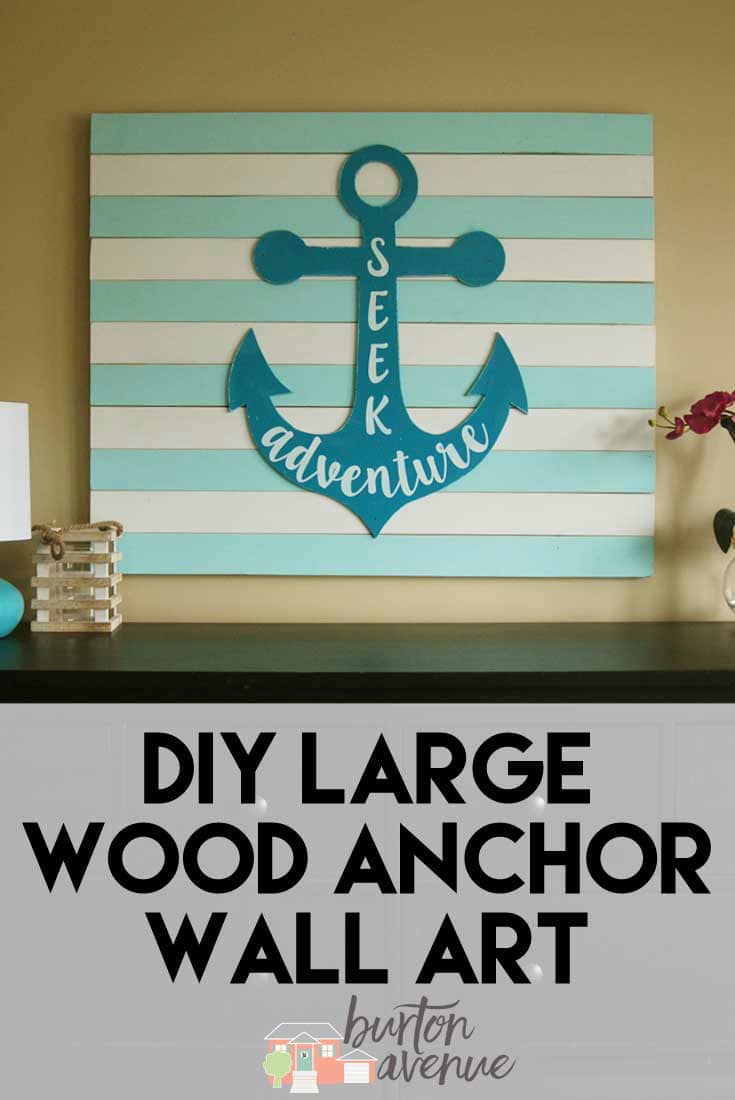
Here’s what I used:
– Wood for background (mine are approx. 30″ x 2.5″)
– Wood for anchor (I used this from Home Depot)
– Wood strip for back support (I used this from Home Depot)
– Vinyl for stencil
– Paint
– Wood glue
– Jigsaw
– Brad nailer or hammer and nails
– Hardware for hanging
– Electronic cutter (cricut explore, silhouette or other cutter)
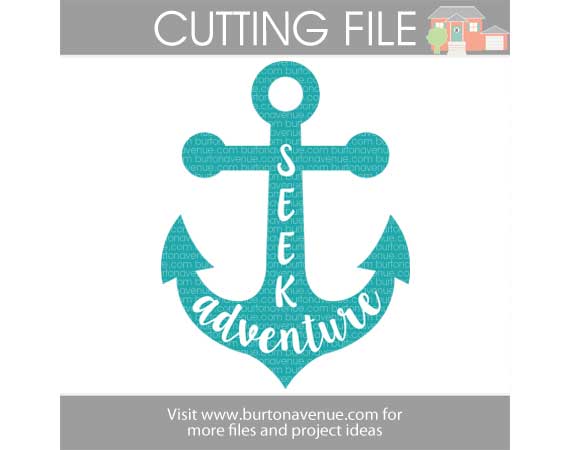
– Cut File (see link below)
Here is what I did:
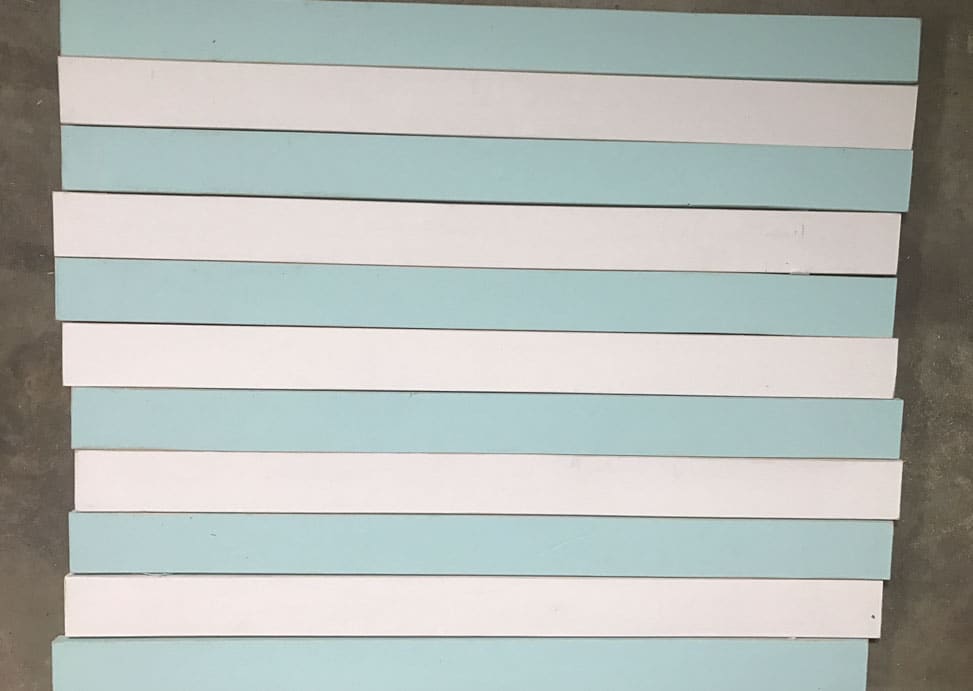
1. I was lucky enough to have some wood left from a bunk bed we got rid of, so that’s what I used for the background. The pieces were about 36″, but had holes where it screwed into the bed. So, I just cut the hole off each end and painted each piece. After they were dry, I lightly sanded the paint off of the edges.
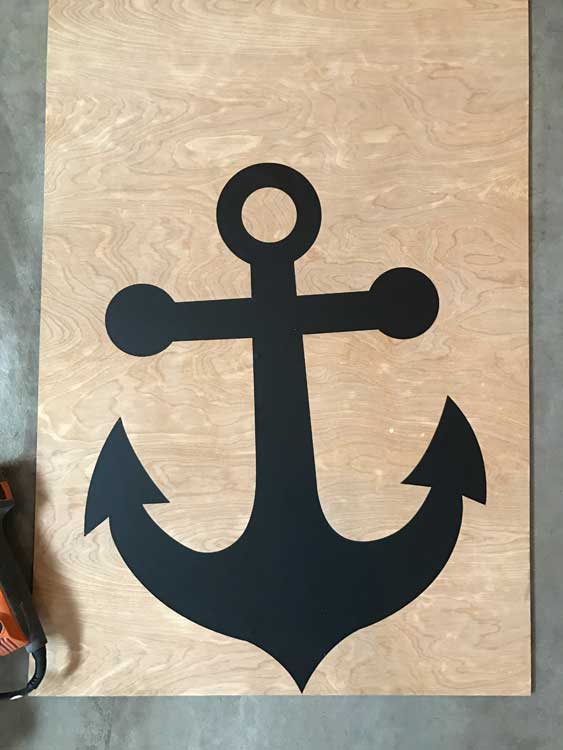
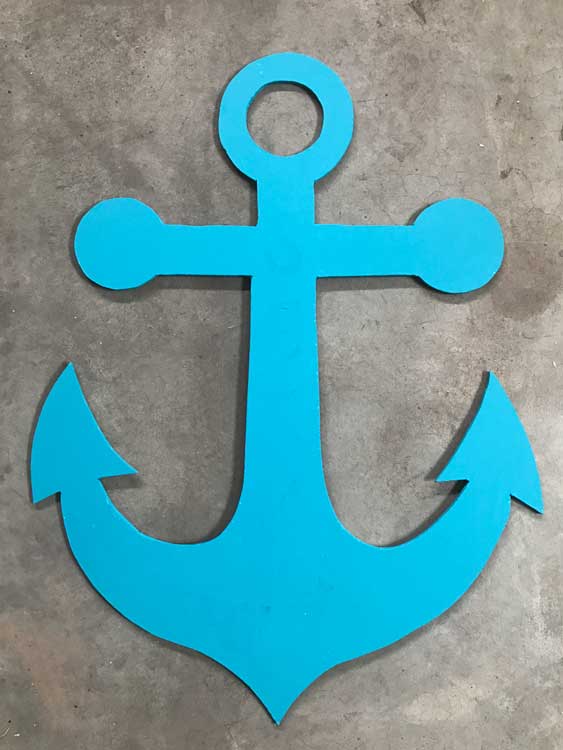
2. For the anchor, I cut out of piece of vinyl and placed it on my wood for my cutting guide.
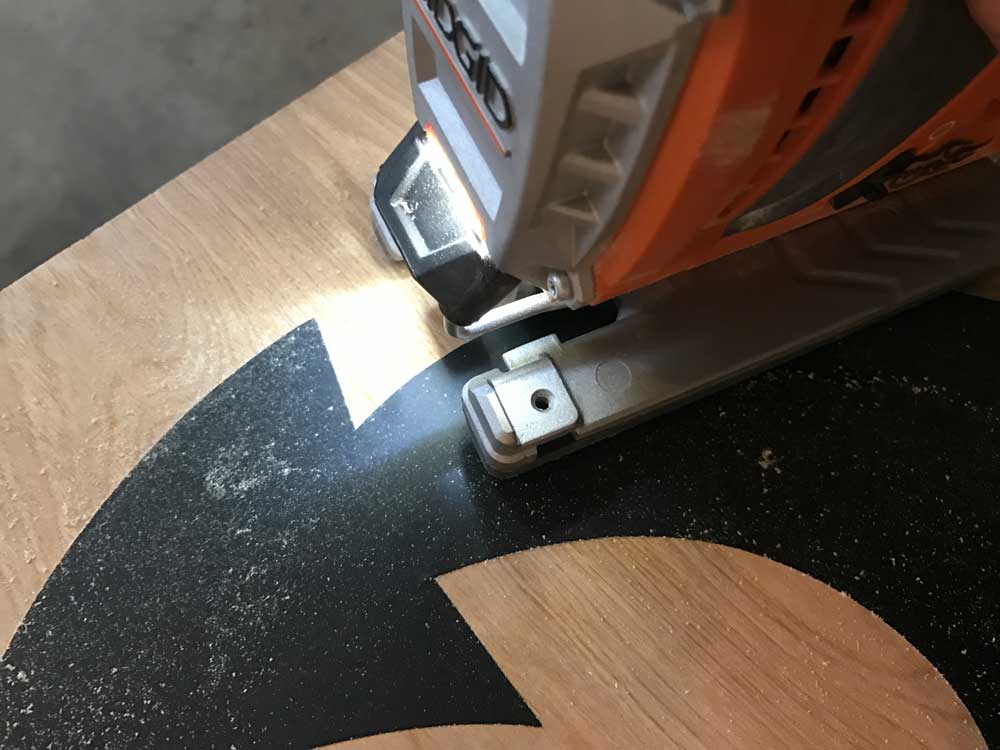
3. Then I used my jigsaw to cut it out and sanded down the edges. It was not perfect, but when my husband asked if I bought it somewhere, I figured it was good enough.
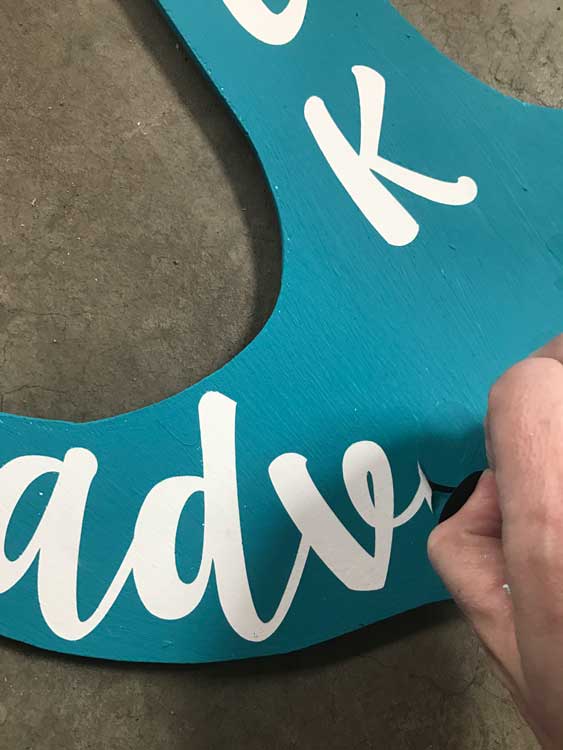
4. Next, I painted the anchor white. After that had completely dried, I added my vinyl letters. I made sure to press them down nice and good so the paint wouldn’t leak underneath them.
4. Then, I painted it all a pretty turquoise color.
5. Once that dried, I removed the vinyl letters.
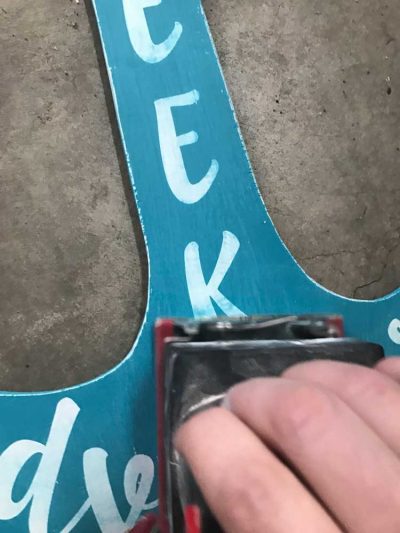
6. I sanded it all again to give it a distressed look.
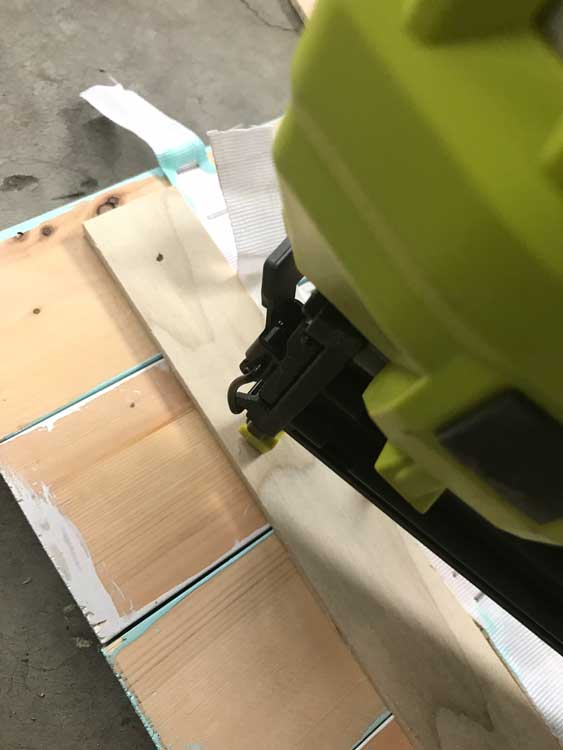
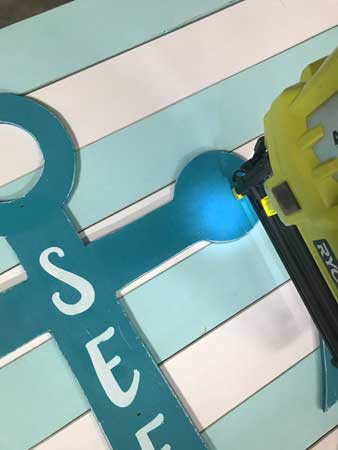
7. I flipped my background boards over and lined them all up. Then, I cut my wood strip down to fit the back, added some glue, and used my cordless brad nailer (one of my favorite tools) to nail it all together. I also added some hardware for hanging.
8. I flipped it over and glued and nailed on the anchor.
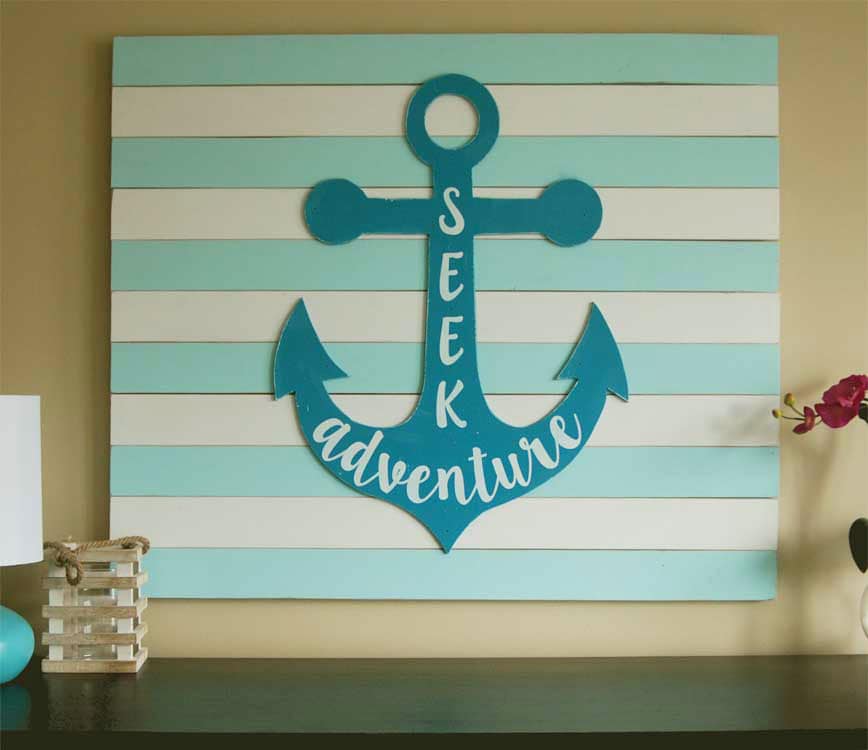
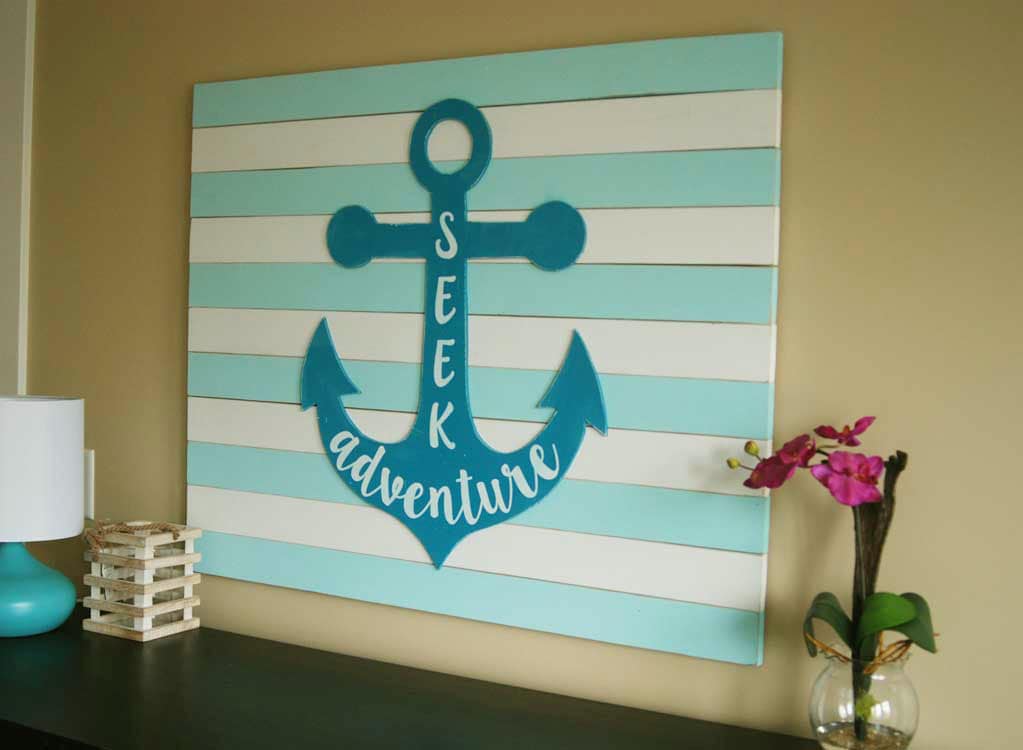
9. After it was dry, I hung it on the wall.
I love how it turned out.
Have you ever made anything large with your electronic cutter? I’d love to hear.
Disclosure: I was not compensated for this post, but will earn a small percentage for sales as an affiliate. As always, all opinions are 100% my own.


What a cute sign!! I have always wondered how folks make two-toned planks and appreciate your tutorial for making this sign.
Thank you for all you time you give to making these files and tutorials.
Angie, Your designs were gorgeous the first quarter and look forward to seeing what you create in the second quarter of this year!! 🙂