
HERE’S WHAT YOU NEED
- Cardstock (white, black, red, green, and flesh)
- Foam Sticky Tabs
- Favor Tins (I found mine at Dollar Tree)
- Glue
- Christmas Candy or Toys
- Electronic cutter (cricut explore or maker, silhouette or other cutter)
- Cut File – Santa Favor BA2307 (click here to get the SVG file for free from my free SVG Library)
HERE’S WHAT YOU DO
STEP 1: DOWNLOAD THE FREE SVG FILE
The first thing you’ll need to do is get the free SVG file you’ll use for this project. I keep all the SVG files I use for the projects I make in my SVG Library. These SVG files work with Cricut and Silhouette machines, as well as many others. This library is open to everyone and is free! You can access the library here. Look for the file called Santa Favor BA2307. It will be listed under the Craftmas 2022 Category-Day 7.
STEP 2: CUT THE CARDSTOCK PIECES
Open the designs in your software program. Keep everything grouped together and resize the design to 5″ high. This will size everything to fit a 2″ favor tin. Then, cut the different colors with your cutting machine.
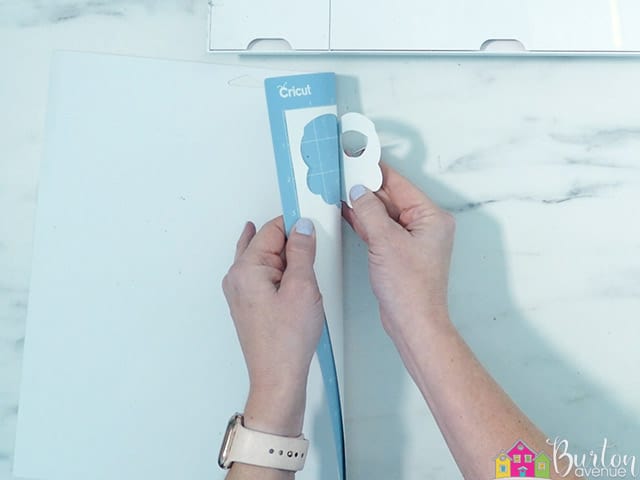
Once the cardstock is finished cutting, remove it from the cutting mat. You’ll want to slightly bend the cutting mat and carefully pull off the cardstock.
STEP 3: ASSEMBLE THE FAVOR TIN
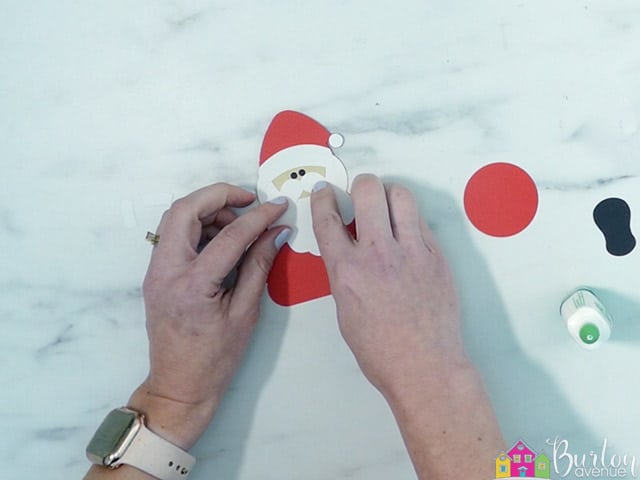
Start by gluing the beard onto the red background piece.
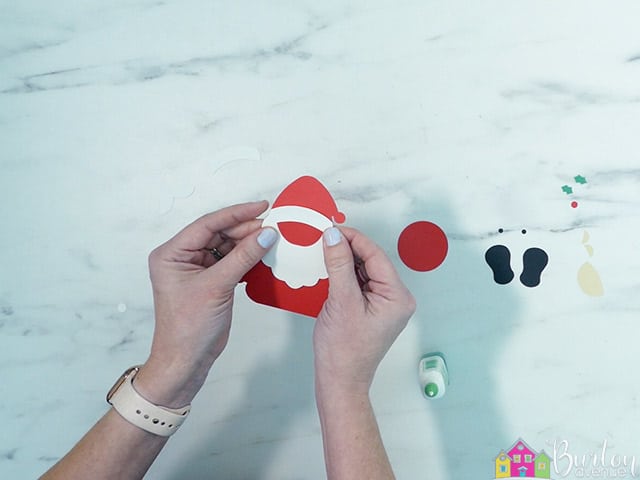
Then, glue on the face and hat trim.
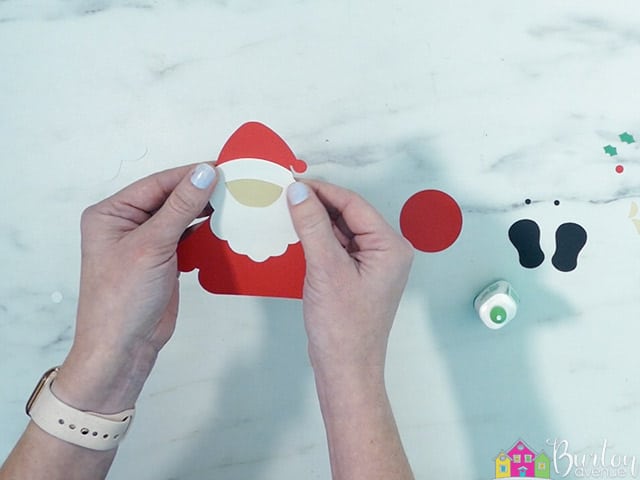
Next, glue on the white circle for the hat, the eyes, and the mustache.
Then, add the sleeve cuffs and hands.
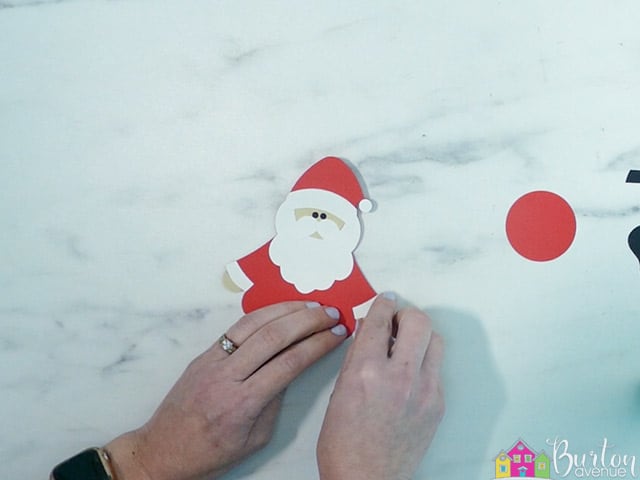
Finish off the body by gluing on the holly leaves and berry.
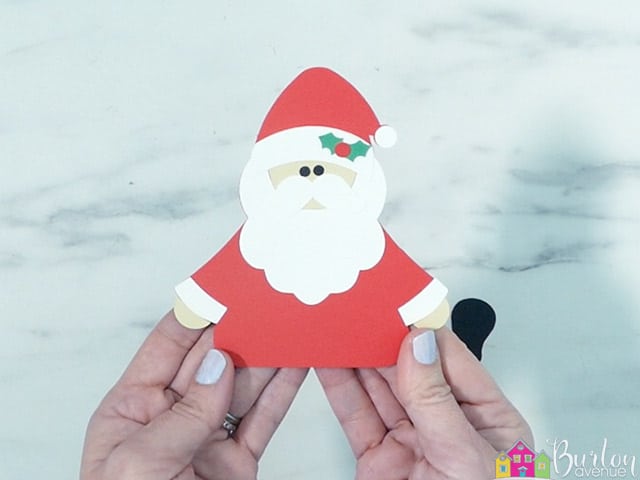
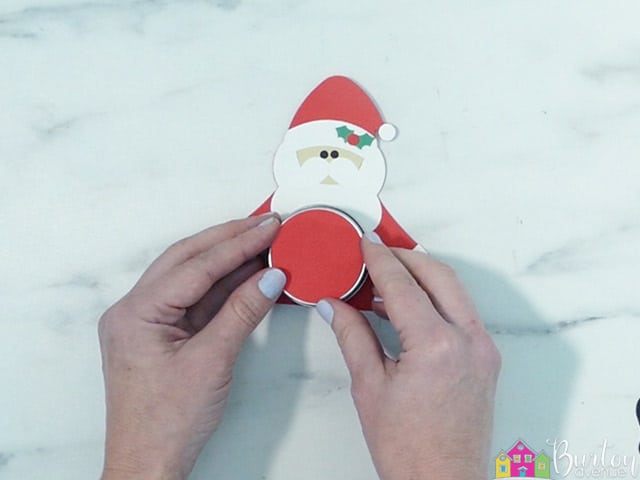
Glue the back of the metal tin onto the front of the body.
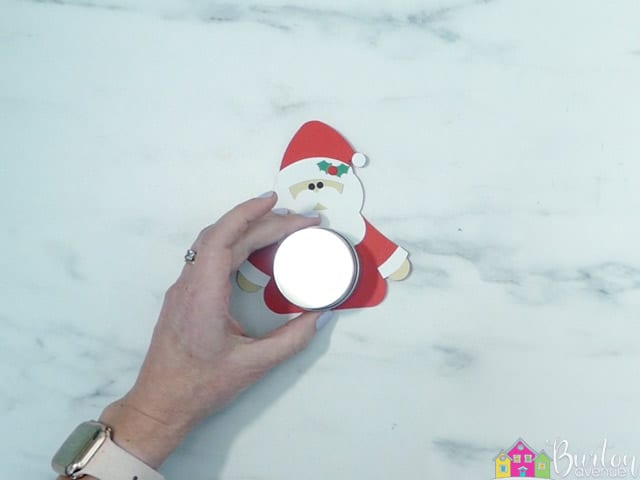
Glue the red circle to the front of the tin. Line up the bottom of the tin with the bottom of the red background piece.
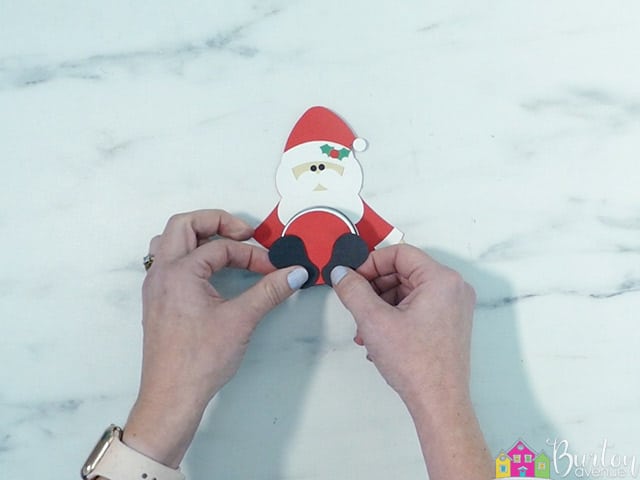
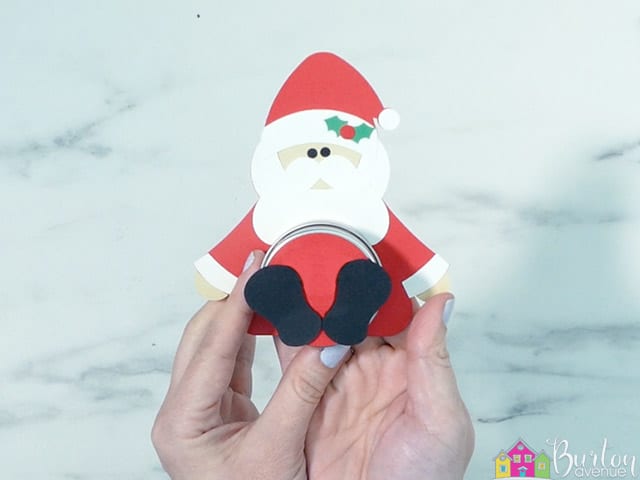
Add some foam tabs to the back of the shoes.
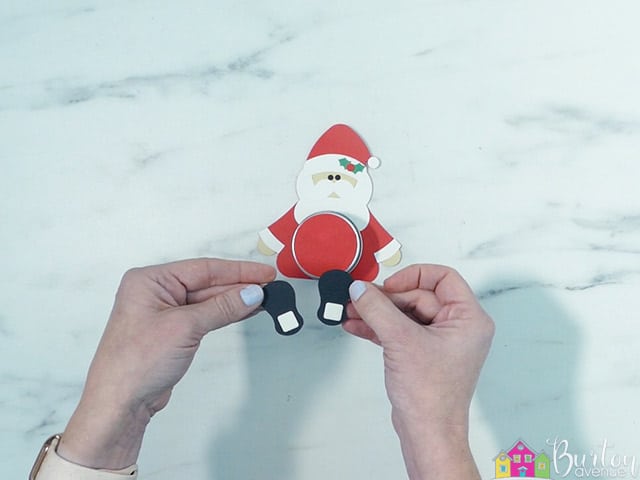
Attach the shoes to the bottom of the circle.
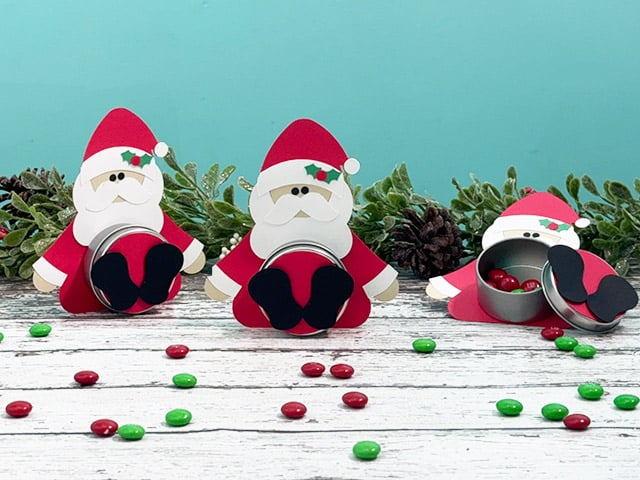
Fill the tin with some Christmas-colored candy.
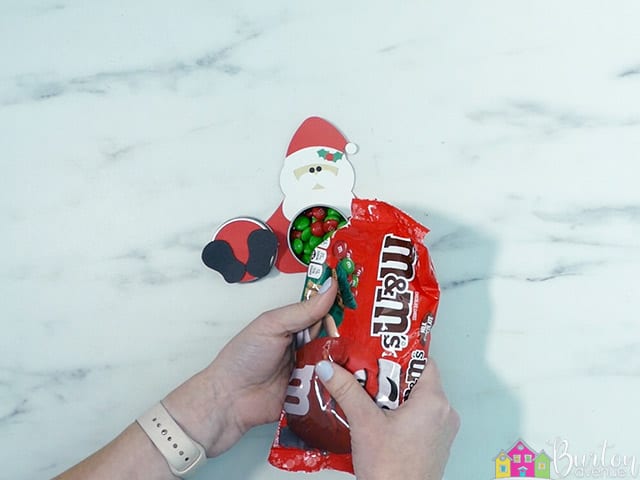
And this Santa favor tin is finished. Isn’t he adorable?
Did you enjoy this post? Help spread the word! Share this post on your favorite Pinterest board. Thanks!

Want to make your own? Get the free cut file for this project in the resource library