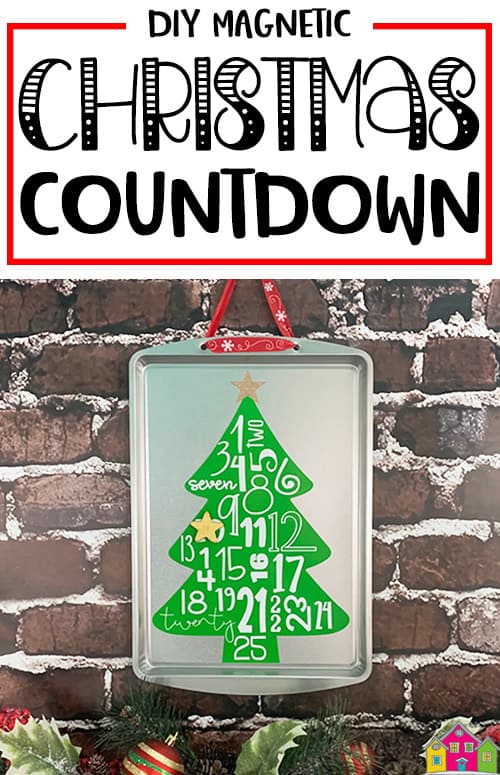
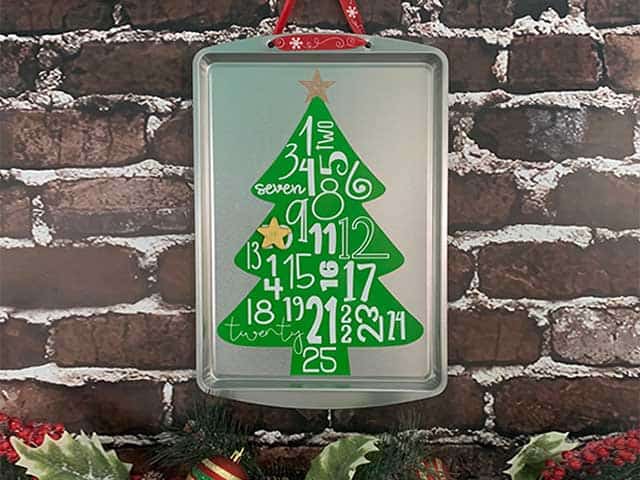
This magnetic Christmas countdown sign is such a fun and easy project! With just a little bit of vinyl, you can transform a plain cookie sheet into a festive way to count down the days until Christmas. It’s quick to make, budget-friendly, and looks adorable hanging in your kitchen or on a wall. Read on for the full tutorial.
HERE’S WHAT YOU NEED
- Cookie Sheet (I found mine at Dollar Tree)
- Green, White, & Gold Vinyl
- Drill & Small Bit
- Ribbon
- Transfer Tape
- Christmas Magnet
- Scissors
- Painter’s Tape
- Scraper
- Weeding Tool
- Electronic cutter (cricut explore, silhouette or other cutter)
- Cut File (available for free in my resource library)
HERE’S WHAT YOU DO
STEP 1: DOWNLOAD THE FREE SVG FILE
The first thing you’ll need to do is get the free SVG file you’ll use for this project. I keep all the SVG files I use for the projects I make in my SVG Library. These SVG files work with Cricut and Silhouette machines, as well as many others. This library is open to everyone and is free! You can access the library here. Look for the file called Christmas Tree Countdown. It will be listed under the Christmas category-Craftmas 2020 – Day 4.
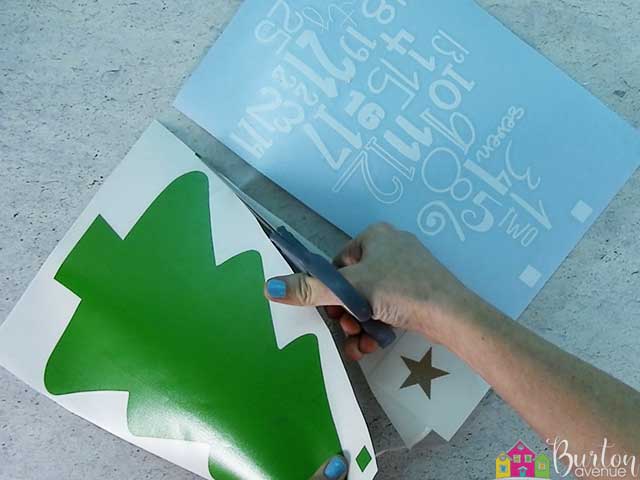
STEP 2: CUT AND TAPE VINYL STENCIL
Open the design in your software program and size it to fit on your sign. I sized mine to about 8.2″
I used White, Yellow-Green, and Gold glitter vinyl.
When everything is sized correctly, cut the design with your Cricut or Silhouette. Once everything is cut, weed away the excess vinyl.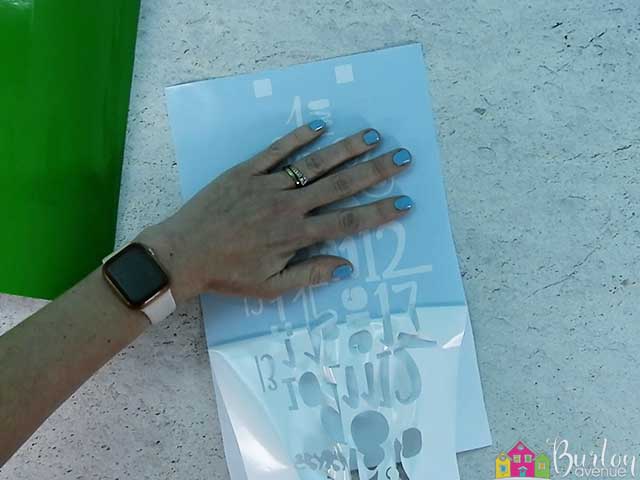

Cut a piece of transfer tape a little bigger than both of the designs. Place the transfer tape sticky side up on you surface, then place the vinyl on top of the transfer tape and smooth it down. Then rub over it with your scraper.
![]()
Cut the designs apart and trim off the excess backing and transfer tape.
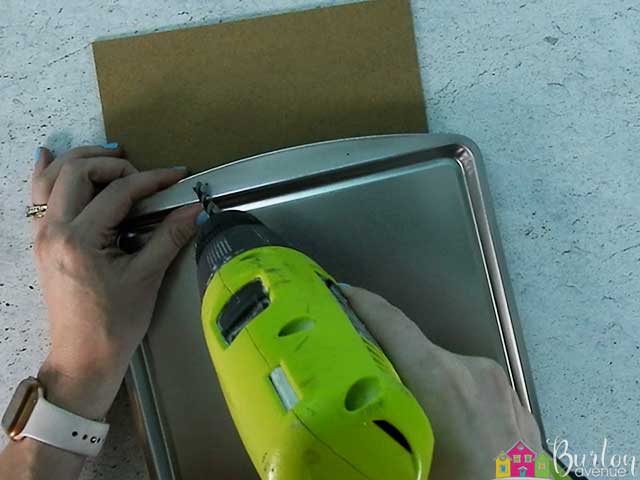
STEP 3: DRILL HOLES IN COOKIE SHEET
Use a ruler and measure over 3″ from each side of the cookie sheet. Make a mark on the top of sheet.
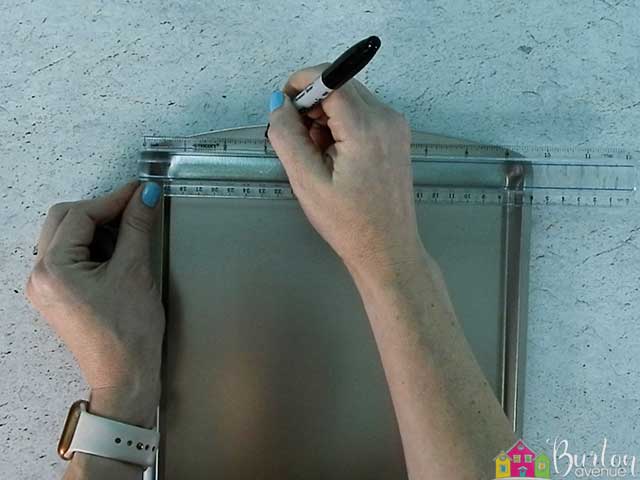
Use a drill to put two small holes at the top of the pan.
STEP 4: APPLY VINYL TO MAGNETIC SIGN
Place the design on the bottom center of the cookie sheet. It doesn’t have to be exact, just kind-of eye the center. Place a piece of painters tape over the top of the design to keep it in place.
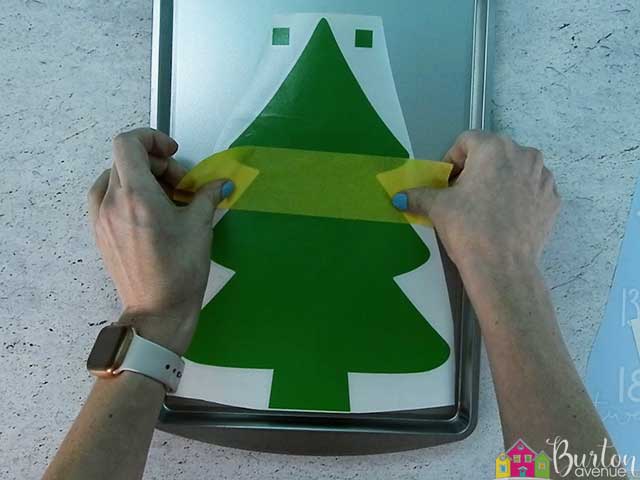
Now, you can make sure the design is straight and centered from right to left. If you need to adjust the design, just lift up the tape enough to move it.
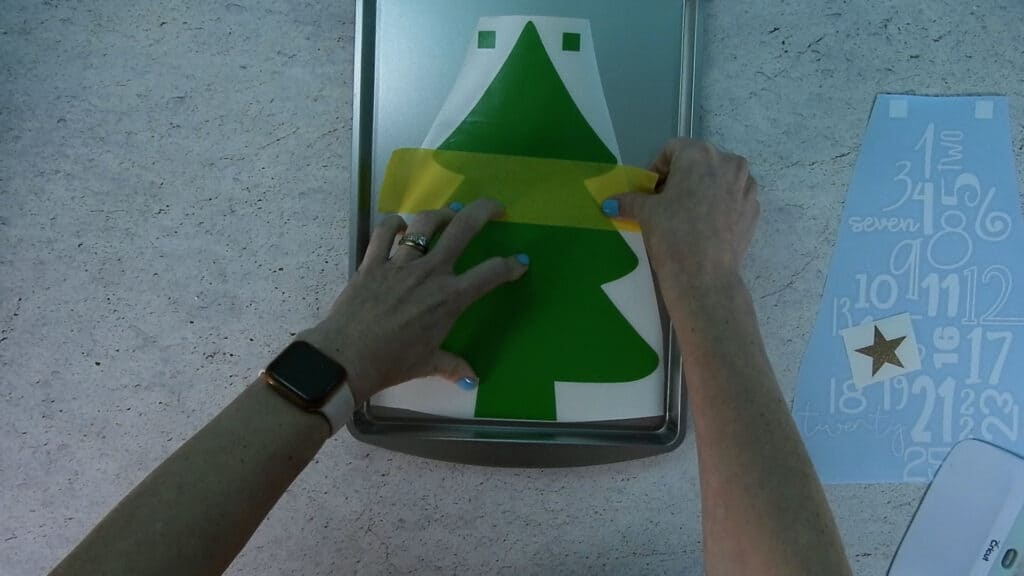
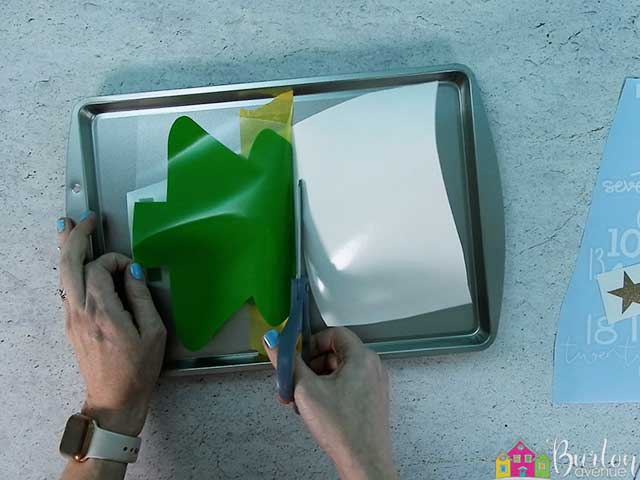
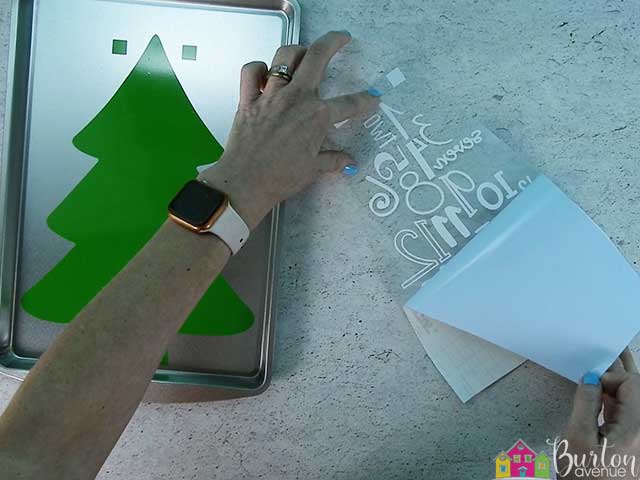
On one side of the design, separate the vinyl and transfer tape from the backing.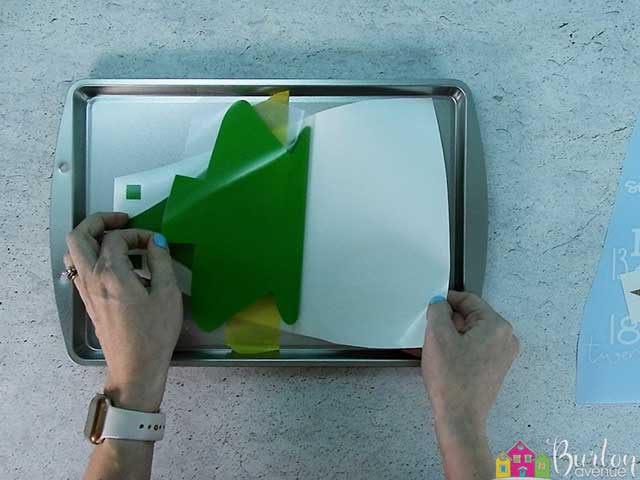
Then, trim off the vinyl backing.
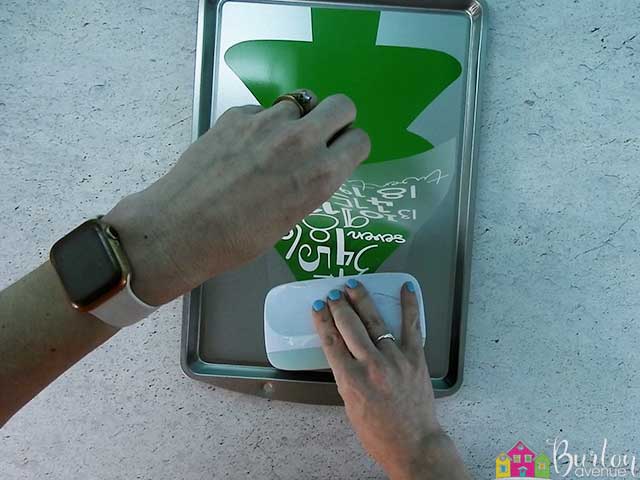
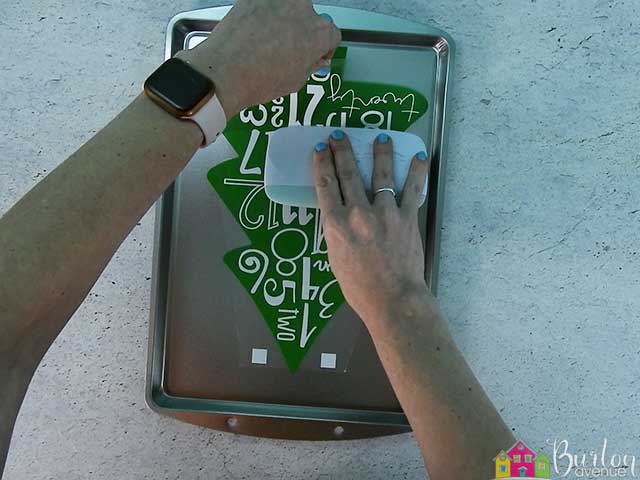
Use your scraper to carefully press down the vinyl.
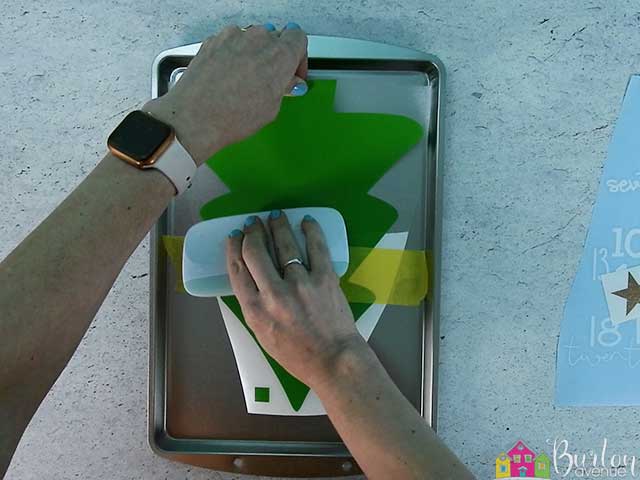
Remove the tape and the rest of the vinyl backing and press down the rest of the vinyl.
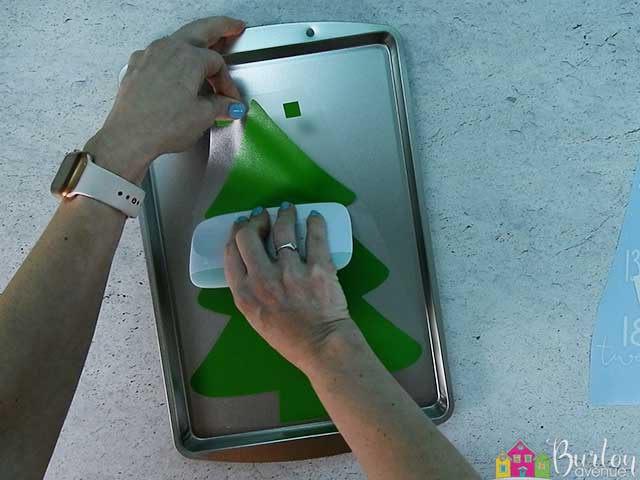
Then, pull of the transfer tape.![]()
Flip the white vinyl over and carefully pull off the vinyl backing.
Now, you’re going to replace the vinyl backing, but shift it down about an inch so only the registration marks are showing.
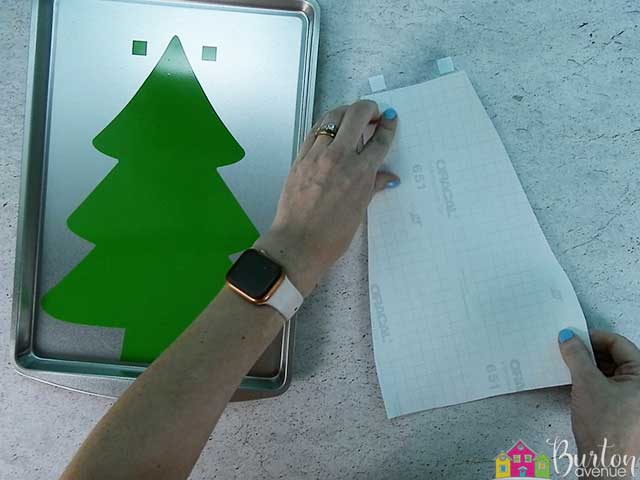
Now, place the white vinyl over the green vinyl. Match up the registration marks and then press down on the transfer tape.
Now, carefully remove the vinyl backing again. It should come off easily since we already took it off earlier. Be very careful to make sure the registration marks stay in place.

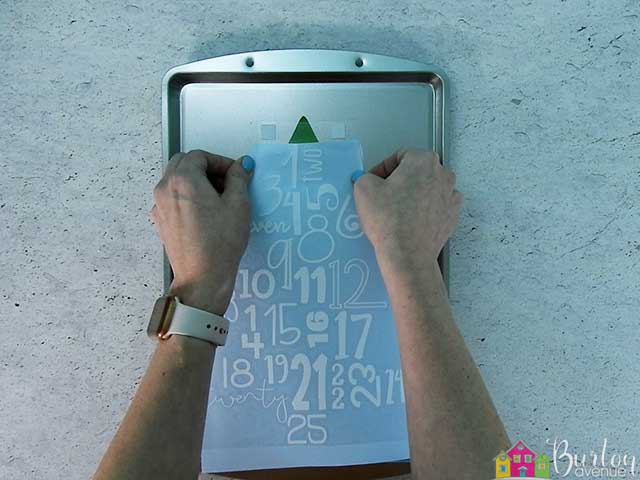
Then, slowly press the white vinyl onto the cookie sheet. Start pressing from the top of the design.
Just keep working your way down until you get to the bottom of the design.
Then, pull off the transfer tape and remove the registration marks.
![]()
Apply the star to the top of the tree.

STEP 5: ADD RIBBON FOR HANGING AND A MAGNET
To finish off the sign, just thread some cute Christmas ribbon through the holes and tie a bow at the top.

You can buy or make a Christmas magnet. You can use all kinds of things to make your own magnets. Erasers, small toys, or a little wreath would all make great magnets. Just use some E6000 glue to attach the magnet. I found a cute wooden star in my stash and thought it was perfect for this sign.

And that’s it! So cute and so easy! Such a fun way to count down the days until Christmas!

Did you enjoy this post? Help spread the word! Share this post on your favorite Pinterest board. Thanks!