One of the great features of Cricut Design Space is the ability to import SVG files. An SVG file, short for scalable vector graphic, can be resized large or small without losing quality. I love SVG files because they can be used with almost every cutting software. Many designers (including me) will often give away free SVG files. There are also tons of SVG files available for purchase. If you use Cricut Design Space, you can easily import these files and use them to make awesome projects!

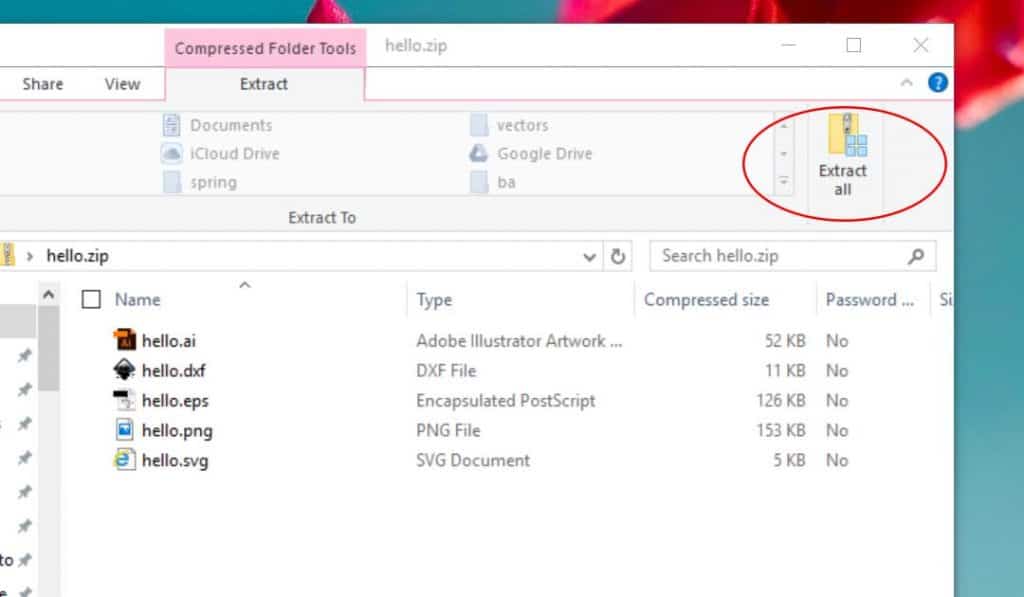
When you download cut files online, they usually come in a zipped folder and need to be extracted before you can use the files. To extract, double-click the folder and then choose extract all. You’ll know the folder has been unzipped because you’ll see a new icon of an open folder in your directory. Now, you are ready to open the files in Cricut Design Space.
How to import SVG files into Cricut Design Space
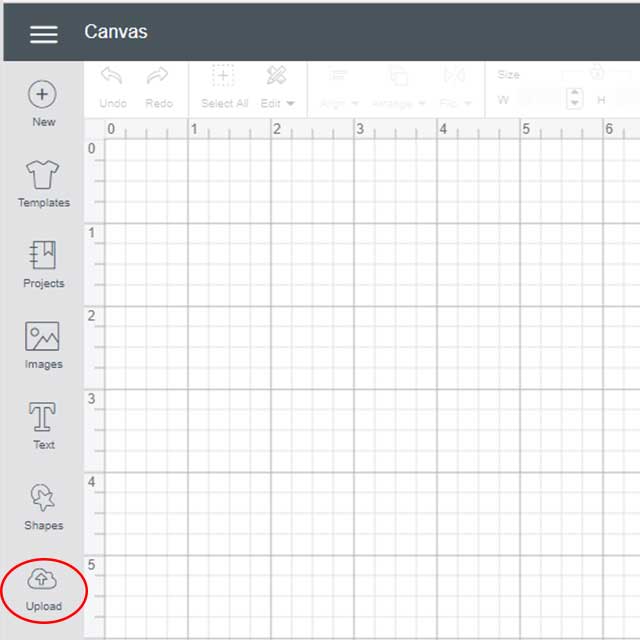
Once you’re in Design Space, click on new project. This should open a brand new, blank canvas. On the left hand side, click on the upload icon.
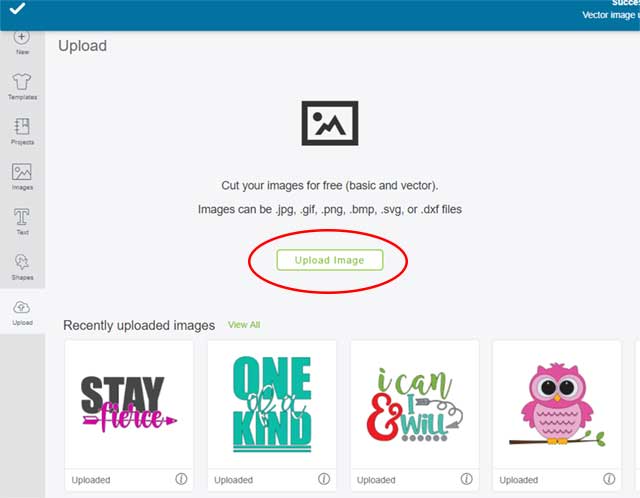
Next, click on the button that says upload image.
You can drag & drop your file here, but I prefer to click the browse button.
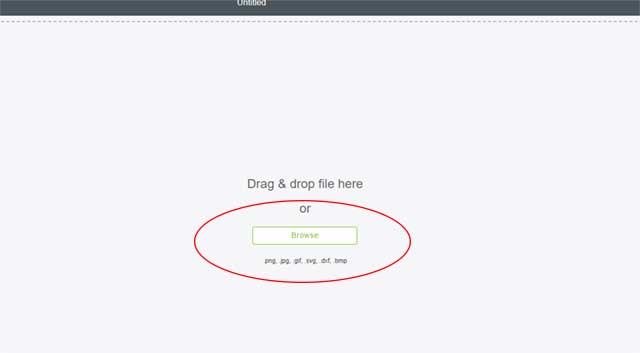
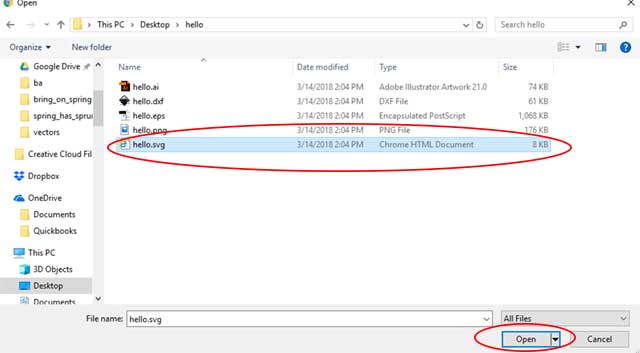
Go to the folder where you’ve saved your unzipped files and find the SVG file. If you don’t see an SVG file listed, look for a Chrome HTML document or something similar. Once you’ve found the SVG file, double-click the name (or select the name and click open). This will import the file onto your mat.
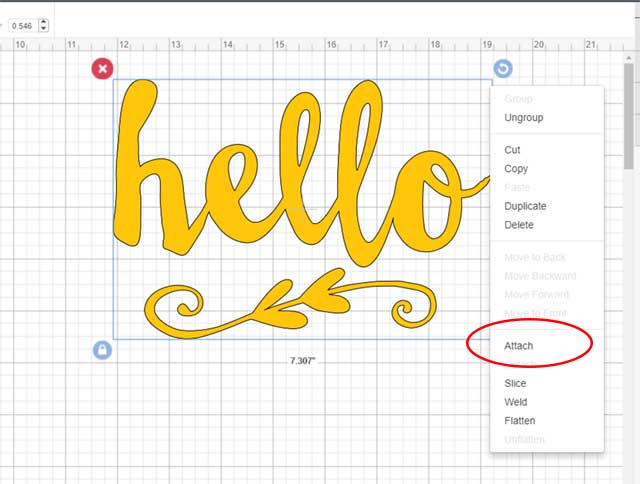
Once you are ready to cut, select your entire design. Then right-click and choose attach. This helps to hold your cuts in the same position relative to each. If you don’t click attach, the letters and elements might shift around when you send the design to cut.
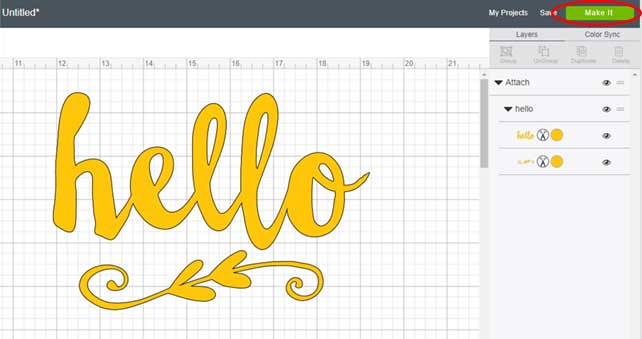
Click on the Make It button in the upper right-hand corner. Now, your design is ready to cut!
I hope this tutorial was helpful and you start using SVG files with your cutter! Be sure to pin this post so you can find it again!
Wonderful! and very easy to follow. Thank you so very much!
Great step-by-step instructions, thank you!
Thanks 😀😀
Trying to figure out what changed when downloading your files to mobile? I use to click on download and not iZip app would open but now it is all different. Any help you get is appreciated.
Do you have to input each entry separately or is there a way you can input all of them to Cricut at one.