I love all the many things you can customize with vinyl. It’s amazing how just a tiny bit of vinyl can transform something from plain and boring to super cute. I think adding vinyl to a mug for a custom gift is a great idea, but I struggle with putting it on straight…until now!
After some trial and error, I came up with a method that helps me apply it straight every time. It takes a few extra steps, but the results are totally worth it!
Disclosure: I was not compensated for this post, but will earn a small percentage of sales as an affiliate.
Here is what I used:
– Mug
– Vinyl (I used lime-tree green and turquoise blue)
– Painters Tape
– Transfer Tape
– Electronic cutter (cricut explore, silhouette or other cutter)
– Weeding tool
– Cut File (see below)
1. I started by printing out the design on regular paper. I usually print out a couple different sizes and pick the one that looks best. Once I decided where I wanted it to go, I taped it in place.
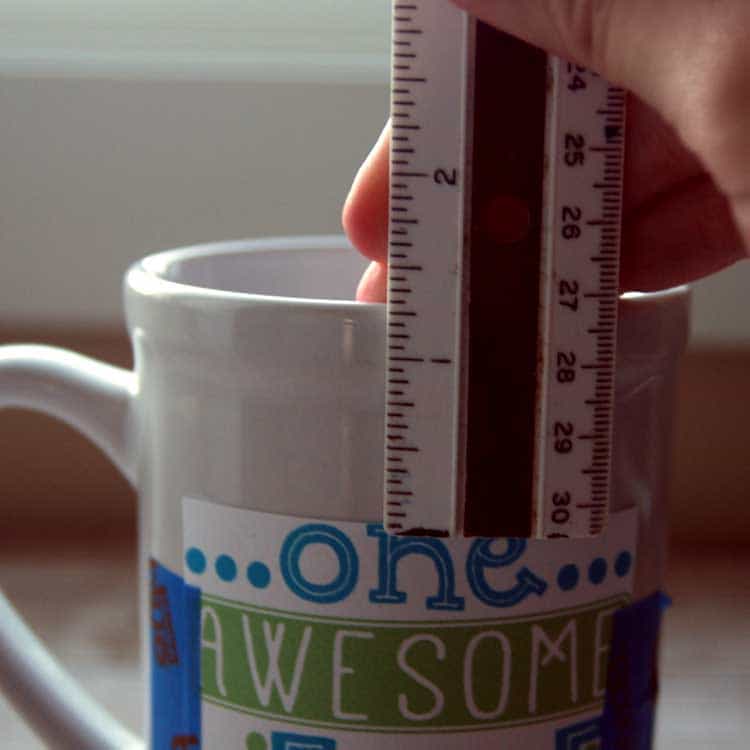
2. Then, I measured from the top of the design to the top of the mug. It was about 1.25″.
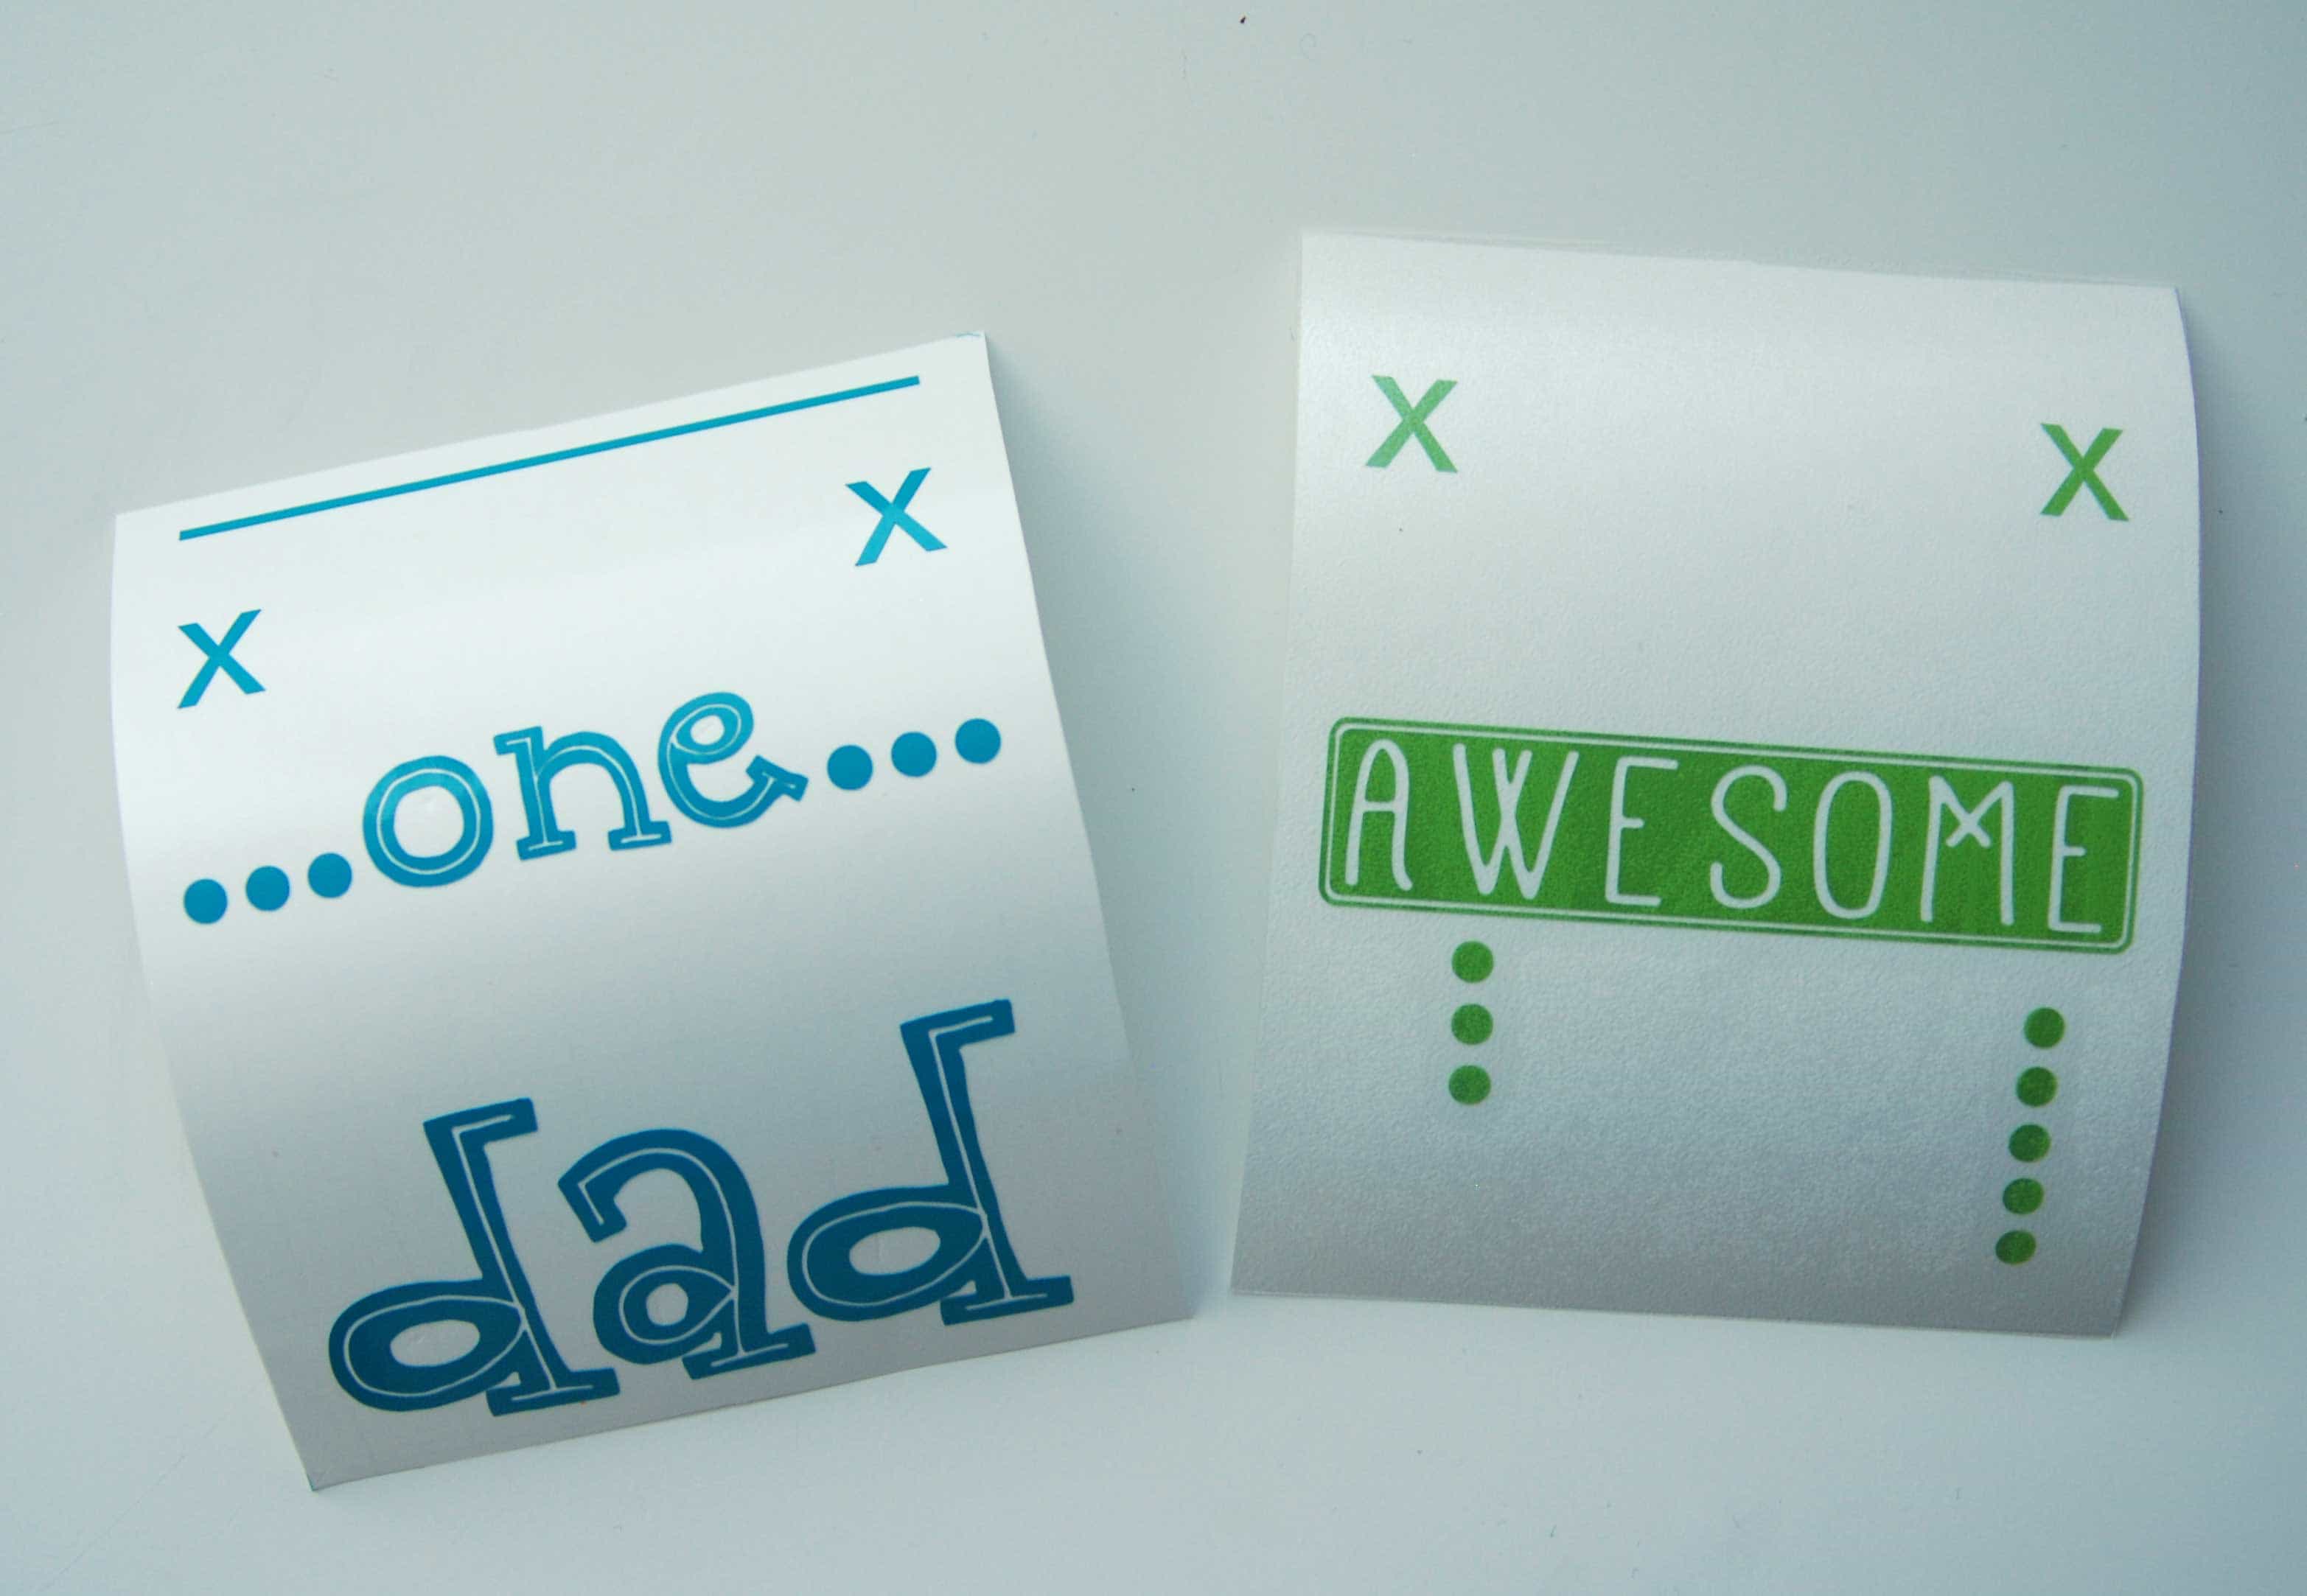
4. I used my cutter to cut out the design in 2 colors of vinyl. The registration marks need to be cut on both colors, but the horizontal line can just be cut on one. I weeded the excess vinyl and applied clear transfer tape to the green vinyl.
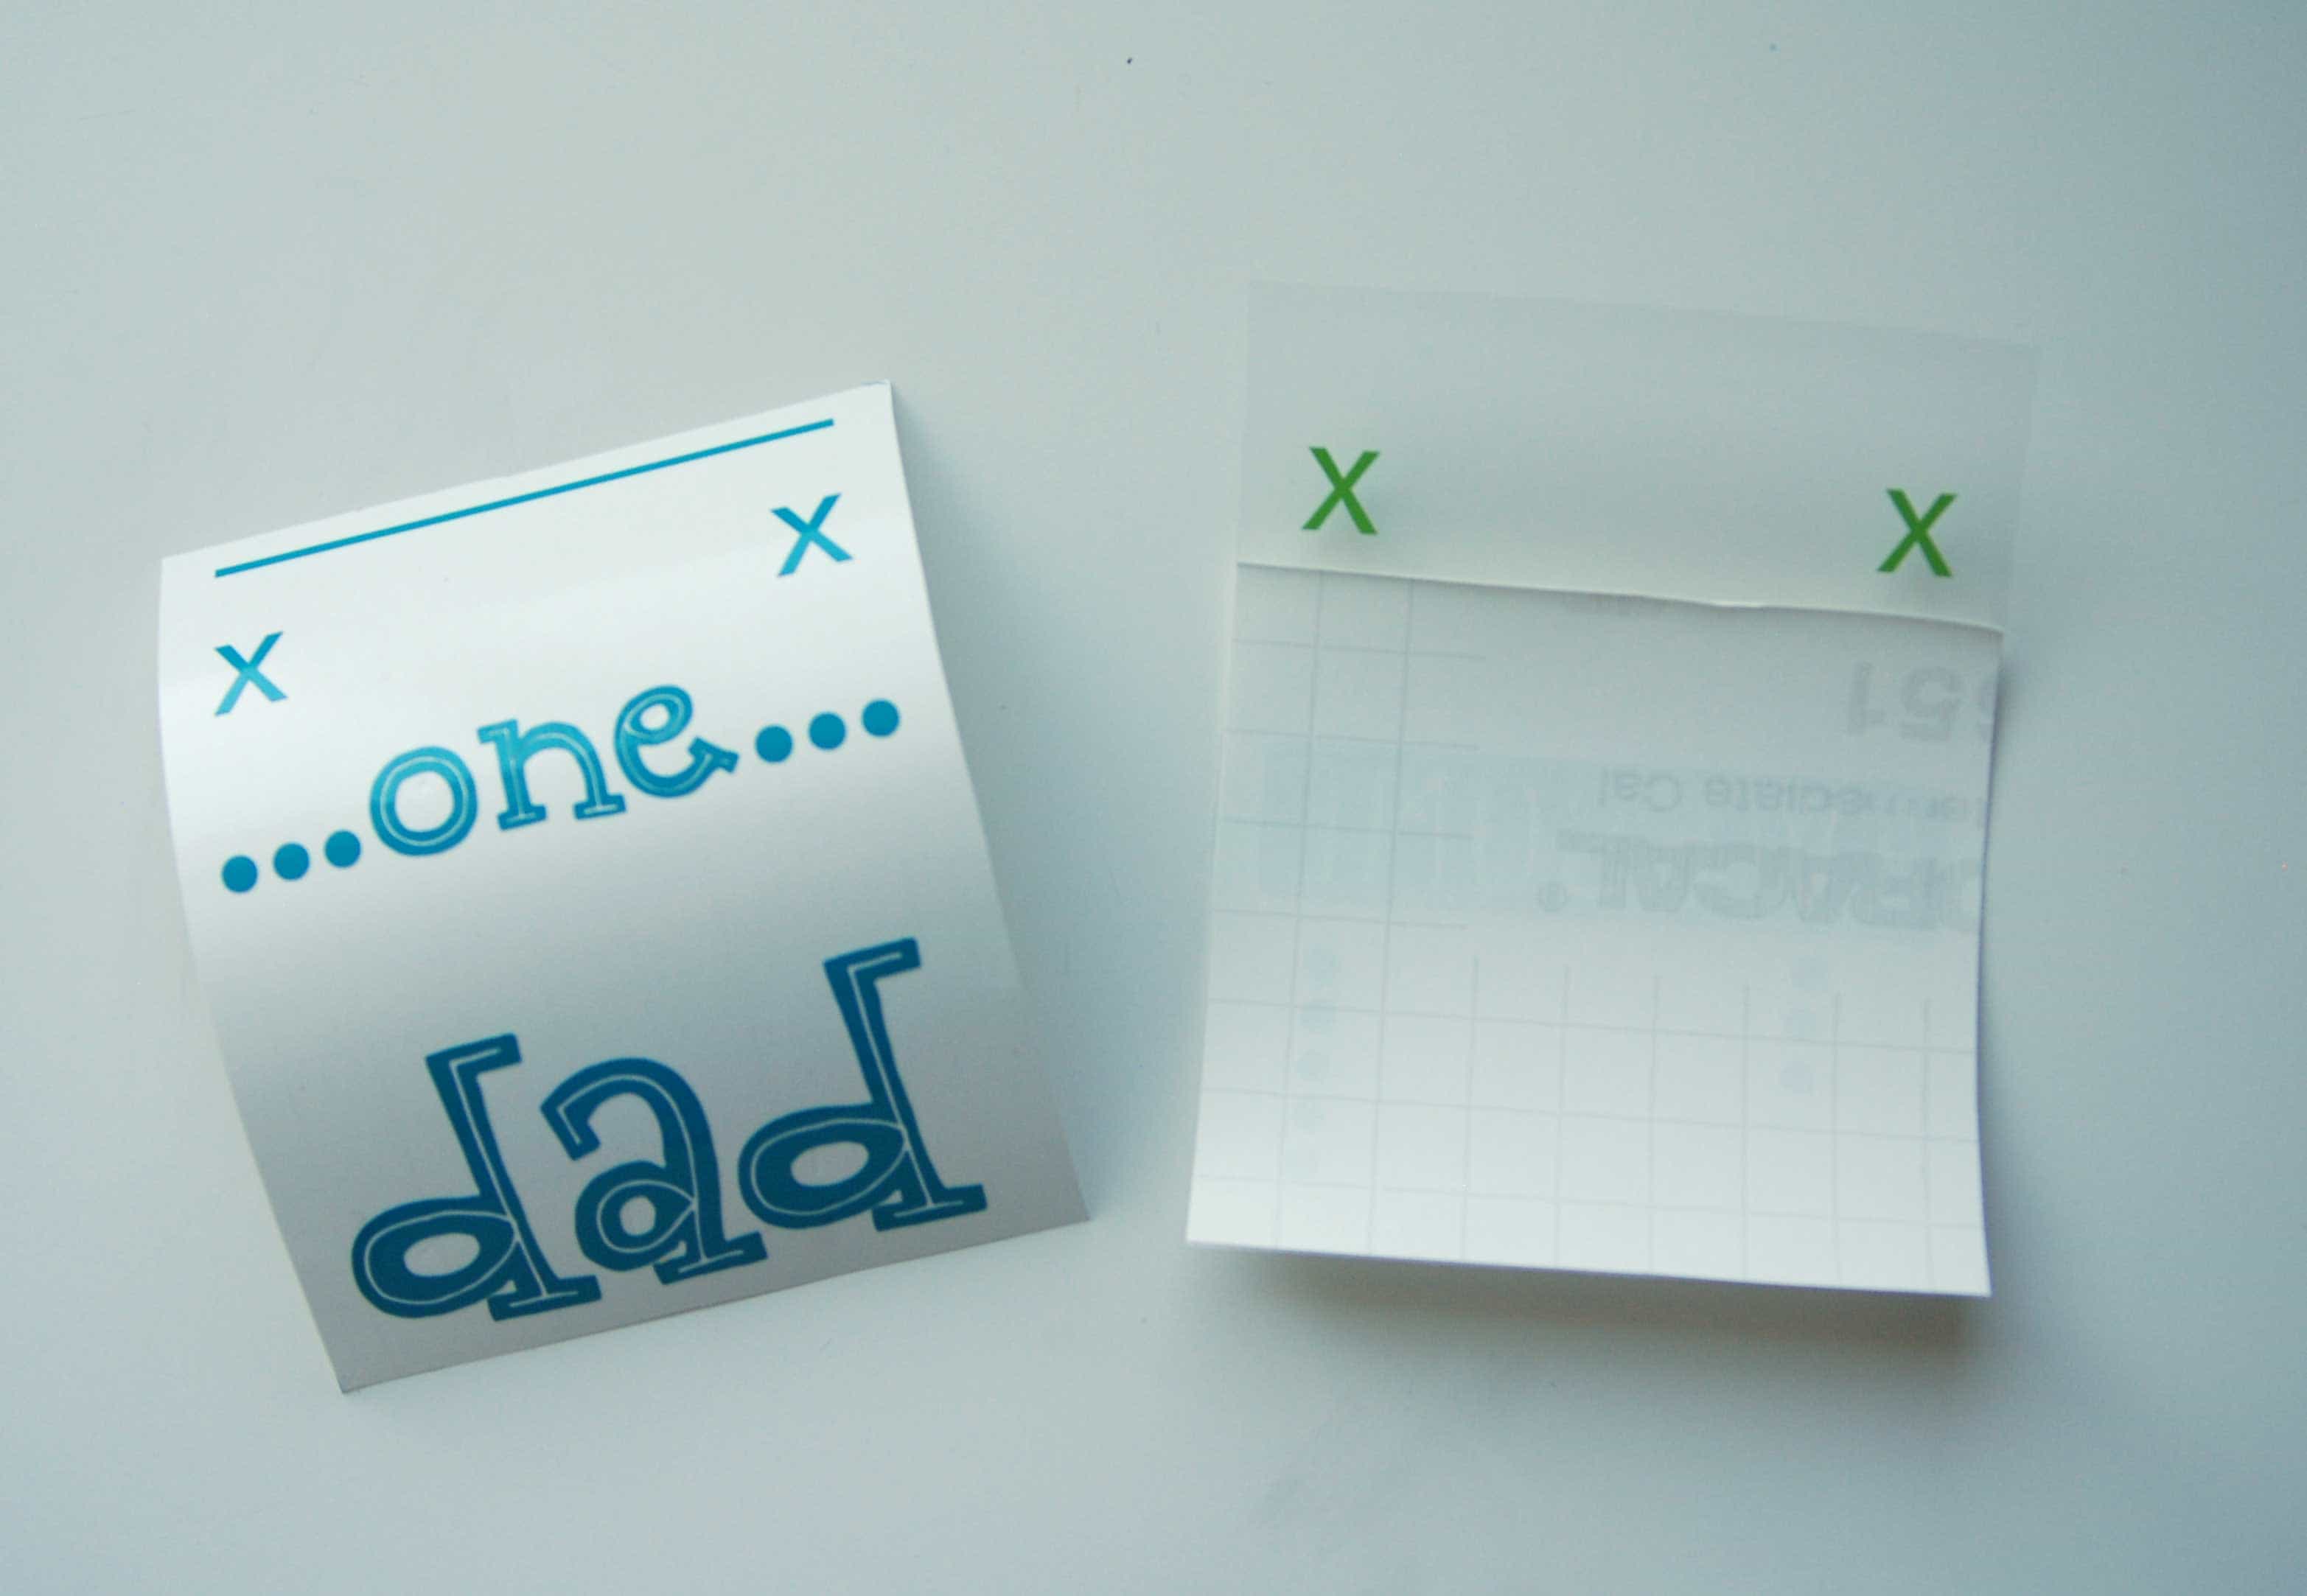
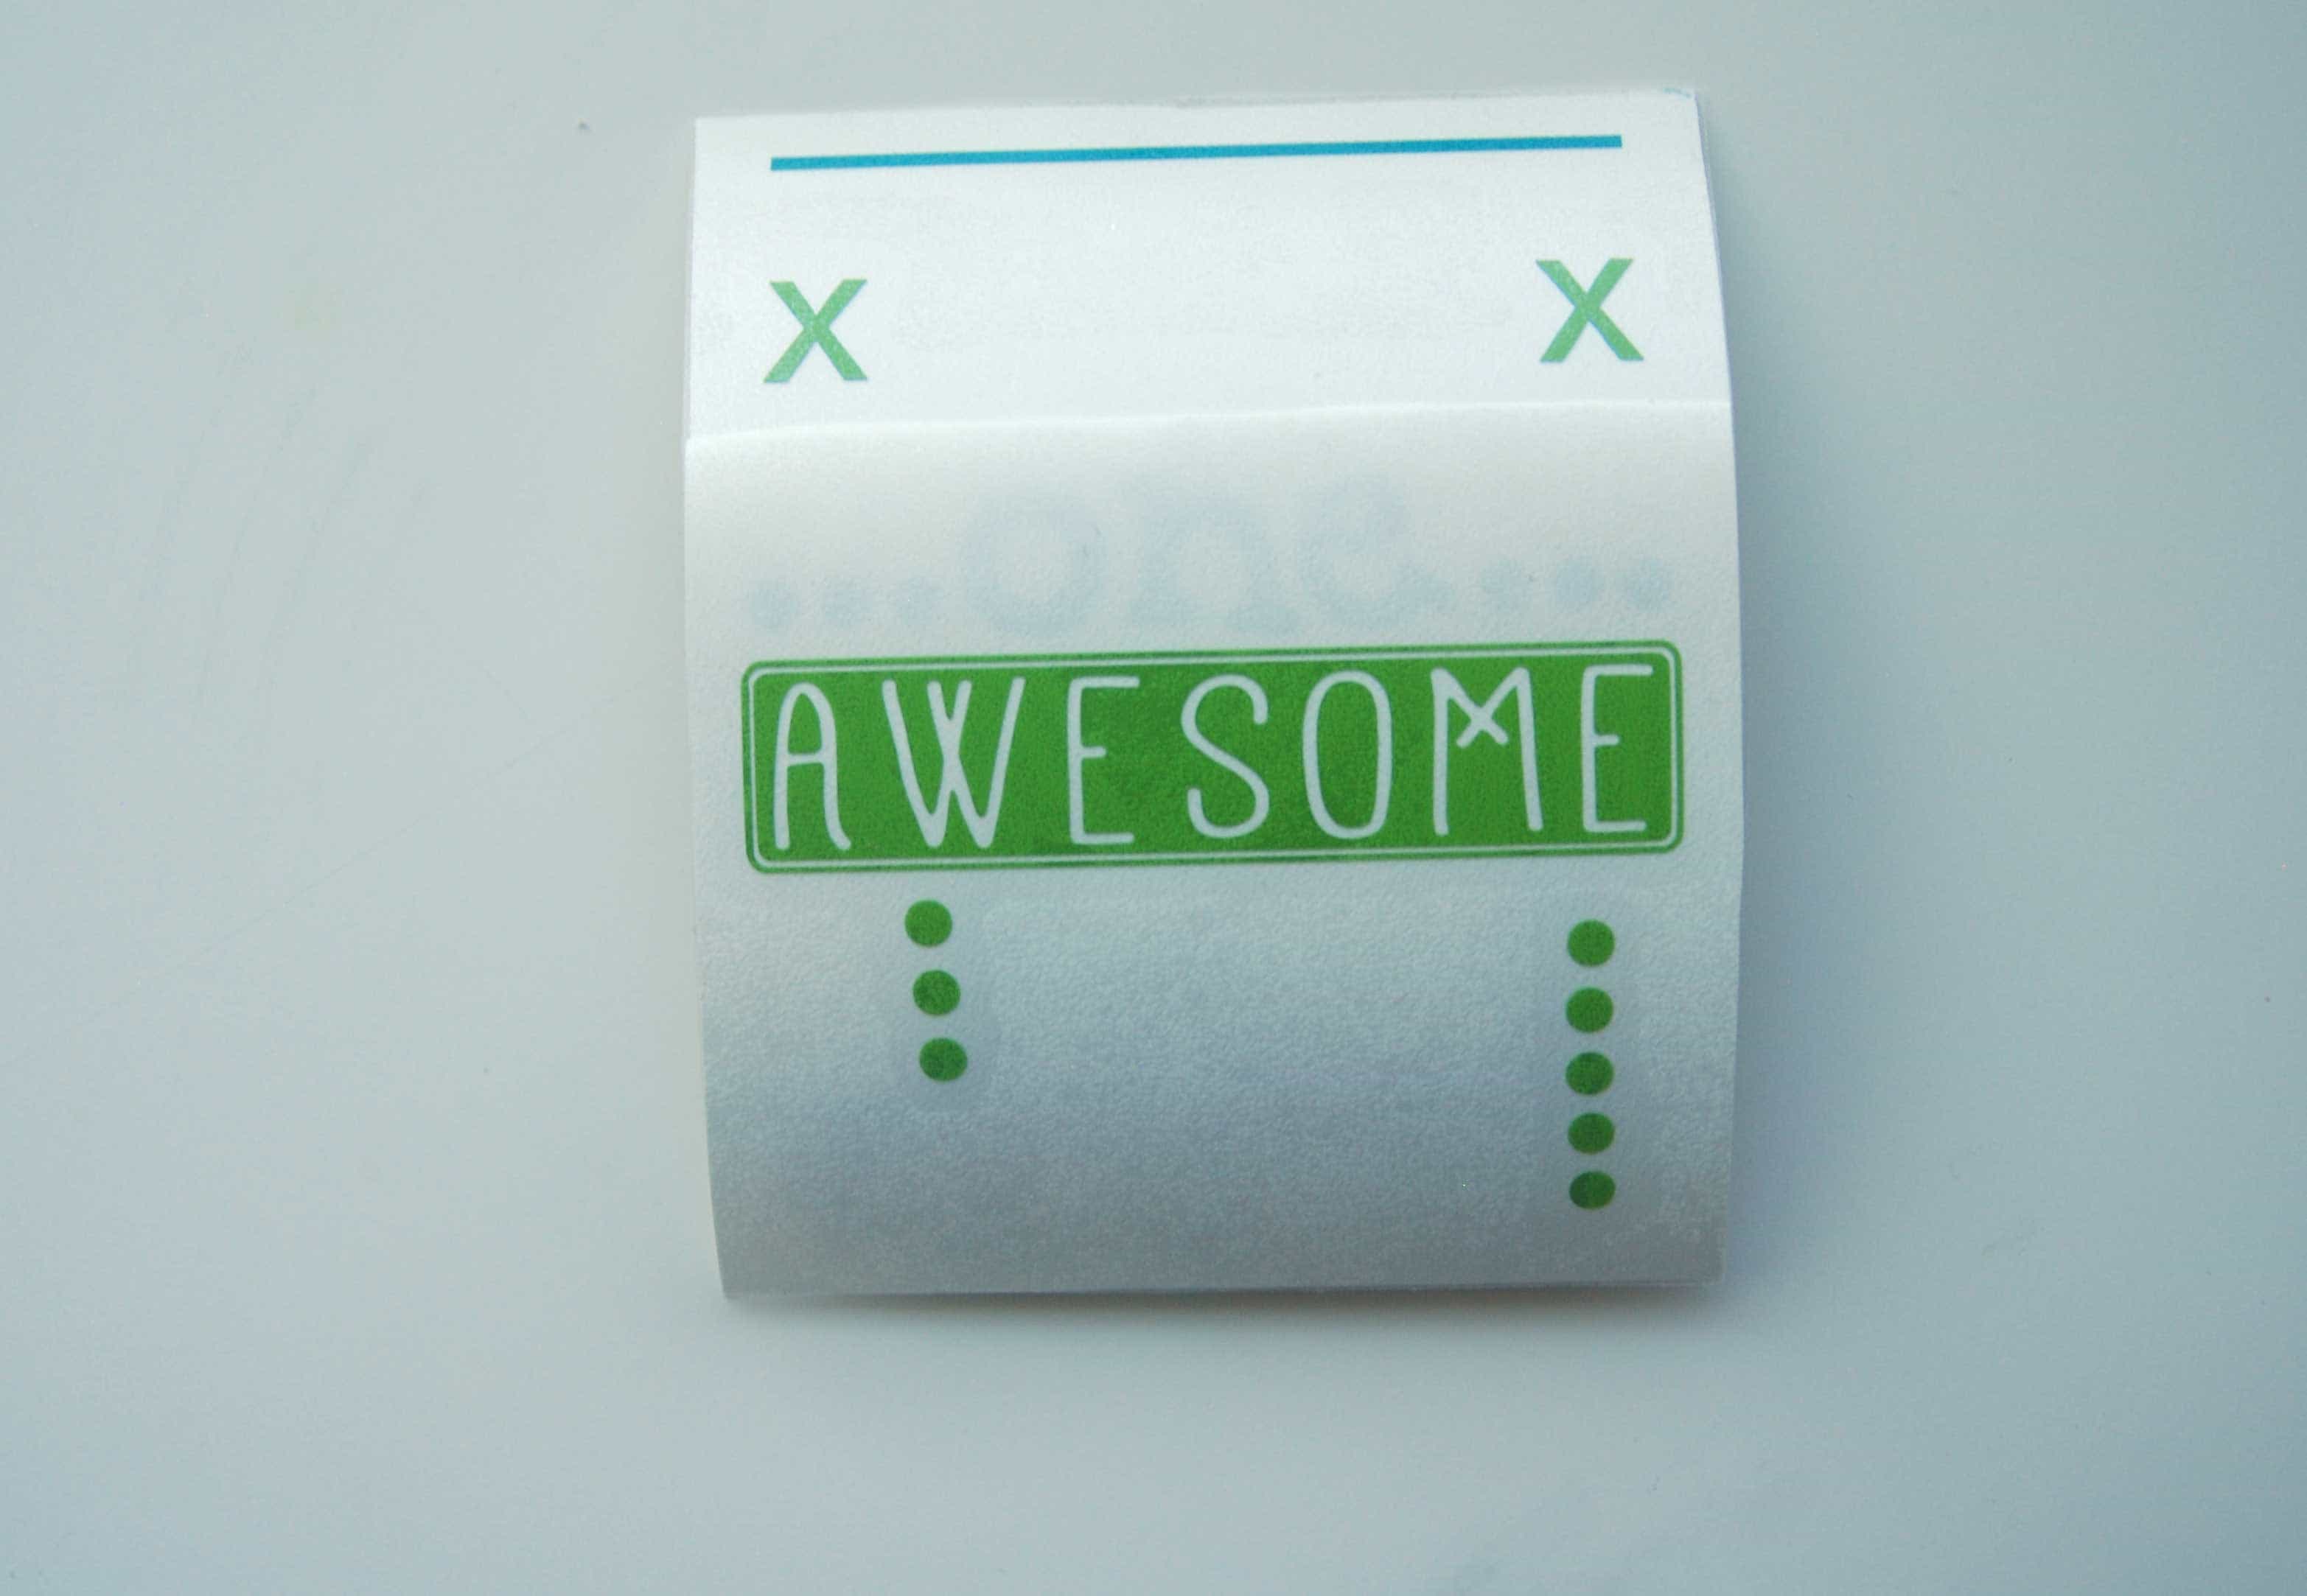
5. I cut the backing off the green vinyl, just below the registration marks.
6. Next, I placed the green registration marks directly over the blue registration marks.
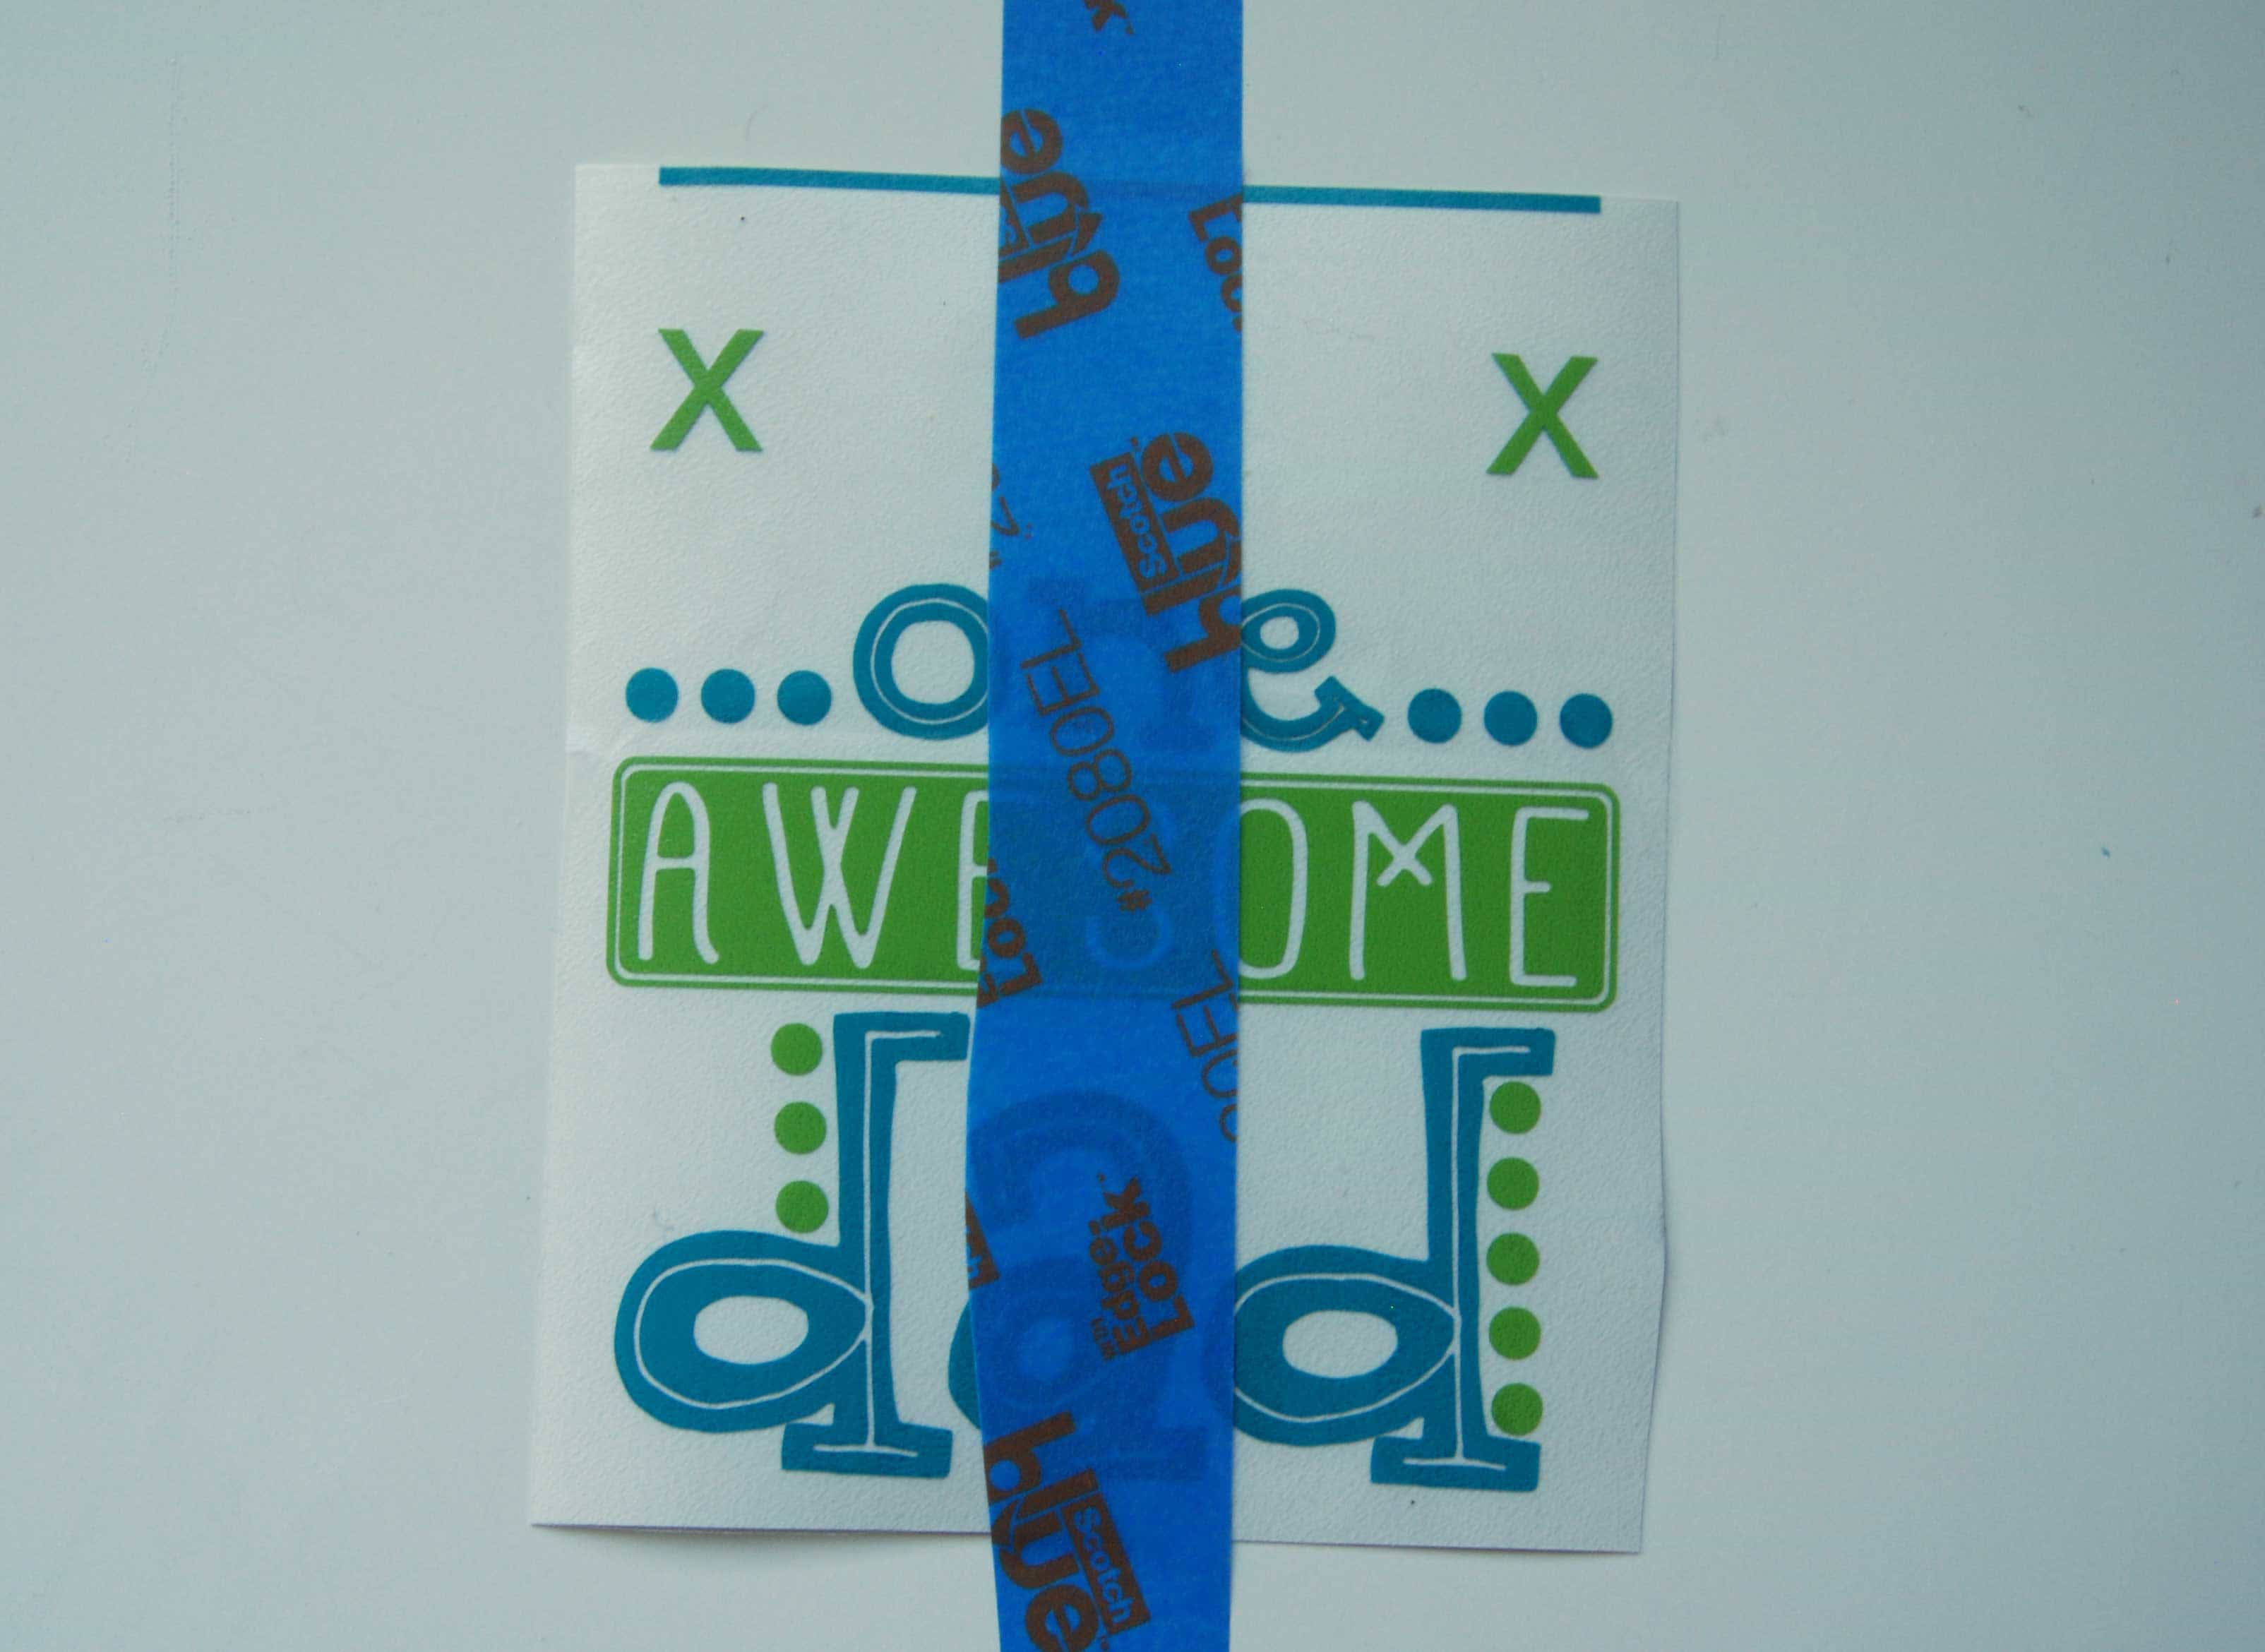
7. Once the X’s were line up, I removed the rest of the backing from the green vinyl and pressed it down over the blue vinyl.
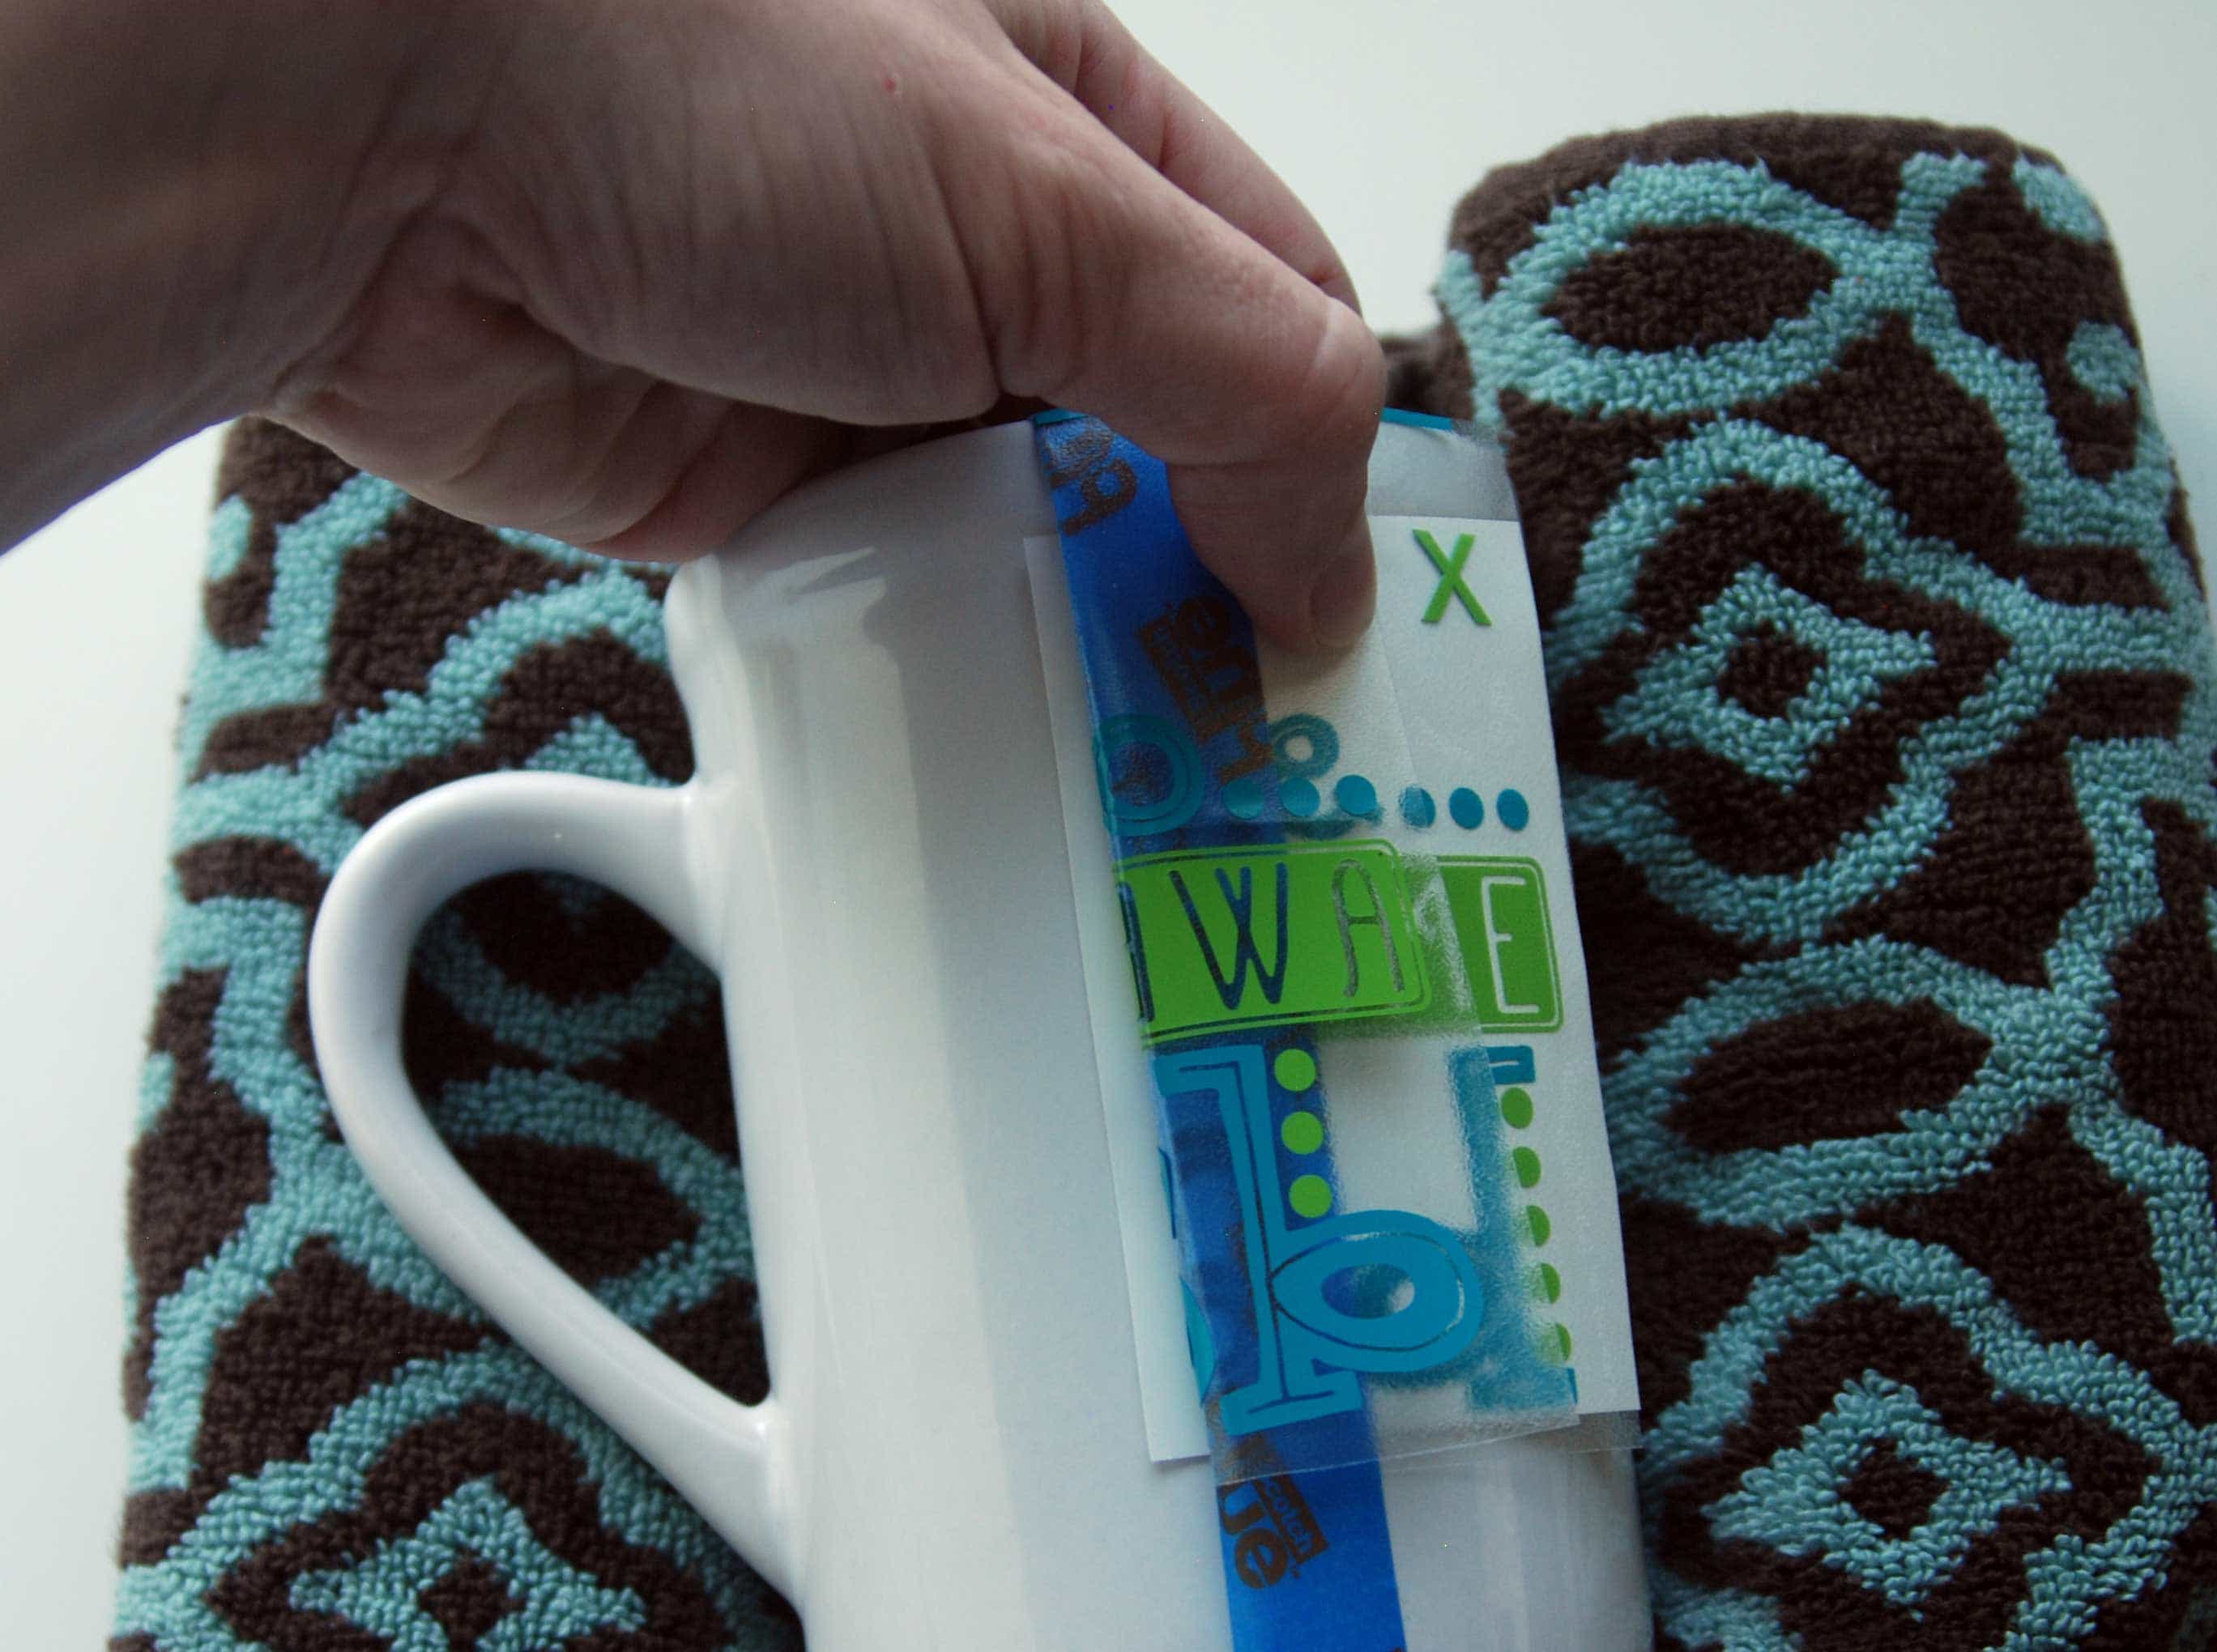
8. I placed a piece of painters tape over the center of transfer tape.
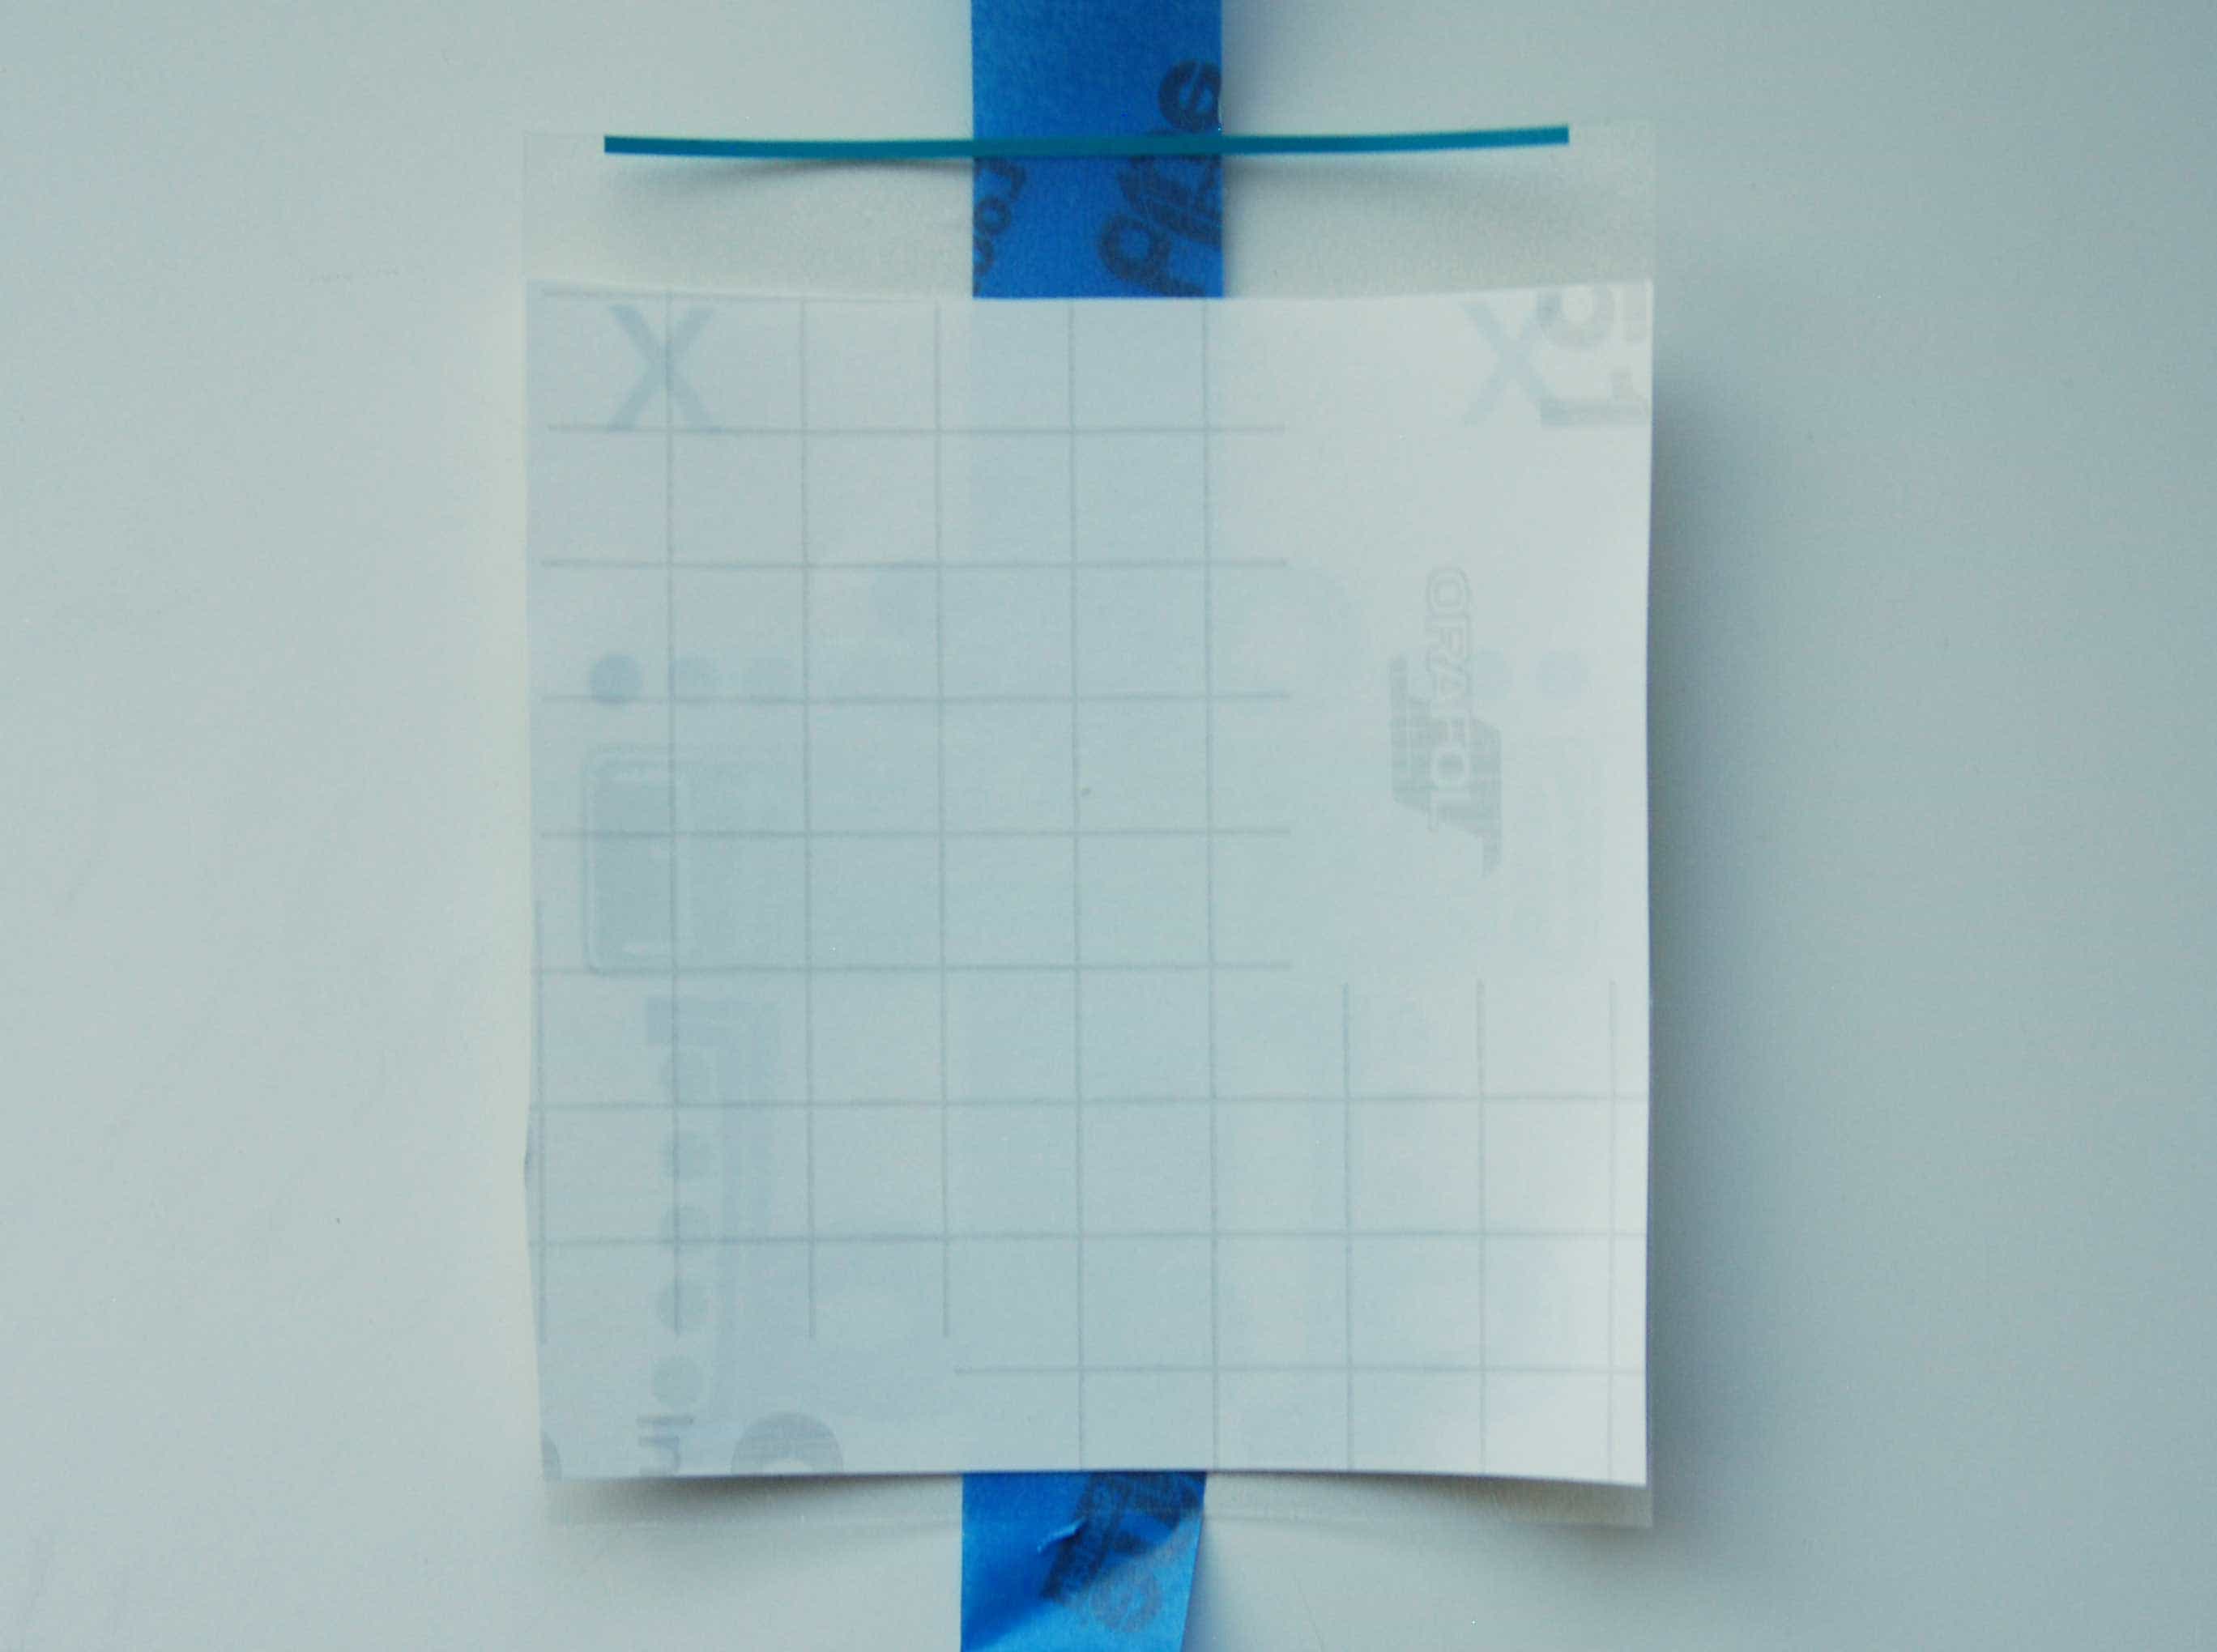
9. I cut the backing off, just below the horizontal line.
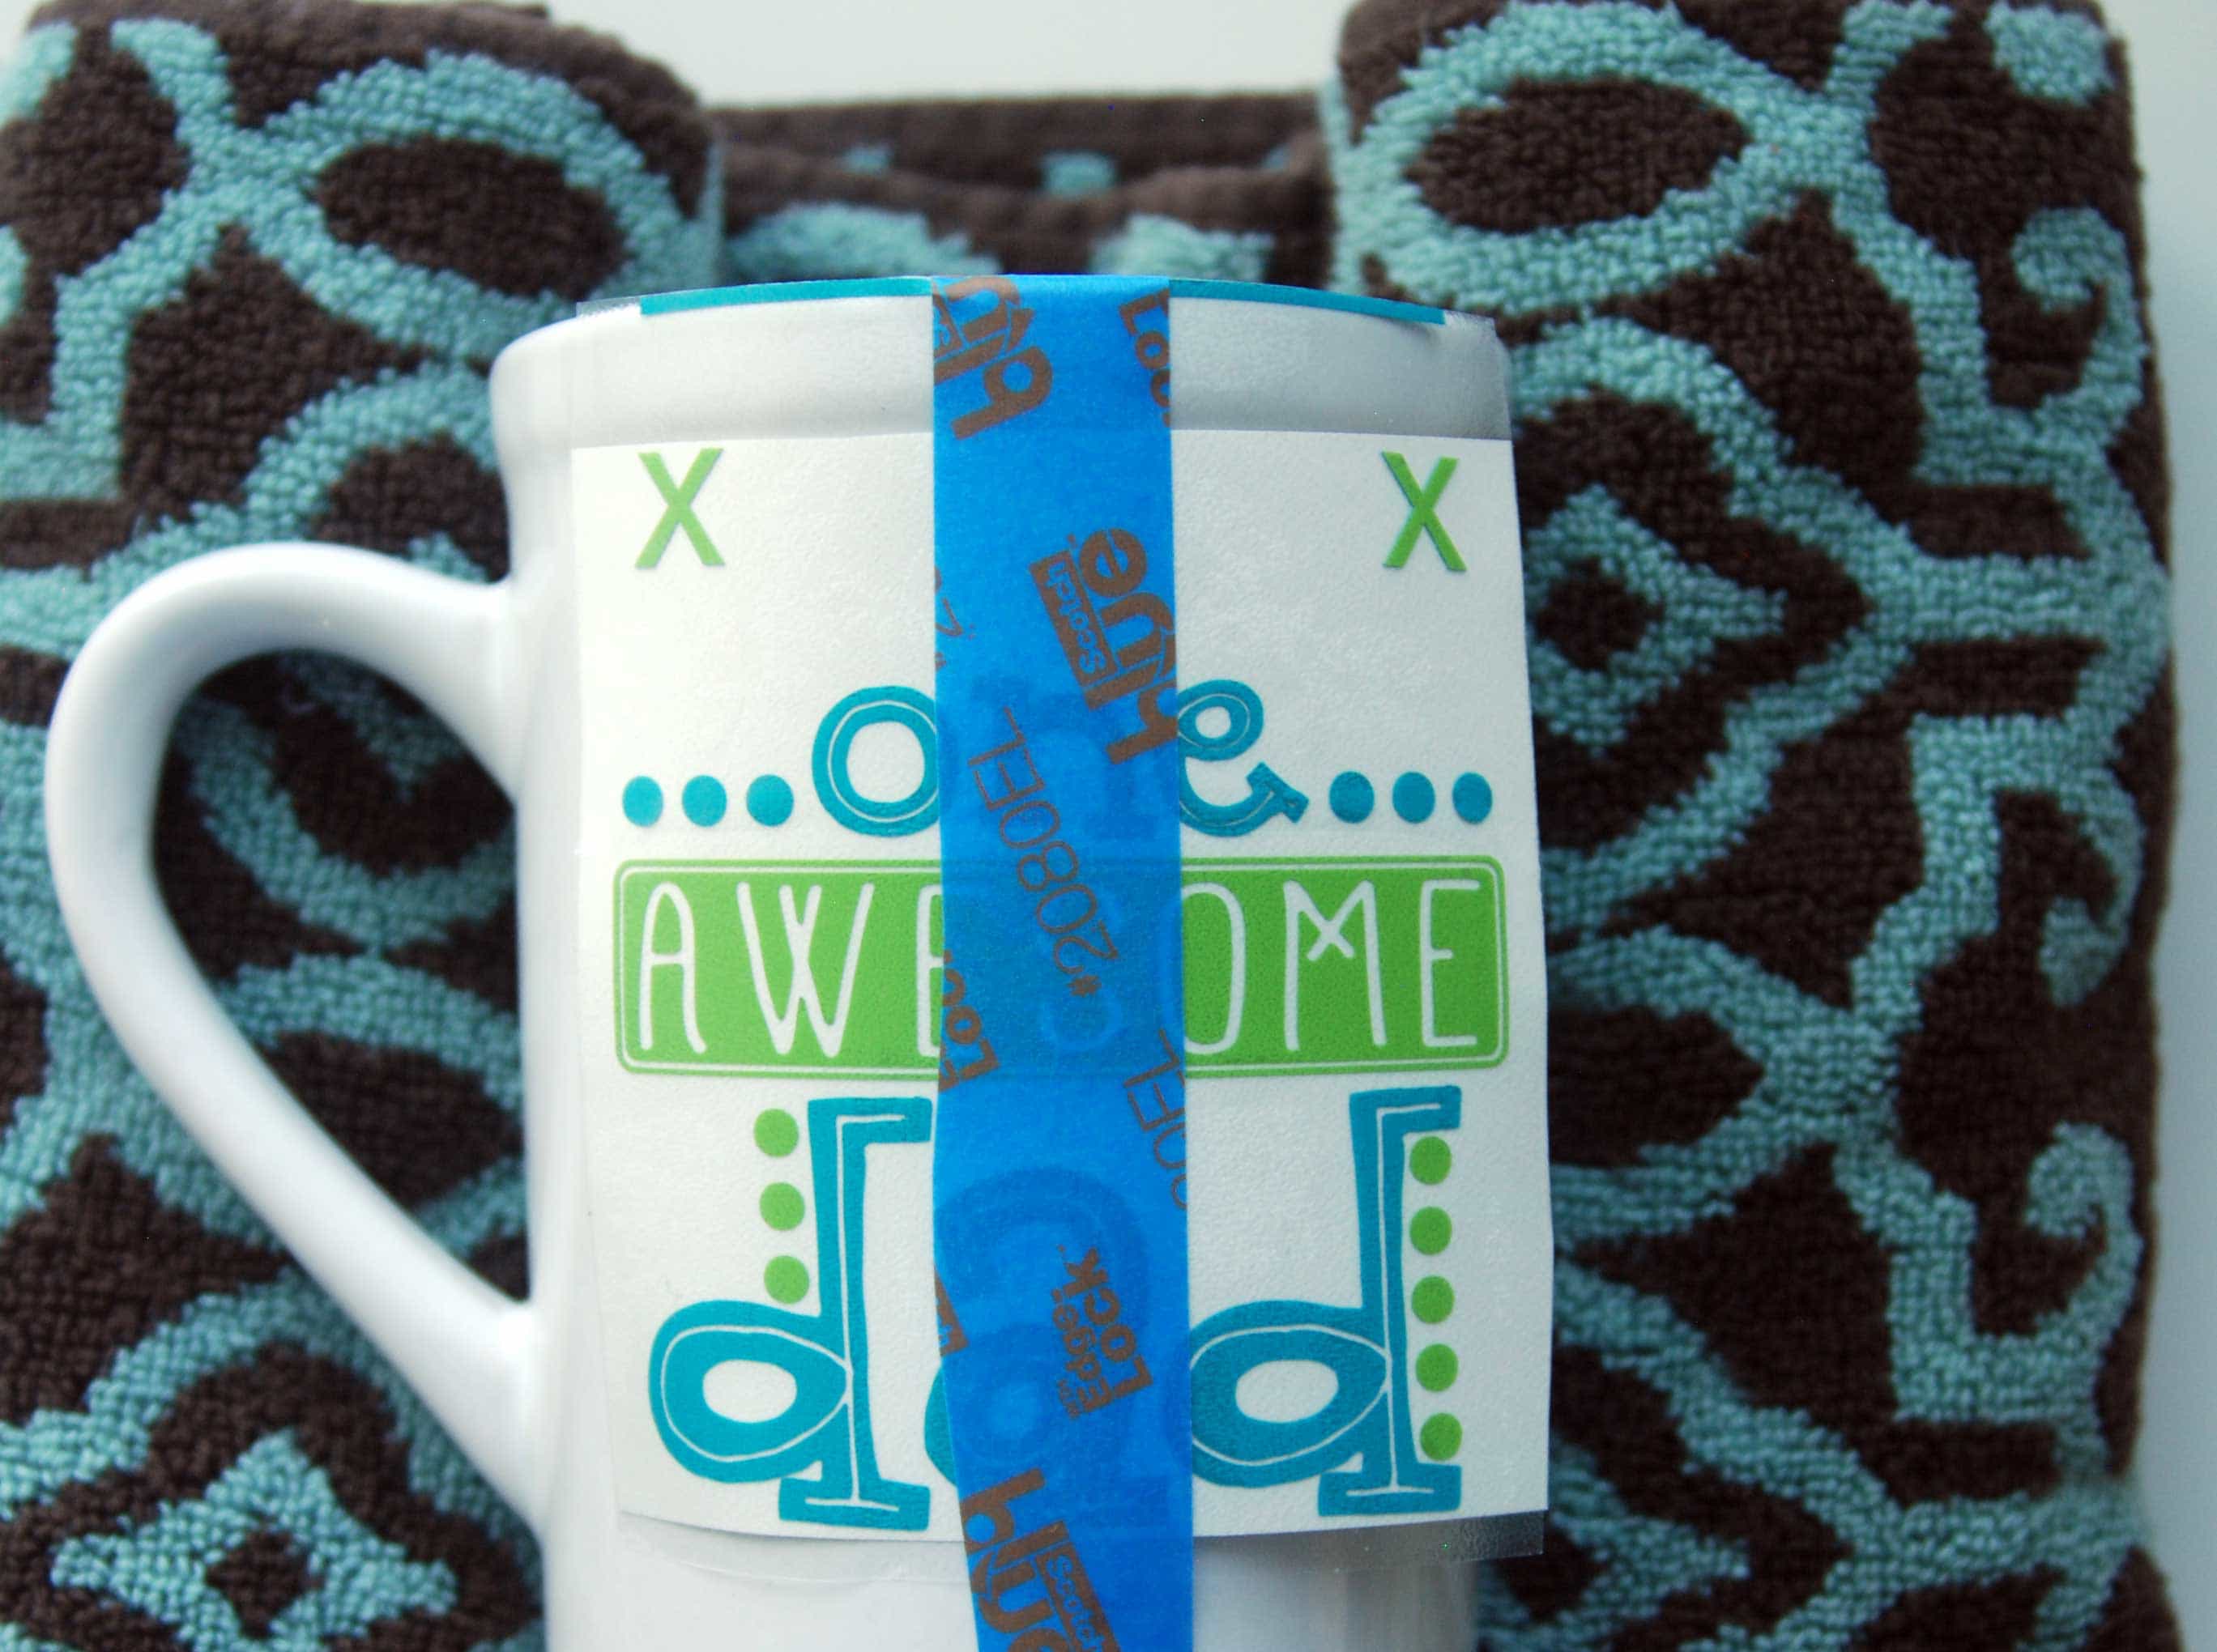
10. I cleaned the mug with rubbing alcohol. Then, I lined up the horizontal line with the top of mug and used the painters tape to hold the design in place.
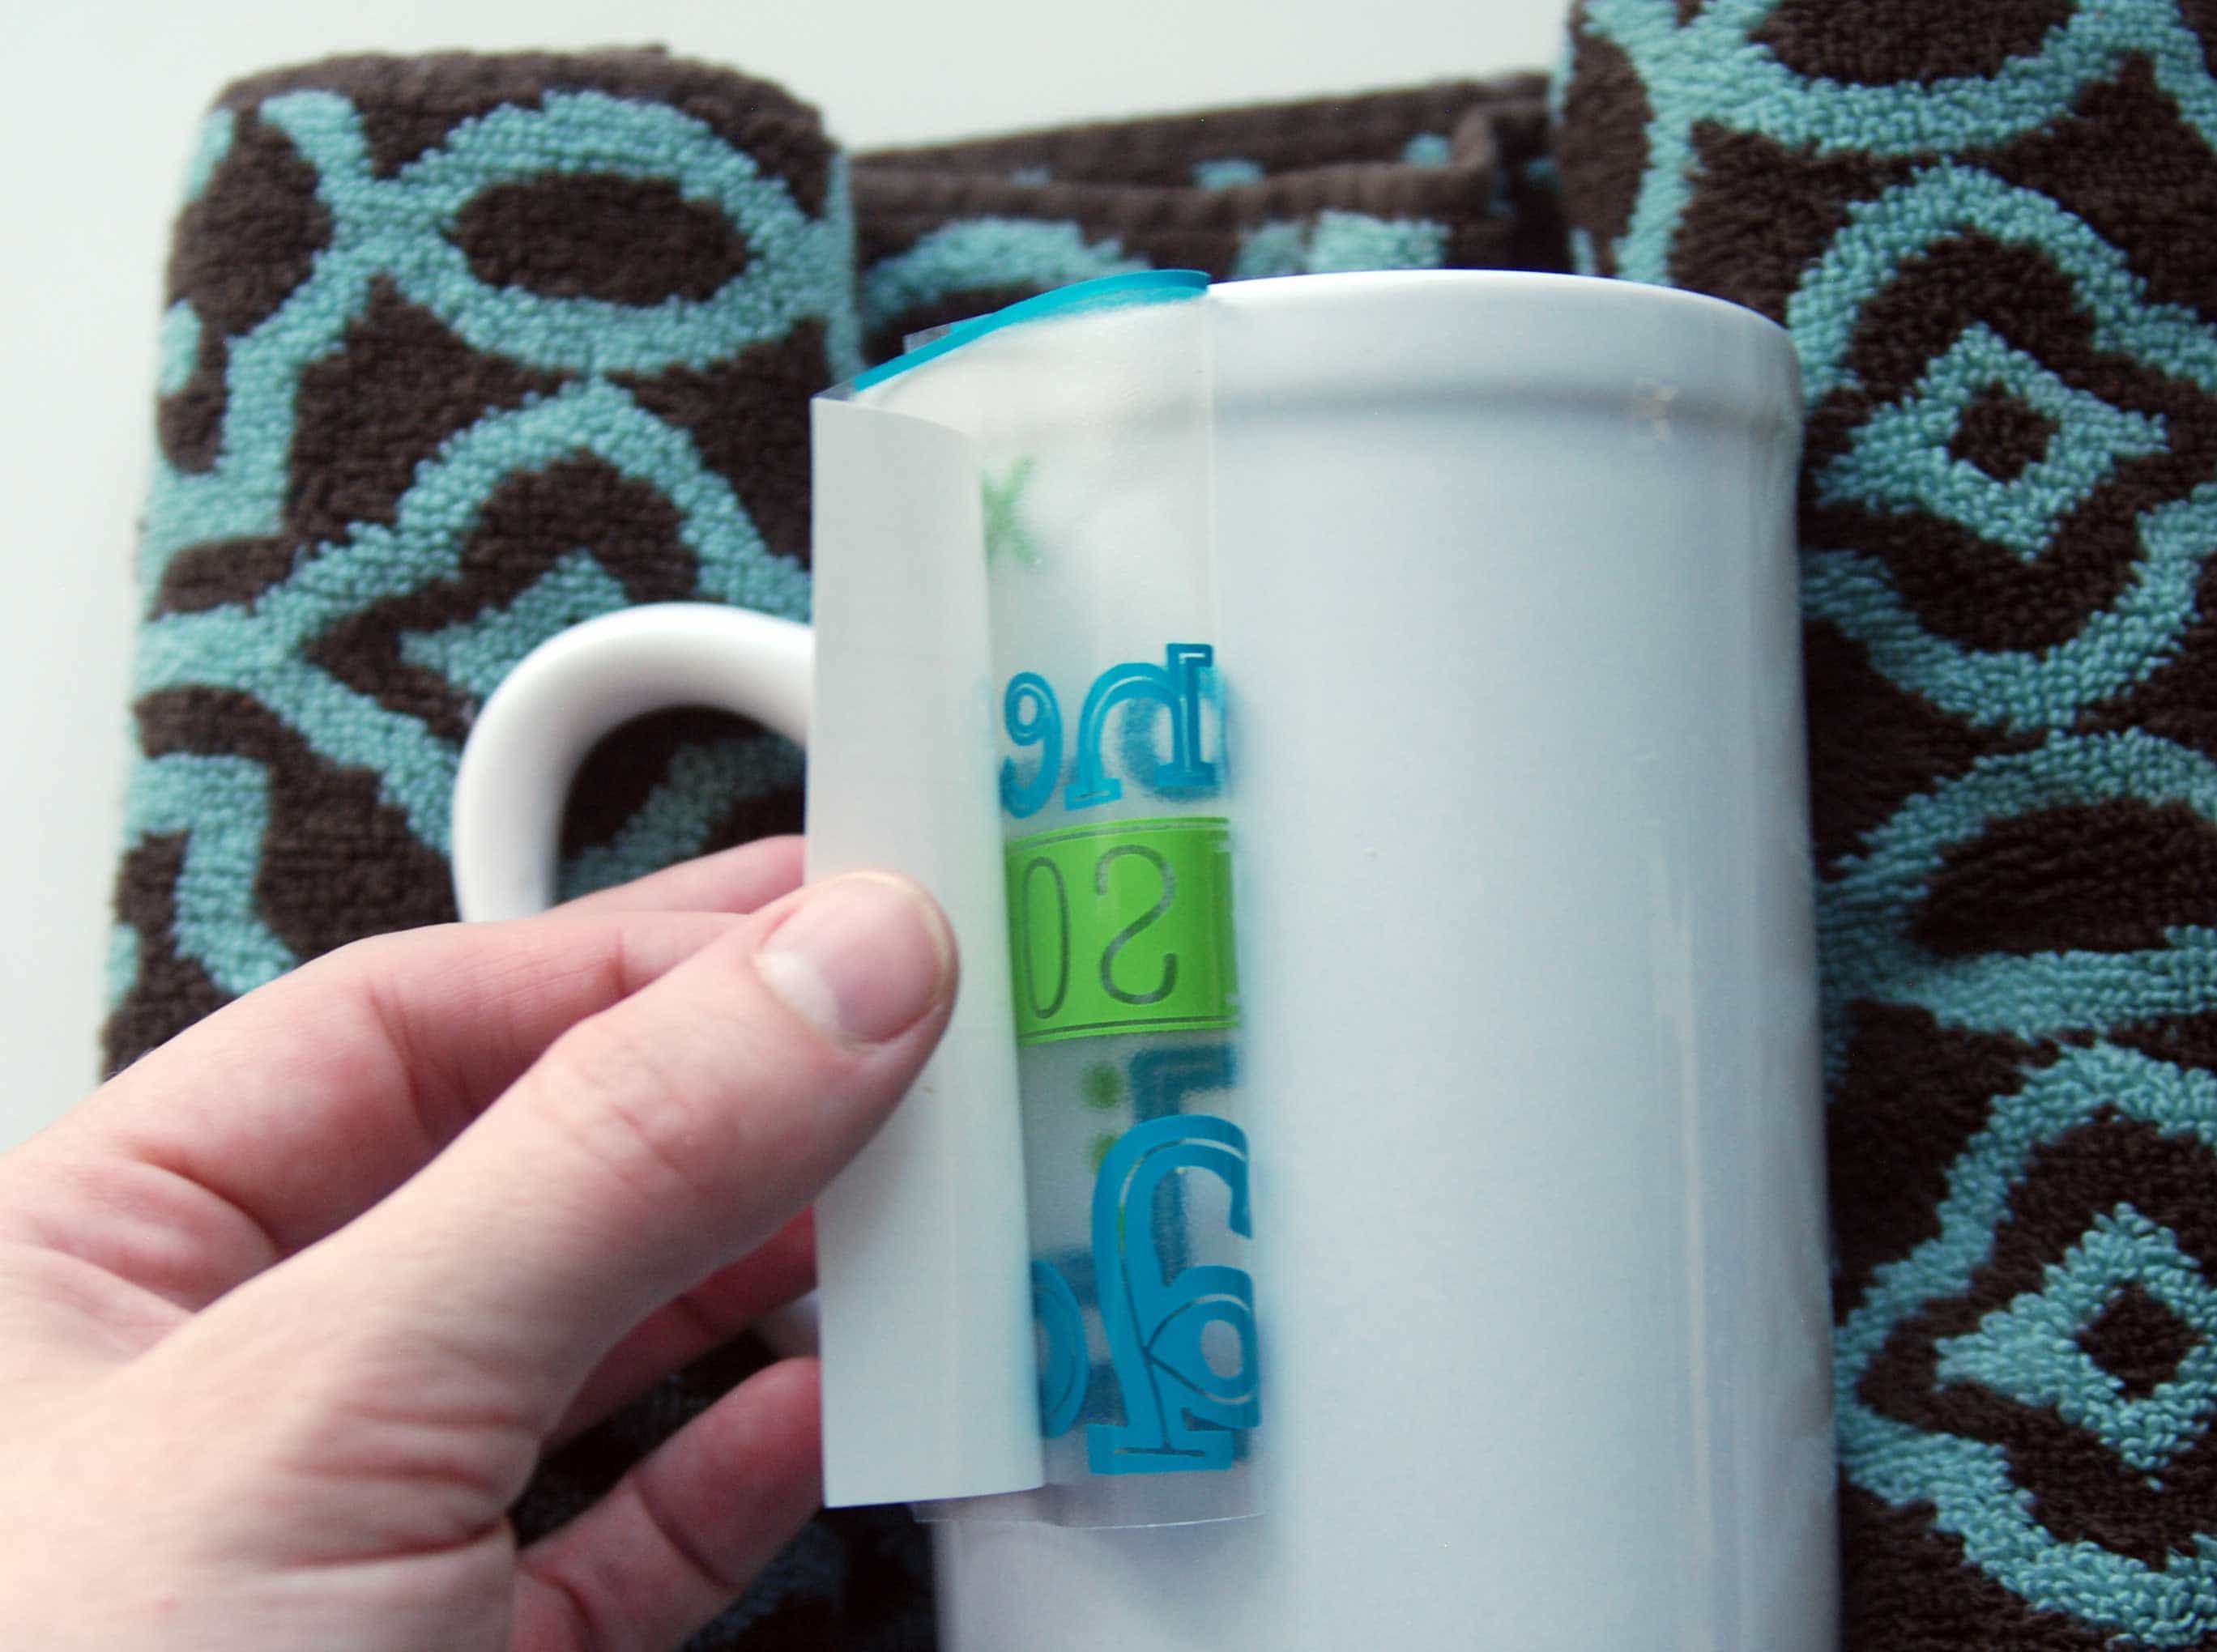
11. I folded the design over to the blue tape and cut off the backing. Then, I pressed that section of the vinyl onto the mug.
12. Then, I removed the rest of the transfer tape and pressed the rest of the design into place.
13. I removed the registrations marks and the mug was finished and the vinyl is perfectly straight.
Do you have any special tricks to help you apply vinyl straight on a mug? I’d love to hear.
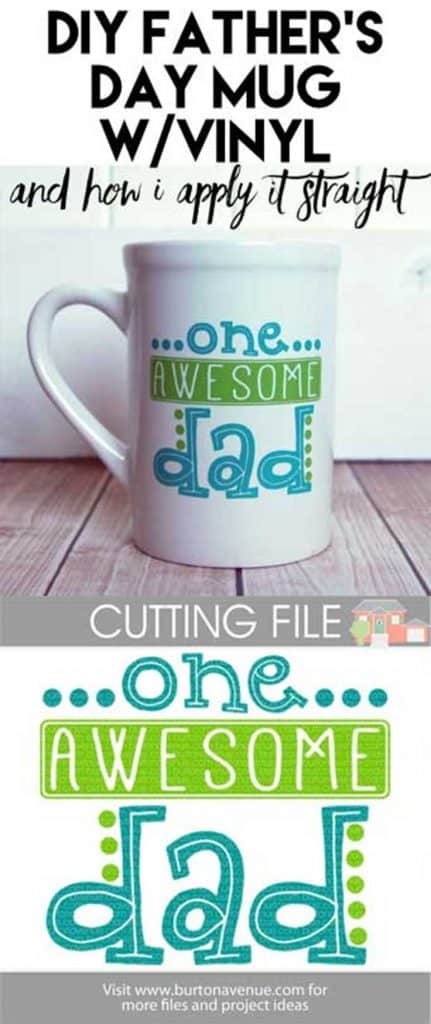
Want to make your own? You can purchase the cut file I used for this project below.






Thanks for sharing! This is awesome!