This week, I’m joining a group of bloggers in Craft Lightning, where we each share a party craft that can be completed in 15 minutes or less (excluding drying time).
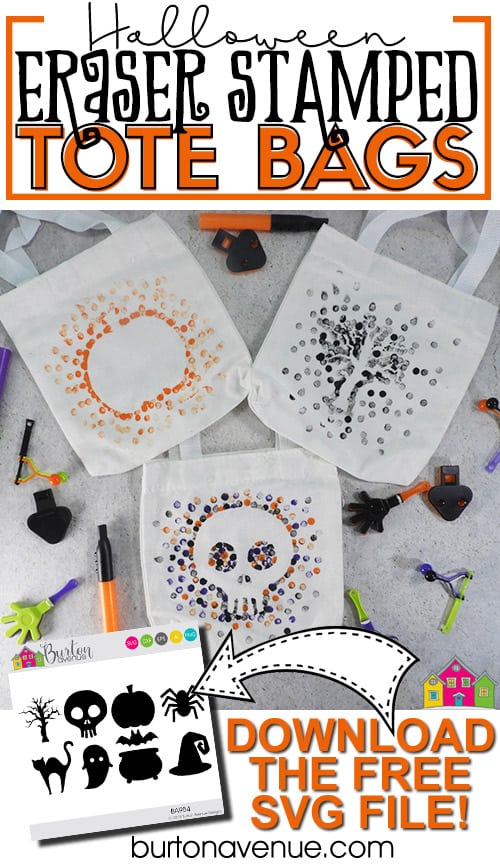
Since Halloween is coming up soon, I thought it would be fun to create a party craft for a kids’ Halloween party. These Halloween eraser-stamped tote bags seemed like the perfect project to share. Not only are they a great way to send home favors and treats, but making them is a super fun party activity for the kids. You can use your Silhouette or Cricut to cut all kinds of custom shapes and let the kiddos pick their favorite!
HERE’S WHAT YOU NEED
- Canvas Tote Bags
- Vinyl for Stencil (Color Doesn’t Matter)
- Cardstock
- Acrylic Paint(I used orange, black, and purple)
- Pencils with New Erasers
- Halloween party favors (Optional)
- Electronic cutter (cricut explore, silhouette or other cutter)
- Cut File (available for free in my resource library)
HERE’S WHAT YOU DO
STEP 1: DOWNLOAD THE FREE SVG FILE
The first thing you’ll need to do is get the free SVG file you’ll use for this project. I keep all the SVG files I use for the projects I make in my SVG Library. These SVG files work with Cricut and Silhouette machines, as well as many others. This library is open to everyone and is free! You can access the library here.
STEP 2:
CUT AND WEED VINYL STENCIL
Open the design in your software program and size to fit on your vase. I sized my designs to about 4″ wide.
I used Oracal 651, but you can also use Stencil Vinyl or Oracal 631.
When everything is sized correctly, you can cut the stencil with your Cricut or Silhouette. Then, weed away the excess vinyl.
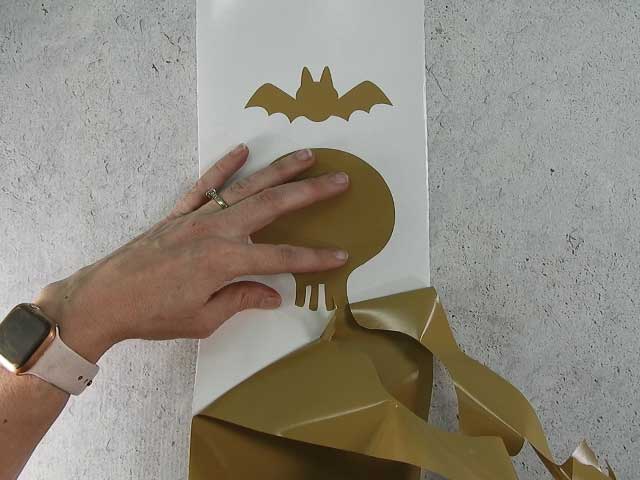
STEP 2: PULL OFF VINYL FROM BACKING
Remove the vinyl from the vinyl backing. The designs in the free SVG file are simple silhouettes. You should be able to pull them right off the vinyl backing like a sticker, no need for transfer tape.
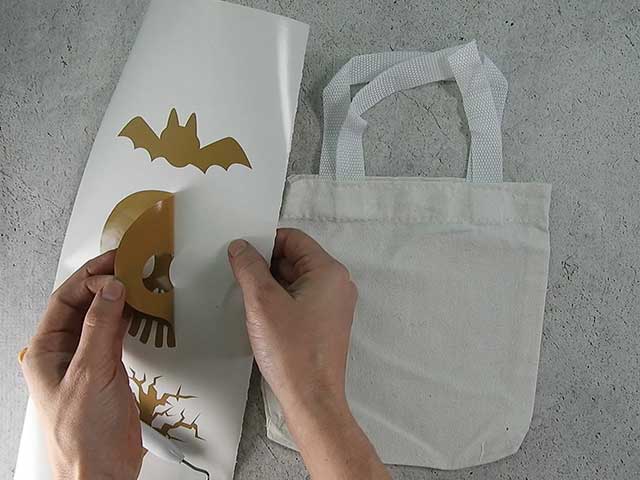
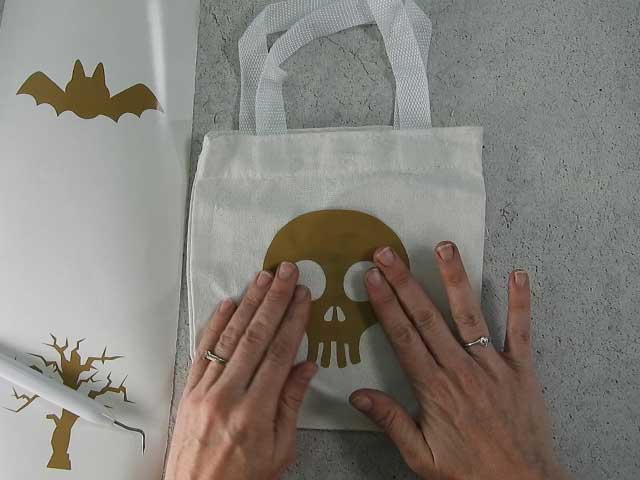
STEP 3: POSITION VINYL ON TOTE BAG
Center the design on the tote bag and press into place. I used these 8″ canvas tote bags. They were a perfect size for this project.
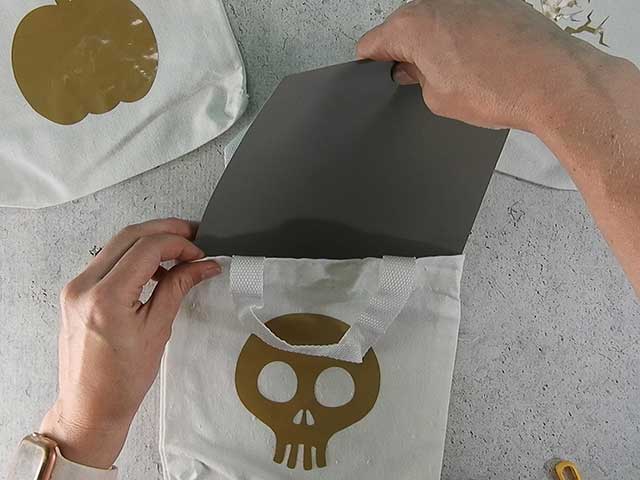
STEP 4: PLACE A PIECE OF CARDSTOCK INSIDE TOTE
Before you do any painting, make sure to place a piece of cardstock inside the tote bag. This will prevent any paint from going onto the back of the bag.
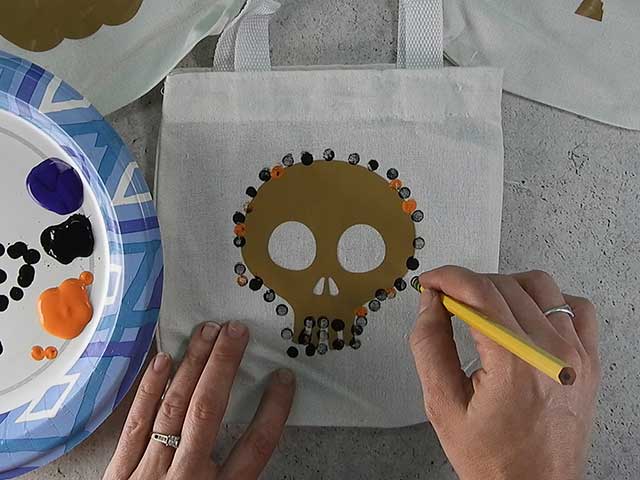
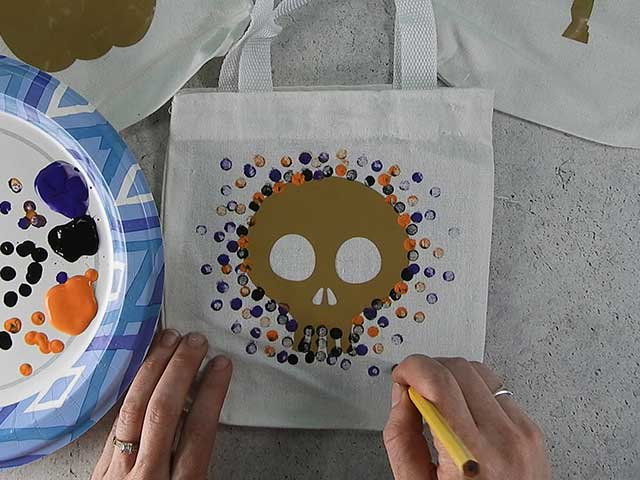
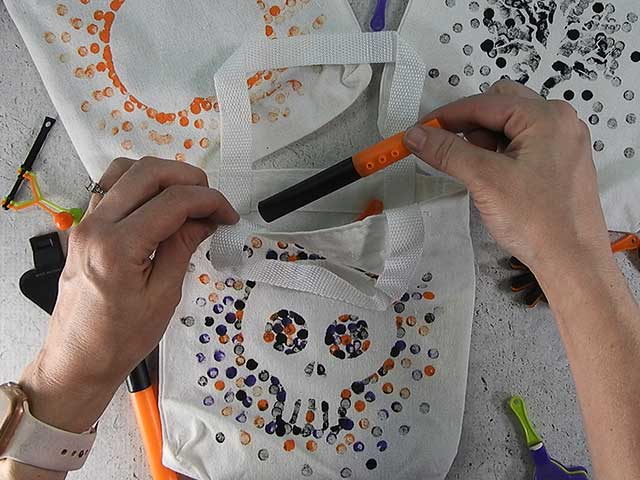
STEP 5: USE A PENCIL ERASER TO ADD DOTS AROUND THE VINYL
Dip the end of a new pencil eraser into some acrylic paint. Then, dab on dots of paint around the vinyl stencil. I do lots of dots right around the stencil. This will give the design a nice clean outline of the Halloween shape. Then, space them out as you get further away from the vinyl.
STEP 6: REMOVE VINYL
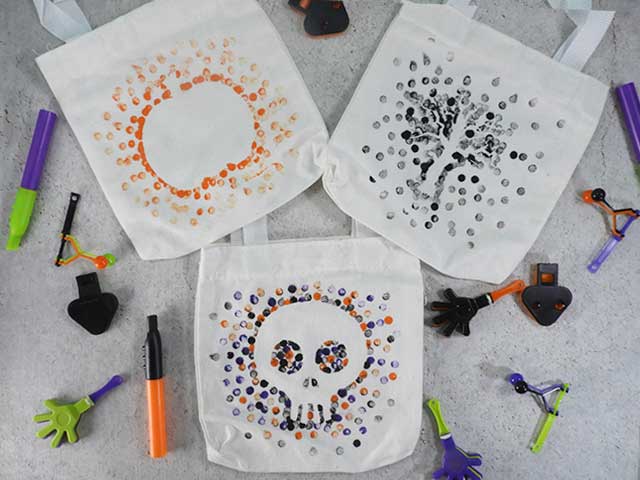
Once the paint has dried, remove the vinyl designs and these Halloween tote bags are complete!
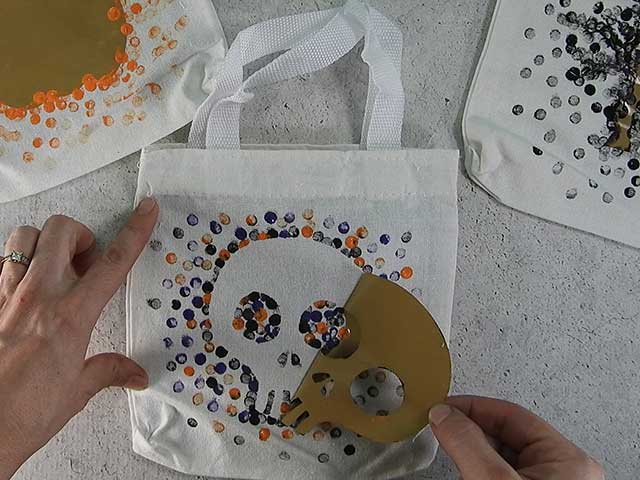
They look so cute and the kids will love making them. They also are great bags for sending home party treats and favors.
Did you enjoy this post? Help spread the word! Share this post on your favorite Pinterest board. Thanks!
Want to make your own? Get the free cut file for this project in the Resource Library.
Click the button for more party crafts!
What a cute idea!!!! I love it,! I just wish my kids were still young again lol. I use to throw little parties for them every holiday and they loves it. Their friends had a blast too! I have a questions, do you seal the back so the pain doesn’t come off?
Thank you for sharing all your fun and great ideas!
Such a cute idea, and so easy for kids to do! Thanks for sharing this wonderful idea!
Thank you!