Do you enjoy making holiday signs with your Cricut or Silhouette? I do! I love finding ways to add dimension to the signs I make. I think this project is the perfect example. I combined my love of sign making with a Halloween wreath and created something totally unique. It is made with supplies from Dollar Tree, so it was super cheap to make. But, most of the supplies can be found at any craft store. Read on for the full tutorial.
HERE’S WHAT YOU NEED
- Wreath (I found mine at Dollar Tree)
- Black Spray Paint
- Plastic Spiders
- Spider Webbing
- Vinyl (I used Black and White)
- Black Paint
- Black Wire
- Wooden Cutout (Any shape, just needs to fit inside of the wreath)
- Hot Glue & Gun
- Application Tool
- Transfer Tape
- Electronic cutter (cricut explore, silhouette or other cutter)
- Cut File (available for free in my resource library)
HERE’S WHAT YOU DO
STEP 1: DOWNLOAD THE FREE SVG FILE
The first thing you’ll need to do is get the free SVG file you’ll use for this project. I keep all the SVG files I use for the projects I make in my SVG Library. These SVG files work with Cricut and Silhouette machines, as well as many others. This library is open to everyone and is free! You can access the library here.
STEP 2: PAINT THE WREATH BLACK
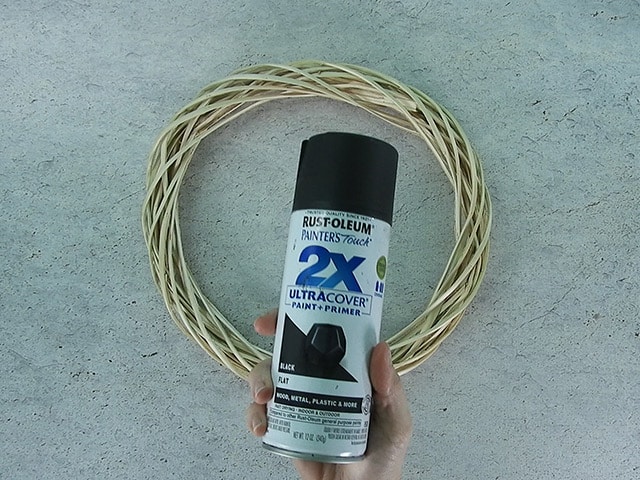
Use spray paint to paint your wreath black. Be sure to turn the wreath over to get inside of all the little gaps.
STEP 3: PAINT EDGES OF SIGN
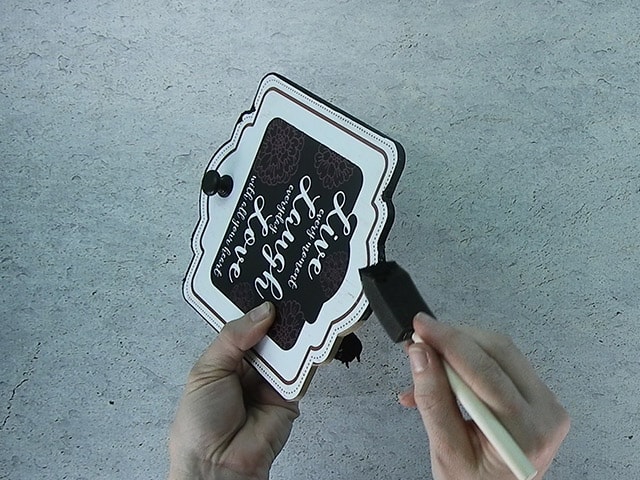
While the wreath is drying, paint the edges of the sign black.
You can use any shape of sign you want. Dollar Tree has lots of different signs you can repurpose for this project. You can also find a simple wood cutout at most craft stores. Just make sure it fits inside the wreath.
STEP 4: COVER SIGN WITH BLACK VINYL
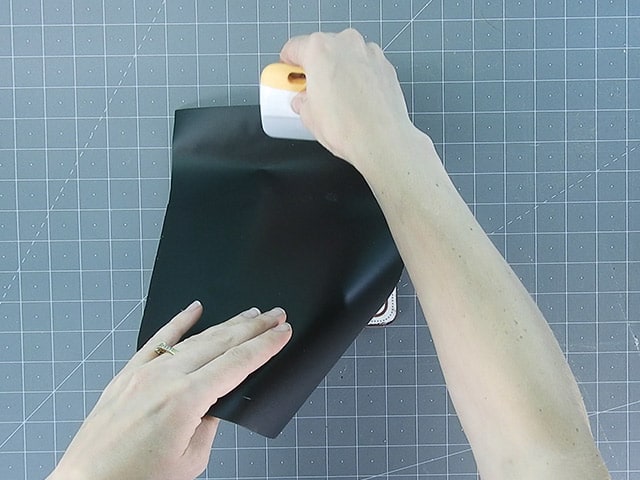
Cut a piece of black vinyl that is just a little larger than your sign. Pull off the vinyl backing and place it over the sign. Then, use a scraper to press down the vinyl.
I used vinyl, instead of paint, because my sign had a hole in it. The vinyl covered up the hole perfectly and no patching was required. If your sign doesn’t have a hole, you can just paint the entire sign black.
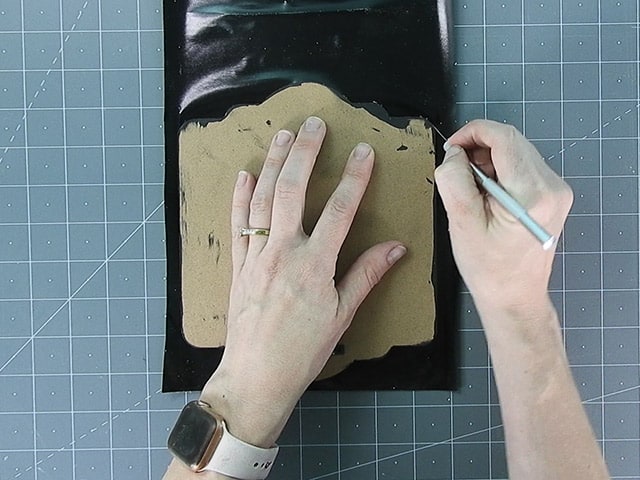
Use a craft knife to trim off the excess vinyl.
STEP 5: CUT AND WEED VINYL STENCIL
Open the design in your software program and size it to fit in your frame.
When everything is sized correctly, you can cut the design with your Cricut or Silhouette. Once it has finished cutting, weed away the excess vinyl.
STEP 6: APPLY TRANSFER TAPE
Cut a piece of transfer tape a little bigger than the design. Place the vinyl on the transfer tape and smooth it down. Then, trim off the excess transfer tape.
STEP 7: REMOVE VINYL BACKING
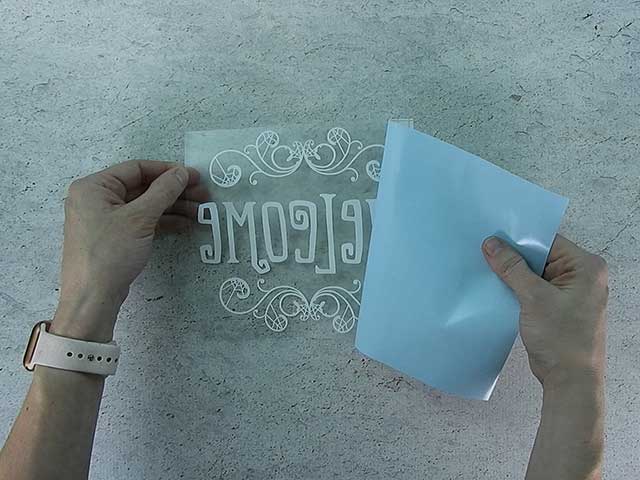
Rub over the design with an application tool to help the vinyl stick to the transfer tape. Then, carefully pull off the vinyl backing.
STEP 8: POSITION VINYL ON SIGN
Center the vinyl decal on the sign. Once everything is straight, press down on the vinyl and burnish with a scraper
STEP 9: REMOVE TRANSFER TAPE
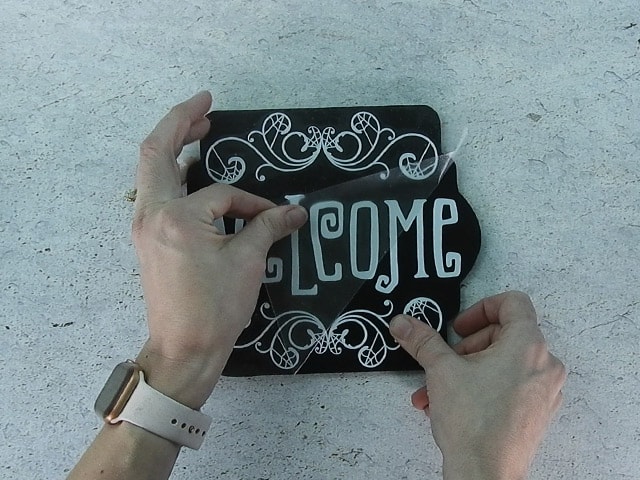
Carefully, pull off the transfer tape.
STEP 8: ATTACH SIGN TO WREATH
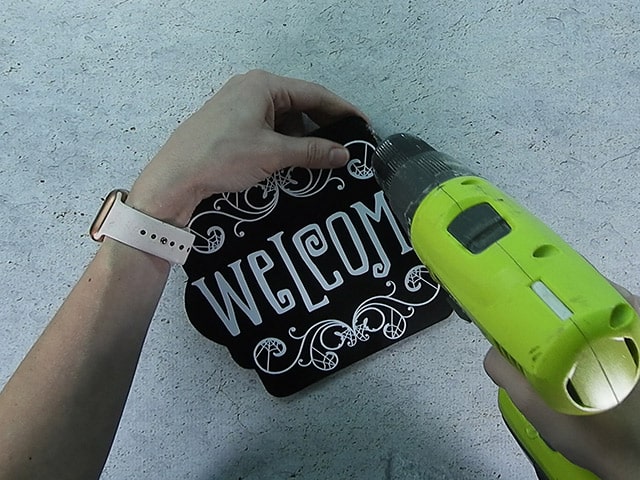
Start by drilling small holes in each corner of the sign.
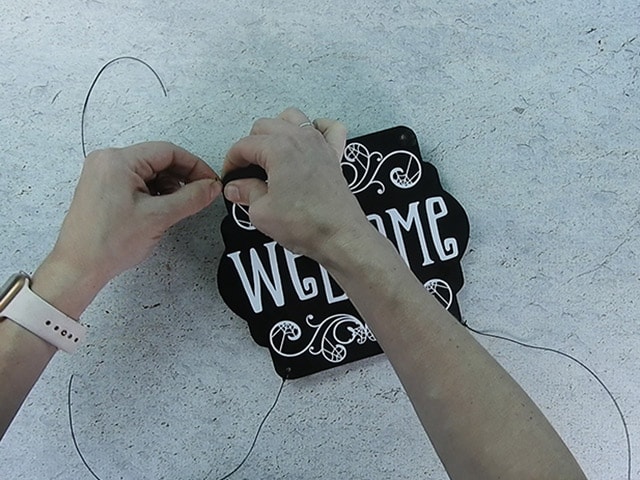
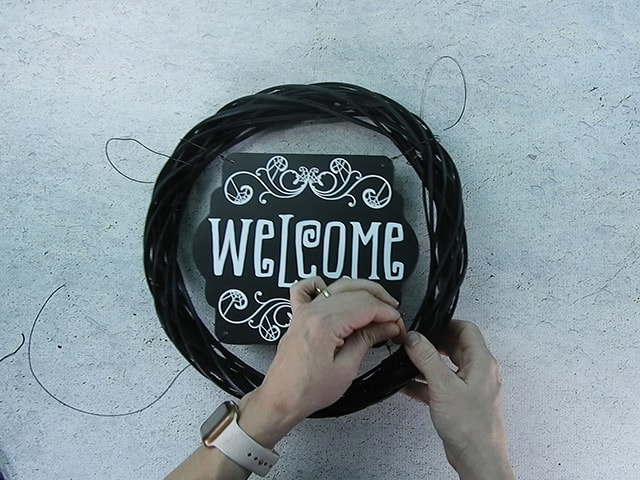
Cut a piece of wire 12-15″. Then, thread an inch or two through one of the holes. Twist the wire around itself to keep it secure. Repeat on each corner of the sign.
Center the sign inside of the wreath and wrap each wire around the wreath several times until it is secure.
STEP 9: ADD DECORATIVE ACCENTS
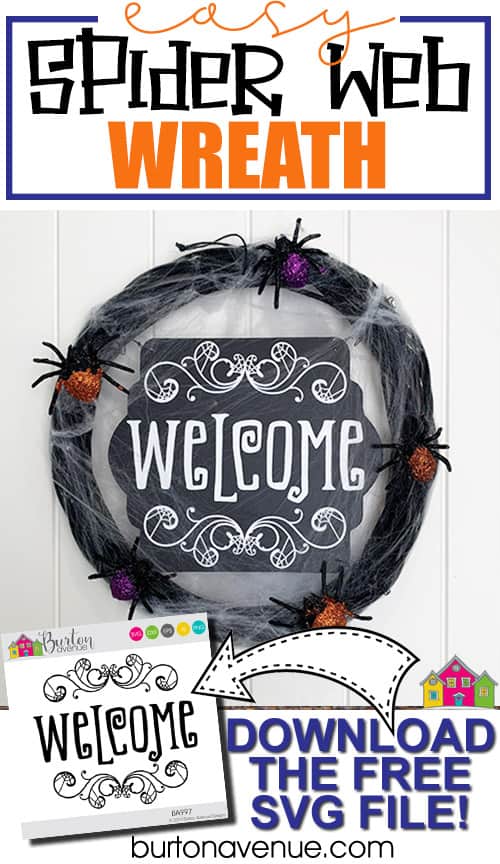
Stretch some spider webbing all around the wreath. It should stay in place on its own, if not, you can also use hot glue to keep it in place.
Use hot-glue to add some plastic spiders and your wreath is done!
Now, you have a cute Halloween wreath to hang on your front door. Such a fun and easy way to welcome family and friends to your home.







Thank you!