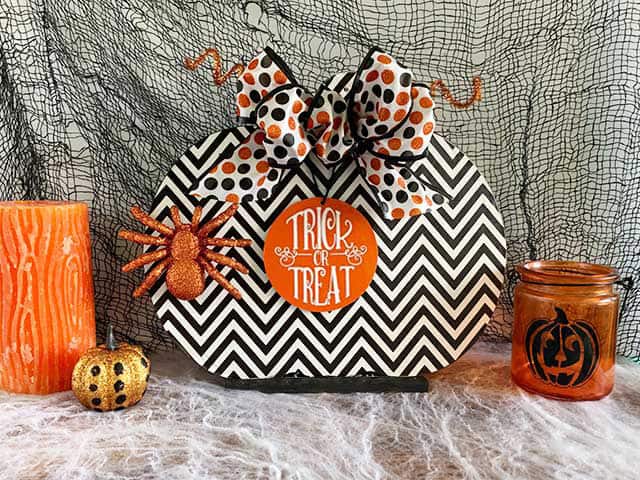
This is my last Halloween Dollar Tree project for the year. I have had so much fun creating all these fun new Halloween decorations with Dollar Tree supplies. I really love shopping at Dollar Tree. They always have great stuff that’s good for repurposing, but the last time I was there, I found blank wood cutouts in different holiday shapes. How exciting! I love making signs on different shapes of wood, but cutting out the wood with a saw takes lots of time. So, seeing these cutouts for only $1 was pretty awesome. I hope they do it for every season. I picked up a blank pumpkin shape and made this pumpkin sign. Isn’t it cute? Read on for the full tutorial.
HERE’S WHAT YOU NEED
- Wood Pumpkin Cutout (I found mine at Dollar Tree)
- Wooden Circle (Mine measured approx. 3.75″)
- Wood for Base or Ribbon for Hanging
- Black Paint & Brush
- Adhesive Vinyl (I used Chevron, Orange Glitter, and White)
- Hot Glue & Gun
- Craft Knife
- Decorative Embellishments (Spider, Ribbon, Pipe Cleaners)
- Twine
- Application Tool
- Transfer Tape
- Electronic cutter (cricut explore, silhouette or other cutter)
- Cut File (available for free in my resource library)
HERE’S WHAT YOU DO
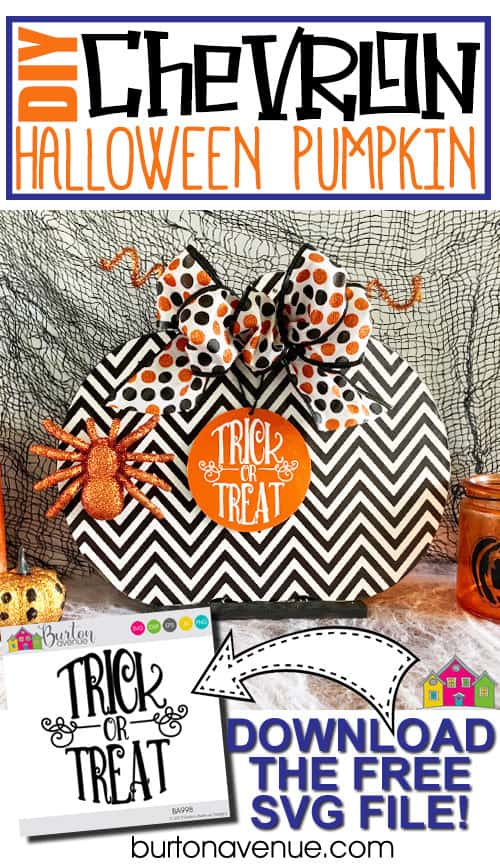
STEP 1: DOWNLOAD THE FREE SVG FILE
The first thing you’ll need to do is get the free SVG file you’ll use for this project. I keep all the SVG files I use for the projects I make in my SVG Library. These SVG files work with Cricut and Silhouette machines, as well as many others. This library is open to everyone and is free! You can access the library here.
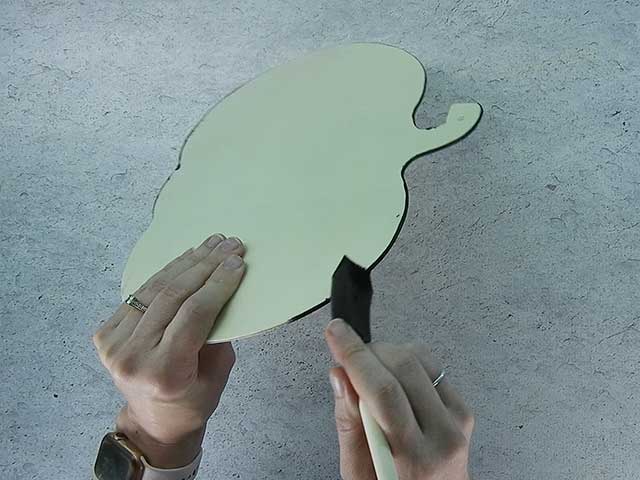
STEP 2: PAINT THE EDGES OF THE PUMPKIN
Paint the edges of the pumpkin black and let dry.
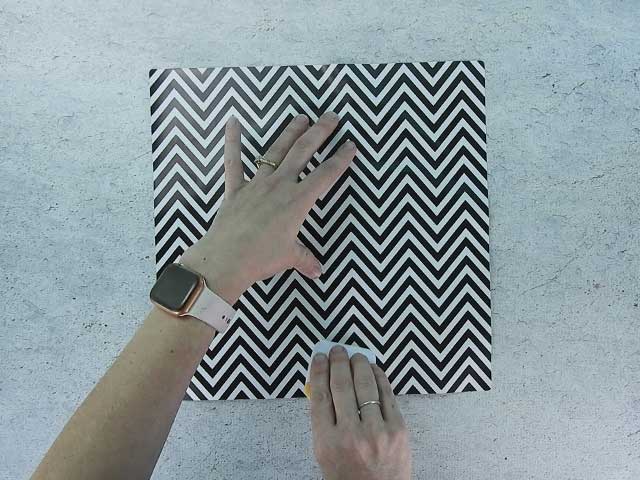
STEP 4: COVER PUMPKIN WITH CHEVRON VINYL
Cut a piece of chevron vinyl that is just a little larger than your pumpkin. Pull off the vinyl backing and place it over the pumpkin. Then, use a scraper to press down the vinyl and flatten out any bubbles.
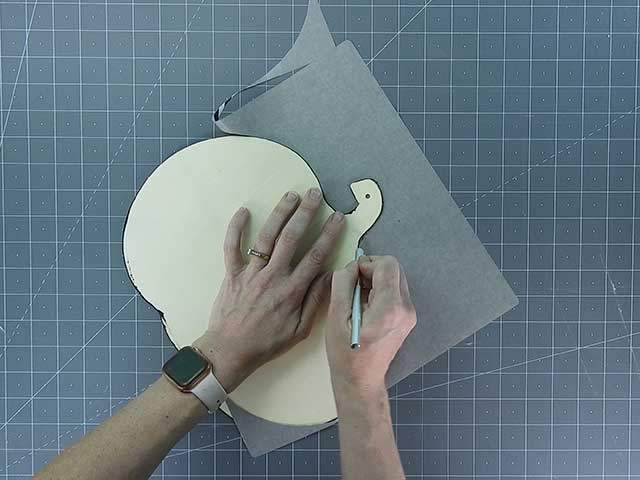
Use a craft knife to trim off the excess vinyl. Repeat these steps on your wooden circle. I used orange glitter vinyl on mine, but regular orange would work, too.
STEP 5: CUT AND WEED VINYL STENCIL
Open the design in your software program and size it to fit in your frame. I made the width of my design about 1″ smaller than the circle.
When everything is sized correctly, you can cut the design with your Cricut or Silhouette. Once it has finished cutting, weed away the excess vinyl.
STEP 6: APPLY TRANSFER TAPE
Cut a piece of transfer tape a little bigger than the design. Place the vinyl on the transfer tape and smooth it down. Then, trim off the excess transfer tape.
![]()
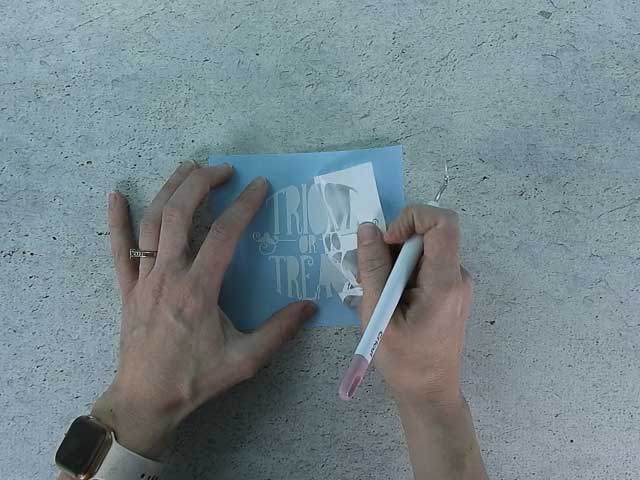
STEP 7: REMOVE VINYL BACKING
Rub over the design with an application tool to help the vinyl stick to the transfer tape. Then, carefully pull off the vinyl backing.
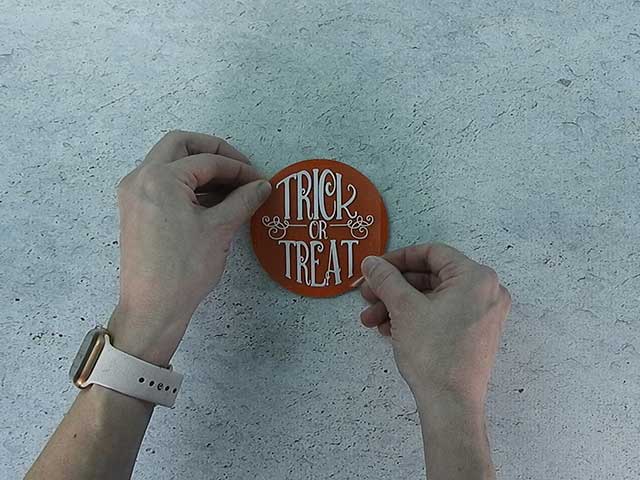
STEP 8: POSITION VINYL ON WOOD CIRCLE
Center the vinyl decal on the wooden circle. Once everything is straight, press down on the vinyl and burnish with a scraper.
I actually found this wood circle on another sign at Dollar Tree. It was the perfect size, so I just pulled it off the other sign and used it for this project.
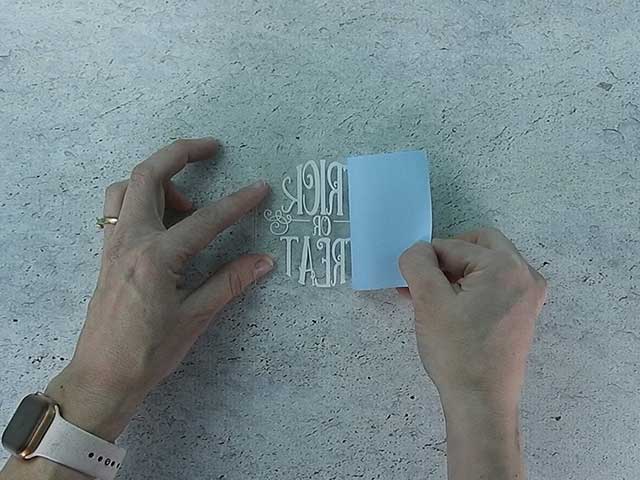
STEP 9: REMOVE TRANSFER TAPE
Carefully, pull off the transfer tape.
![]()
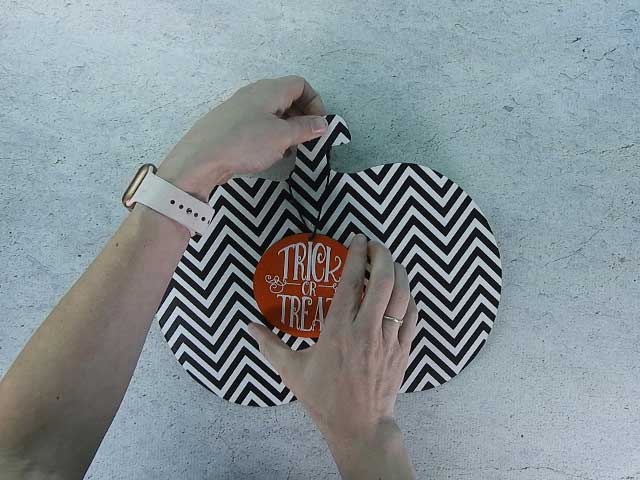
STEP 8: ADD THE SIGN TO THE PUMPKIN
Start by adding a small hole to the top of the wooden circle. I just used my craft knife, but you could also use a drill.
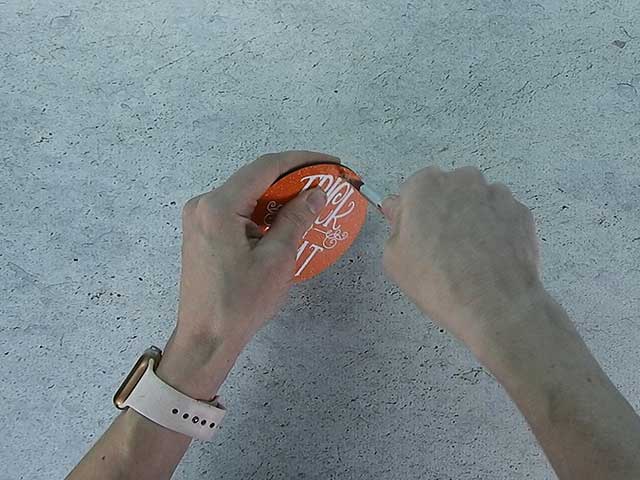
Thread a piece of twine through the hole and tie the ends together. Then, hang the sign over the stem of the pumpkin.
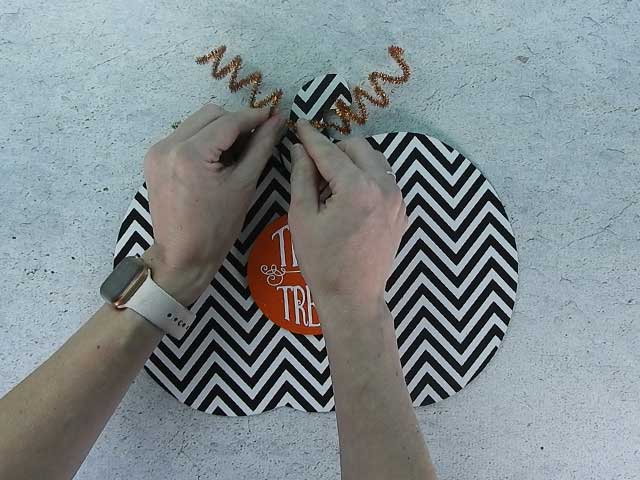
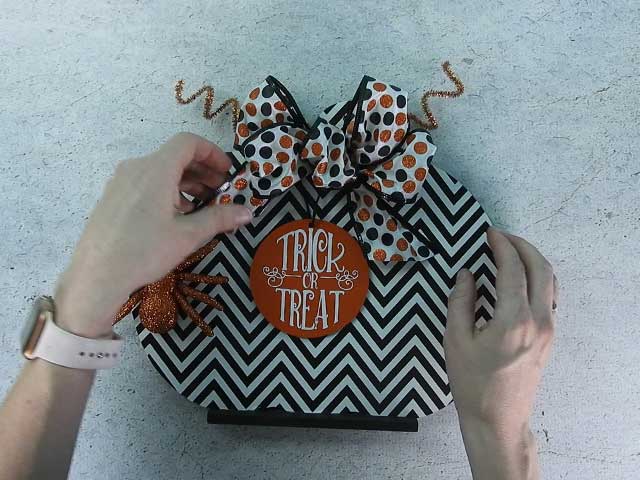
STEP 9: ADD DECORATIVE ACCENTS
To make the curly q’s, wrap a piece of pipe cleaner around a fat marker. Pull the pipe cleaner off the marker and stretch it out a bit. Then, glue onto the stem.
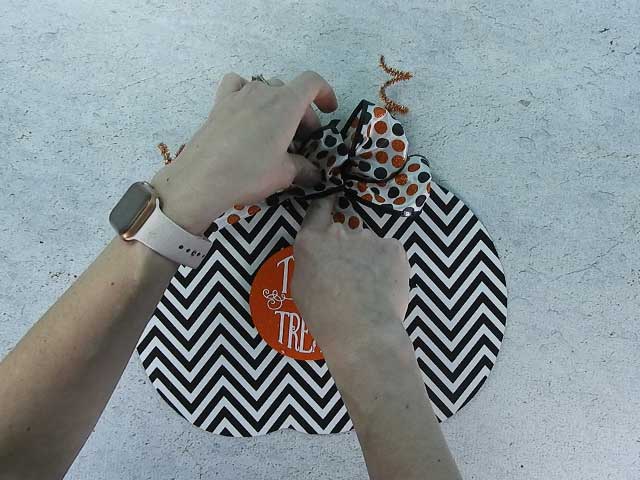
Add a bow made out of Halloween Ribbon.
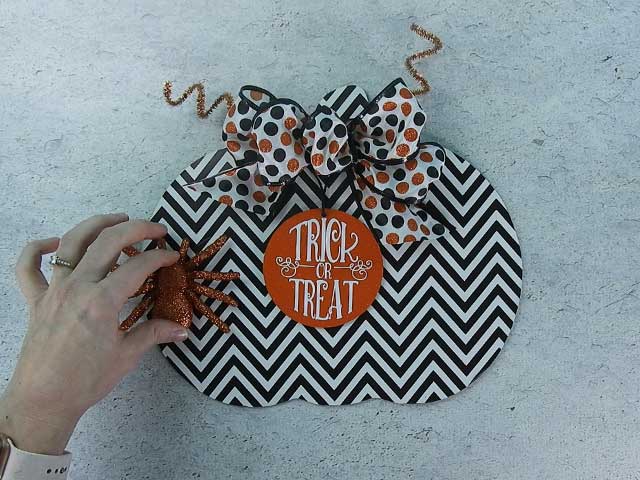
Use hot-glue to add a cute glitter spider.
Now, you have to decide how you want to display your pumpkin. If you want to hang it, cut a hole in the top and add ribbon for hanging. I wanted mine to stand up by itself, so I could put it on my seasonal shelf.
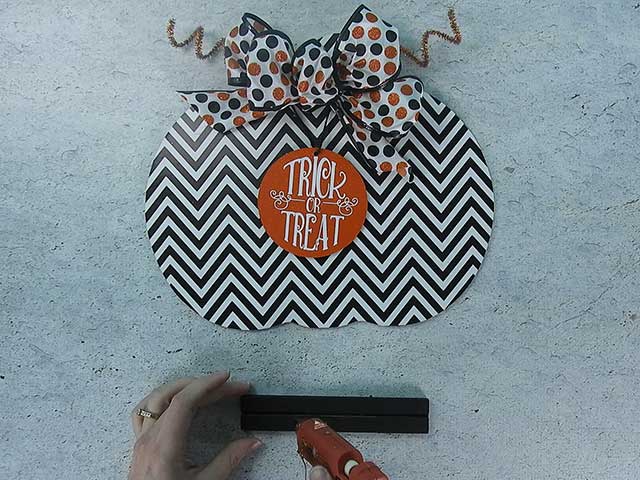
To make it stand on its own, use a piece of wood with a slit in it as your base. Then, just add some glue and place the pumpkin in the slit.
If you have a table saw, you can make one of these pieces quite easily, if not, scope out Dollar Tree for something you can use. I actually found my base on another sign at Dollar Tree. I took apart the sign and painted the base. The slit was the perfect size and the pumpkin fit right in.
Yay, isn’t it cute? I love the look of the chevron vinyl mixed with the polka-dot bow!
Did you enjoy this post? Help spread the word! Share this post on your favorite Pinterest board. Thanks!
I can’t wait to try this! I love the chevron pattern with the polka dot bow! Awesome together! Thanks so much for sharing your beautiful projects with us! I look forward to your email every day!