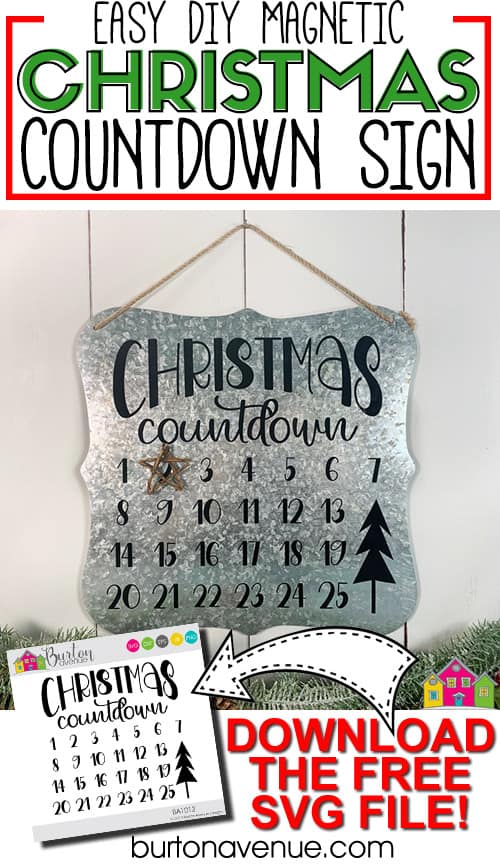
Looking for a fun and festive way to count down the days to Christmas? This DIY magnetic advent calendar is the perfect holiday project to make with your Cricut or Silhouette cutting machine. It’s a simple and creative Christmas craft idea that’s great for kids and adults alike. Plus, I’m sharing a free advent calendar SVG file so you can easily recreate this project at home. Whether you hang it on the wall or display it on a shelf, this handmade advent calendar sign will add charm and holiday cheer to your home all season long!

Supplies Needed for DIY Magnetic Advent Calendar
- Scalloped Magentic Sign (I found mine at Walmart)
- Black Vinyl
- Application Tool
- Transfer Tape
- Mini Grapevine Star (or other small Christmas Item)
- Magnets & E6000
- Electronic cutter (cricut explore, silhouette or other cutter)
- Cut File – Christmas Countdown BA401 (click here to get the SVG file for free from my free SVG Library)
How to Make a DIY Advent Calendar with Cricut or Silhouette
STEP 1: DOWNLOAD THE FREE SVG FILE
The first thing you’ll need to do is get the free SVG file you’ll use for this project. I keep all the SVG files I use for the projects I make in my SVG Library. These SVG files work with Cricut and Silhouette machines, as well as many others. This library is open to everyone and is free! You can access the library here. Look for the file called Christmas Countdown BA401. It will be listed under the Christmas category-25 Days of Craftmas 2019 – Day 1.
STEP 2: CUT AND TAPE VINYL STENCIL
Open the design in your software program and size it to fit on your sign. I sized mine to about 9.5″
I used Black Oracal 651, but you can also use Oracal 631.
When everything is sized correctly, cut the design with your Cricut or Silhouette. Once everything is cut, weed away the excess vinyl.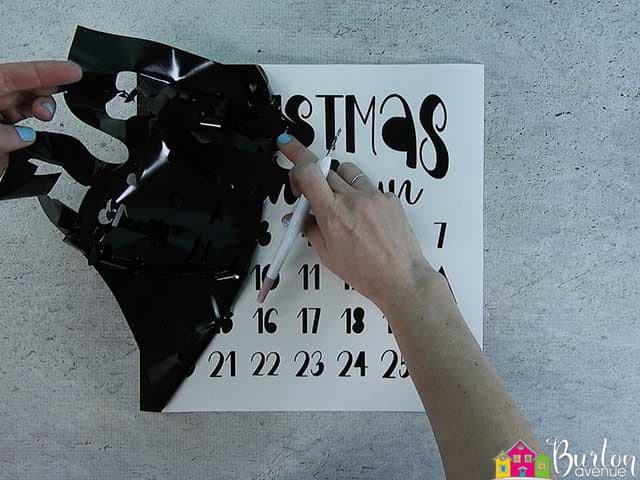

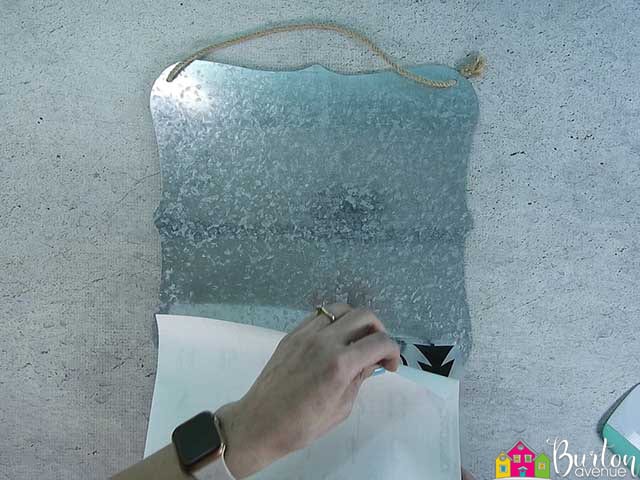
Cut a piece of transfer tape a little bigger than the design. Place the transfer tape on vinyl and smooth it down. Trim off the excess vinyl and transfer tape.
![]()
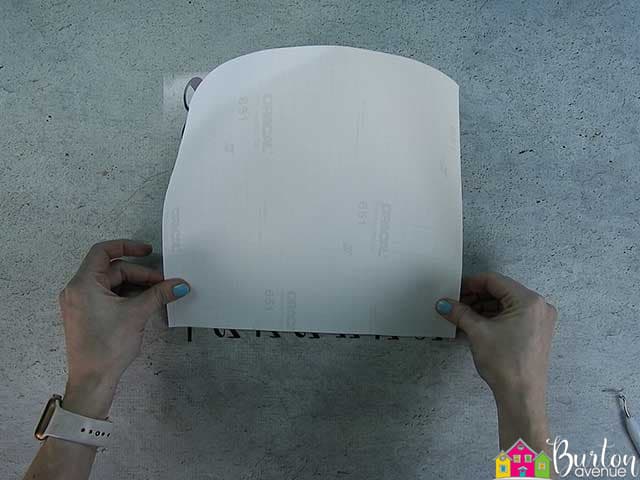
Place the vinyl so it’s facing down, and then pull off the vinyl backing. I like to do it this way so the vinyl doesn’t curl.

Now, place the vinyl backing back on the vinyl, but leave about an inch of vinyl exposed at the bottom.
STEP 3: APPLY VINYL TO MAGNETIC SIGN
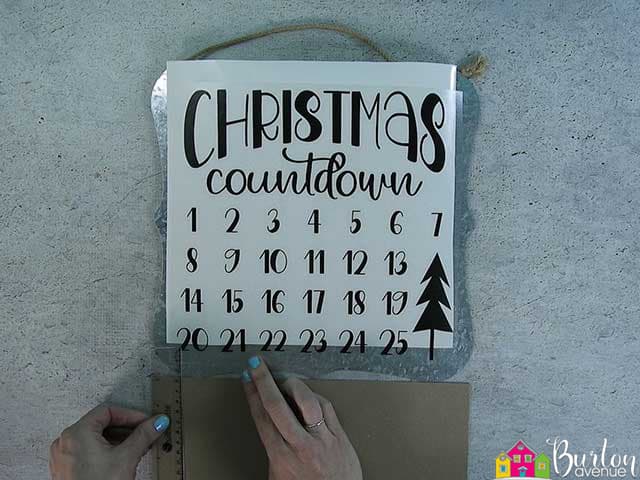
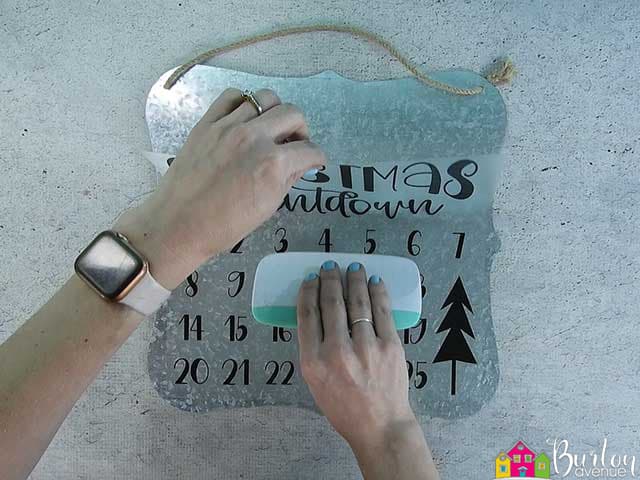
Center the design on the magnetic sign.

Place something with a straight edge (like cardstock) along the bottom of the sign. Since it’s hard to measure along a scalloped edge, this will give you a better edge to measure along. Use a ruler to measure from the bottom of the numbers to the top of the straight edge. Once both sides are equal, the design should be straight. Now rub along the bottom of the design to help it stick to the magnet board.
Carefully remove the vinyl backing.
Then, use a scraper to press the rest of the vinyl onto the sign.
Now, you can remove the transfer tape.
![]()
STEP 4: ADD A CHRISTMAS MAGNET
You can buy or make your own Christmas magnet. You can use all kinds of things to make your own magnets. Erasers, small toys, or a little wreath would all make great magnets. Just use some E6000 glue to attach the magnet. I found a cute grapevine star in my stash and thought it was perfect for this sign.

And that’s it! So cute and so easy! Such a fun way to count down the days until Christmas!
Did you enjoy this post? Help spread the word! Share this post on your favorite Pinterest board. Thanks!