
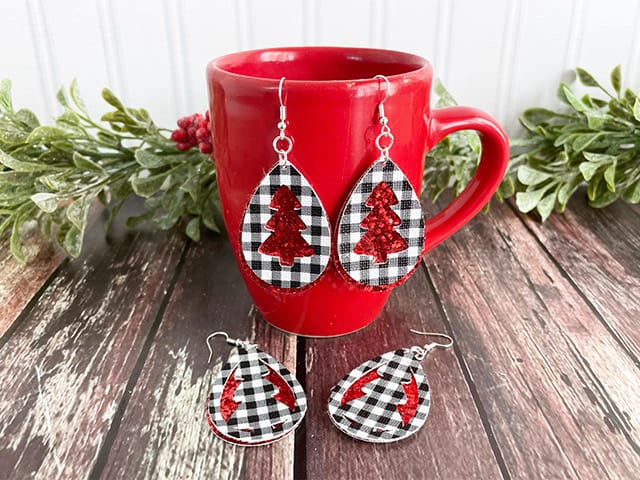
HERE’S WHAT YOU NEED
-
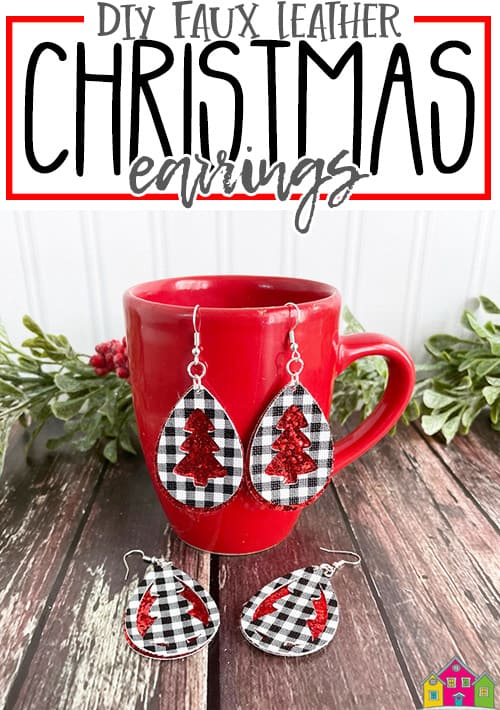
- Black & White Check Faux Leather (I used the black and white buffalo check from this set)
- Red Chunky Glitter Faux Leather (I used the red glitter from this set)
- Jump Rings
- Earring Hooks
- Pliers
- Jump Ring Opener (All the earring supplies can be found in this set)
- Painter’s Tape
- Strong Grip Cutting Mat (The Purple Mat)
- Electronic cutter (cricut explore, silhouette or other cutter)
- Cut File – Christmas Earrings BA1817 (available for free in my SVG Library)
HERE’S WHAT YOU DO
STEP 1: DOWNLOAD THE FREE SVG FILE
The first thing you’ll need to do is get the free SVG file you’ll use for this project. I keep all the SVG files I use for the projects I make in my SVG Library. These SVG files work with Cricut and Silhouette machines, as well as many others. This library is open to everyone and is free! You can access the library here. Look for the file called Christmas Earrings BA1817. It will be listed under the Craftmas 2021 Category-Day 16.
STEP 2: CUT THE PIECES FOR THE EARRINGS
Open the design in your software program. Resize the height of the earrings. I made each set of earrings 2″ tall, you can go bigger if you want. If the designs weren’t symmetrical, we would need to mirror them. But since they are, we can skip that step.
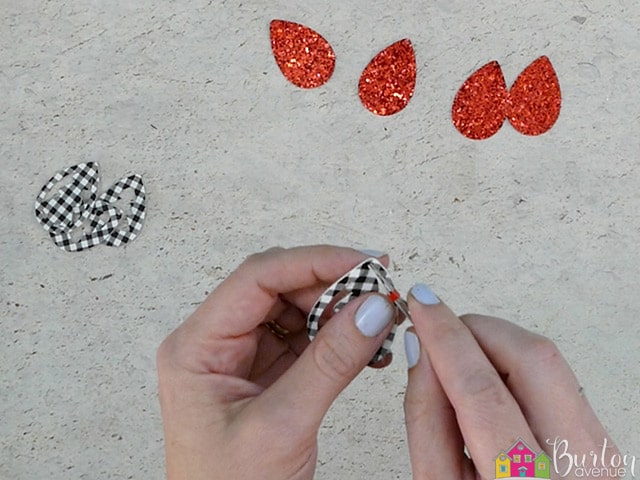
Once everything is sized correctly, cut the pieces with your Cricut or Silhouette. I used a black and white buffalo plaid for the front and a chunky red glitter for the back.
You’ll want to do some test cuts with your machine to figure out what settings to use for your material. The materials I used required multiple cuts with the machine. As I mentioned, I used a Cricut Explore Air with a regular blade, so chances are, you’ll be able to make these earrings with your cutting machine.
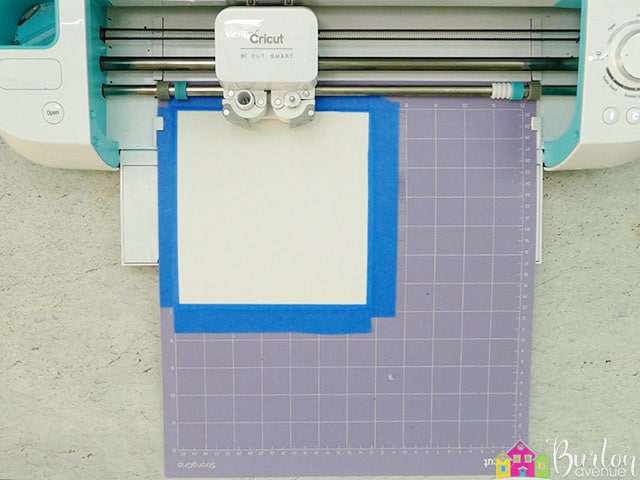
To protect the mat from glitter pieces, you can place a piece of strong grip transfer tape on the mat.
![]()
Then, place the chunky leather, with the finished side down, on the mat and push it down.
![]()
I added a piece of painter’s tape around all the edges to keep it in place.
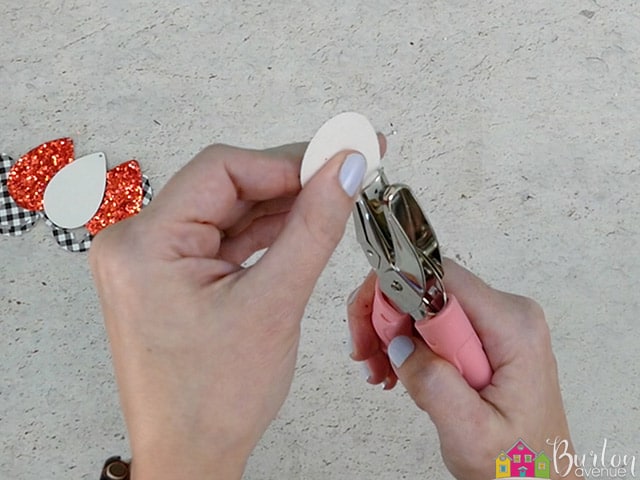
You might need to remove the small piece from the hole inside the earrings.
If the hole didn’t cut, you can use a small punch or awl to add a hole.
The back pieces on all the earings are the same size and shape so as long as you resize both sets to the same height, you don’t need to worry about being able to tell the different sets apart.
STEP 3: ASSEMBLE THE EARRINGS
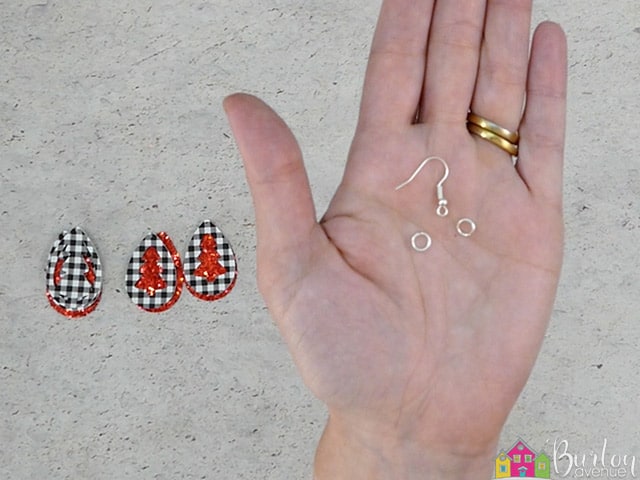
All the supplies to make the earrings can be found in this set.
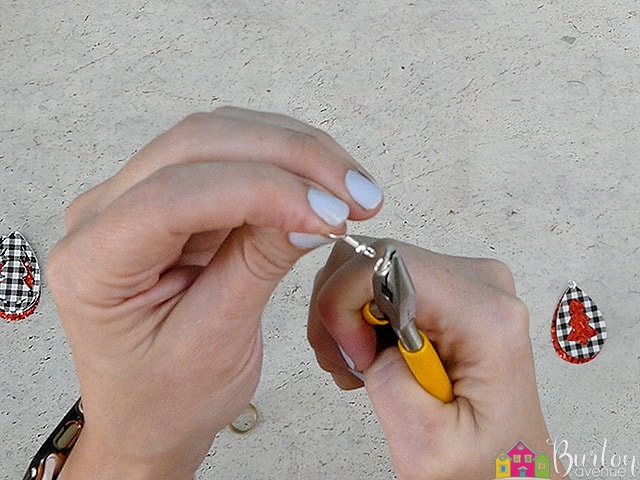
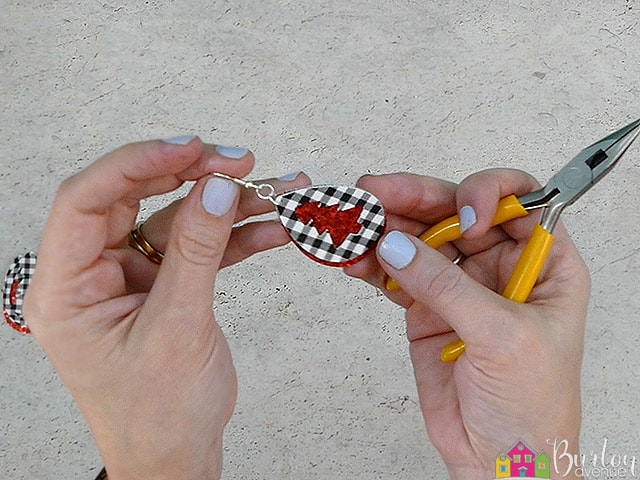
To assemble each earring, you’ll need two small jump rings, an earring hook, a pair of flat-nose pliers, and a jump ring opener, or another set of pliers.
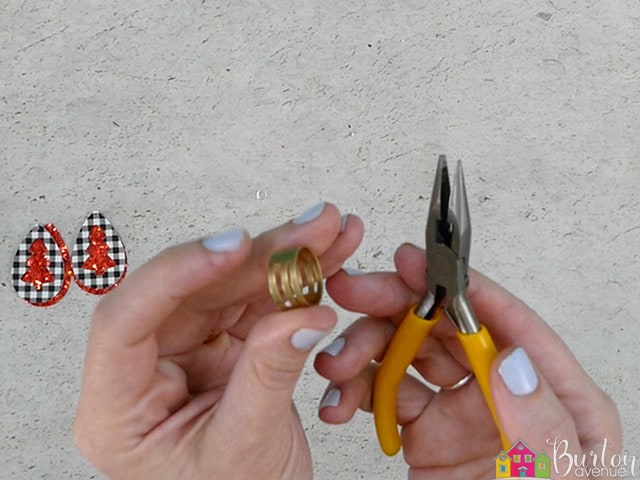
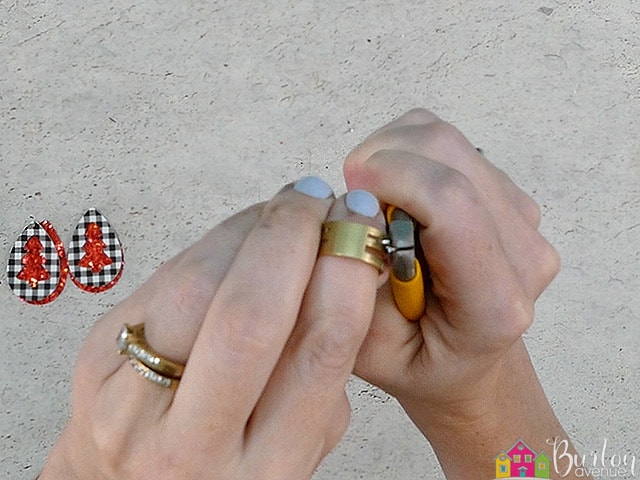
Use your flat nose pliers and a jump ring opener to open your jump ring. You’ll want to bend it to the side instead of pulling it open.
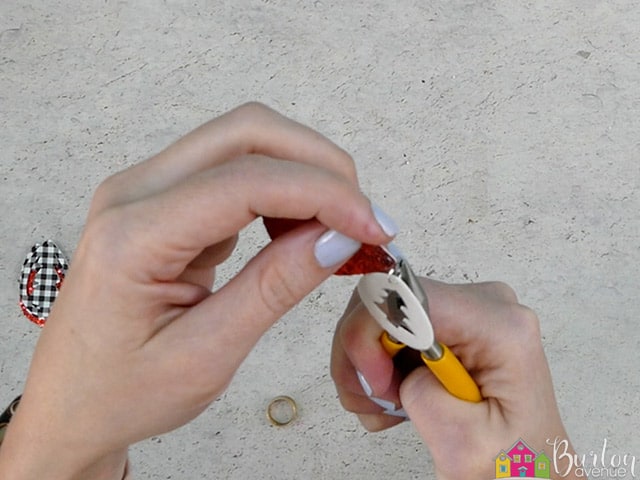
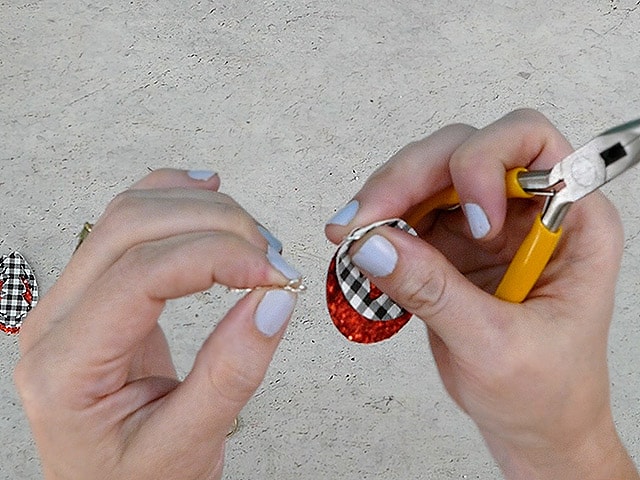
Thread each piece of the leather through the jump ring and then close the jump ring.
Open another jump ring and put the earring hook and the jump ring attached to the faux leather on it.
Double-check your shapes and hook and make sure they are all facing the right direction.
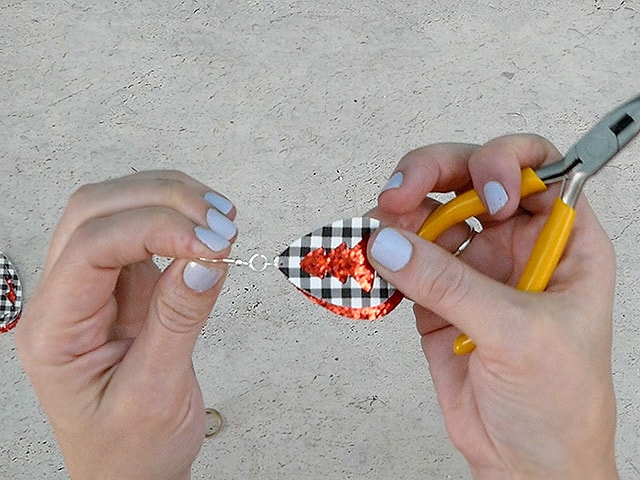
If everything looks good, you can close the jump ring with your pliers.
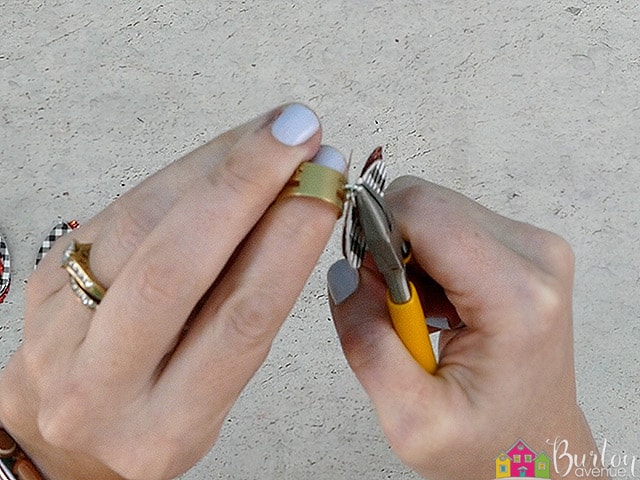
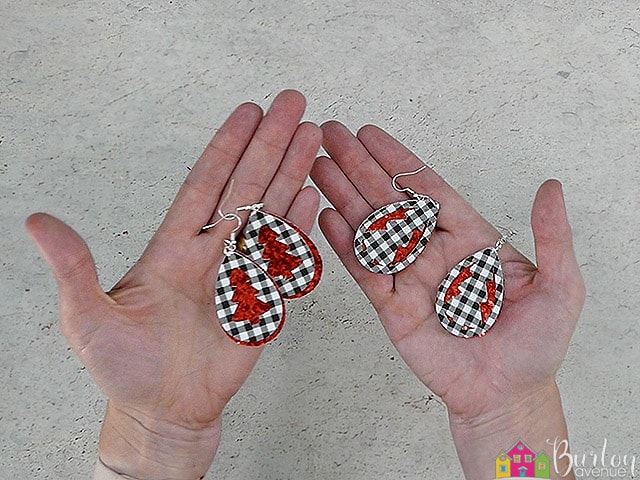
Repeat with the other earrings.
And that’s it. These earrings are finished.
Did you enjoy this post? Help spread the word! Share this post on your favorite Pinterest board. Thanks!
Want to make your own? Get the free cut file for this project in the resource library