

HERE’S WHAT YOU NEED
-
- Christmas Cardstock
- Transparency Sheet
- Glue
- Candy
- Ribbon, Twine, Raffia
- Christmas Embellishments
- Electronic cutter (cricut explore, silhouette or other cutter)
- Cut File – Christmas Treat Box BA1820 (available for free in my resource library)
HERE’S WHAT YOU DO
STEP 1: DOWNLOAD THE FREE SVG FILE
The first thing you’ll need to do is get the free SVG file you’ll use for this project. I keep all the SVG files I use for the projects I make in my SVG Library. These SVG files work with Cricut and Silhouette machines, as well as many others. This library is open to everyone and is free! You can access the library here. Look for the file called Christmas Treat Box BA1820. It will be listed under the Craftmas 2021 Category-Day 15.
STEP 2: CUT THE PIECES FOR THE BOX
Open the design in your software program. Keep everything grouped together and resize the design. If you resize the width to 11.5″ wide, you’ll be able to make a box that is about 3.5″ x 2.5″ x 4″. This the about the biggest you can make the box. You can go smaller if you want. Once everything is sized correctly, cut out the box with your Cricut or Silhouette. I used Christmas Cardstock for this project.
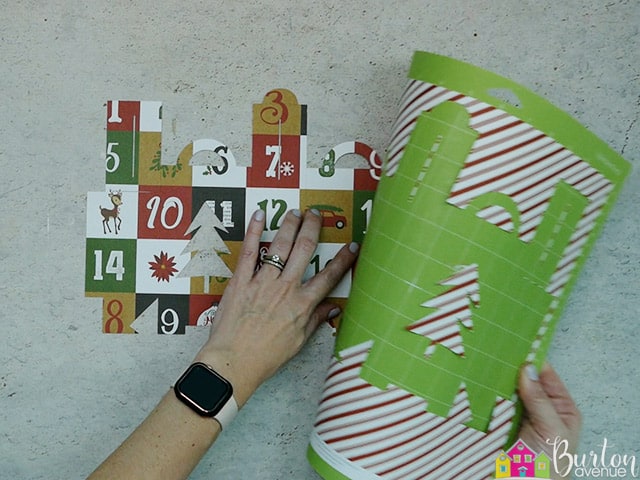
You’ll want to cut the rectangle piece out of a clear transparency sheet or something similar.
Once the cardstock is finished cutting, remove it from the cutting mat. You’ll want to slightly bend the cutting mat and carefully pull off the cardstock.
STEP 3: ASSEMBLE THE BOX
Star by folding along all the perforation lines.

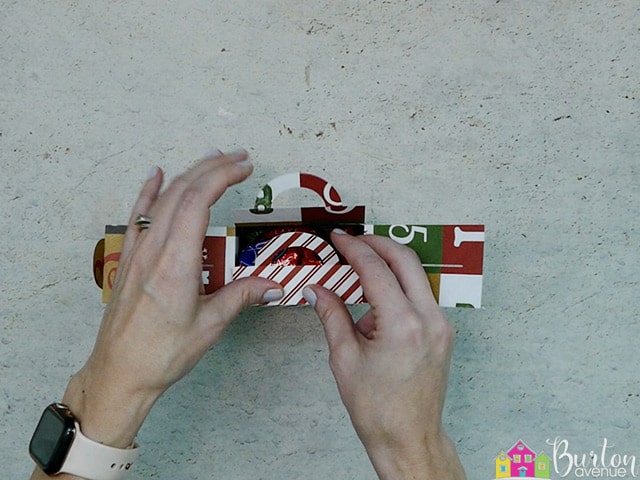
Flip the cardstock over and add some glue around the Christmas tree.
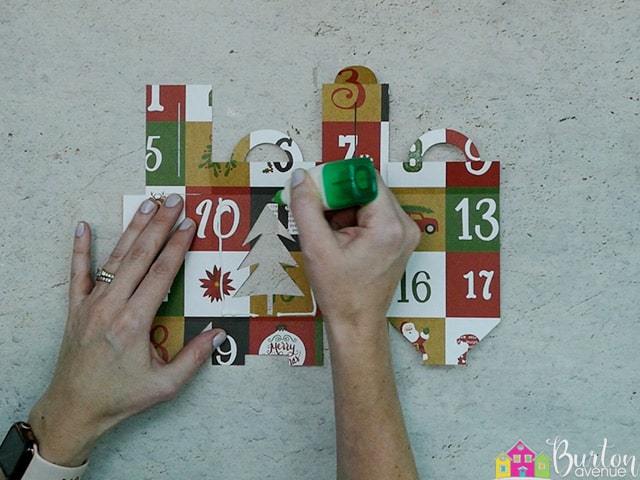
Place the clear rectangle over the center of the tree. Make sure it doesn’t go over any of the perforation lines. Let that dry for a few minutes.
![]()
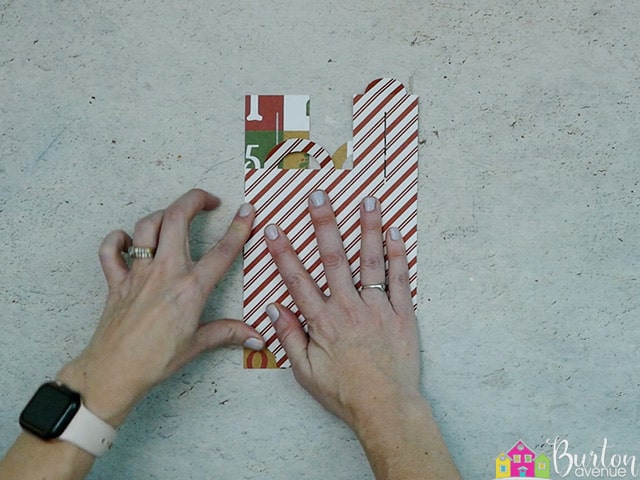
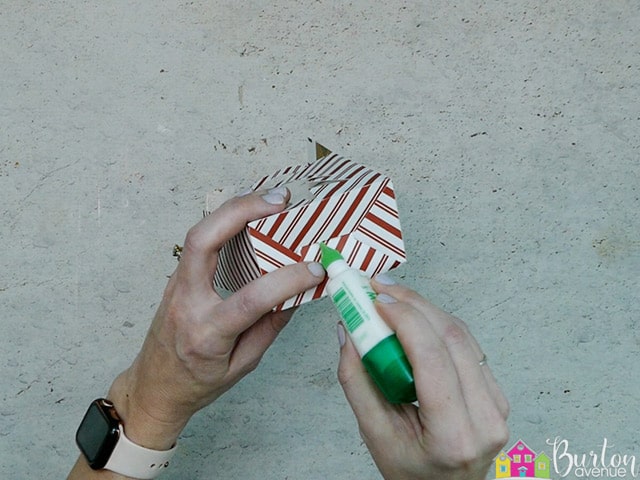
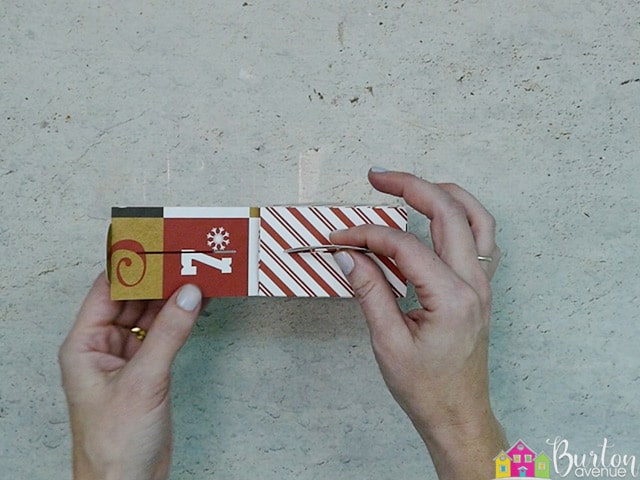
Now, fold over the side tab and add some glue to it.

Then fold the box in half to glue the tab to the side piece.
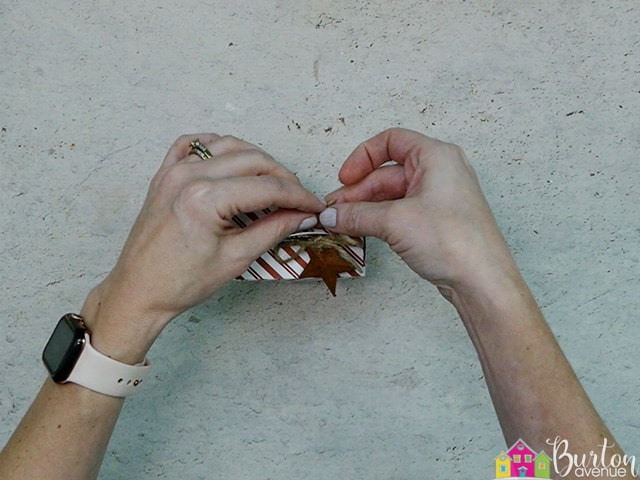
Once that’s dry, it’s time to assemble the bottom.
Start by folding down the U-shaped side.

Next, fold in the sides pieces and tuck in the ends.
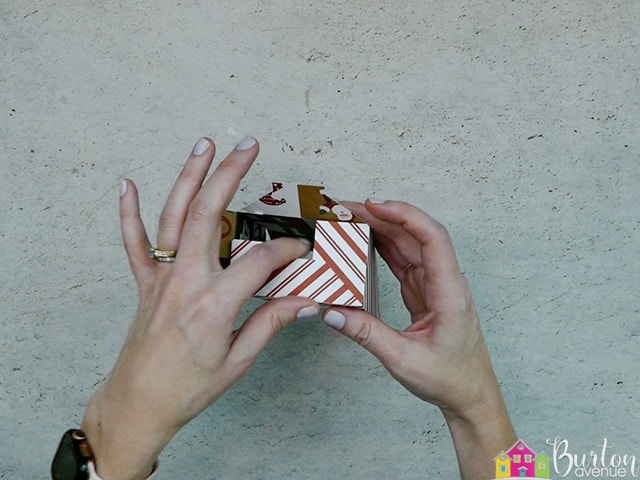
Fold down the last piece and tuck it into the center.
If you’re adding something heaving inside the box, you can add a little bit of glue to the tab to keep it secure.
Fill the box up with some Christmas candy.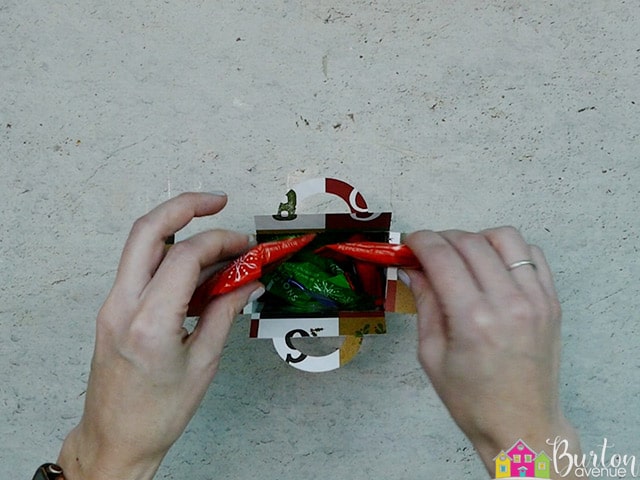
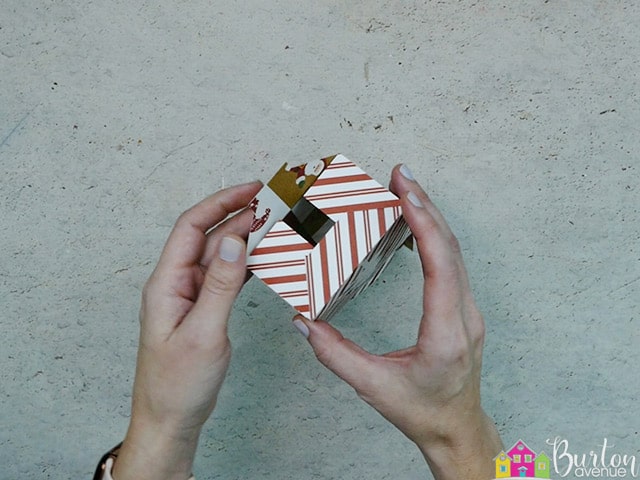
To close the box, fold down the two sides with the handles.
The handles should meet in the center of the box and should stick up.

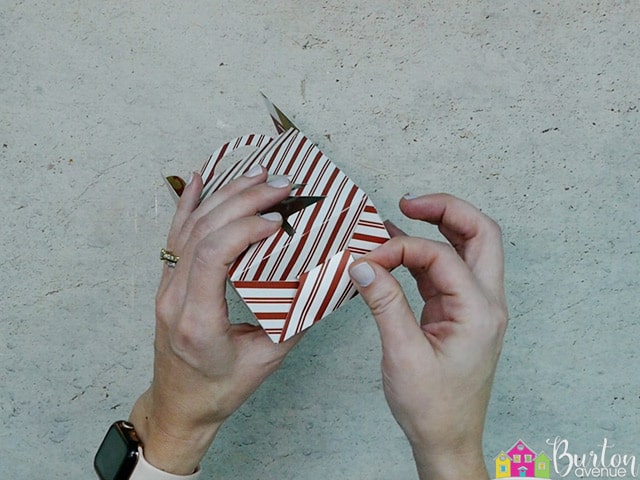
Next, push down the side without the tab. The handles should go right through the slot.
Then, press down the side with the tab. The handles should go through that slot, too. Tuck the tab into the slot on the side.

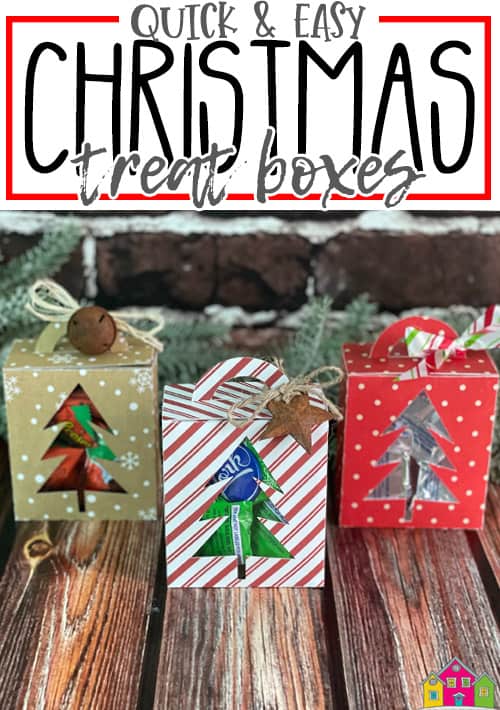
You can finish the box by tying on some ribbon, twine, or raffia.
And that’s all there is to it! These cute little treat boxes are ready to go!

Did you enjoy this post? Help spread the word! Share this post on your favorite Pinterest board. Thanks!
Want to make your own? Get the free cut file for this project in the resource library