

HERE’S WHAT YOU NEED
- Mini Blanks for Vinyl
- Adhesive Vinyl (I used red and white)
- Transfer Tape
- Weeding Tool & Scraper
- Paint & Brushes
- Clear Finish
- Christmas Embellishments
- Tiered Tray (I used this one)
- Electronic cutter (cricut explore or maker, silhouette or other cutter)
- Cut File – Christmas Phrases BA2122 (click here to get the SVG file for free from my free SVG Library)
HERE’S WHAT YOU DO
STEP 1: DOWNLOAD THE FREE SVG FILE
The first thing you’ll need to do is get the free SVG file you’ll use for this project. I keep all the SVG files I use for the projects I make in my SVG Library. These SVG files work with Cricut and Silhouette machines, as well as many others. This library is open to everyone and is free! You can access the library here. Look for the file called Christmas Phrases BA2122. It will be listed under the Craftmas 2022 Category-Day 22.
STEP 2: CUT THE VINYL DESIGN
Open the design in your software program. You’ll need to resize the different phrases so they’ll fit on your blanks. You can also change the color of some of the designs.
When everything is sized correctly, cut the design with your Cricut or Silhouette.
Once everything is cut, weed away the excess vinyl. I used a craft knife to slice between all the sayings. It made weeding all the little designs much easier.
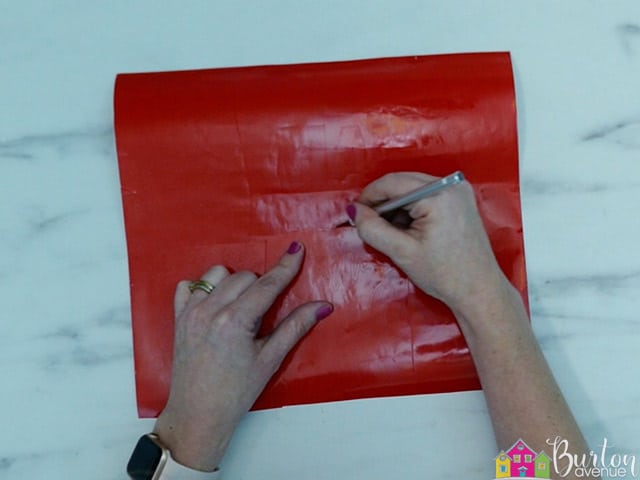
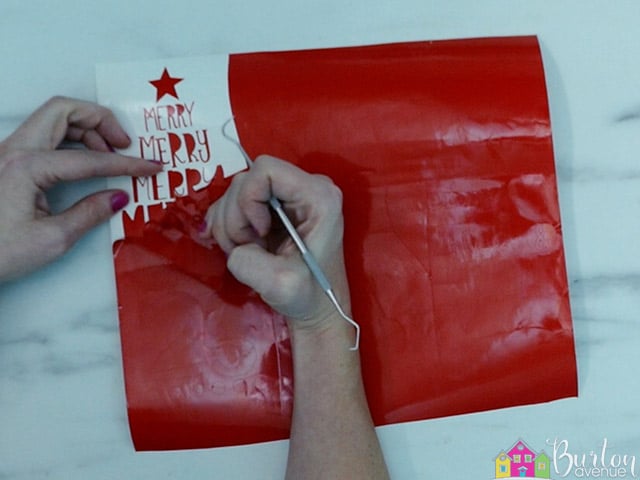
Use your weeding tool to pull out the pieces inside of the letters.
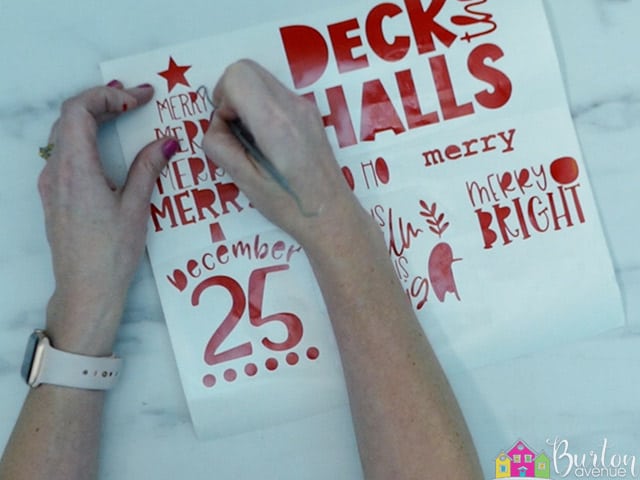
Cut a piece of transfer tape a little larger than your designs and place the vinyl on top of it.
![]()
Rub over the designs with your scraper.
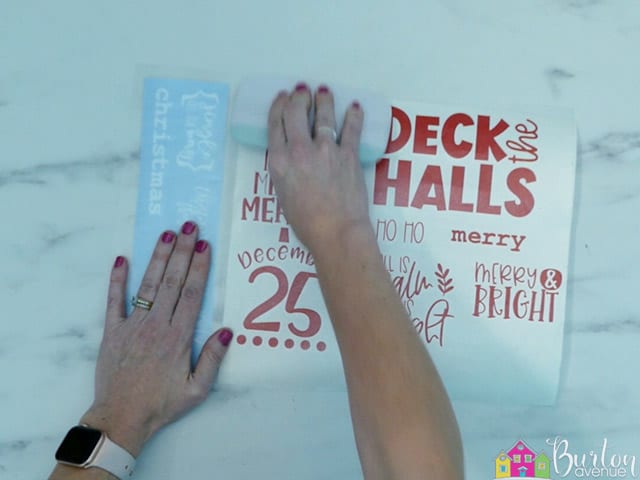
Trim off the excess transfer tape. You can also cut apart all the different phrases.
![]()
STEP 3: PREPARE THE WOOD PIECES
Next, let’s work on painting the wood pieces. I found a lot of my wood pieces at Dollar Tree. I found a few online and some are just scrap wood. I think part of the fun of this project is finding all the mini pieces to use.
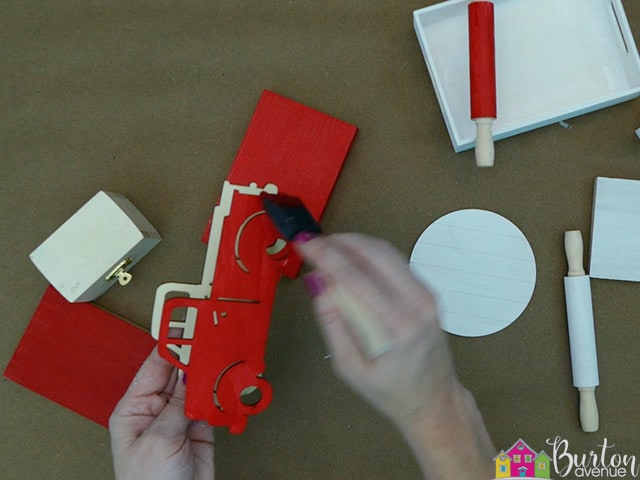
Divide all your pieces into 2 sections. One section you’ll paint white and the other section you’ll paint red. You’ll probably need to do a couple of coats of paint on each item to get complete coverage.
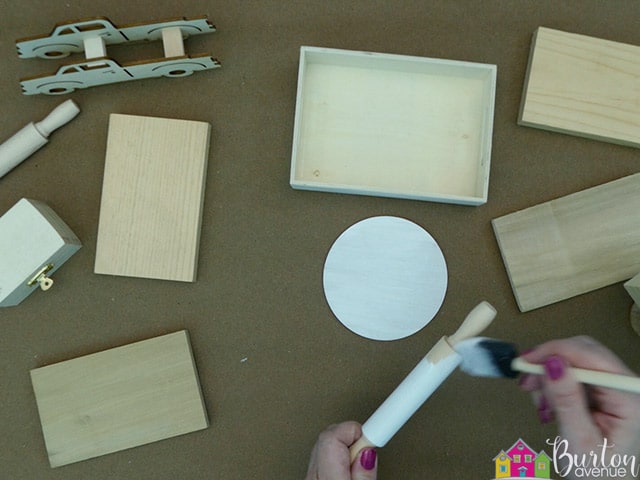
Let all your pieces dry.
STEP 4: APPLY THE VINYL DESIGNS
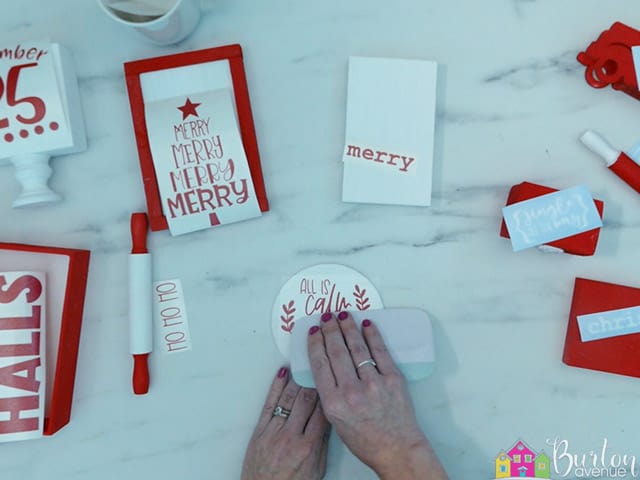
After the paint has dried, we’re going to apply the vinyl to the sign. Place each vinyl design on its corresponding piece. Then, grab one of the designs and pull off the vinyl backing.
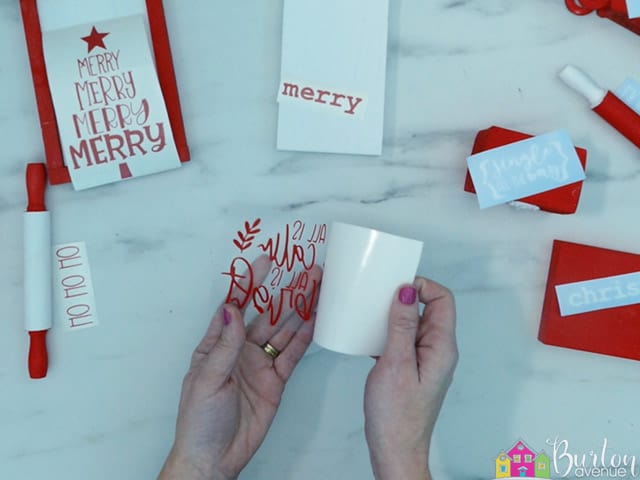
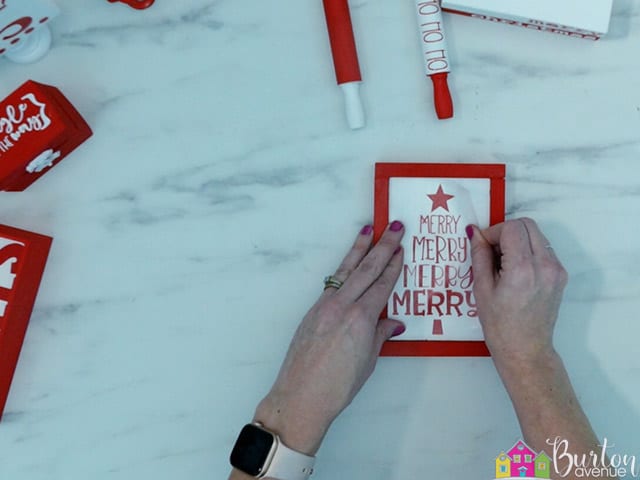
Position the design on the blank. Do your best to make the design straight and centered.
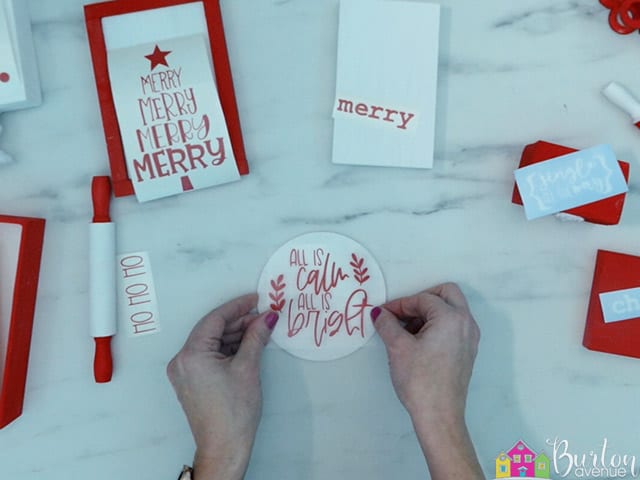
Then rub over the vinyl with a scraper and carefully pull off the transfer tape.
Repeat these steps until you have applied all of your vinyl designs.
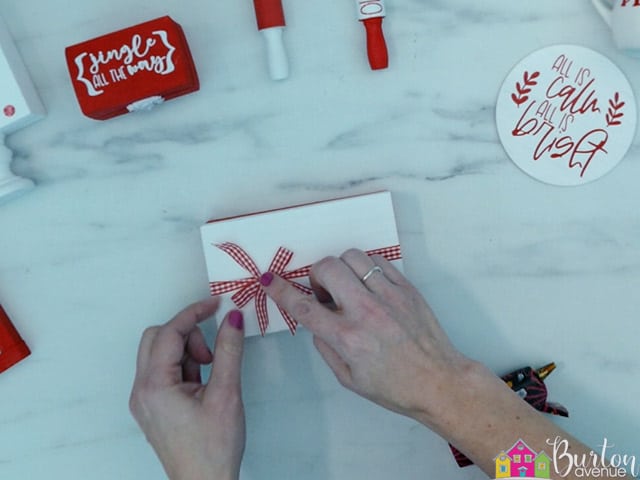
To create the book stack, I tied a piece of red and white ribbon around the two pieces of wood. Then, I glued on a small bow.
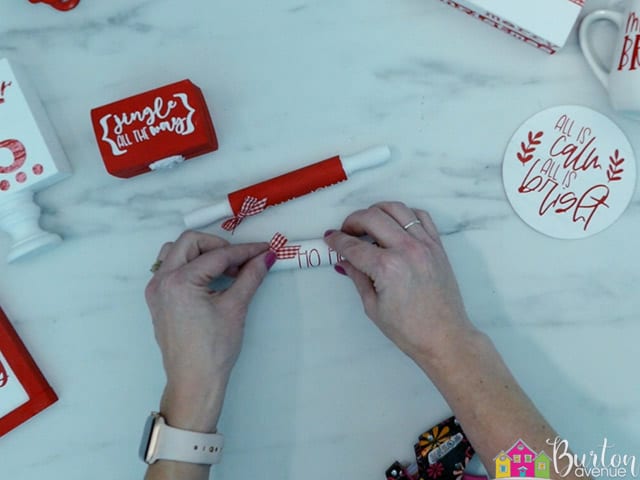
I also added a small bow to each of the mini-rolling pins.
STEP 5: ADD PIECES TO THE TIERED TRAY
Now, all you need to do is add your cute little decorations to your tiered tray.

You can fill in any empty space with some small Christmas embellishments.


And that’s all there is to making your own tiered tray for Christmas.
Did you enjoy this post? Help spread the word! Share this post on your favorite Pinterest board. Thanks!

Want to make your own? Get the free cut file for this project in the resource library