

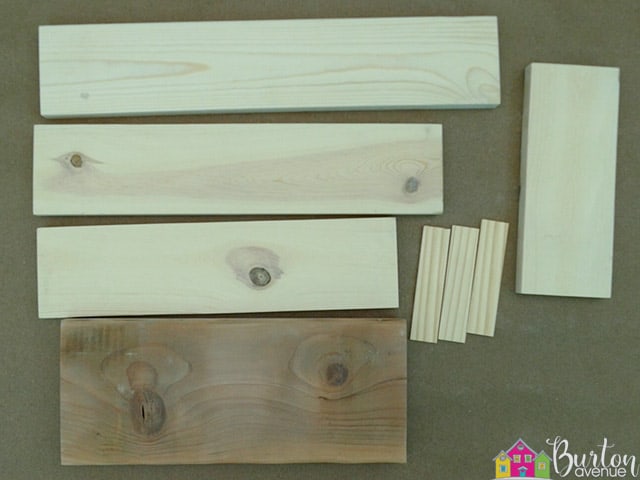
HERE’S WHAT YOU NEED
- 4″ Wood for Snowmen & sign
- 6″ Wood for Stand
- Paint Stick for hat brim
- Vinyl (white, black, and orange)
- Transfer Tape
- Weeding Tool & Scraper
- Paint and Brushes
- Painter’s Tape
- Wood Glue
- Fabric for Scarves
- Christmas Garland (I used this one)
- Hot Glue Gun and Glue
- Electronic cutter (cricut explore or maker, silhouette or other cutter)
- Cut File – Snowman Welcome BA2123 (click here to get the SVG file for free from my free SVG Library)
HERE’S WHAT YOU DO
STEP 1: DOWNLOAD THE FREE SVG FILE
The first thing you’ll need to do is get the free SVG file you’ll use for this project. I keep all the SVG files I use for the projects I make in my SVG Library. These SVG files work with Cricut and Silhouette machines, as well as many others. This library is open to everyone and is free! You can access the library here. Look for the file called Snowman Welcome BA2123. It will be listed under the Craftmas 2022 Category-Day 23.
STEP 2: CUT THE VINYL DESIGN
Open the design in your software program. Resize the designs to fit on your piece of wood. I used 4″ pine for the snowman (which is actually about 3.5″ wide) so I resized the nose and eyes to about 2.5″. My little sign measures 9″ x 3.5″, so I resized the word welcome to 8.25″. The snowflakes are about 1″.
When everything is sized correctly, cut the design with your Cricut or Silhouette.
Once everything is cut, weed away the excess vinyl.

Use your weeding tool to pull out the pieces inside of the letters.

Cut a piece of transfer tape a little larger than your design and place the vinyl on top of it.
![]()
Rub over the designs with your scraper.

Trim off the excess transfer tape and cut apart the different pieces.
![]()
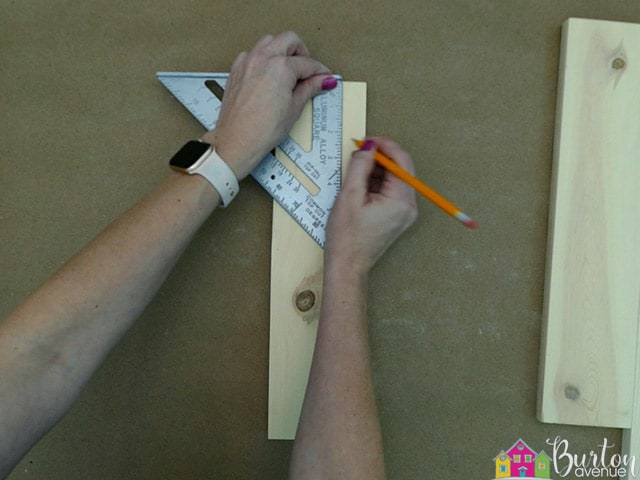
STEP 3: PREPARE THE WOOD SIGN
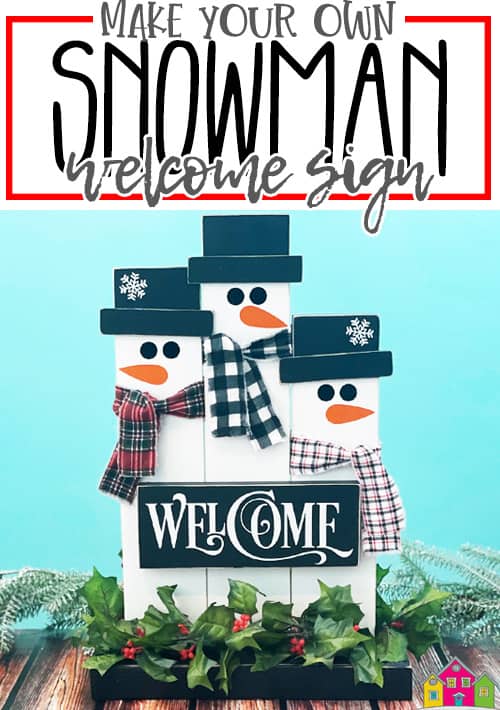
Next, let’s work on the wood pieces. The snowman and sign are cut from a 4″ piece of pine. You’ll need an 18″, 16″, and 14″ piece for the snowman and a 9″ piece for the sign. The base is cut from a 2″ x 6″ and is 13″ long. The 3 hat brims are cut from a paint stick and are 4.5″ long.
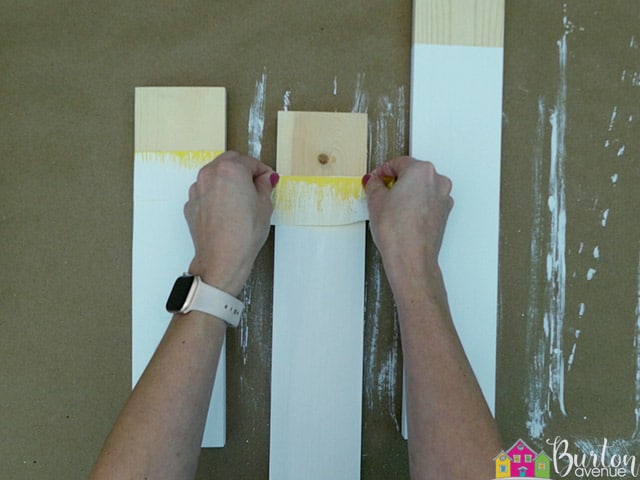
Mark 2.5″ down from the top of each snowman piece.
Place a piece of painter’s tape above the mark and wrap it all the way around the wood.

Paint everything below the tape white. You’ll probably need to do 2-3 coats of paint.
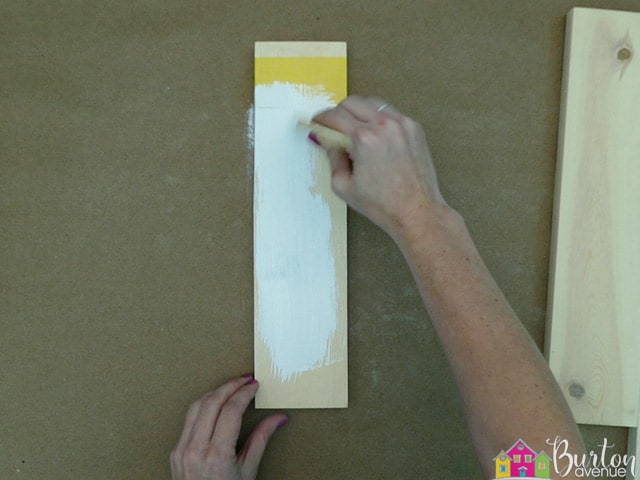
Once the white paint is dry, you can remove the painter’s tape.
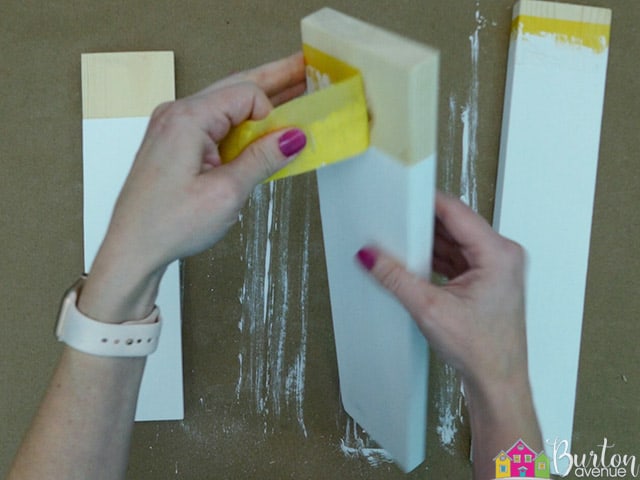
Reposition the tape right over the top line of the white paint.
Now, paint the tops of the wood black. Once again, you’ll probably need to do 2-3 coats.
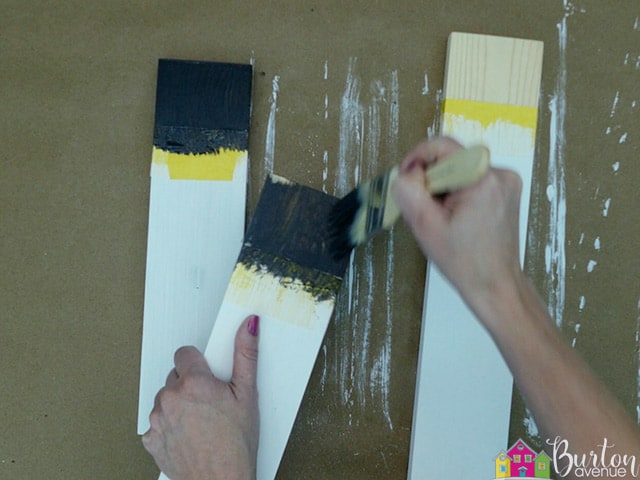
When the black paint is dry, you can pull off the painter’s tape.
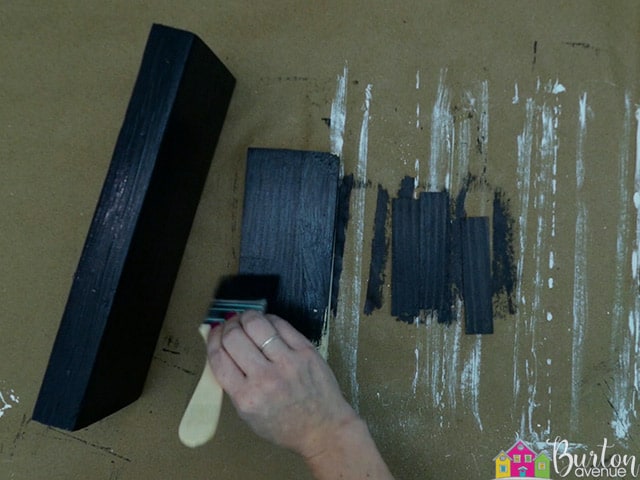
You’ll also need to paint the stand, the small piece for the signs, and the 3 hat brims black.
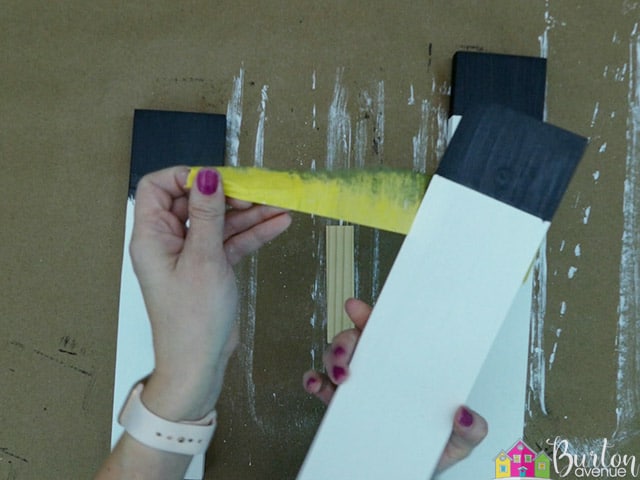
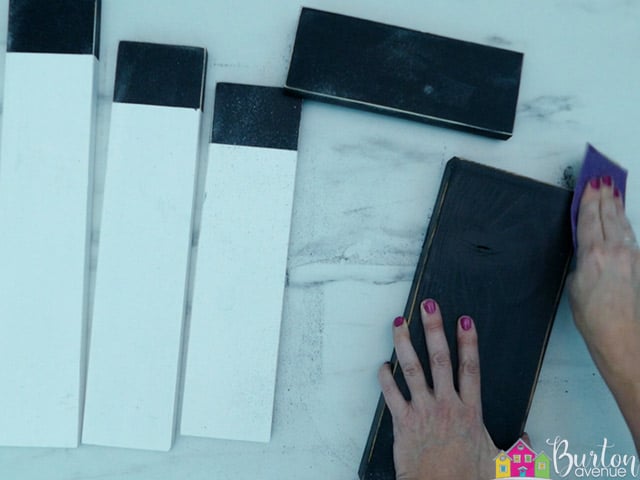
When everything is dry, lightly sand all the edges. Sand just enough so you expose some of the raw wood.
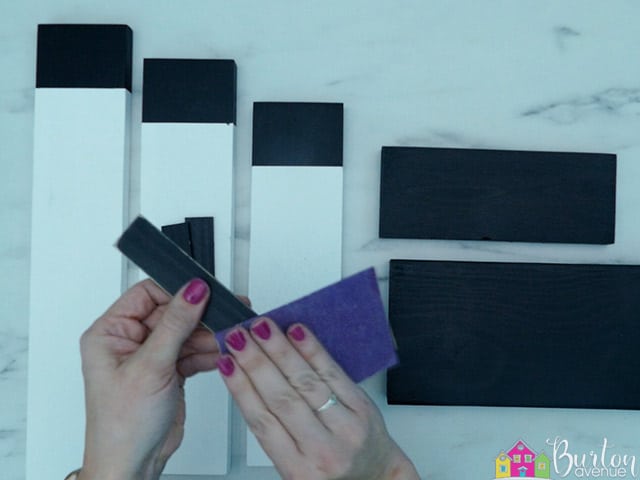
You can do this on all the pieces.
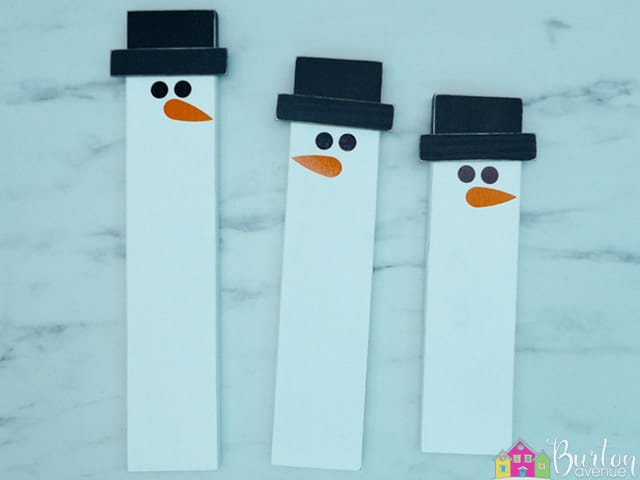
Add some glue to the back of the hat brim and put it on the snowman piece.

You’ll want to place it right where the two colors meet and center it from right to left. I angled two of the pieces and left the piece on the tallest snowman straight.

STEP 4: APPLY THE VINYL DESIGN
Now, it’s time to add the vinyl designs. Grab a set of the black circles and remove the vinyl backing.

Position the eyes right under the hat brim and center from right to left.
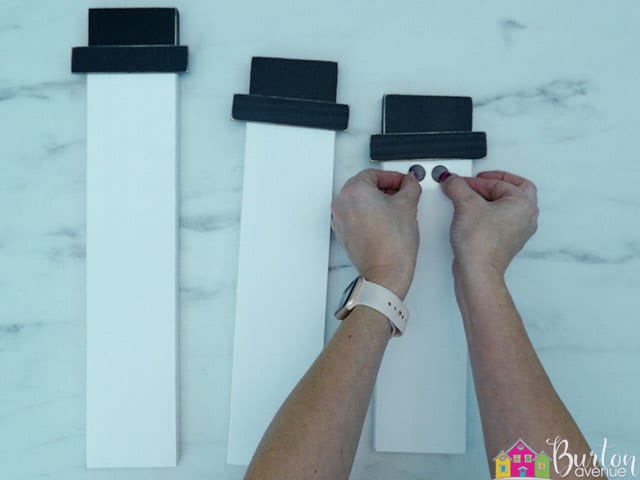
Rub over the vinyl with your scraper.
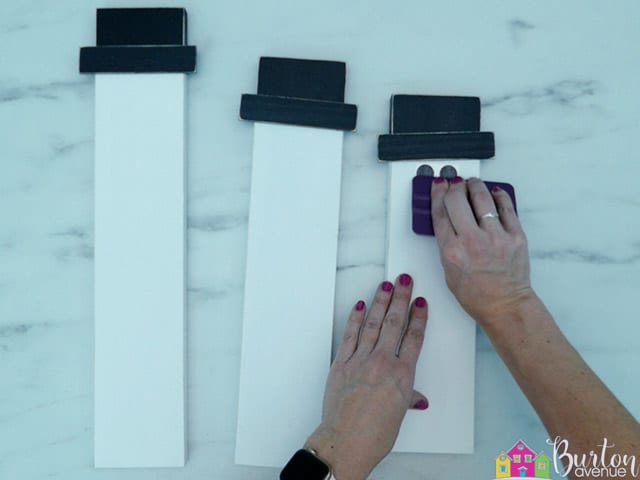
Then, pull off the transfer tape.
![]()
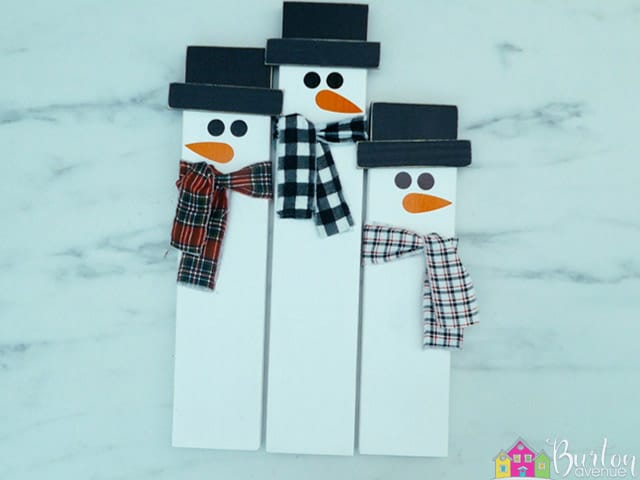
Apply the eye and noses to each of the snowmen. I rotated each nose so they all looked just a little bit different.
You can also add the vinyl phrase to the small piece of wood for the sign.
STEP 5: FINISH THE SIGN
For the scarves, you’ll need a piece of fabric that’s about 18″ long and about 1.5″ wide. Wrap the fabric around the wood and tie a single knot.
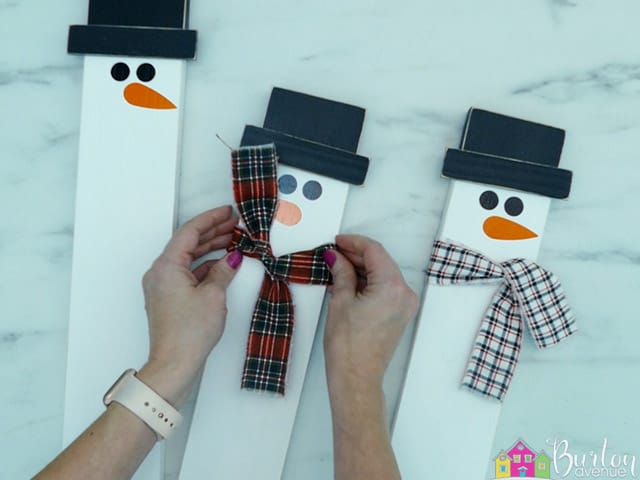
Fold the top flap over the knot.
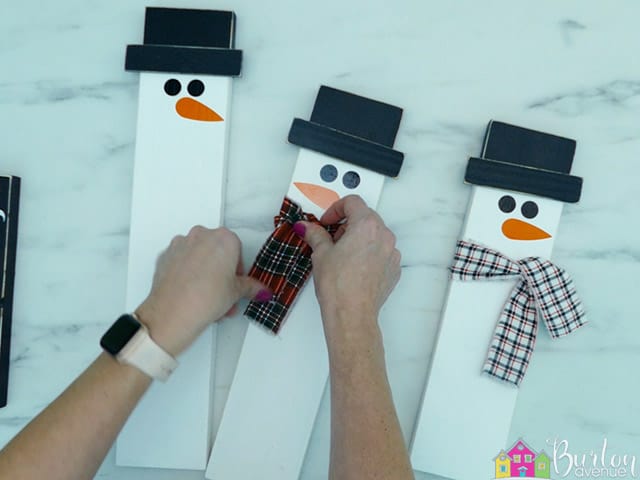
If the flaps won’t stay down on their own, you can glue them in place. Adjust the scarves so they are right under the noses.
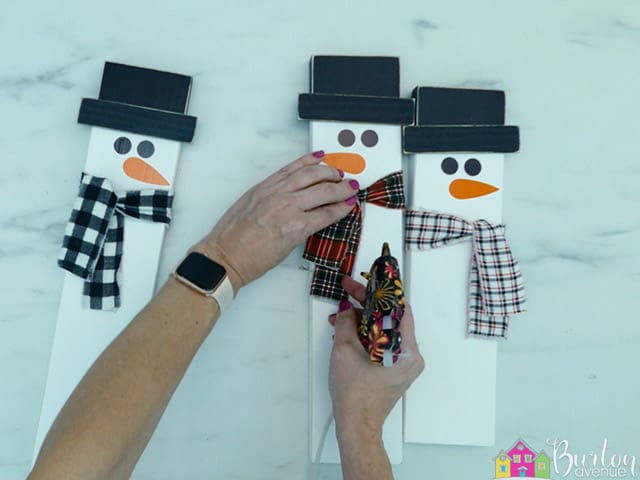
Arrange the snowmen with the tallest one in the middle. The two shorter snowmen go on the sides, but it doesn’t matter which side. Notice where the hat brims overlap the other snowmen. You might need to adjust the scarves a bit so the brims overlap on the wood and not the fabric.
Add some glue onto the brims that overlap.
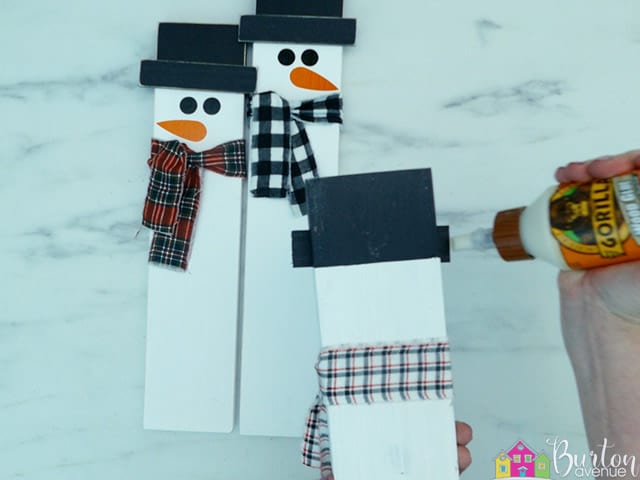
Push the brim onto the piece of wood under it and clean off any excess glue.
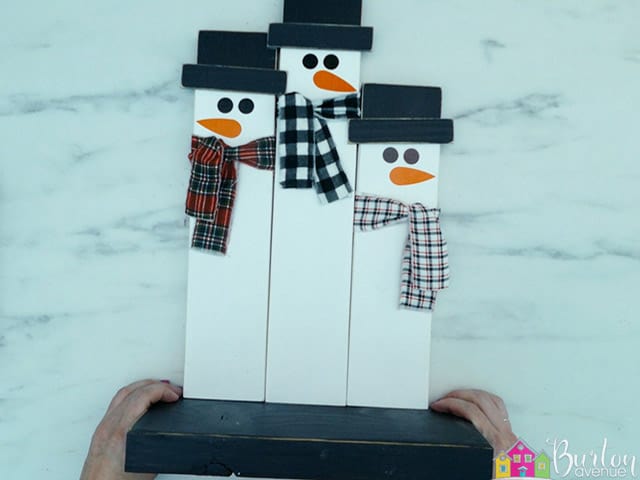
You’ll also want to use something with a straight edge to make sure the bottoms of the snowmen are all lined up.
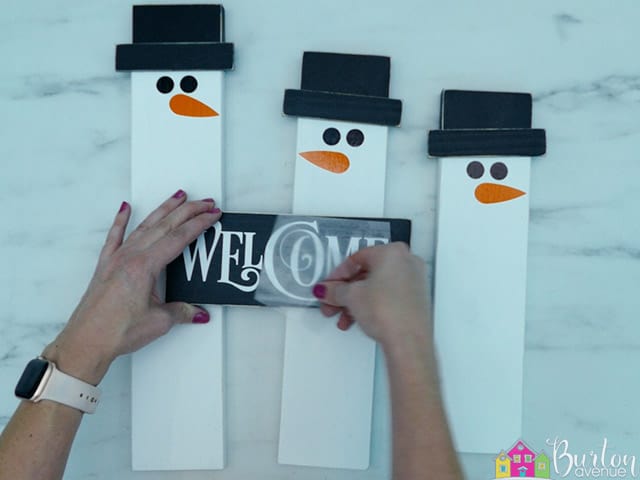
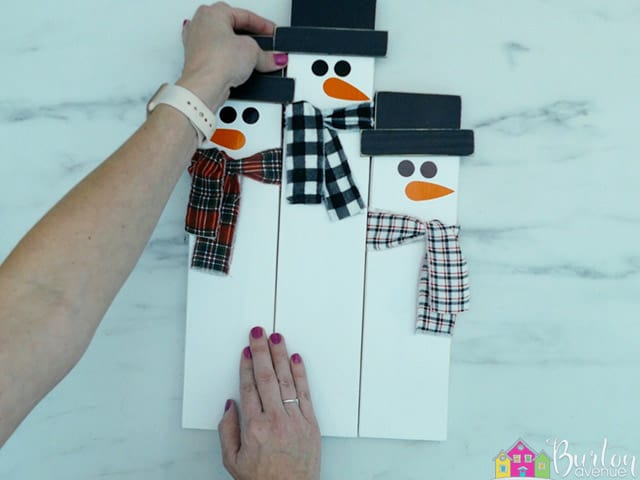
Next, add some glue to the back of the little sign.
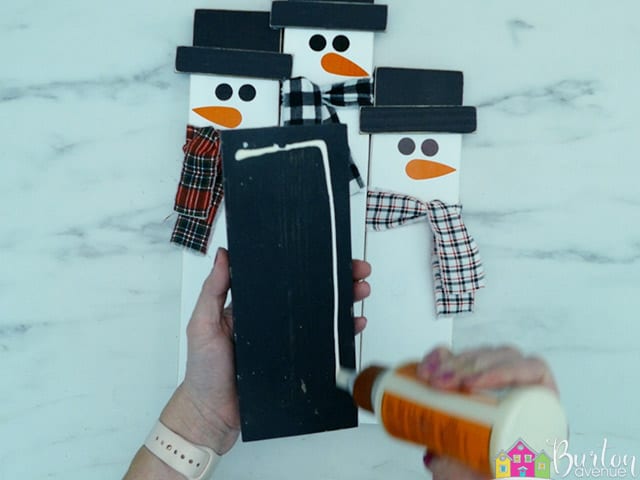
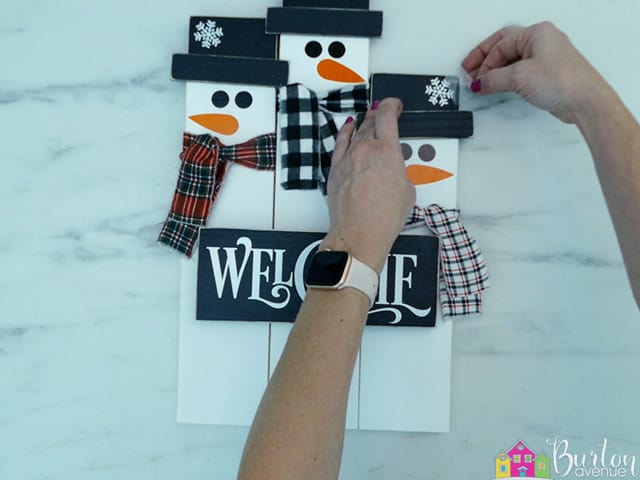
Place the sign over all three snowmen and center from right to left.
Now, you can add the little vinyl snowflakes to the tops of the hats.
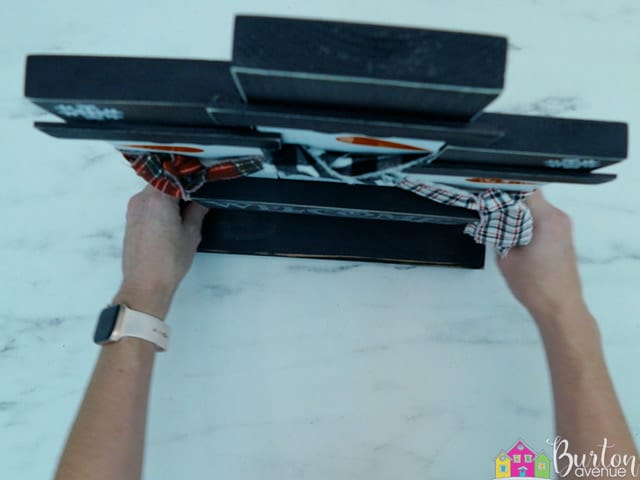
When the glue from the sign is totally dry, you can add some glue to the bottom of the snowmen.

Place the snowmen onto the wood base. You’ll want to center it from left to right and front to back. You might need to hold it in place for a few minutes until the glue dries.
Once the glue has dried, you can glue some Christmas garland around the bottom of the snowmen. I wrapped it all the way around the front and the back.

And that’s the last step, this cute snowman welcome sign is finished. Isn’t it cute?

Did you enjoy this post? Help spread the word! Share this post on your favorite Pinterest board. Thanks!
Want to make your own? Get the free cut file for this project in the resource library