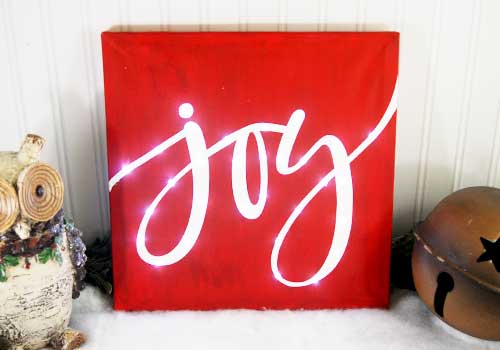
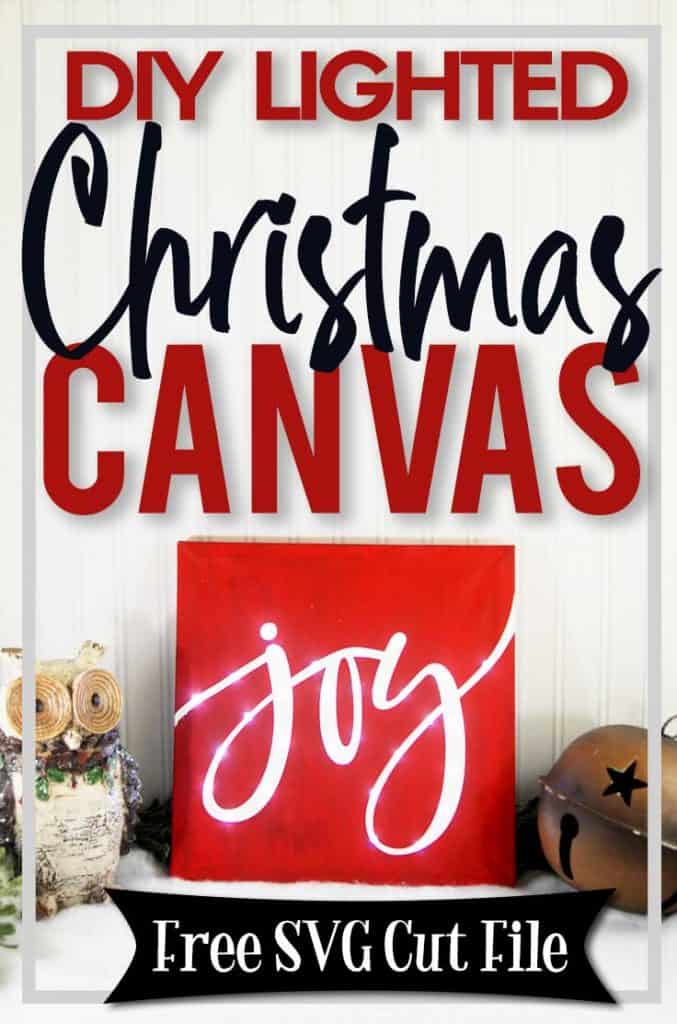
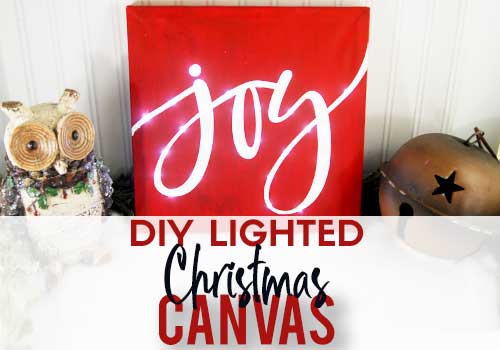
Welcome to day 10 of my 25 Days of Craftmas series! Today I’m showing you how to make your own lighted Christmas canvas. I like using canvas for projects because the canvas is already stretched and ready to use. There’s no cutting or sanding to be done before you can get started. And you can find canvas blanks for a great price at most craft stores.
The method I used for this canvas is called the PVPP. It’s short for Paint – Vinyl – Paint – Peel. This method is easy for two-color designs and I prefer it over a stencil when I have a light colored base coat.
HERE’S WHAT YOU NEED
- Stretch Canvas (12″ x 12″)
- Paint (I used Red and White) and Brush
- Vinyl (Color doesn’t matter)
- Battery Operated Lights
- Weeding Tool or Something Sharp
- Hot Glue Gun
- Transfer Tape
- Electronic cutter (cricut explore, silhouette or other cutter)
- Cut File (available for free in my resource library)
HERE’S WHAT YOU DO
The first thing you’ll need to do is get the free SVG file you’ll use for this project. I keep all the SVG files I use for the projects I make in my SVG Library. These SVG files work with Cricut and Silhouette machines, as well as many others. This library is open to everyone and is free! You can access the library here. Look for the file called Joy. It will either be listed under the Christmas category-25 Days of Craftmas 2018 – Day 10.
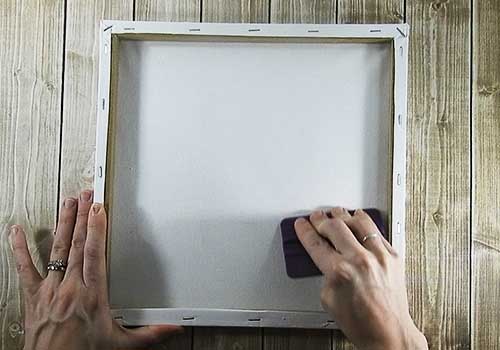
The first step of the PVPP is to paint your base coat. In this project, the base coat is white. Now, you might be wondering why you should paint the white base coat when the canvas is already white. The answer is to help the vinyl stick. If you tried to just put the vinyl directly on the canvas, it wouldn’t stick very well. And, once you start painting, you would get awful bleeds. So, that’s the reason. You just need to paint one coat and make sure the entire canvas has been covered.
While you’re waiting for the paint to dry, you can cut out the vinyl design. I wanted part of the j and y to go over the edge of the canvas, so I sized mine to about 13″ x 9.5″. Cut out, weed away the excess vinyl, and apply the transfer tape.
The next step of the PVPP is to add the vinyl. Remove the vinyl backing and apply the vinyl to the canvas. Then, remove the transfer tape.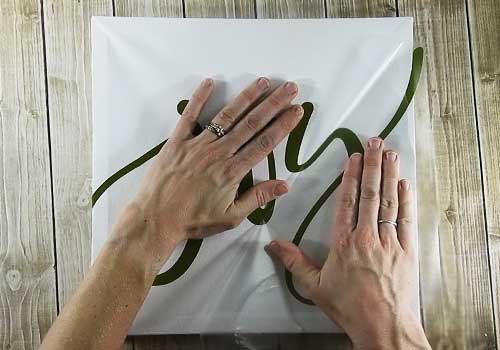
Press the ends of the j and the y down onto the sides of the canvas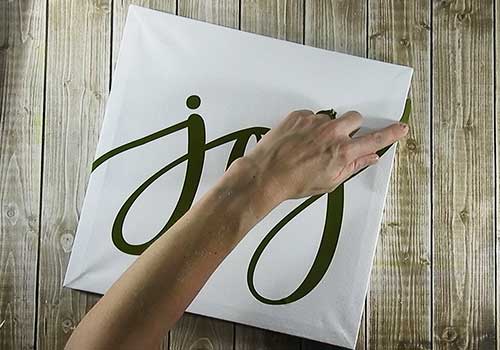
Flip the sign over and rub over the back to help press the vinyl onto the canvas.
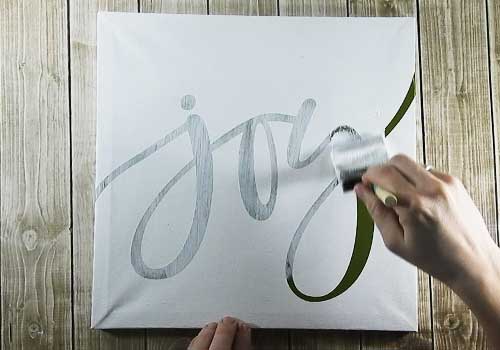
The third step of the PVPP is to paint. First, paint a light coat of the base coat over the vinyl lettering. This is just an extra step to help prevent bleeding.
Once that is dry, paint the canvas red. It will probably take a couple of light coats of paint.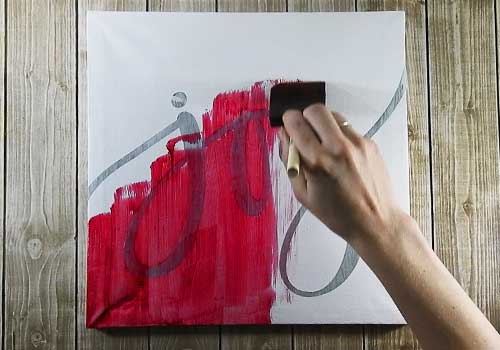
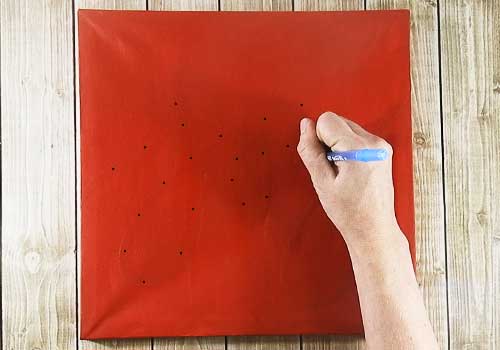
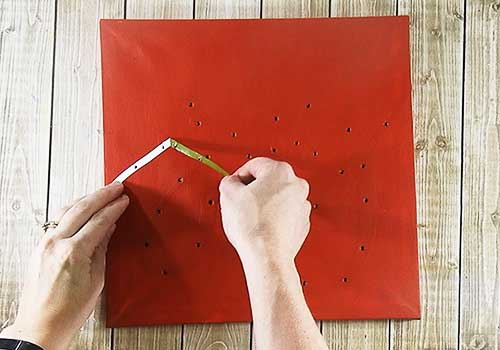
Once the red paint has dried, you need to mark the holes for the lights. Even though you’ve painted over the vinyl lettering, you should still be able to see the outline under the paint. Make your marks on the vinyl. It’s kind of a guessing game as to how far apart to space the holes. You just need to make sure you have as many holes as lights are on your strand. Make sure to dot the I with a light. If you need to fix the spacing just go back and change the dots to make everything fit.
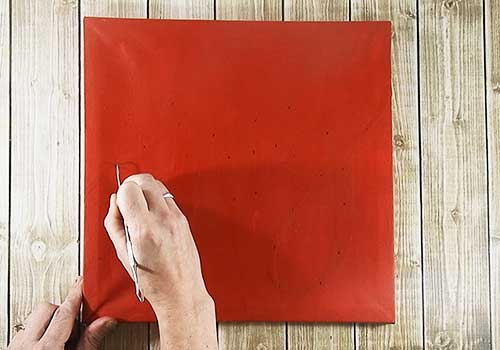
Use a sharp tool (like a weeding tool) to make a small hole in the vinyl and canvas. Make the hole about the size of the tip of your lights
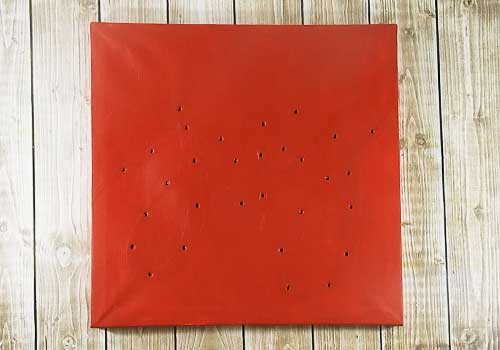
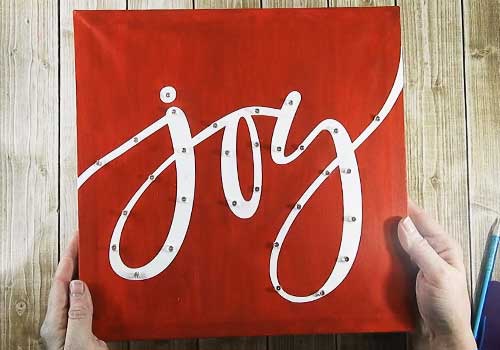
Once all your holes have been poked, your canvas will look something like this.
Now, it’s time for the final step of the PVPP method – Peel. Carefully peel the vinyl off of the canvas.
And that’s how you do the PVPP. With lots of signs, you’ll be done at this point, but we still need to add lights.
Flip the sign over. Star with the hole in the left corner and poke just the tip of the light through. Use hot glue to secure the light in place. Repeat with the rest of the lights.
Once all the lights are glued in place, you can glue the battery pack to the bottom of the sign.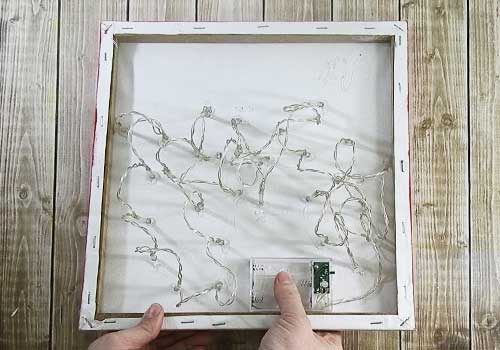
Turn it on and you’re left with a pretty, lighted sign
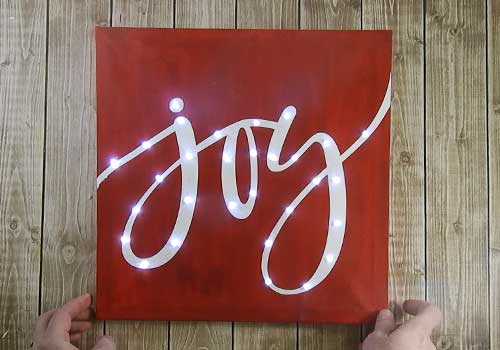
So cute! Now, go and make your own!