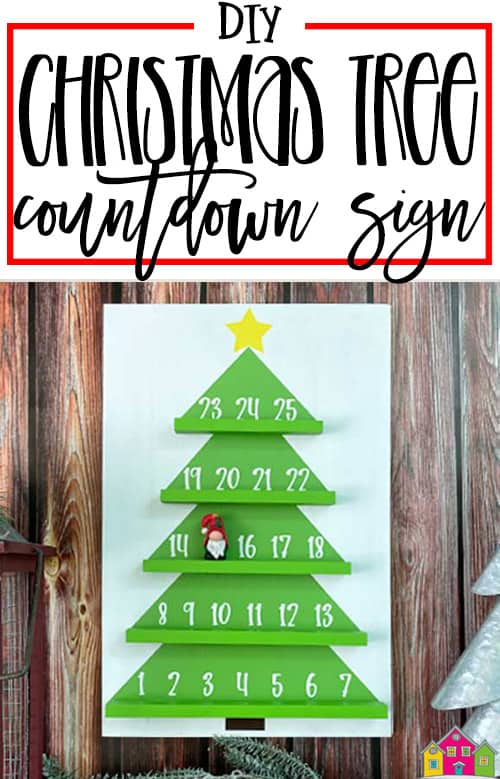
This Christmas tree countdown sign is such a fun and festive project! Each tier of the wooden tree acts as a shelf where you can move a little Christmas figurine from day to day as you count down to the big day. It’s a creative and interactive way to celebrate the season, and it makes an adorable piece of holiday décor. Read on for the full tutorial.
 This post contains affiliate links for your convenience (which means if you make a purchase after clicking a link I will earn a small commission but it won’t cost you a penny more)! Read my full disclosure policy.
HERE’S WHAT YOU NEED
-
- Wood for Sign (12″ x 18″)
- Adhesive Vinyl (I used lime-tree green)
- Transfer Tape
- Weeding Tool
- Scraper
- Sandpaper
- Paint & Brush (I used lime green for the tree)
- Square Wood Dowel for Shelves (you’ll need 2-3 36″ pieces)
- Small Christmas Figurine
- Sawtooth Hanger (Optional)
- Electronic cutter (cricut explore, silhouette or other cutter)
- Cut File – Christmas Tree Countdown BA1811 (available for free in my resource library)
HERE’S WHAT YOU DO
STEP 1: DOWNLOAD THE FREE SVG FILE
The first thing you’ll need to do is get the free SVG file you’ll use for this project. I keep all the SVG files I use for the projects I make in my SVG Library. These SVG files work with Cricut and Silhouette machines, as well as many others. This library is open to everyone and is free! You can access the library here. Look for the file called Christmas Tree Countdown BA1811. It will be listed under the Craftmas 2021 Category-Day 6.
STEP 2: CUT AND TAPE VINYL DESIGN
Open the design in your software program. I resized the design to 11″ wide and leave the height proportional. I also added an alignment guide at the bottom so I would know exactly where to position the tree on the wood. You can watch the video above to see how I added the guide in Cricut Design Space.
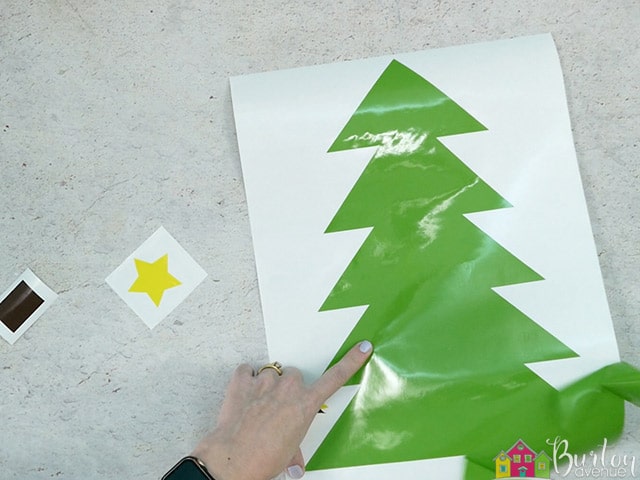
When everything is sized correctly, you can cut the design with your Cricut or Silhouette. I used lime-tree green, brown, and yellow.
Weed away the excess vinyl from the design.
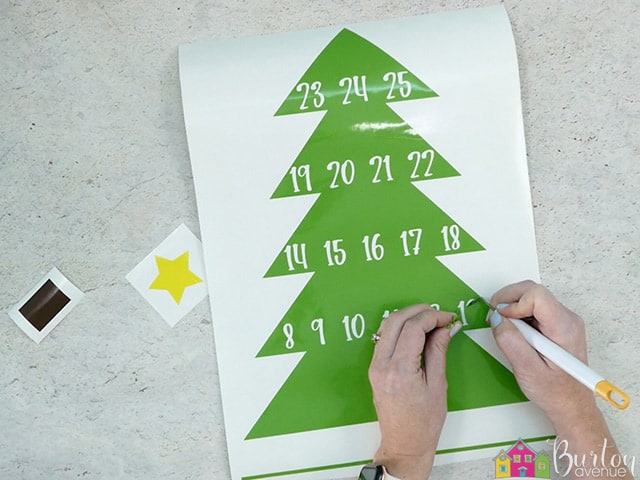
Use a weeding tool to pull out the numbers from inside the tree.
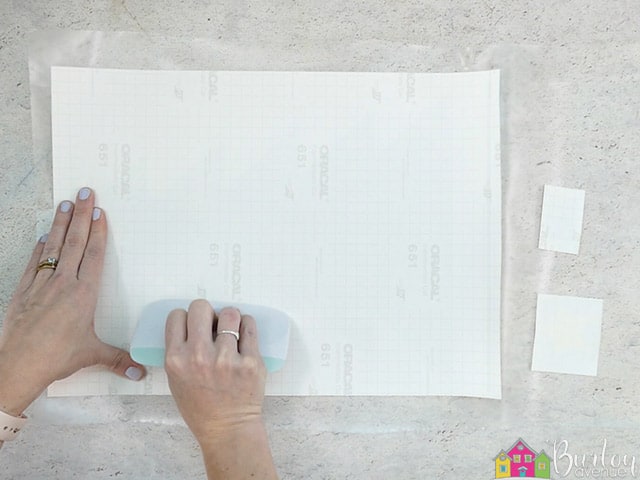
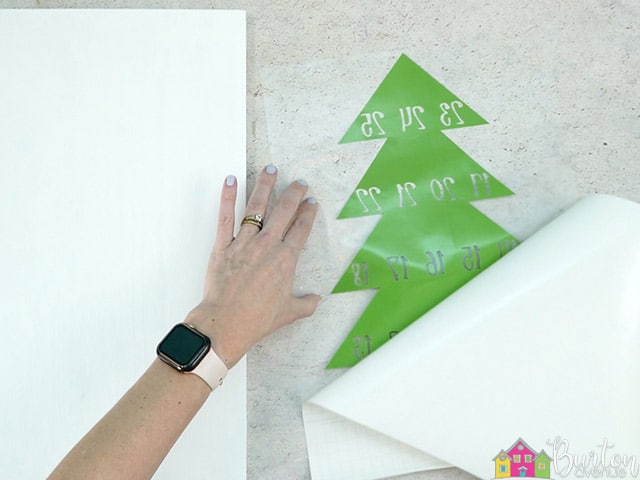
Cut a piece of transfer tape and place it sticky side up on your surface. Then place the vinyl on top of the transfer tape and smooth it down.
![]()
Rub over the vinyl firmly with your scraper tool.
Then, trim off the excess transfer tape and vinyl backing and cut apart the different colors.
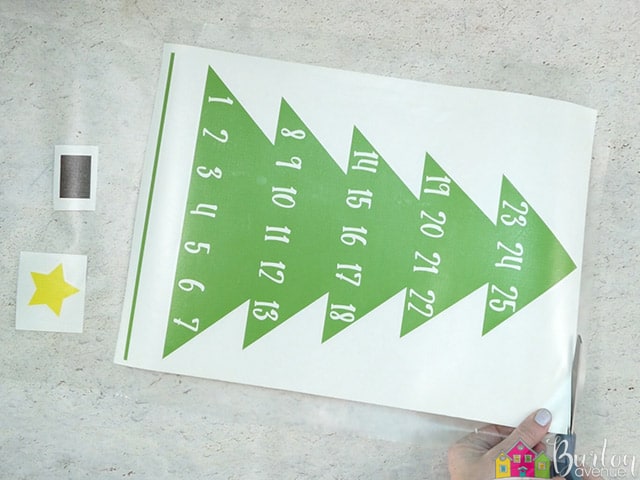
Now that the vinyl is ready to go, let’s work on the sign.
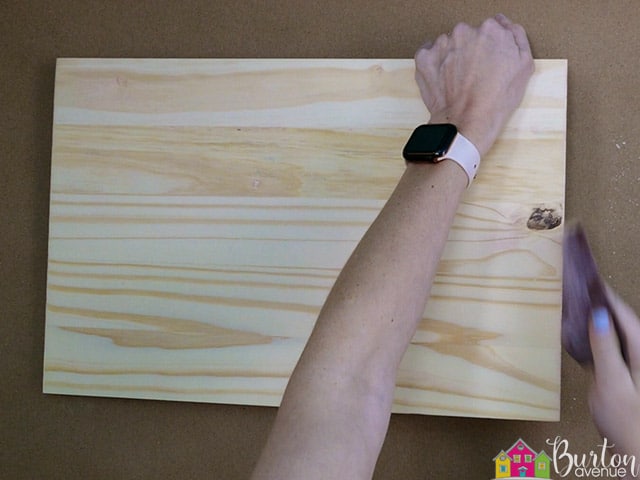
STEP 3: PREPARE THE WOOD PIECES
For this project, I used a piece of pine that measures 12″ x 18″. You’ll want to sand the wood so it’s nice and smooth.
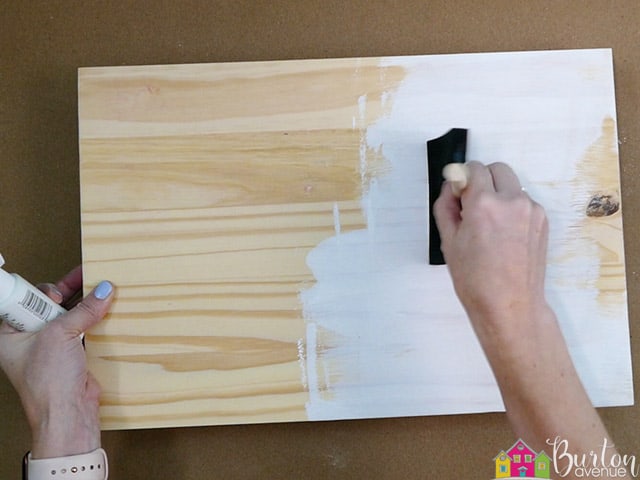
Then, paint it white. You’ll probably need to do 2-3 coats on the front and sides. Painting the back is optional, but I like to do one quick coat just to
make it look nice and finished. Allow the white paint plenty of time to dry.
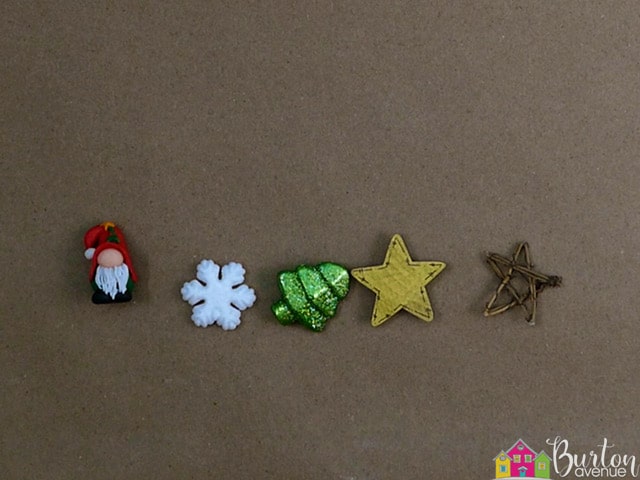
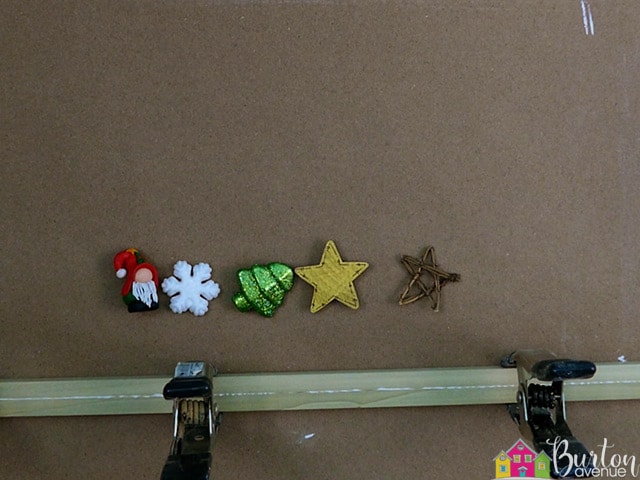
Next, we’re going to make the shelves. You need to find a small Christmas figurine that you want to put on the shelves. There are lots of different items you can use: stars, Christmas trees, snowflakes, etc. Whatever you use, it just needs to be under 2″ tall and under 1″ from front to back. It’s also good to use something that has a fairly flat bottom. I ended up making a cute little gnome out of clay.
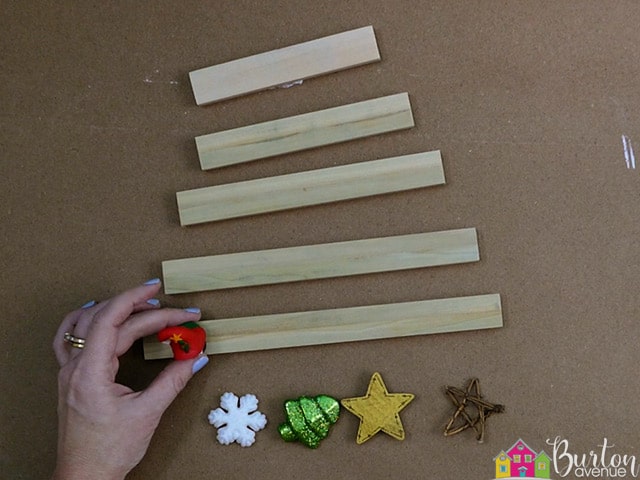
For the shelves, I used a few 1/2″ square wood dowels. Since one wasn’t quite wide enough for my gnome, I glued two pieces together to make my shelves. So, once you’ve found your Christmas figure, you’ll be able to figure out if you can use one dowel or if you need to glue two together.
Next, you’ll need to cut the shelves down to size so they’ll fit on the sign. You’ll need an 11″, 9.5″, 8.25″, 7″, 6″ piece.
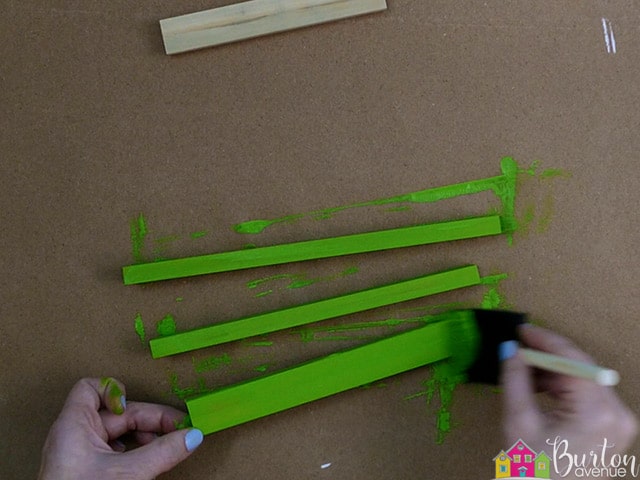
Then, you can paint the shelf pieces green. Try to use a green paint that is close to the color of your green vinyl. You can paint the front, top, bottom, and sides of the shelves. You don’t need to paint the back.
While those pieces are drying, let’s add the vinyl to the sign.
STEP 4: ADD THE VINYL TO THE SIGN
Grab the green vinyl and carefully pull off the vinyl backing.
Replace the backing, but leave the alignment guide exposed.
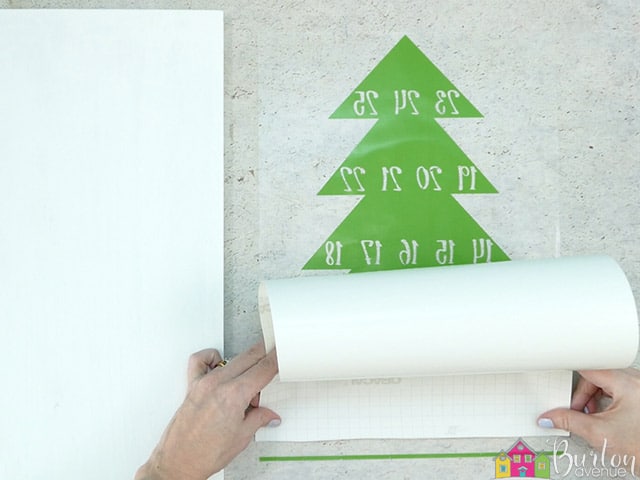
Position the design on the wood piece. Match up the straight edge of the sign with the rectangle and make sure the design is centered from right to left, then press down on the vinyl.
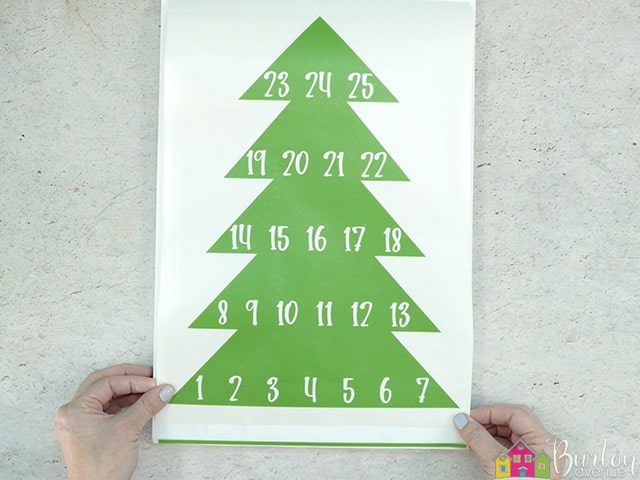
Carefully remove the vinyl backing. Make sure the alignment guide at the bottom stays in place.
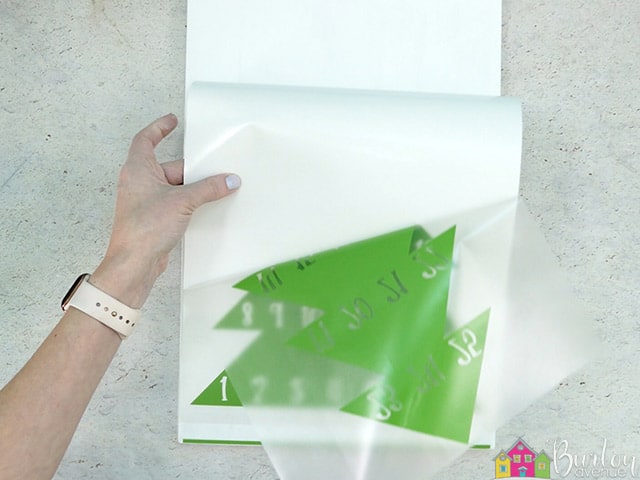
Then, use your scraper to press the vinyl onto the wood.
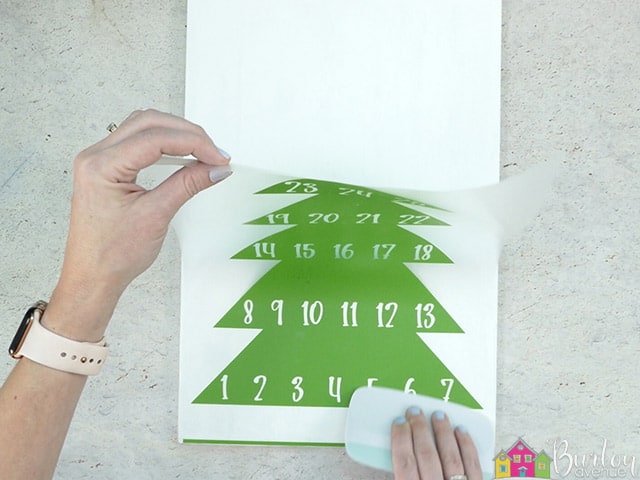
Rub over everything with your scraper and then pull off the transfer tape and remove the alignment guide.
![]()
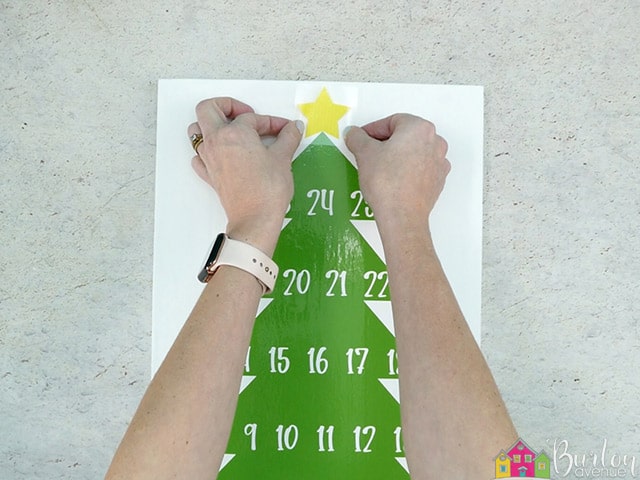
Apply the trunk and the star to the sign.
STEP 5: FINISH THE SIGN
Now, we are going to glue on the shelves. Add some glue onto the back of one of the shelf pieces.
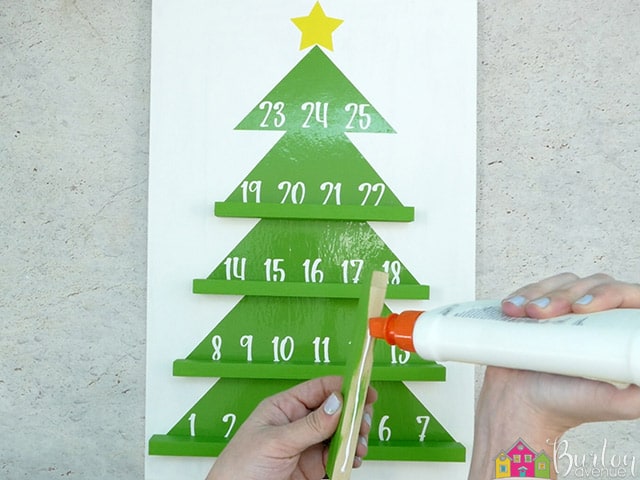
Press it into place on the sign. The shelf should go just under the points of the tree.

Repeat with all the other pieces. Adjust the shelves so you don’t see any white between the shelf and the tree and then wipe off any excess glue.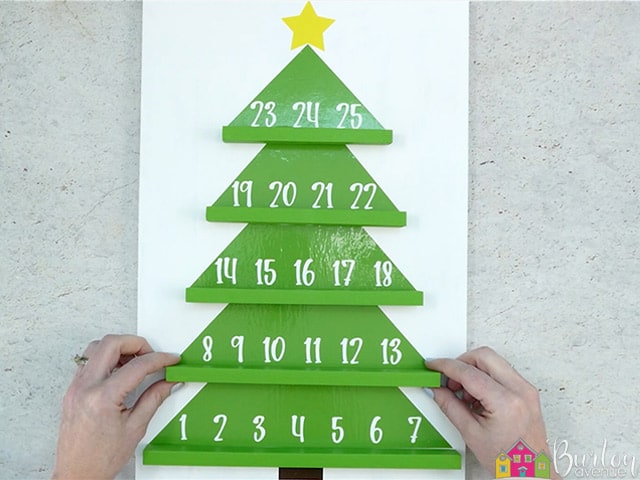
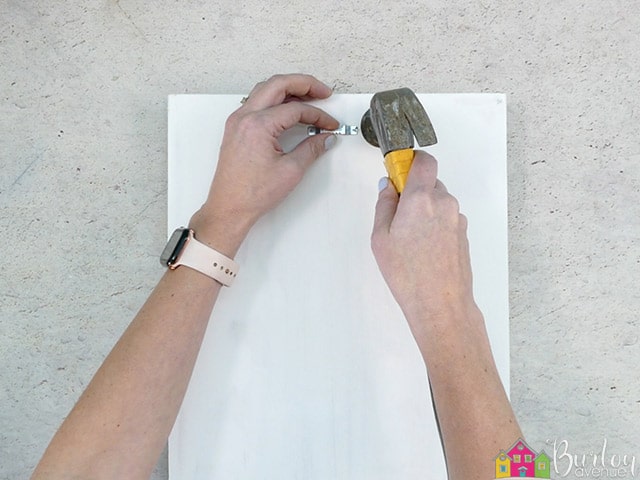
If you want to hang the sign, you can flip it over and attach a sawtooth hanger.
Flip the sign over and add your little Christmas figure.
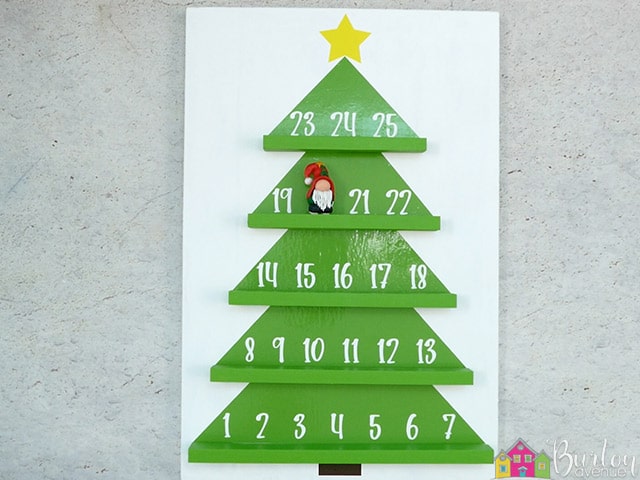
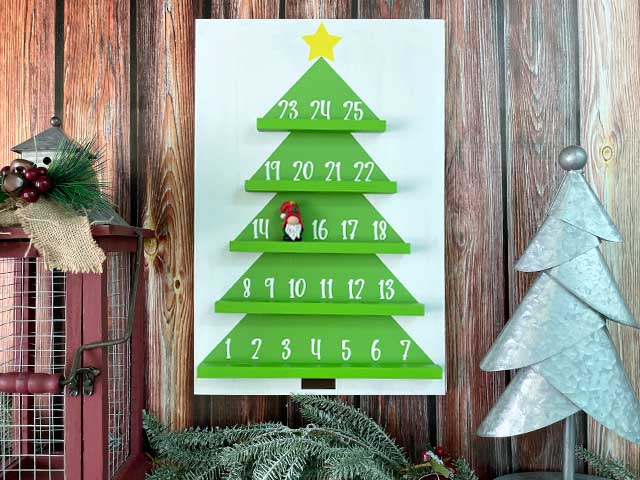
And that’s it, this sign is finished and I just love how it turned out!
Did you enjoy this post? Help spread the word! Share this post on your favorite Pinterest board. Thanks!