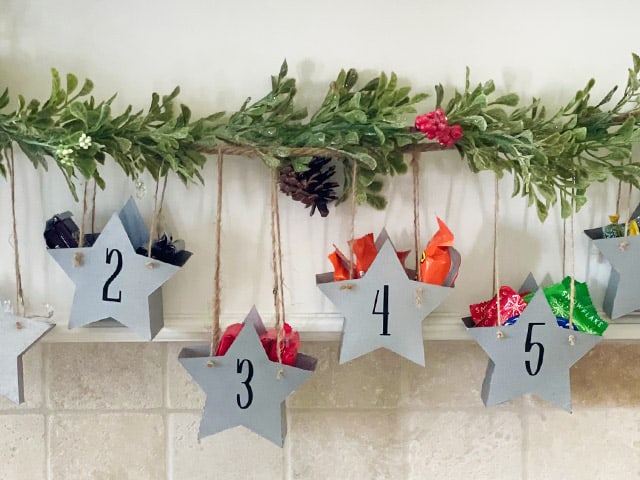
This 3D star garland Christmas countdown is such a fun and festive project! Each star is designed to hold a small treat, making it perfect for kids (or adults) to enjoy as they count down the days until Christmas. The stars hang from twine like a garland, adding a whimsical touch to your holiday décor. Read on for the full tutorial.
 This post contains affiliate links for your convenience (which means if you make a purchase after clicking a link I will earn a small commission but it won’t cost you a penny more)! Read my full disclosure policy.
HERE’S WHAT YOU NEED
-
- Cardstock
- Adhesive Vinyl
- Transfer Tape
- Weeding Tool & Scraper
- Spray Paint (Optional)
- Glue, Twine, & Rope
- Candy
- Electronic cutter (cricut explore, silhouette or other cutter)
- Cut File – Star Garland Countdown BA1806 (available for free in my resource library)
HERE’S WHAT YOU DO
STEP 1: DOWNLOAD THE FREE SVG FILE
The first thing you’ll need to do is get the free SVG file you’ll use for this project. I keep all the SVG files I use for the projects I make in my SVG Library. These SVG files work with Cricut and Silhouette machines, as well as many others. This library is open to everyone and is free! You can access the library here. Look for the file called Star Garland Countdown BA1806. It will be listed under the Craftmas 2021 Category-Day 5.
STEP 2: CUT CARDSTOCK AND VINYL DESIGNS
Open the design in your software program. I resized the design to about 11.5″ high and left the width proportional. You can cut two stars out of each sheet of 12″ x 12″ cardstock.
When everything is sized correctly, you can cut the design with your Cricut or Silhouette. There are two stars per sheet of cardstock, so you’ll need to cut 13 sheets if you want to count down from 25. I used gray cardstock for the stars and black vinyl for the numbers.
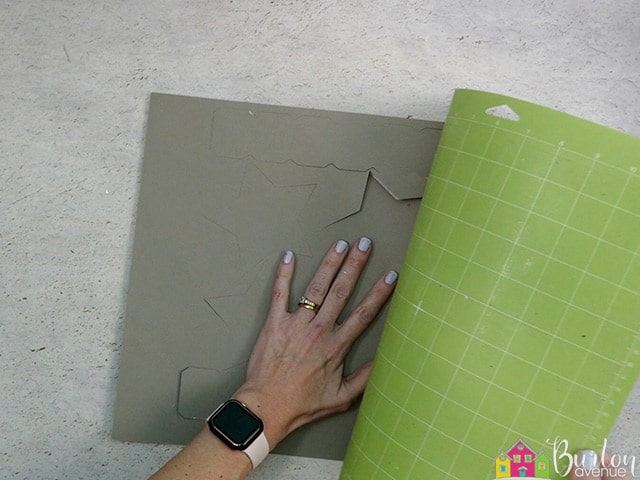
You’ll want to slightly bend the cutting mat and carefully pull off the cardstock. This should keep the cardstock from curling.
Weed away the excess vinyl from around then numbers.
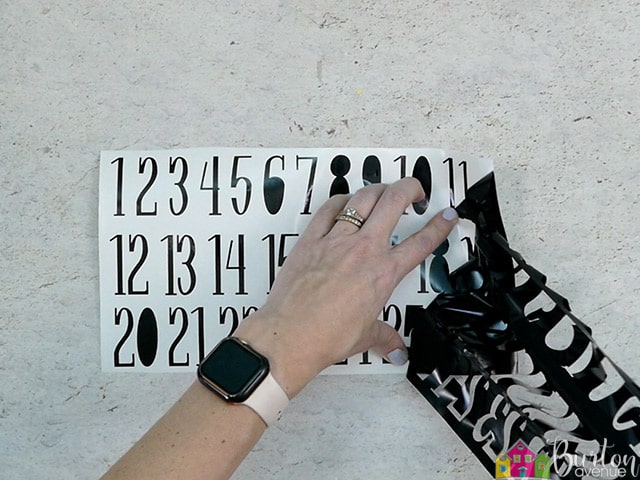
Use a weeding tool to pull out the small pieces left inside the letters.

Cut a piece of transfer tape and place it sticky side up on your surface. Then place the vinyl on top of the transfer tape and smooth it down.
![]()
Rub over the vinyl firmly with your scraper tool.

Then, trim off the excess transfer tape and vinyl backing and cut apart the numbers.

Now that the vinyl is ready to go, let’s work on the stars.
STEP 3: ASSEMBLE 3-D STARS
Each star will use a front and back piece, 1 side piece, 1 vinyl number, 2 pieces of twine, and some candy.

I sprayed the cardstock pieces with silver hammered spray paint to make the stars look a little bit like metal.

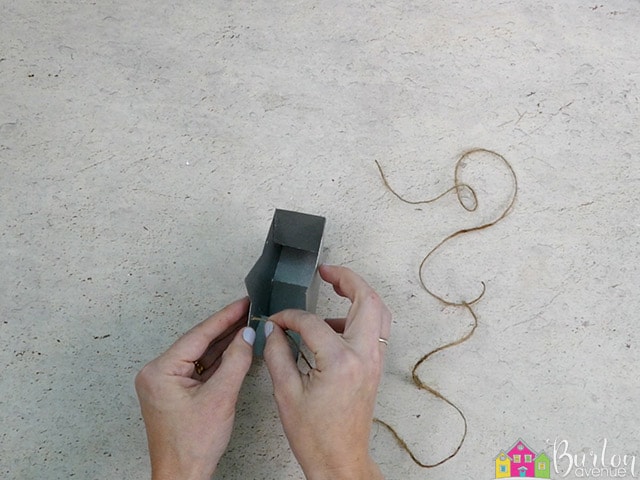
Grab the side piece and fold along the first set of perforation lines. You’ll want to bring both ends of the cardstock towards you.
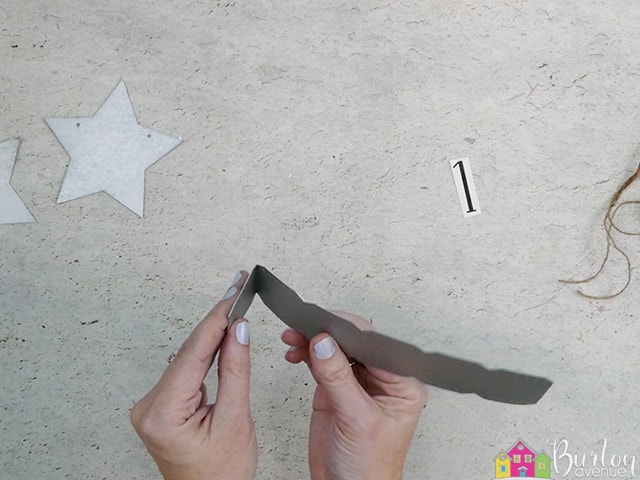
Then, on the next set of lines, you’ll want to fold the ends way from you. Go back and forth until you reach the end.

Then fold down on the perforation lines on the top and bottom of the strip.

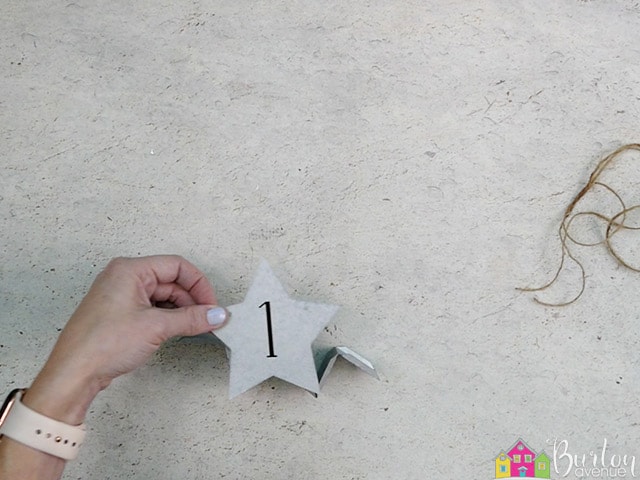
Grab the front piece of the star and make sure the two holes are at the top. Then, take your vinyl number and pull off the vinyl backing.
Position the number on the front of the star, rub over it with your finger, and then pull off the transfer tape.

Place the front star piece over the folded side piece so you can see how everything will match up.

Once you’ve got that figured out, you can start gluing the pieces together. I added glue onto one edge of the side at a time.
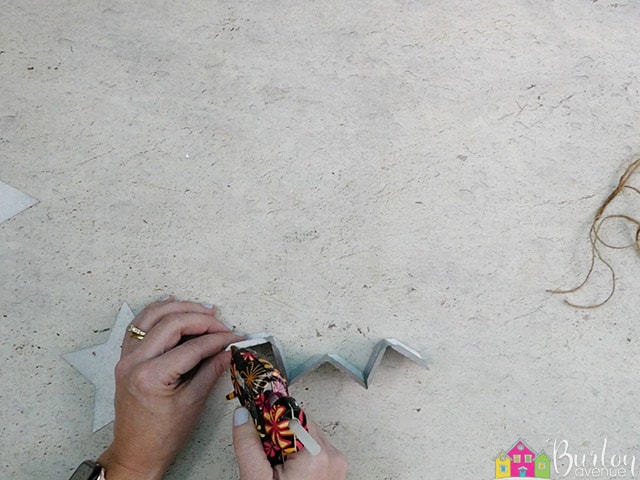
Then, I press the top piece onto the glue
You can reach your finger around the back of the star and press on the tab onto the front piece.
Keep gluing until all the sides are in place.

Flip the star over and glue on the back piece.

This time I added glue onto two sides at a time.
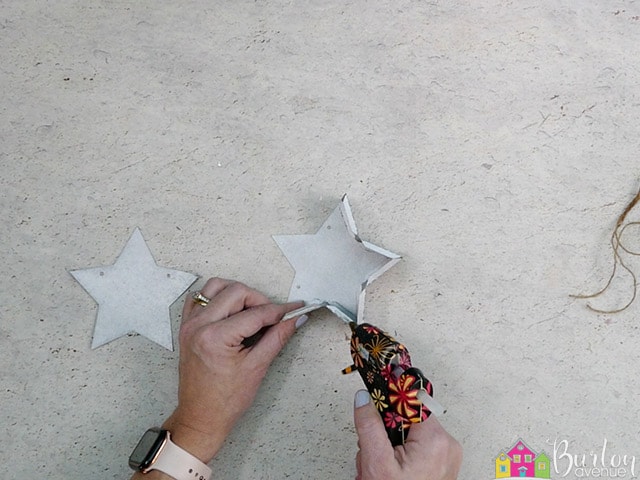
You can pull up a little on the star piece, so you can get the glue on the tabs.

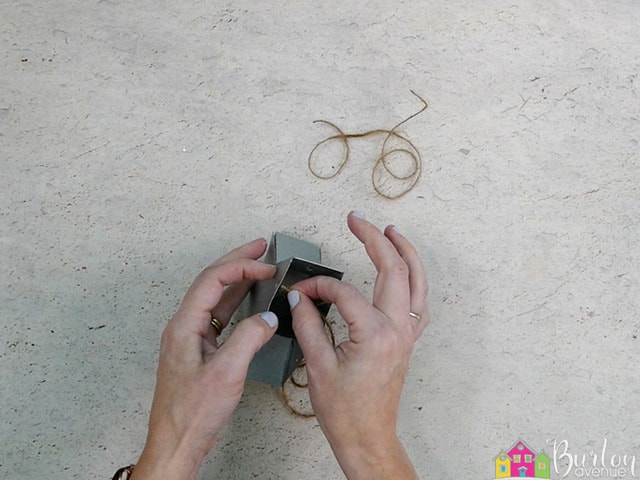
Next, we are going to add the twine. Thread a piece of twine through the hole on the front right and tie a knot.
Then, thread the other end through the hole on the back right and tie that in a knot.
Thread the other piece of twine through the holes on the left. Do your best to make sure both pieces of twine are the same length.
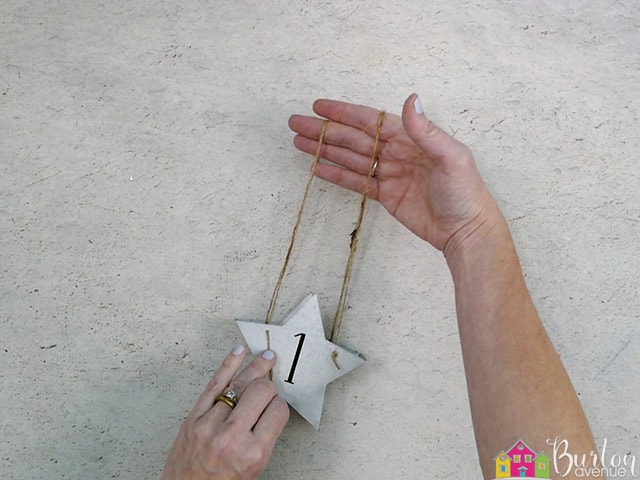
Finally, fill up the star with candy.

STEP 4: ASSEMBLE GARLAND
Place each star on a rope.

Then, hang it up like a garland.

This project is finished! It’s such a fun way to countdown the days until Christmas.
Did you enjoy this post? Help spread the word! Share this post on your favorite Pinterest board. Thanks!
