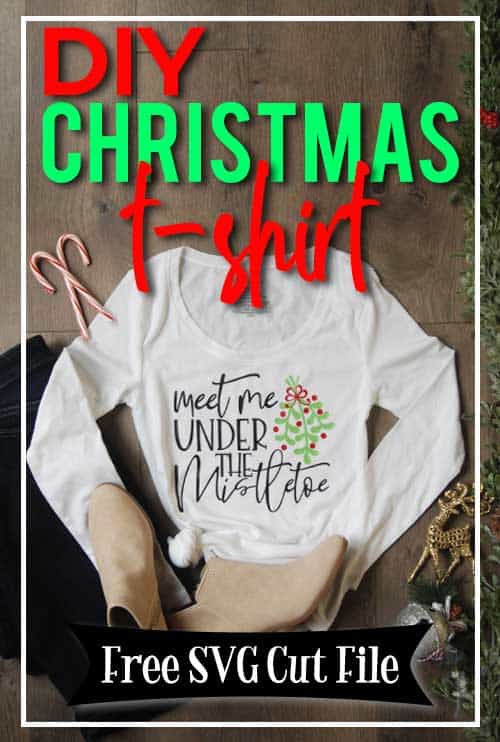
Welcome to day 22 of my 25 Days of Craftmas series! Today I’m showing you how to make your own custom Christmas t-shirt with Heat Transfer Vinyl (HTV). I love using HTV. It’s easy to cut, easy to peel, and it makes the finished project look so professional!
Making a t-shirt with HTV is a super easy project. The trickiest part is getting the design on straight and centered. Today, I’d like to show some tricks I have learned that help me to get it on straight and centered every time.

HERE’S WHAT YOU NEED
- T-Shirt
- Heat Transfer Vinyl (I used black, red and green apple)
- Iron or Heat Press
- Electronic cutter (cricut explore, silhouette or other cutter)
- Cut File (available for free in my resource library)
HERE’S WHAT YOU DO
The first thing you’ll need to do is get the free SVG file you’ll use for this project. I keep all the SVG files I use for the projects I make in my SVG Library. These SVG files work with Cricut and Silhouette machines, as well as many others. This library is open to everyone and is free! You can access the library here. Look for the file called Meet me Under the Mistletoe. It will either be listed under the Christmas category-25 Days of Craftmas 2018 – Day 22.
Start with an ironed t-shirt. Fold the t-shirt in half and iron a crease down the center.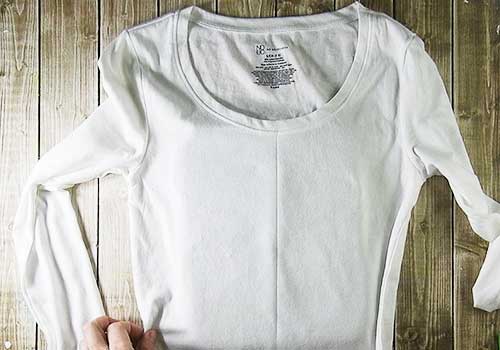
Open the design in your software program and size it accordingly. There are lots of charts online with suggested sizes for t-shirt designs. I like this one, but most of the time I end up making some type of adjustment.
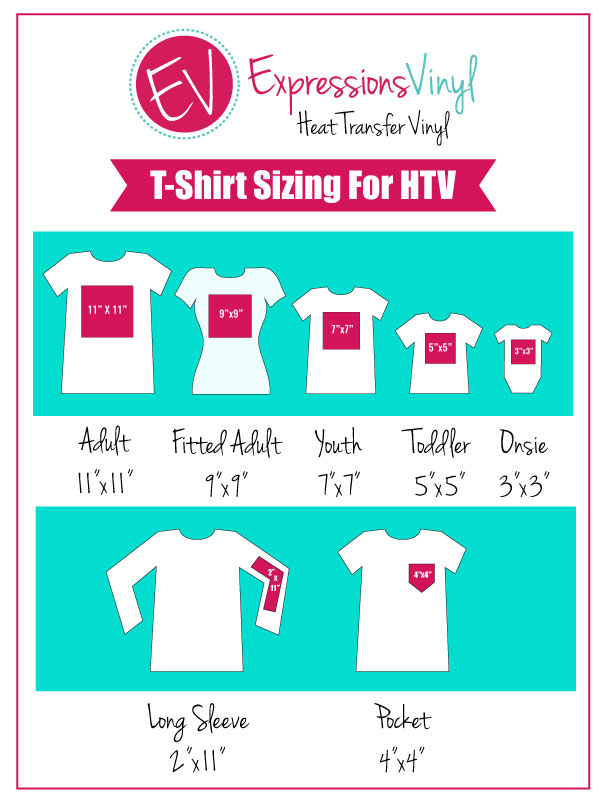
So here’s what I do. I size my design according to the chart and print it out on paper. If I’m not sure I like the size, I’ll print it out an 1″ smaller and see how that looks. I’ll keep adjusting the size until it looks perfect. I’d much rather use a couple of sheets of paper than cut out the design in HTV only to find out it’s too big or too small.
Once you decide the size you’re going to cut the design, place a rectangle around the entire design. Center the design inside the box like you’re creating a stencil. You’ll want to cut the rectangle with just the largest layer of vinyl in the design. In this case, you would cut the rectangle with the black vinyl. The red and green vinyl don’t need it. Just cut those colors like normal. Before you send the design to cut, be sure to mirror it.

Weed away the excess vinyl. On the black layer, you’ll want to weed out the rectangle and the insides of the letters.
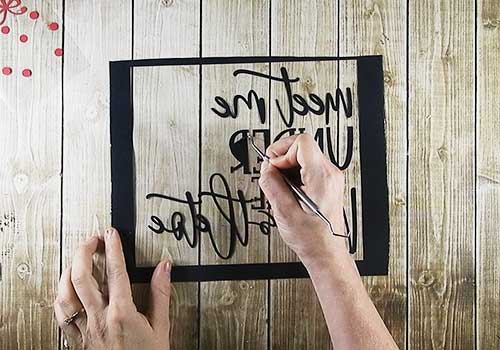
Then trim off the excess black, right along the edge of the rectangle. This gives you nice straight edges to help you center your design and be sure it’s on straight.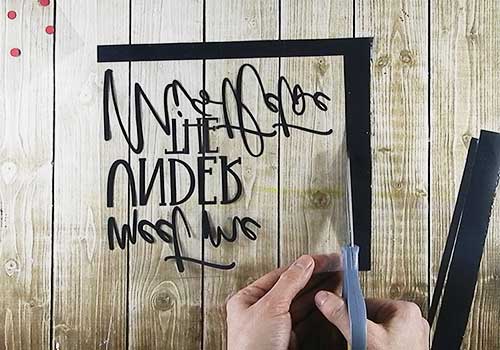
Fold the left edge of the non-sticky side over the right edge of the non-sticky side and make a crease down in the middle. Try to make creases where there is no vinyl.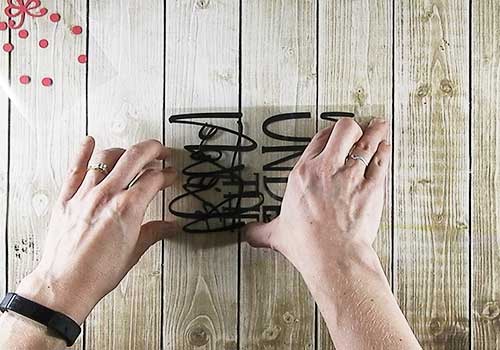
Now, take the two other colors and position them on the black. Start with the green and then add the red. I like to do this step so I can get a good idea of how the finished design will look on the shirt.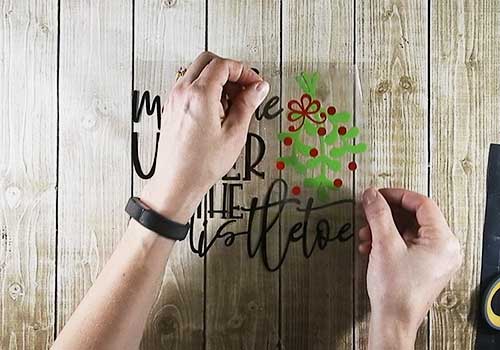
Place the design on the t-shirt. Match up the crease on the t-shirt with the crease of the vinyl. If the creases are lined up at the top and bottom, your design should be centered and straight. You can move the design up and down along the crease until it looks good with the neckline.
Pull off the green and red layers, so you’re left with just the black.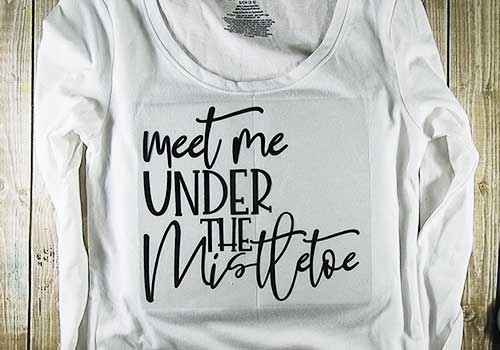
Press the design for about 3-5 seconds.
Remove the carrier sheet from the black vinyl.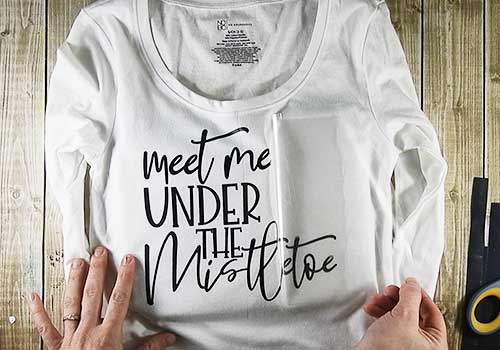
Put the remaining layers back in place on the design and then remove just the red layer.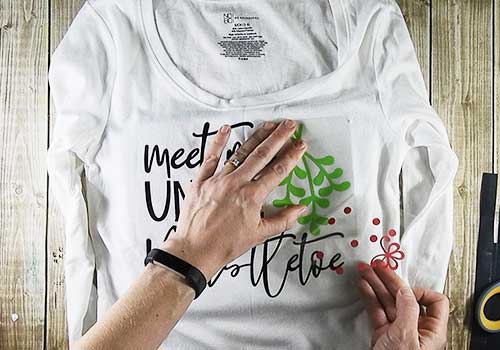
Place a sheet of parchment paper (you can also use the carrier sheet from the black HTV) over the design and iron again for about 3-5 seconds. Then remove the green carrier sheet.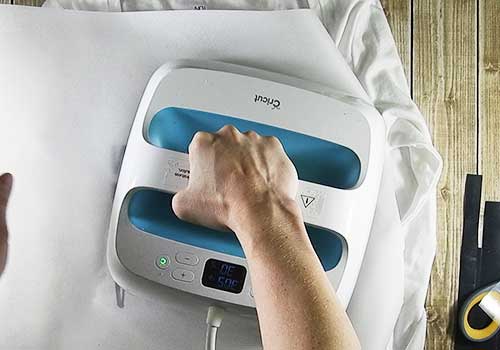
Finally, add the red layer and press into place. This time, you want to press the design for the full 15 seconds (or the time recommended by the manufacturer). If your iron doesn’t cover the full design, make sure you press it in sections, making sure each section has been pressed for 15 seconds. Then, remove the red carrier sheet.
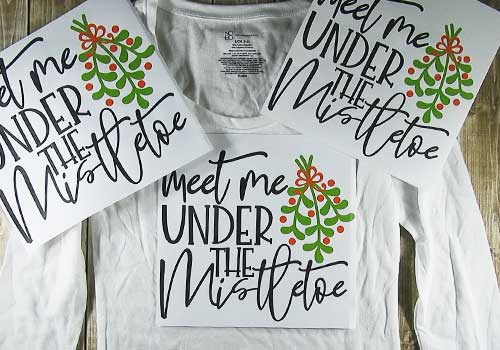
Now, you’ve got your own custom t-shirt just in time for Christmas!
Did you enjoy this post? I’d love for you to pin it to your favorite pinterest board.
Want to make your own? Get the free cut file for this project in the resource library