
Burton Avenue
SVG files, tutorials and more for your electronic cutter.
 This post contains affiliate links for your convenience (which means if you make a purchase after clicking a link I will earn a small commission but it won’t cost you a penny more)! Read my full disclosure policy.
HERE’S WHAT YOU NEED
- Wood for sign (see step 3 for details)
- Wood Glue
- Paint & Brush
- White Vinyl
- Application Tool
- Transfer Tape
- Weeding Tool
- Electronic cutter (cricut explore, silhouette or other cutter)
- Cut File (available for free in my resource library)
HERE’S WHAT YOU DO
STEP 1: DOWNLOAD THE FREE SVG FILE
The first thing you’ll need to do is get the free SVG file you’ll use for this project. I keep all the SVG files I use for the projects I make in my SVG Library. These SVG files work with Cricut and Silhouette machines, as well as many others. This library is open to everyone and is free! You can access the library here. Look for the file called WELCOME TO THE NORTH POLE. It will be listed under the category-Craftmas 2020 – Day 23.
STEP 2: PREPARE THE VINYL DESIGN
Open the design in your software program and size it to fit on your wood pieces. If you’re using the arrows from Dollar Tree, you can resize the width to 8.5″ and leave the height proportional. Also, create 4 skinny stripes (about .25″) to be cut out with the vinyl.
When everything is sized correctly, you can cut the vinyl with your Cricut or Silhouette.
Once everything is cut, weed away the excess vinyl.
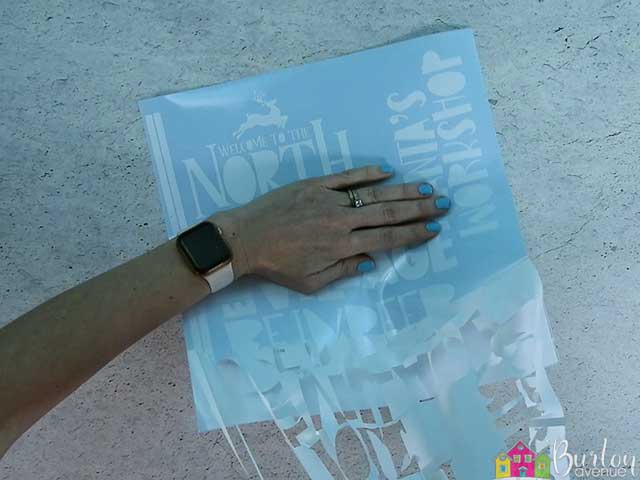
Use a weeding tool to pull out the small pieces inside of the letters.
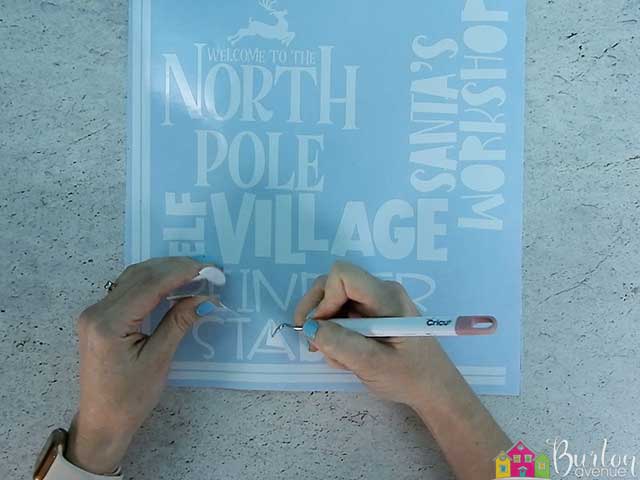
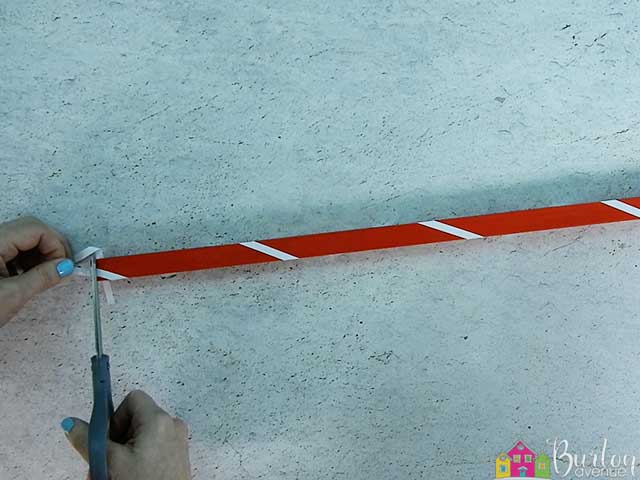
Trim off the vinyl strips.
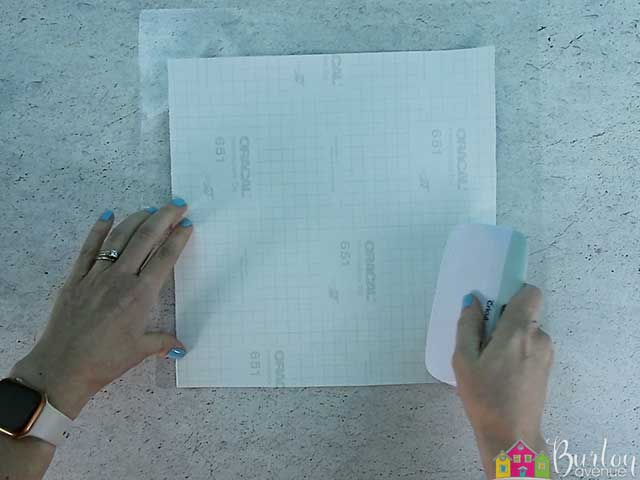
Cut a piece of transfer tape a little larger than the designs. Place the designs onto the transfer tape.
![]()
Rub over the design with your scraper.
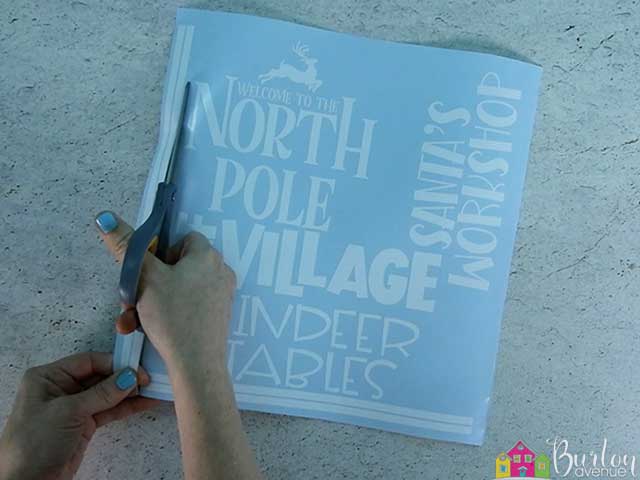
Then, trim off the excess material and cut apart the words.

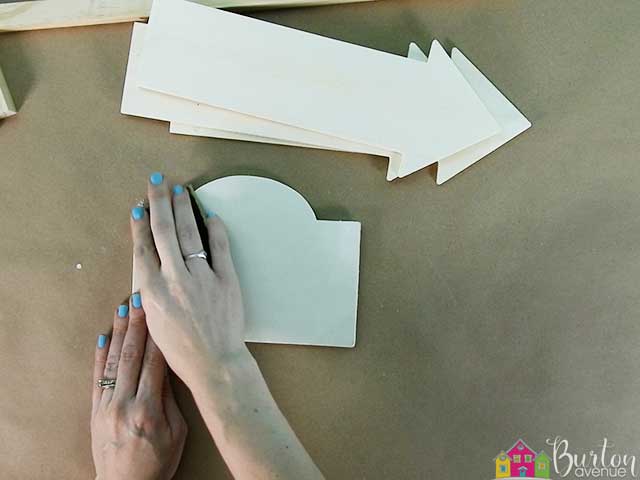
STEP 3: PREPARE WOOD PIECES
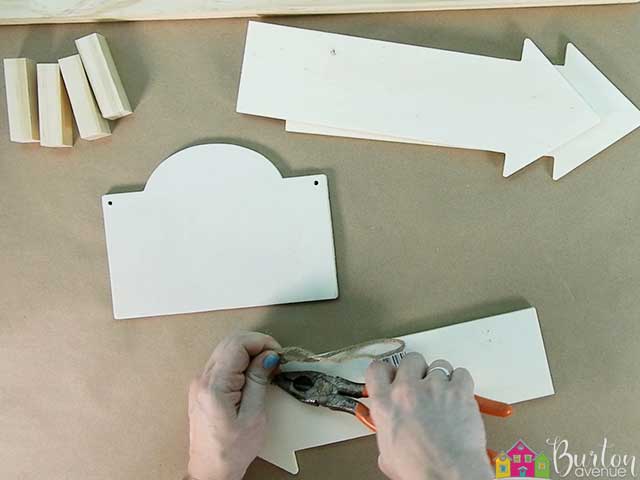
To make this sign, you’ll need the following pieces of wood: 3 wood arrows (found at Dollar Tree), 1 wood piece for the top sign (found at Dollar Tree), 24″ Square Dowel, 4- 2 1/2″ pieces (all pieces can be cut from a 36″ dowel).
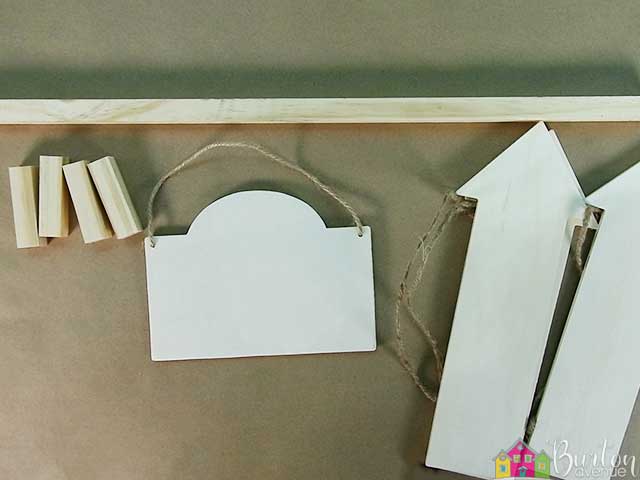
Start by removing the hangers and staples from the wood shapes.
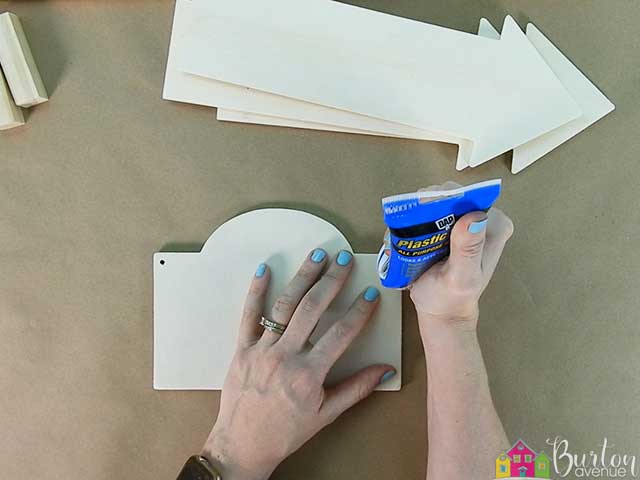
Use some wood filler to fill in the holes on the wood for the top sign.
Once that has dried, sand it down so it’s nice and smooth.
Now it’s time to paint. Start by painting 2 of the arrows green.
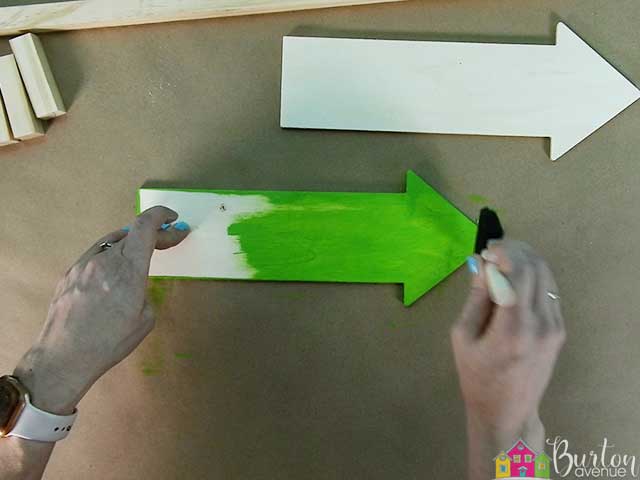
Then, paint the other arrow red.
![]()
Also, paint the top sign piece and the dowels red. All these pieces will need 2-3 coats of paint.

STEP 4: APPLY VINYL LETTERING
Once the paint has dried completely, it’s time to add the vinyl. So, grab one of the phrases and remove the vinyl backing.
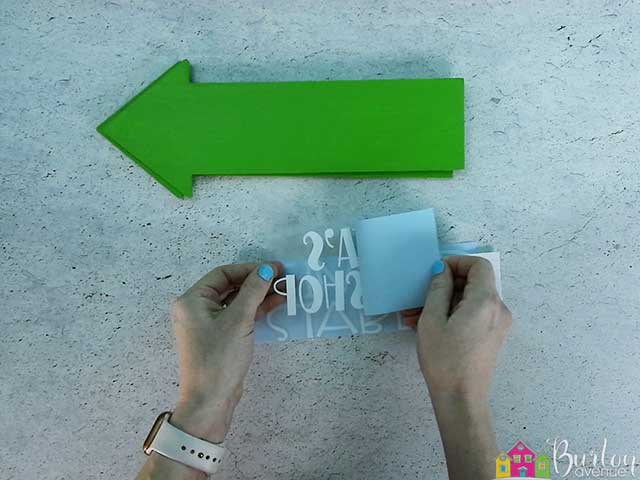
Then, position it in the center of the arrow.
![]()
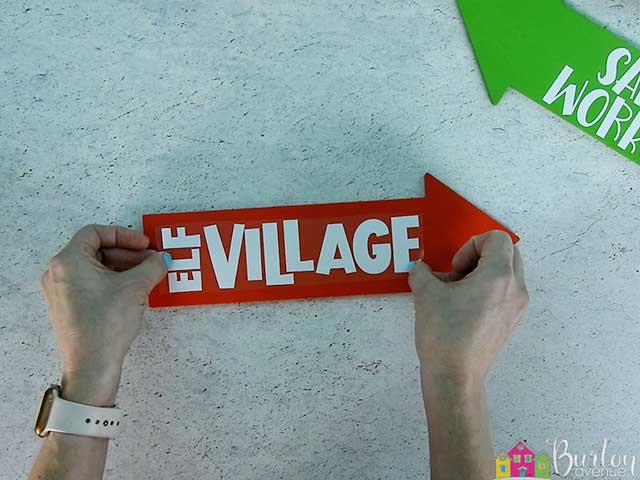
Rub over the vinyl with your scraper.

Remove the transfer tape. Repeat these steps with the other arrows.
![]()
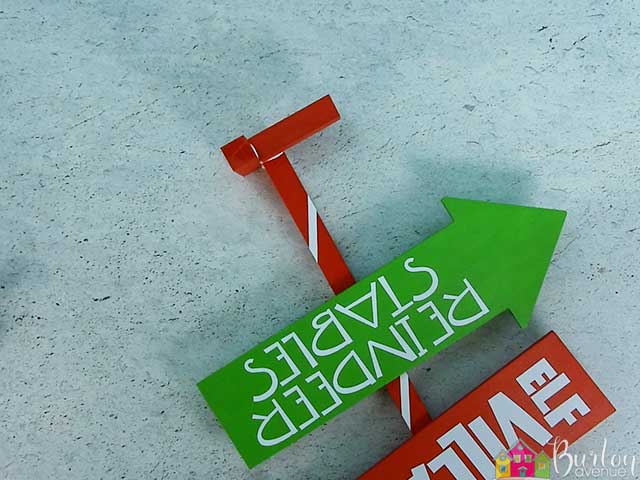
When you apply the vinyl to the red arrow, make sure it’s pointing the opposite direction of the green arrows.
Also, apply the lettering to the wood for the top of the sign.

Now, grab the 24″ dowel and your strips of vinyl. Wrap one of the strips of vinyl around the dowel. Place it on the dowel at an angle so it will go up the dowel as you wrap the vinyl. When you reach the end of the strip of vinyl, grab another one and overlap the ends. Keep wrapping the vinyl around the dowel until you reach the top.
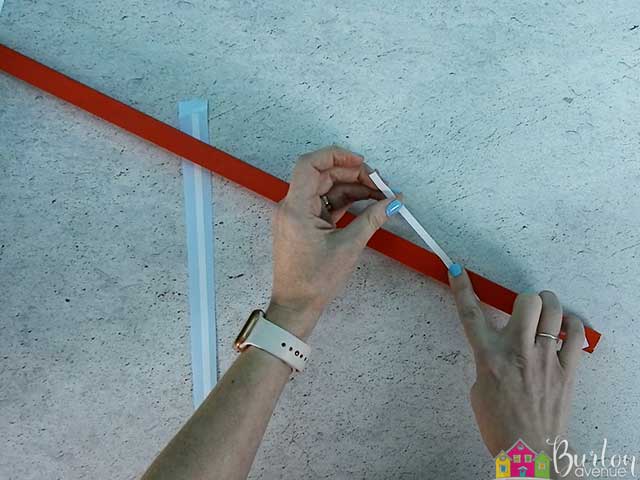
Then, trim off any excess vinyl
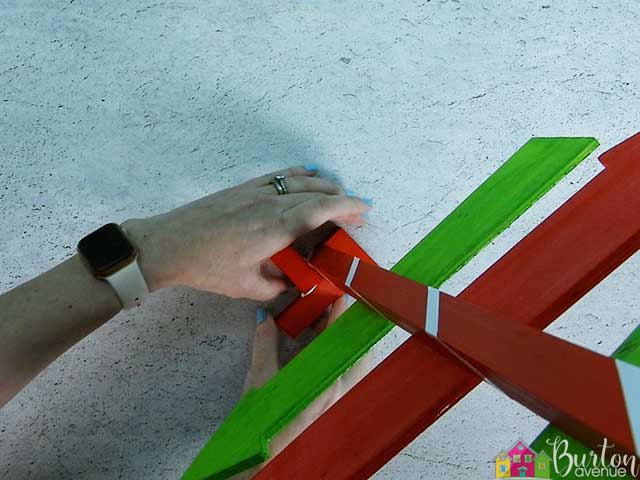
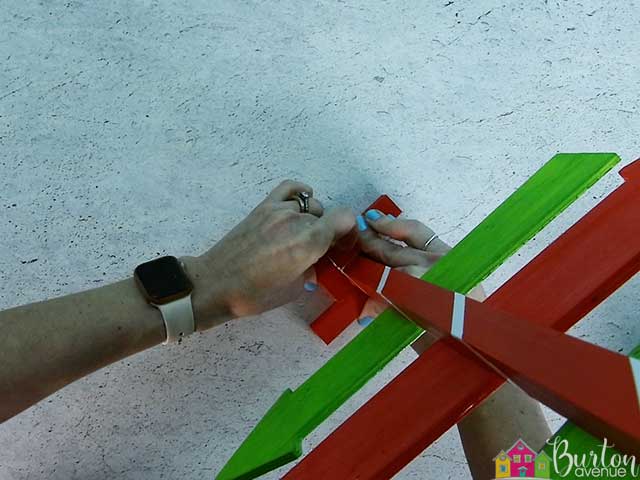
STEP 5: GLUE WOOD SHAPES ON DOWEL
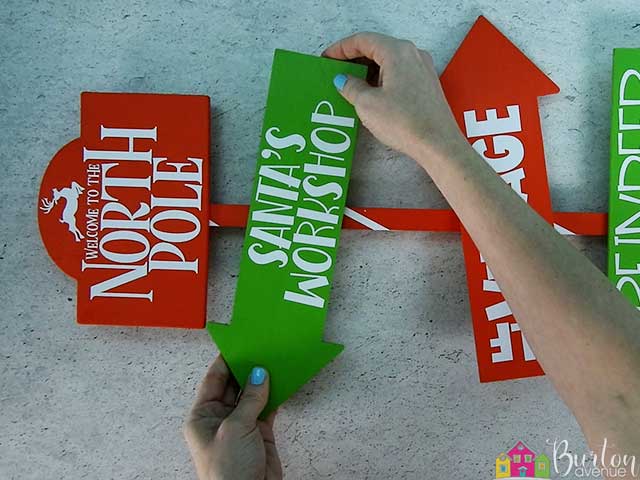
Grab all your wood pieces and place them on the wood dowel so they look good. Then, use wood glue to glue them all in place.
STEP 6: ADD BASE TO SIGN
To finish this sign, we are going to add a base so it can stand by itself. We are going to create the base with the 4 small dowel pieces. We’ll put them together like this and the dowel on the sign will go in the middle. It’s an easy way to create a base without a lot of woodworking skills.

Start by gluing one piece onto the dowel and let it dry for a few minutes.

Then, glue on the next piece. If there’s any excess glue, you can wipe that off. Let these two pieces dry for about 10 minutes.
Stand the sign up and glue on the third piece.
And finally, glue on the last piece of wood and wipe away any excess glue.
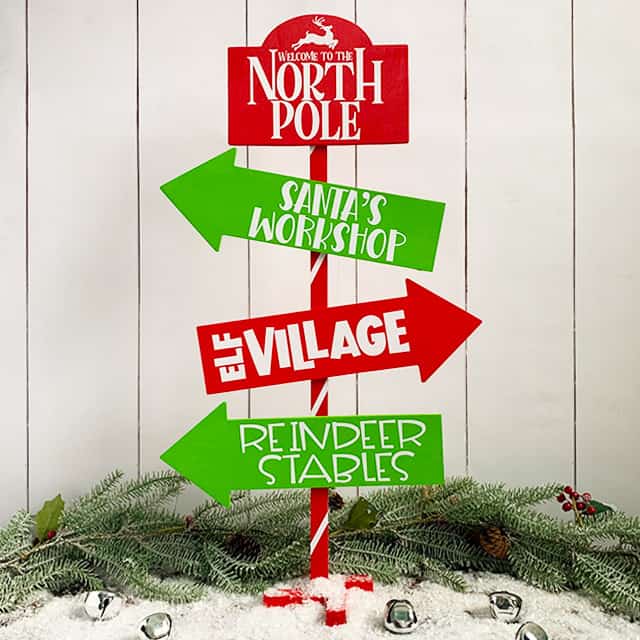
And that’s it. Now you just need to find a place to display this cute sign!
Did you enjoy this post? Help spread the word! Share this post on your favorite Pinterest board. Thanks!
