
Burton Avenue
SVG files, tutorials and more for your electronic cutter.
 This post contains affiliate links for your convenience (which means if you make a purchase after clicking a link I will earn a small commission but it won’t cost you a penny more)! Read my full disclosure policy.
HERE’S WHAT YOU NEED
- White Cardstock
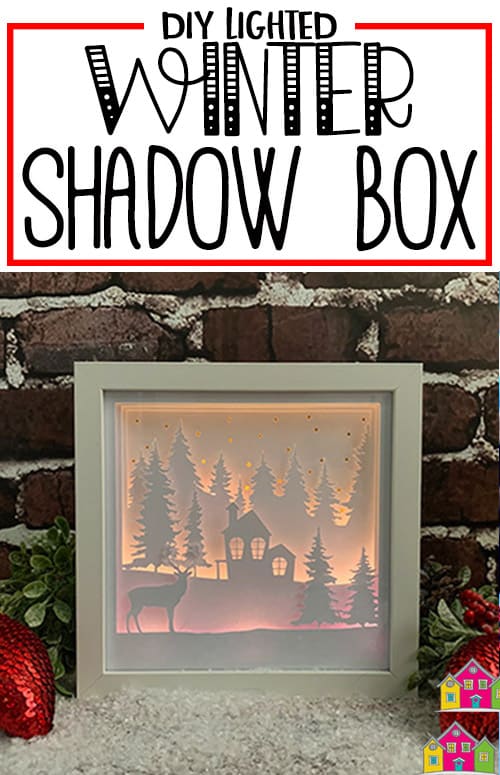
- Shadow Box (I found mine at Michael’s)
- LED Lights
- Clear Tape
- Foam Board
- Doubled Sided Tape
- Craft Knife & Ruler
- Electronic cutter (cricut explore, silhouette or other cutter)
- Cut File (available for free in my resource library)
HERE’S WHAT YOU DO
STEP 1: DOWNLOAD THE FREE FILES
The first thing you’ll need to do is get the free SVG file you’ll use for this project. I keep all the SVG files I use for the projects I make in my SVG Library. These SVG files work with Cricut and Silhouette machines, as well as many others. This library is open to everyone and is free! You can access the library here. Look for the file called Winter Scene. It will be listed under the category-Craftmas 2020 – Day 24.
STEP 2: PREPARE CARDSTOCK PANELS
Open the design in your cutting software. Size the design to inside your frame. I resized my design to 8″ to fit inside my 8″ frame. Once everything is sized correctly, cut out the four panels with your Cricut or Silhouette. I used 100 lbs white cardstock. I did try cutting this with 80 lbs cardstock, but I prefer the way the 100lbs cardstock looked with the led lights.
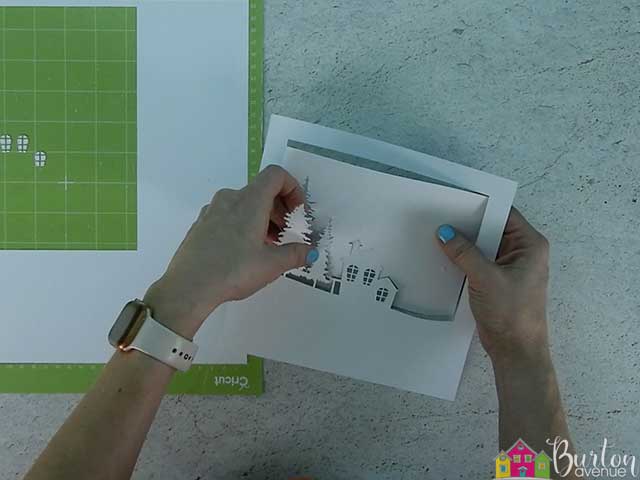
Once a panel is finished cutting, remove it from the cutting mat. You’ll want to slightly bend the cutting mat and carefully pull off the cardstock.
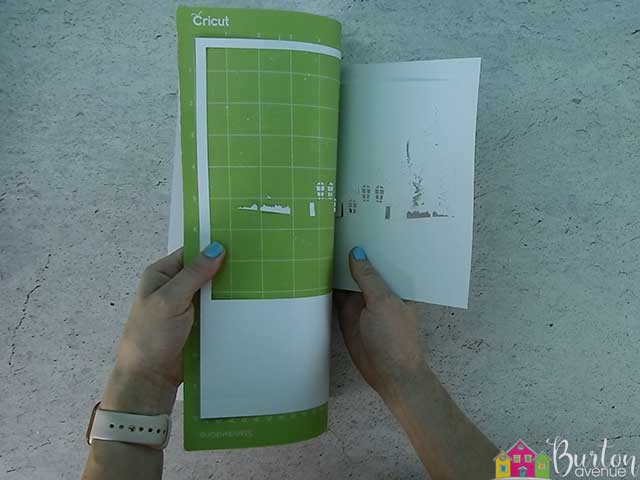
Remove any inside pieces that didn’t come off with the mat. Repeat with the other 3 panels.
STEP 3: CUT SPACING STRIPS
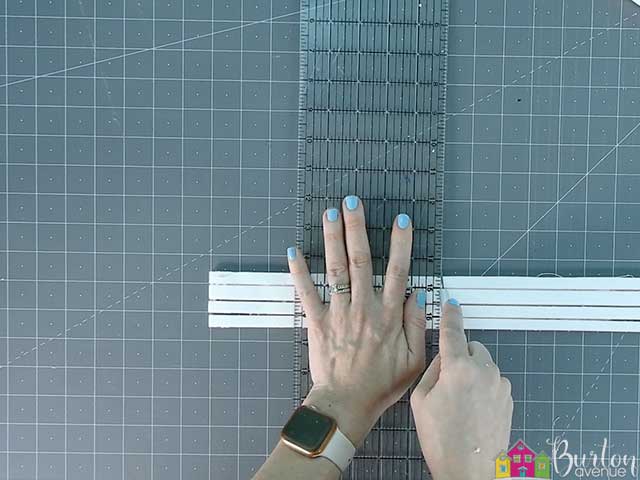
Use a craft knife to cut 1/4″ strips from a piece of foam board.
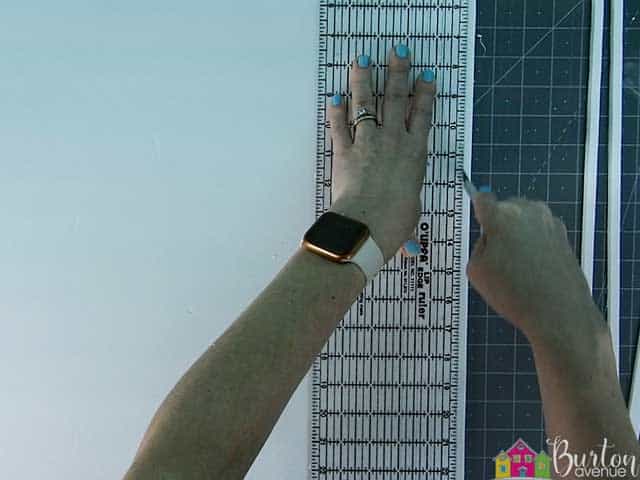
Then, cut those strips into 8″ pieces and 7″ pieces. You’ll need to cut 8 of each size.
Add double sided tape onto one side of the spacing strips.
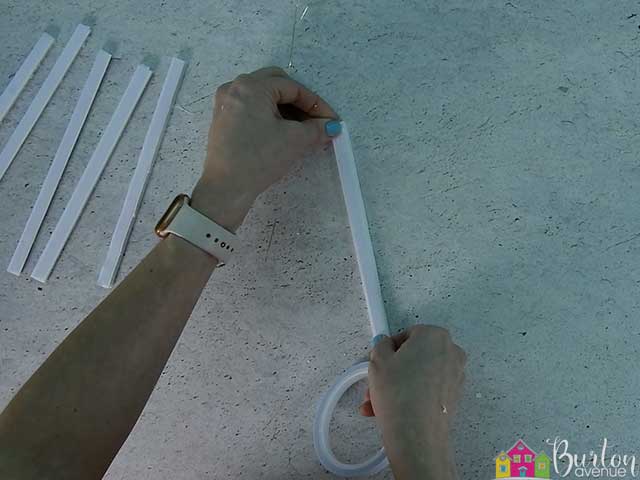
Remove the backing from the strips and apply them to the back of each panel. The 8″ strips will go on the sides and the 7″ strips will go on the top and bottom.
If you don’t want to add lights, you can stack the four panels and add them to the shadow box. But, we are going to add lights!
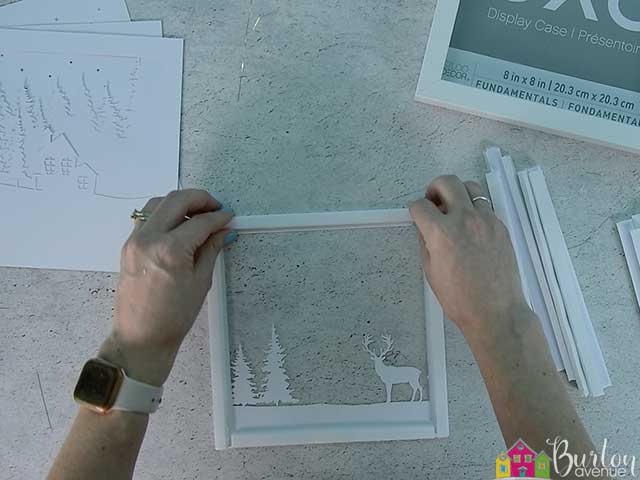
STEP 4: ASSEMBLE THE BOX
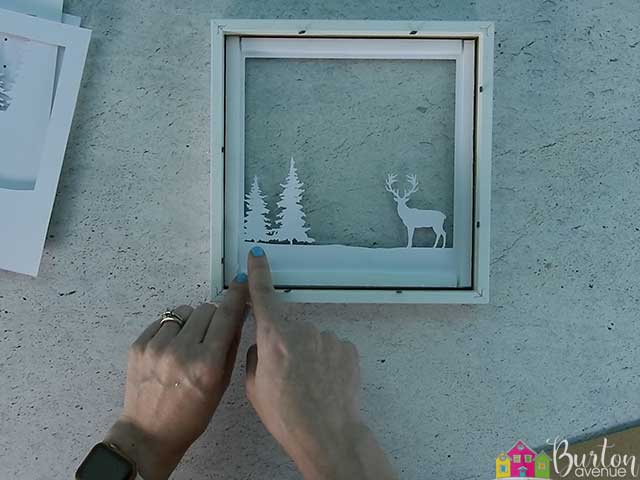
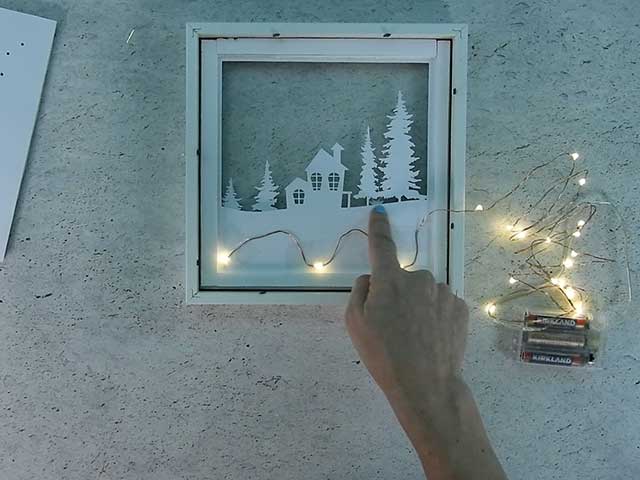
Place the first panel in the shadow box. Pay attention to where the ground starts. When we add the lights on the next panel, you want to try and keep the lights below that point.
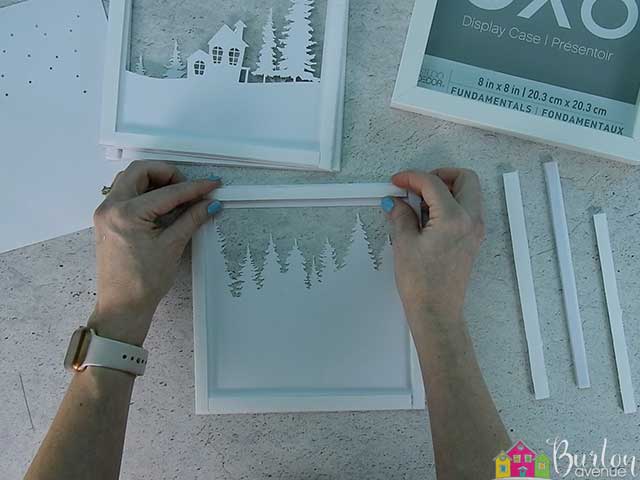
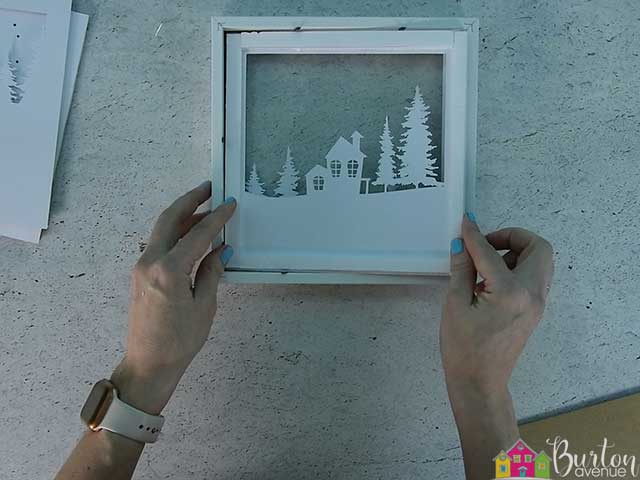
Insert the second panel into the frame.
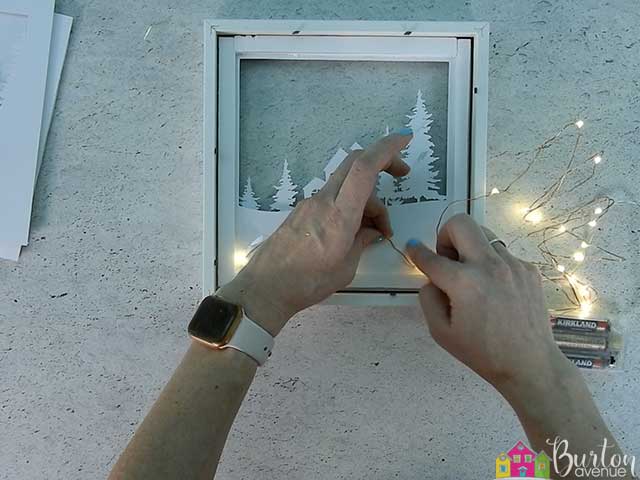
Grab your led lights and tape a few of them onto the back of the second panel.
Now, pay attention to where the ground starts on this panel. Once again, you want to try and keep the lights on the next panel below that point.
Place the third panel into the shadow box.

Tape a few lights onto the back of this panel.
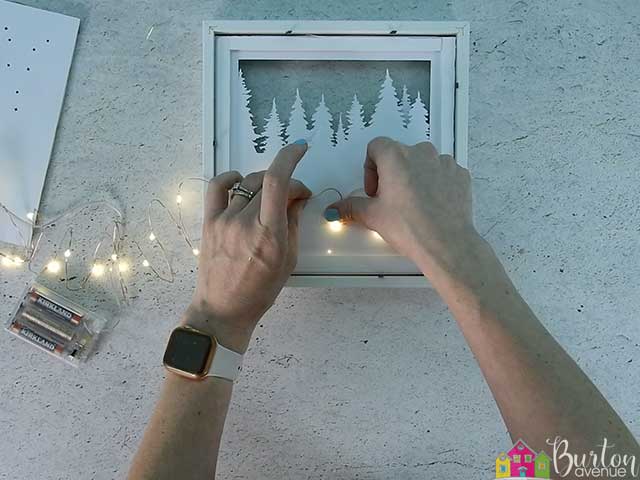
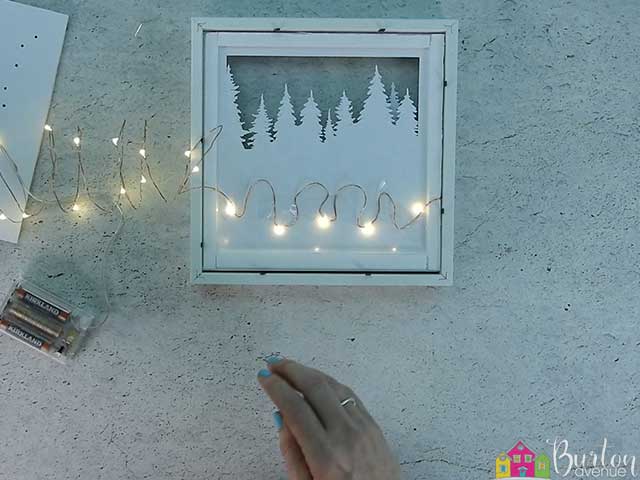
Now, put in the last panel.

Tape down the rest of the lights. Try to keep the lights below all the holes that are cut in this panel.
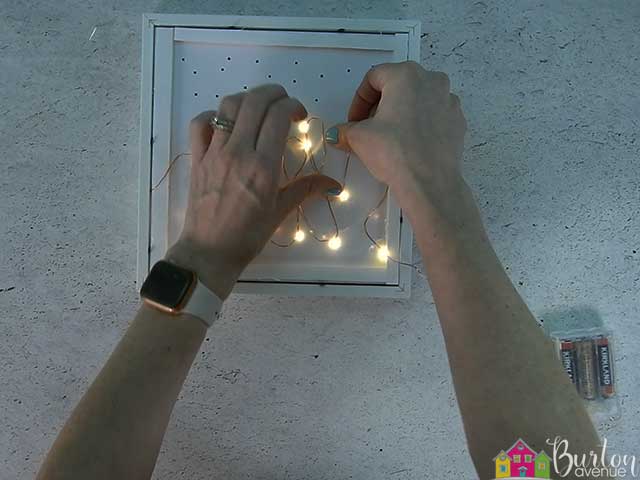
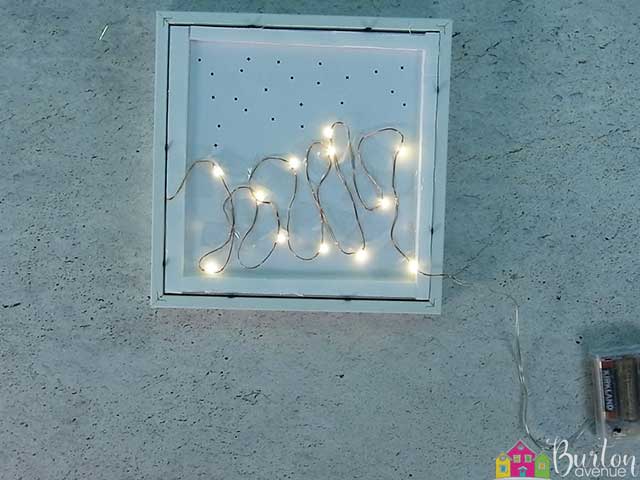
Replace the back cover of the frame. The battery pack and some of the cord will just hang out the back. You can use double sided tape to attach it to the back of the frame.
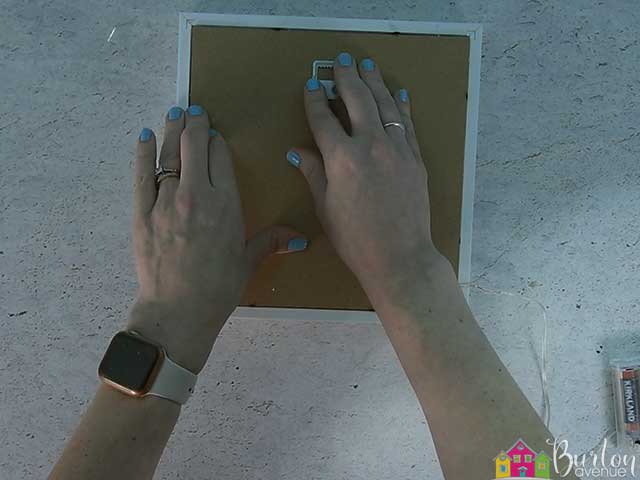
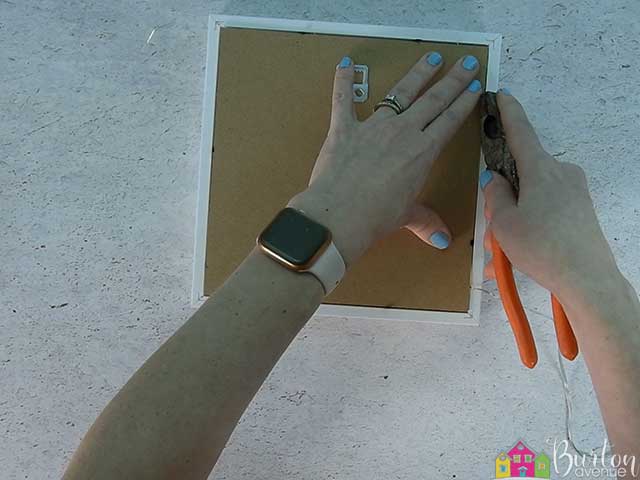
Press down the metal tabs to keep the back in place. The back is a little tight, so I used plyers to help bend the metal tabs back over the backing.
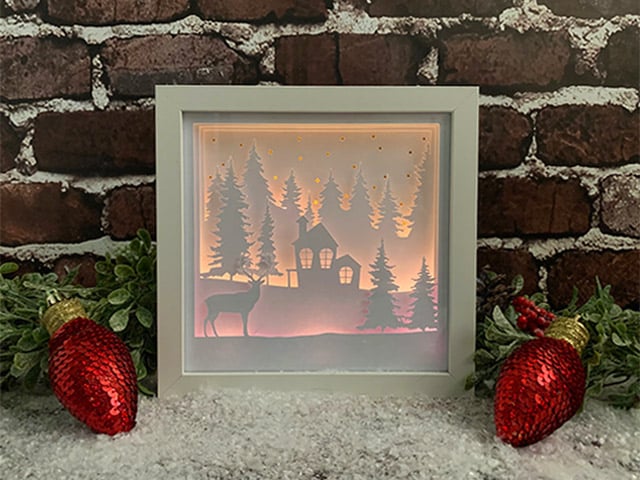
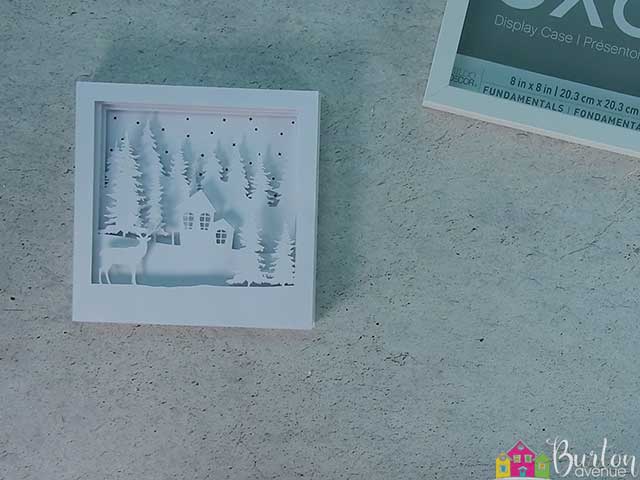
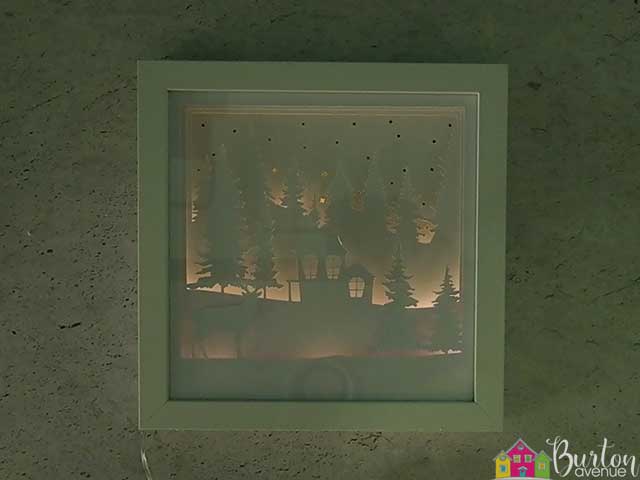
And that’s it. It looks so pretty in the day.
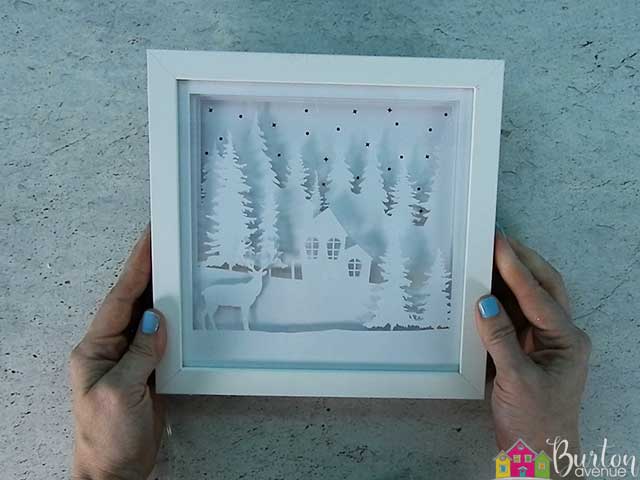
But, it looks even better at night when it’s all lit up!
Did you enjoy this post? Help spread the word! Share this post on your favorite Pinterest board. Thanks!
Want to make your own? Get the free cut file for this project in the Resource Library.
This is soooooooooo pretty. Your instructions are so easy to follow. Thank you so much for sharing this project.
why cant i get the full design from all 4 pages. it only download the one front one
I think you might be importing the PNG file instead of the SVG.