 This post contains affiliate links for your convenience (which means if you make a purchase after clicking a link I will earn a small commission but it won’t cost you a penny more)! Read my full disclosure policy.
HERE’S WHAT YOU NEED
- Pillow Cover & Pillow (Mine measured 18″ x 18″)
- Buffalo Plaid Heat Transfer Vinyl
- Chalkboard Heat Transfer Vinyl
- Iron, Easy Press, or Heat Press
- Weeding Tool
- Electronic cutter (cricut explore, silhouette or other cutter)
- Cut File (available for free in my resource library)
HERE’S WHAT YOU DO
STEP 1: DOWNLOAD THE FREE SVG FILE
The first thing you’ll need to do is get the free SVG file you’ll use for this project. I keep all the SVG files I use for the projects I make in my SVG Library. These SVG files work with Cricut and Silhouette machines, as well as many others. This library is open to everyone and is free! You can access the library here. Look for the file called Ho Ho Ho Christmas Countdown. It will be listed under the Christmas category-25 Days of Craftmas 2019 – Day 3.
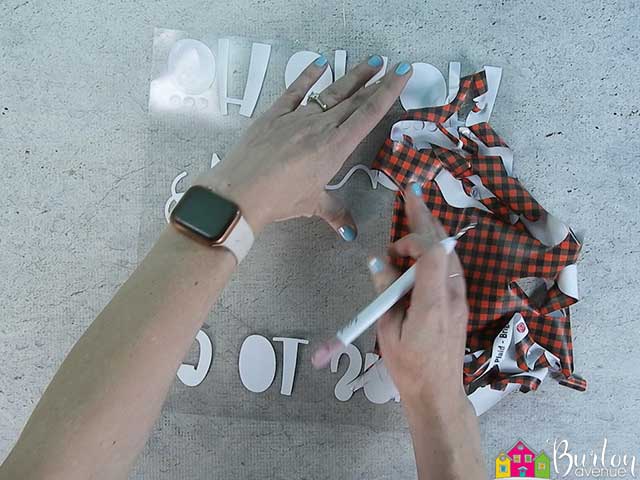
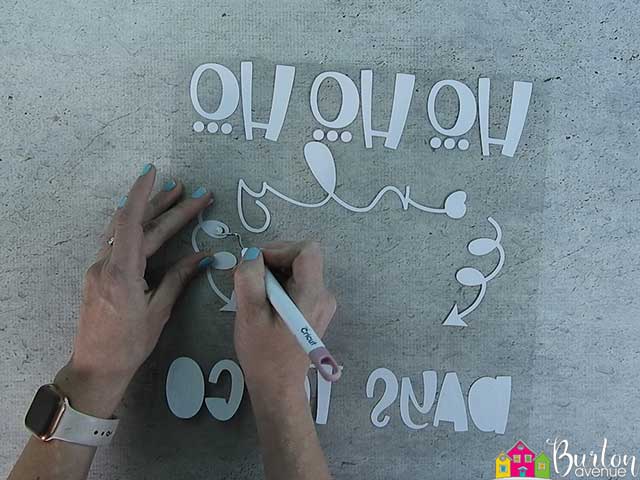
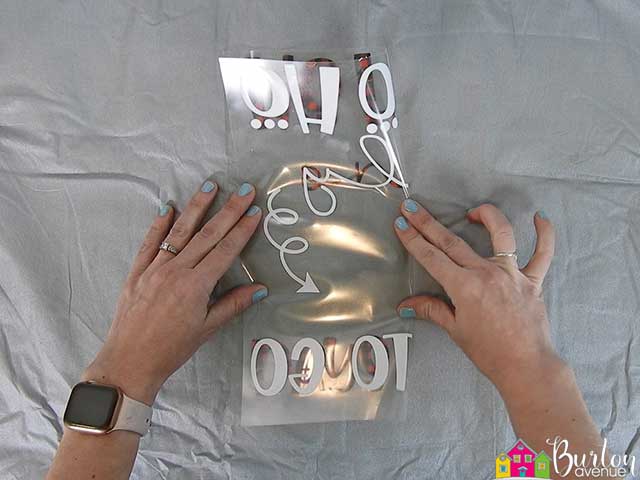
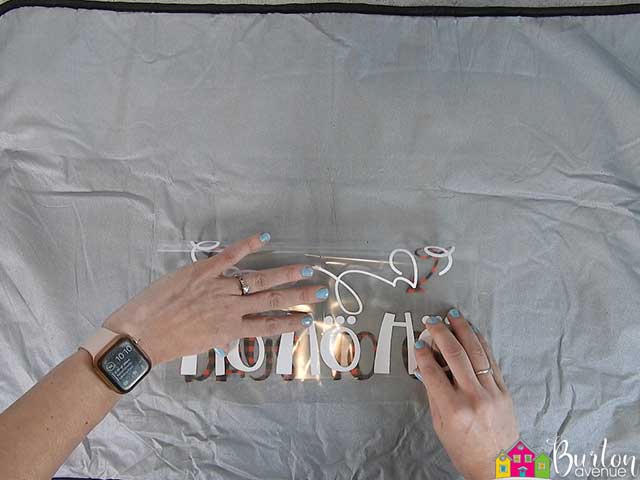
STEP 2: CUT AND WEED VINYL
Start by measuring your pillow to determine what size you’ll make the design. My pillow measured 18″, so I made the height of my design 11.5″ Import the design into your cutting software and size accordingly. Be sure to mirror your design before you send it to your machine to cut.
Cut out the design and weed away the excess vinyl.
STEP 3: APPLY VINYL TO PILLOW
To make alignment a little easier, I like to fold the pillow in half one way and iron it down to make a light crease.
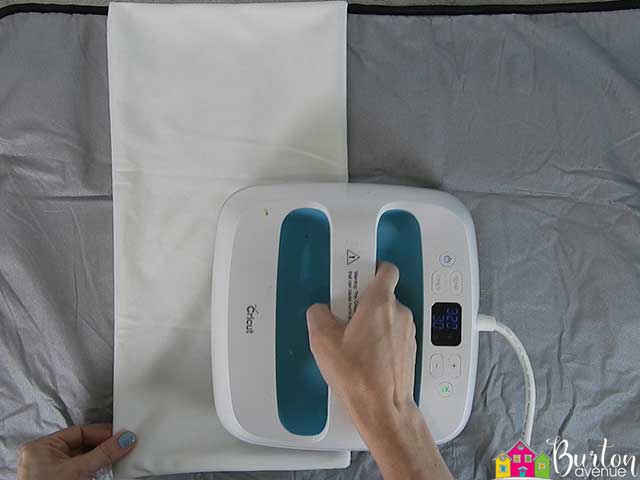 Then, repeat the other way. This leaves a nice t right in the center of the pillow.
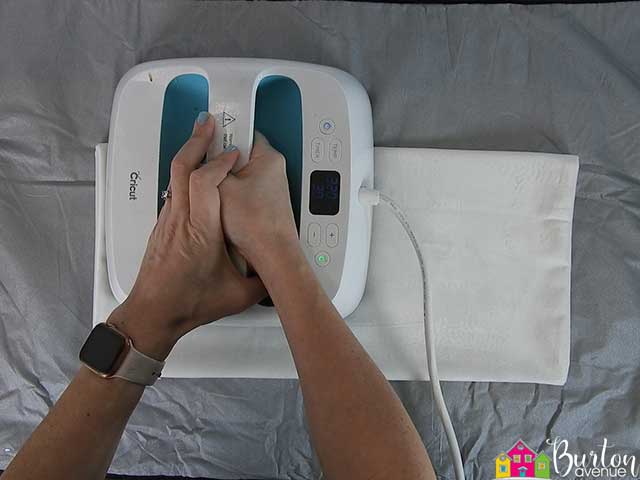
Do the same thing with the HTV. Fold it in half one way.
 Then fold the other way.
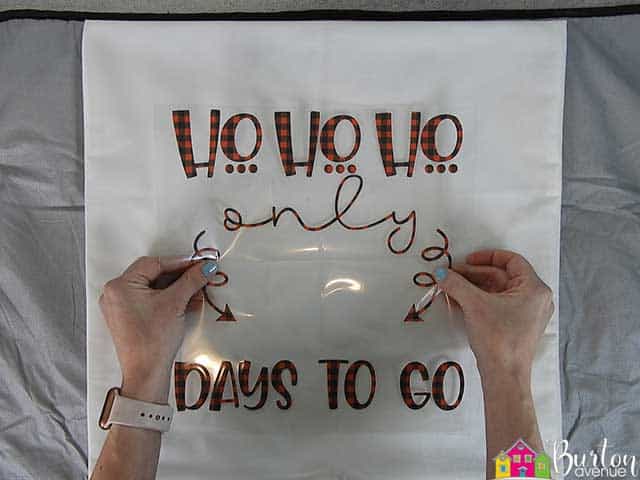
Now, line up the T of the HTV with the T on the pillow and everything should be straight and centered.
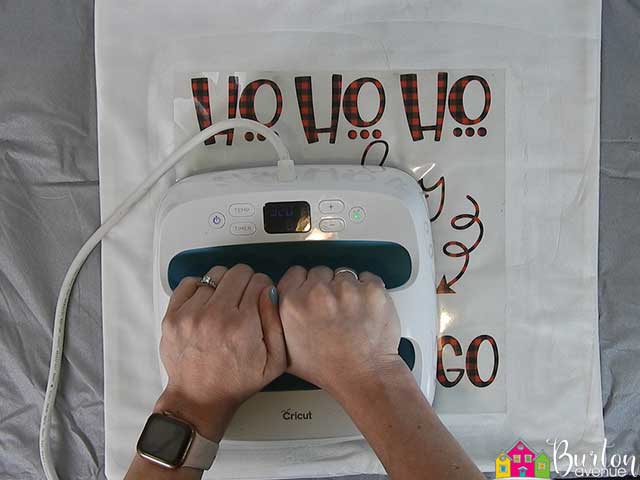
You can use an iron, easy press or heat press to press the design onto the pillow. I heated my easy press to 320 degrees and pressed each area of the vinyl for 15 seconds.
 Once everything has been pressed, you can pull off the carrier sheet.

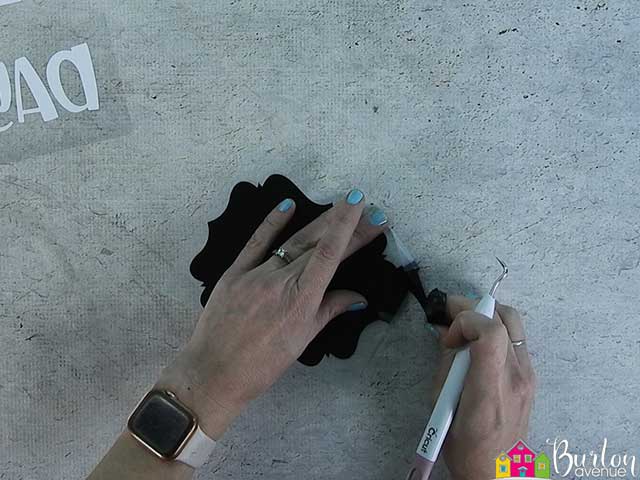
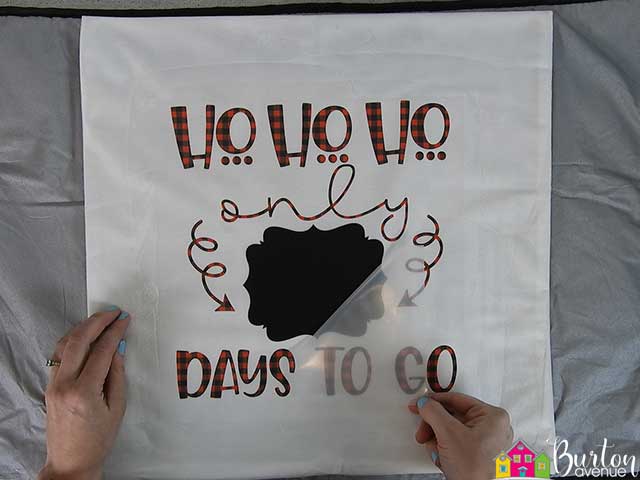
Now, place the chalkboard HTV on the design.
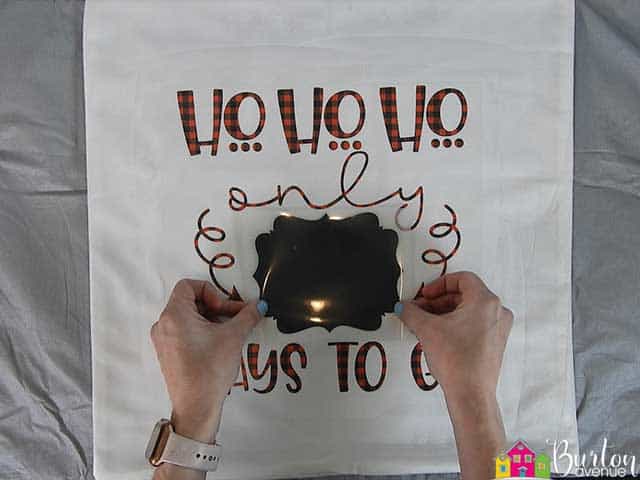
You’ll want to cover the rest of the design with a Teflon sheet, parchment paper, or even copy paper. You just don’t want the hot surface of your iron or heat press directly on the HTV.
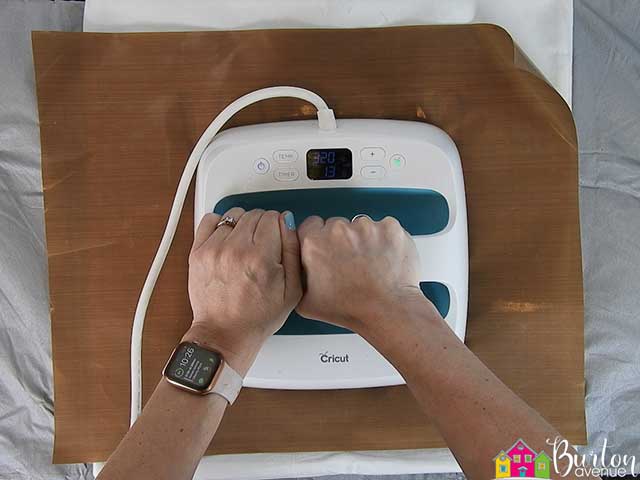
Once you’ve pressed the HTV, remove the clear carrier sheet.
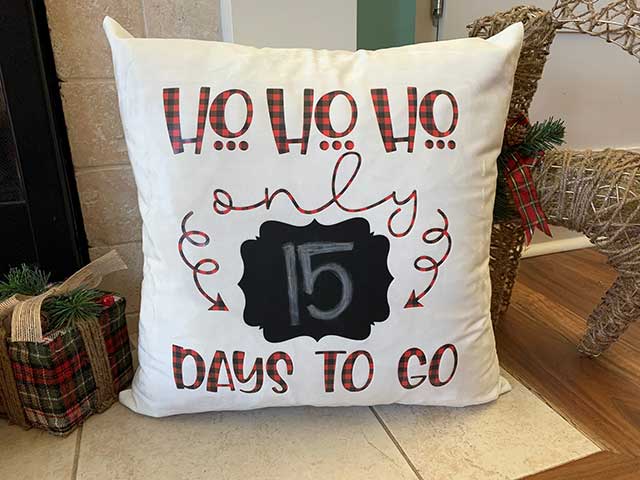
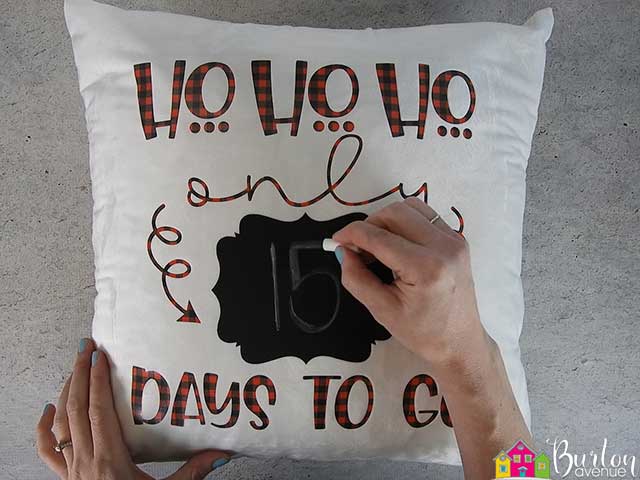
You can stuff your pillow and start adding your countdown numbers.
Pretty cool, right? I love that chalkboard HTV. I’ve gotta figure some other neat ways to use it.
Did you enjoy this post? Help spread the word! Share this post on your favorite Pinterest board. Thanks!
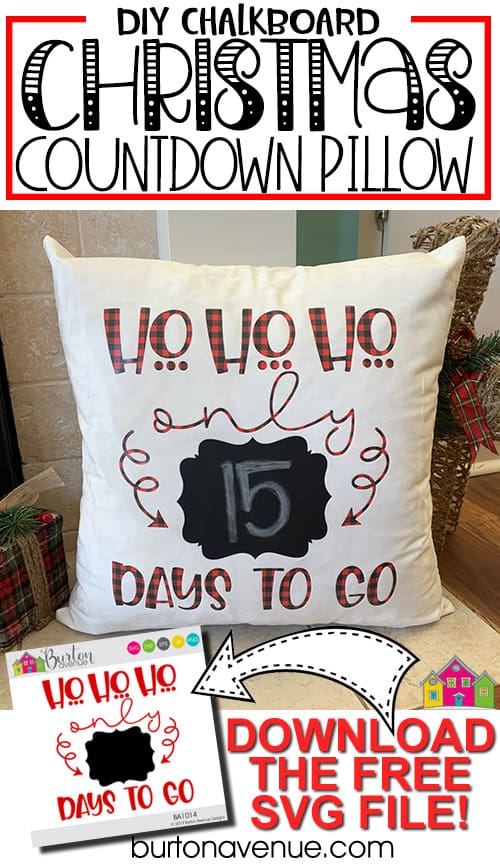
Want to make your own? Get the free cut file for this project in the resource library