Welcome to day 12 of my 25 Days of Craftmas series! We are almost half-way through the series!  Whew, that’s a lot of projects.  And, there’s still a lot left to share. Have you started any Christmas crafts, yet?

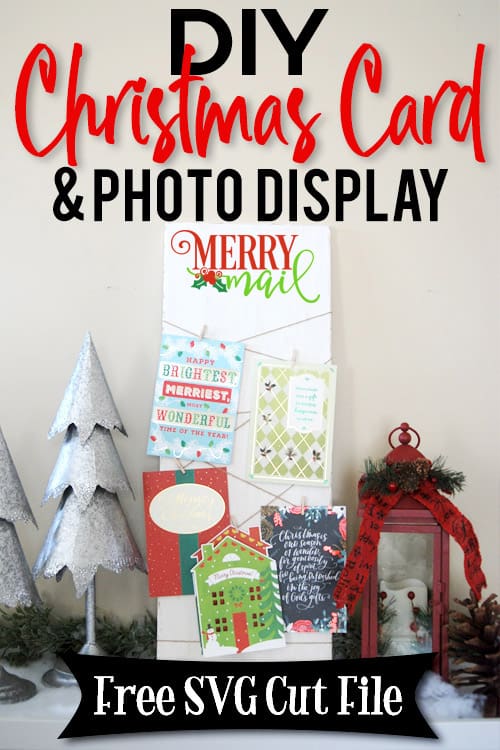
This is a great project because not only is it functional (it displays your Christmas cards & photos), but it also makes a cute decoration for the holidays.

Create a place to display your Christmas Cards with this easy to follow tutorial. With a few supplies and you Silhouette or Cricut machine, you be able to create this cut Christmas Card holder for your home. This DIY project is easy and quick to make and is the perfect decoration for home. #ChristmasSilhouette #ChristmasCricut #ChristmasSVG #ChristmasCardholder

This post contains affiliate links for your convenience (which means if you make a purchase after clicking a link I will earn a small commission but it won’t cost you a penny more)!  Read my full disclosure policy.

HERE’S WHAT YOU NEED

HERE’S WHAT YOU DO

The first thing you’ll need to do is get the free SVG file you’ll use for this project.  I keep all the SVG files I use for the projects I make in my SVG Library.  These SVG files work with Cricut and Silhouette machines, as well as many others.  This library is open to everyone and is free! You can access the library here. Look for the file called Merry Mail. It will either be listed under the Christmas category-25 Days of Craftmas 2018 – Day 12.

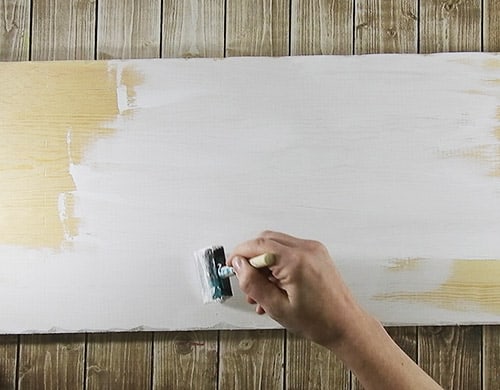
Start by painting your board white.

Create a place to display your Christmas Cards with this easy to follow tutorial. With a few supplies and you Silhouette or Cricut machine, you be able to create this cut Christmas Card holder for your home. This DIY project is easy and quick to make and is the perfect decoration for home. #ChristmasSilhouette #ChristmasCricut #ChristmasSVG #ChristmasCardholder

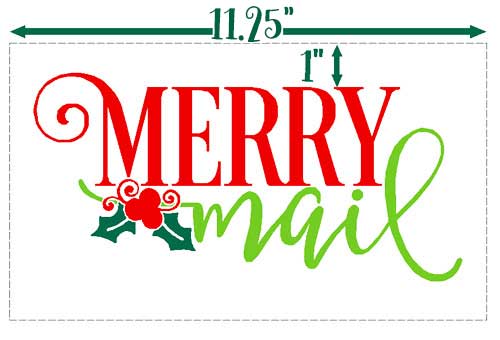
While the paint is drying, open the design in your cutting software.  Size the design to fit on your wood.  Mine was about 10″ x 5″.  Draw a box around the design to create a stencil.

Normally, when I create a stencil, I’ll make the box the same size as my board.  Doing this helps me to make sure the design is straight and centered on the board.  But, because this board is so long and the design isn’t in the center, I had to do it a little different.

I still made my box the same width as the wood sign (11.25″), but instead of making it the same height as the board, I just made the rectangle a couple of inches taller than my design.  I decided I wanted the tops of the letters 1″ from the top of the sign, so I placed the top of the rectangle 1″ above the letters.

Do you need help creating stencil design?  Check out this step by step tutorial for Silhouette Users here and for Circut Users here.

Create a place to display your Christmas Cards with this easy to follow tutorial. With a few supplies and you Silhouette or Cricut machine, you be able to create this cut Christmas Card holder for your home. This DIY project is easy and quick to make and is the perfect decoration for home. #ChristmasSilhouette #ChristmasCricut #ChristmasSVG #ChristmasCardholder

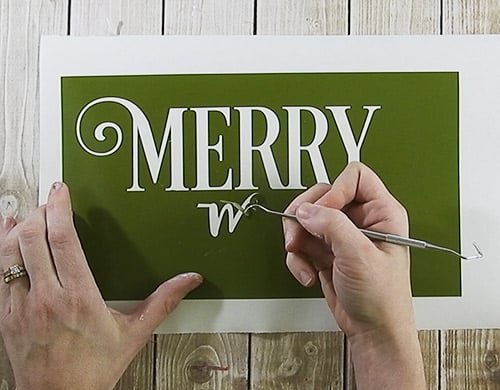
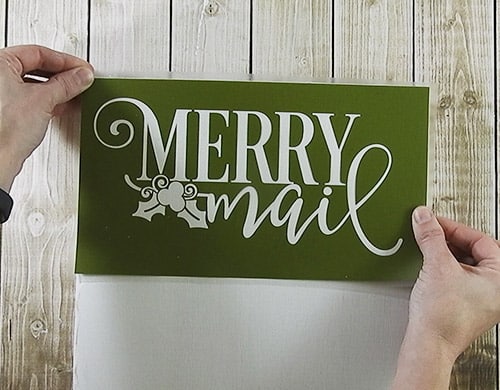
Cut the vinyl, weed out the letters, and then apply the transfer tape.

Create a place to display your Christmas Cards with this easy to follow tutorial. With a few supplies and you Silhouette or Cricut machine, you be able to create this cut Christmas Card holder for your home. This DIY project is easy and quick to make and is the perfect decoration for home. #ChristmasSilhouette #ChristmasCricut #ChristmasSVG #ChristmasCardholder

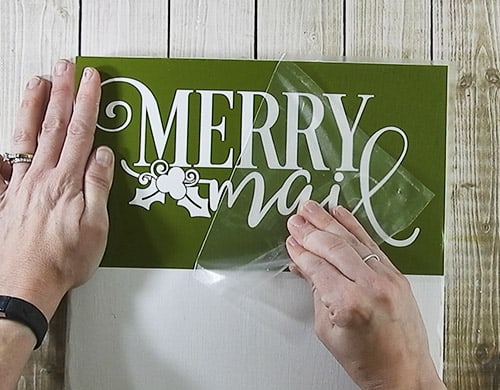
Remove the vinyl backing.  Match the straight edges of your vinyl stencil with the top and sides of your board and then press down on the vinyl.

Create a place to display your Christmas Cards with this easy to follow tutorial. With a few supplies and you Silhouette or Cricut machine, you be able to create this cut Christmas Card holder for your home. This DIY project is easy and quick to make and is the perfect decoration for home. #ChristmasSilhouette #ChristmasCricut #ChristmasSVG #ChristmasCardholder

Rub over the vinyl to help it stick to the board.  Then, remove the transfer tape.
Create a place to display your Christmas Cards with this easy to follow tutorial. With a few supplies and you Silhouette or Cricut machine, you be able to create this cut Christmas Card holder for your home. This DIY project is easy and quick to make and is the perfect decoration for home. #ChristmasSilhouette #ChristmasCricut #ChristmasSVG #ChristmasCardholder

Paint one coat of white over the vinyl stencil.  This will help prevent bleeding.

Create a place to display your Christmas Cards with this easy to follow tutorial. With a few supplies and you Silhouette or Cricut machine, you be able to create this cut Christmas Card holder for your home. This DIY project is easy and quick to make and is the perfect decoration for home. #ChristmasSilhouette #ChristmasCricut #ChristmasSVG #ChristmasCardholder

Once the white paint has dried, start filling in the letters with your colored paint.Create a place to display your Christmas Cards with this easy to follow tutorial. With a few supplies and you Silhouette or Cricut machine, you be able to create this cut Christmas Card holder for your home. This DIY project is easy and quick to make and is the perfect decoration for home. #ChristmasSilhouette #ChristmasCricut #ChristmasSVG #ChristmasCardholder

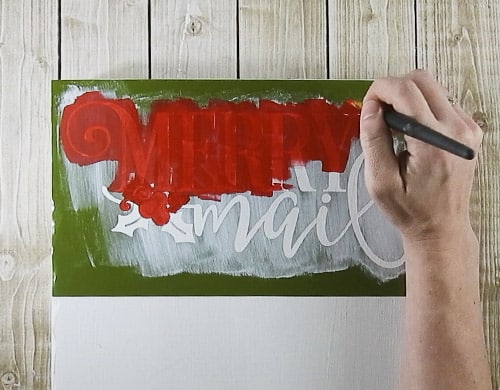
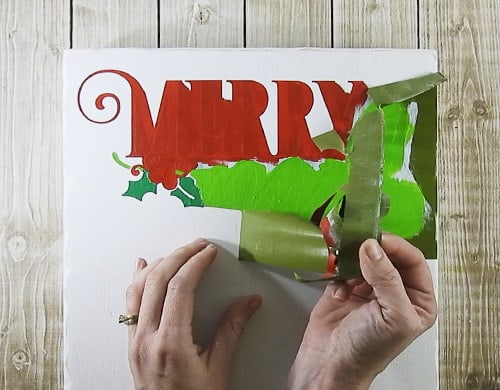
When the paint is dry to the touch, carefully removed the vinyl stencil.

Create a place to display your Christmas Cards with this easy to follow tutorial. With a few supplies and you Silhouette or Cricut machine, you be able to create this cut Christmas Card holder for your home. This DIY project is easy and quick to make and is the perfect decoration for home. #ChristmasSilhouette #ChristmasCricut #ChristmasSVG #ChristmasCardholder

To give your sign an aged look, lightly sand down the edges and then cover the sign with some watered down brown paint.

Create a place to display your Christmas Cards with this easy to follow tutorial. With a few supplies and you Silhouette or Cricut machine, you be able to create this cut Christmas Card holder for your home. This DIY project is easy and quick to make and is the perfect decoration for home. #ChristmasSilhouette #ChristmasCricut #ChristmasSVG #ChristmasCardholder

Let it sit for just a minute or so and then wipe off with a rag or paper towel.Create a place to display your Christmas Cards with this easy to follow tutorial. With a few supplies and you Silhouette or Cricut machine, you be able to create this cut Christmas Card holder for your home. This DIY project is easy and quick to make and is the perfect decoration for home. #ChristmasSilhouette #ChristmasCricut #ChristmasSVG #ChristmasCardholder

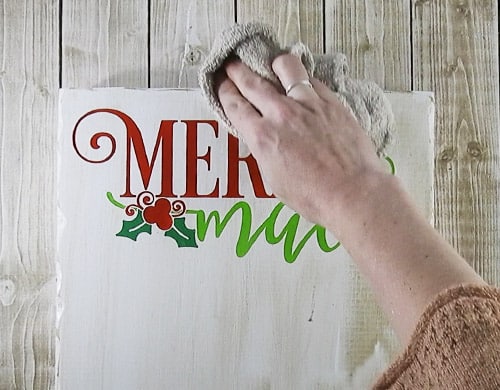
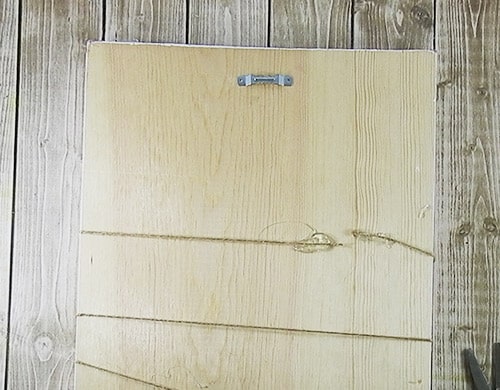
Flip the sign over and glue the end of a piece of jute twine onto the back.Create a place to display your Christmas Cards with this easy to follow tutorial. With a few supplies and you Silhouette or Cricut machine, you be able to create this cut Christmas Card holder for your home. This DIY project is easy and quick to make and is the perfect decoration for home. #ChristmasSilhouette #ChristmasCricut #ChristmasSVG #ChristmasCardholder

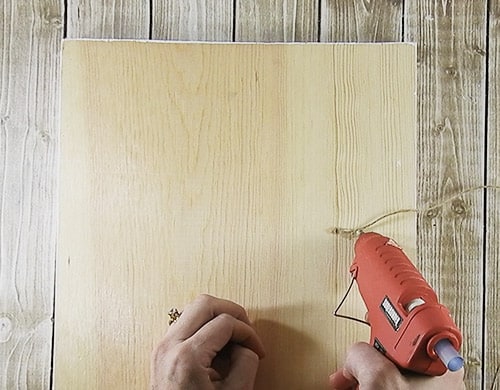
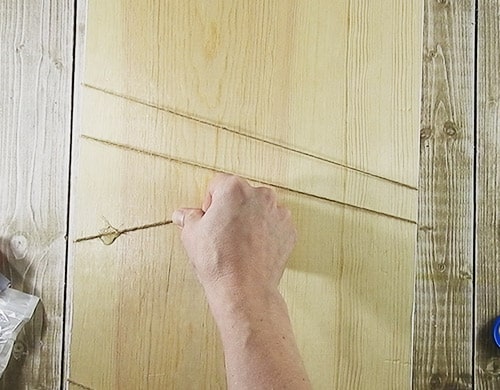
Then, wrap the jute around the sign several times in a random pattern.  Create a place to display your Christmas Cards with this easy to follow tutorial. With a few supplies and you Silhouette or Cricut machine, you be able to create this cut Christmas Card holder for your home. This DIY project is easy and quick to make and is the perfect decoration for home. #ChristmasSilhouette #ChristmasCricut #ChristmasSVG #ChristmasCardholder

After you’ve wrapped the twin around 2 or 3 times, glue it in place on the back to help keep it in place. Then, keep wrapping.
Create a place to display your Christmas Cards with this easy to follow tutorial. With a few supplies and you Silhouette or Cricut machine, you be able to create this cut Christmas Card holder for your home. This DIY project is easy and quick to make and is the perfect decoration for home. #ChristmasSilhouette #ChristmasCricut #ChristmasSVG #ChristmasCardholder

Once you like how it’s been wrapped, glue the end of the jute onto the back and trim off any excess.  If you want to hang your sign, add a hanger.

Create a place to display your Christmas Cards with this easy to follow tutorial. With a few supplies and you Silhouette or Cricut machine, you be able to create this cut Christmas Card holder for your home. This DIY project is easy and quick to make and is the perfect decoration for home. #ChristmasSilhouette #ChristmasCricut #ChristmasSVG #ChristmasCardholder

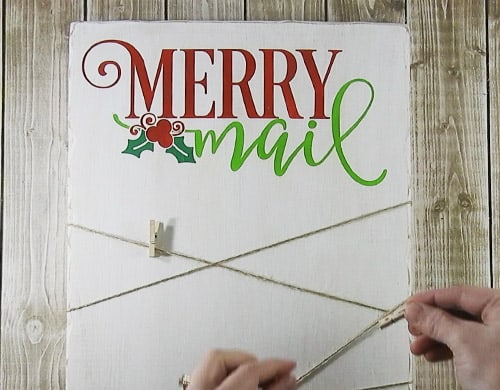
Flip the sign back over and clip the mini clothespins onto the jute.

Create a place to display your Christmas Cards with this easy to follow tutorial. With a few supplies and you Silhouette or Cricut machine, you be able to create this cut Christmas Card holder for your home. This DIY project is easy and quick to make and is the perfect decoration for home. #ChristmasSilhouette #ChristmasCricut #ChristmasSVG #ChristmasCardholder

Now, you’ve got a cute place to display your holiday greeting cards and photos!Create a place to display your Christmas Cards with this easy to follow tutorial. With a few supplies and you Silhouette or Cricut machine, you be able to create this cut Christmas Card holder for your home. This DIY project is easy and quick to make and is the perfect decoration for home. #ChristmasSilhouette #ChristmasCricut #ChristmasSVG #ChristmasCardholder


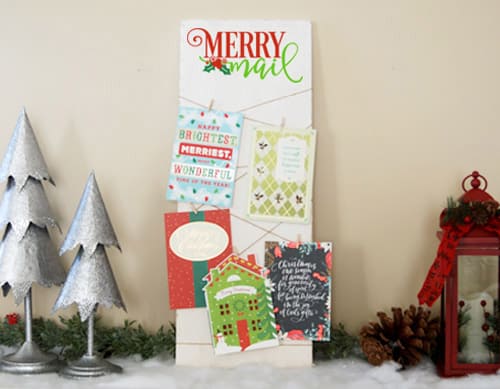
Did you enjoy this post?  I’d love for you to pin it to your favorite pinterest board.

Create a place to display your Christmas Cards with this easy to follow tutorial. With a few supplies and you Silhouette or Cricut machine, you be able to create this cut Christmas Card holder for your home. This DIY project is easy and quick to make and is the perfect decoration for home. #ChristmasSilhouette #ChristmasCricut #ChristmasSVG #ChristmasCardholder

Want to make your own? Get the free cut file for this project in the resource library

Leave a Reply

Your email address will not be published.