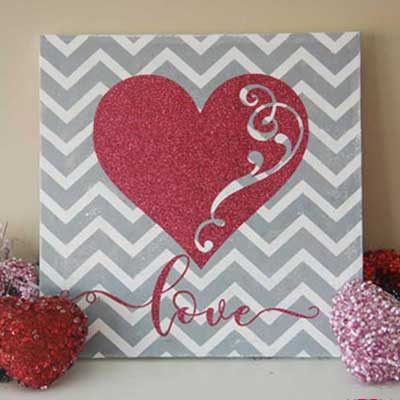
HERE’S WHAT YOU NEED
- Stretch Canvas (12″ x 12″)
- Gray Paint and paintbrush
- Sandpaper
- Vinyl for Stencil (Color doesn’t Matter)
- Glitter HTV vinyl (I used cherry)
- Iron or Heat Press
- Transfer Tape
- Electronic cutter (cricut explore, silhouette or other cutter)
- Cut File (available for free in my resource library)
DOWNLOAD THE FREE SVG FILE
The first thing you’ll need to do is get the free SVG file you’ll use for this project. I keep all the SVG files I use for the projects I make in my SVG Library. These SVG files work with Cricut and Silhouette machines, as well as many others. This library is open to everyone and is free! You can access the library here. Look for the file called Love w/Heart Flourish . It will be listed under the Valentine’s category.
HERE’S WHAT YOU DO
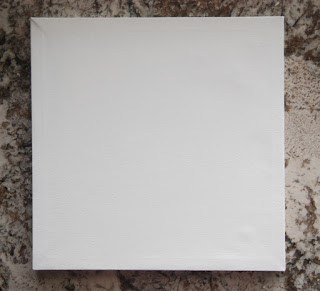
Begin by painting the canvas white. Sometimes, it’s hard to get vinyl to stick to canvas, so this will help the stencil to adhere better.
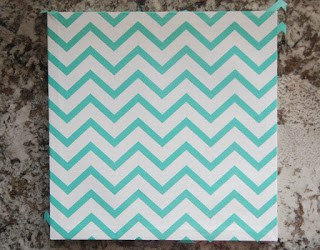
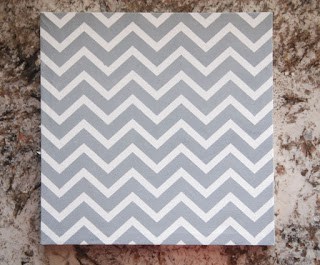
Cut the chevron stencil out of vinyl (I sized mine a little bigger so I had some extra to go over the edges). Remove the excess vinyl and apply the transfer tape. Remove the backing from the vinyl, and apply the vinyl/transfer tape down on top of the canvas. You can use a credit card to rub the vinyl to help it stick to the canvas. Then, remove the transfer tape.
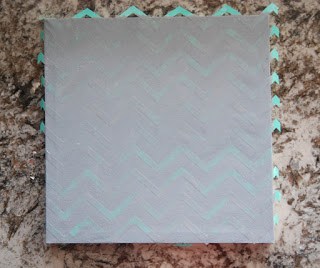
Now it’s time to paint! Use a small amount of paint and cover the entire canvas. You want to paint in thin layers to avoid bleeding.
Let your paint dry and then remove the vinyl stencil
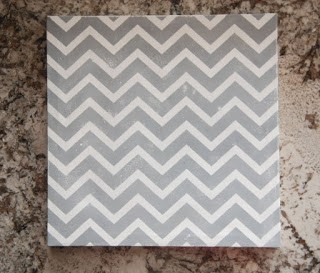
To add a distressed look, light sand over the entire canvas.
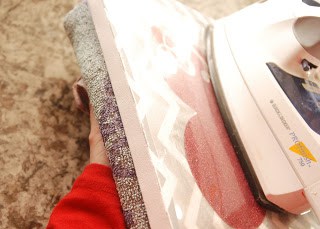
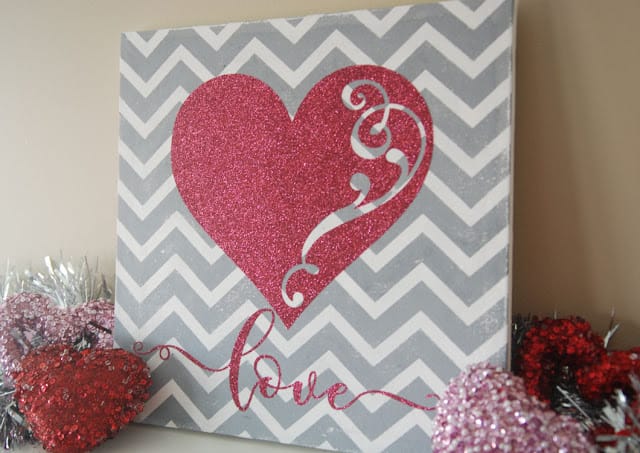
Cut the heart and letters out of glitter HTV vinyl (be sure to mirror your image). Remove the excess vinyl from the carrier sheet and place on top of the canvas. Iron according to the manufacturers directions. I used a folded towel and placed underneath the canvas to add pressure while I ironed.
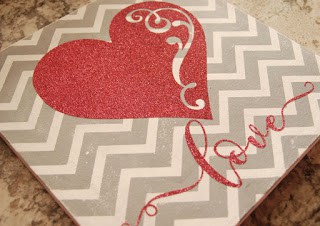
Then, remove the clear carrier sheet.
Pretty sparkles!
How early do you start decorating for Valentine’s Day?
Did you enjoy this post? I’d love for you to pin it to your favorite pinterest board.
Want to make your own? Get the free cut file for this project in the resource library


Love it, Thank You!!
Beautiful! Thank you so very much!
Thank you!!
Hi Angie, You are so creative!!! I love your project and the file. Thanks so much for all the work you do to give us these wonderful files!!
How long are the Friday files available? I love that you put a date on one of the files earlier this week….that's what I always do when I share them on Pinterest if a file has an expiration and I know it.
Hugs,
Donna
Procrastinators Unite!….tomorrow. 😉
Thank you for sharing your fun files!
I don't procrastinate but I do leave projects to the last minute so my New Year's resolution is similar to yours!
Gorgeous project & cutting file, thank you so much for sharing.
thanks so much for all the cut files and ideas
Thank you so much. Your work is lovely and your kindness in sharing is appreciated.
I don't think I knew that you could iron HTV on canvas, so good to know! Thanks for sharing!
Thanks for the wonderful files. Anita
Beautiful. Thanks for sharing!
Coucou,
C'est super joli !
merci !