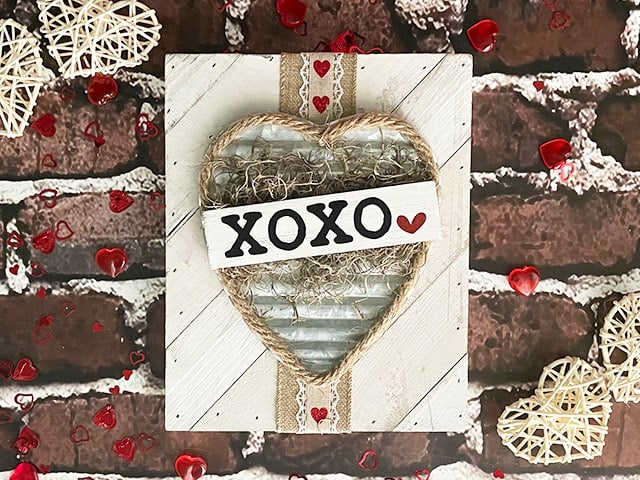
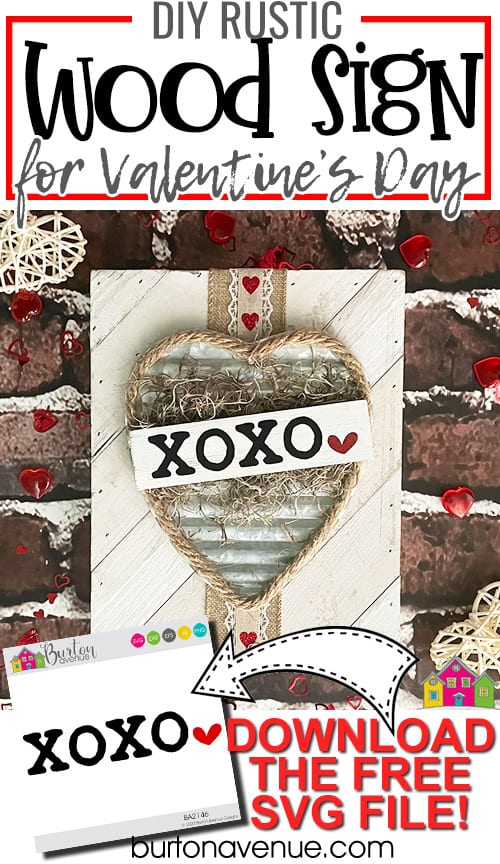
Today, I’m showing you how to make this cute Rustic Valentine’s Day Sign with your Cricut or Silhouette. I love the look of the wood and metal, mixed with the natural elements. It just turned out so cute This is a fun and easy project and I’m excited to show you how to make your own. Read on for the full tutorial.
HERE’S WHAT YOU NEED
-
-
- Black and Red Adhesive Vinyl
- Transfer Tape
- Weeding Tool
- Scraper
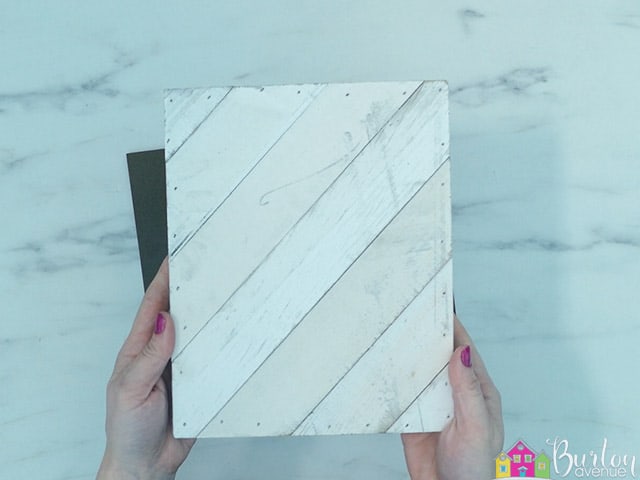
- Wood Pallet Sign (8″ x 10″ – found at Walmart)
- Wood for the Little Sign (6″ x 1.5″)
- Paint and Brushes
- Red Heart Ribbon (found at Dollar Tree)
- Burlap Lace Ribbon (found at Dollar Tree)
- Corrugated Metal Heart (found at Dollar Tree)
- Rope
- Spanish Moss
- Electronic cutter (Cricut Explore & Maker Machines, Silhouette Machines, or many other digital cutters)
- Cut File – XOXO Heart BA2146 (click here to get the SVG file for free from my free SVG Library)
-
HERE’S WHAT YOU DO
STEP 1: DOWNLOAD THE FREE SVG FILE
The first thing you’ll need to do is get the free SVG file you’ll use for this project. I keep all the SVG files I use for the projects I make in my SVG Library. These SVG files work with Cricut and Silhouette machines, as well as many others. This library is open to everyone and is free! You can access the library here. Look for the file called XOXO Heart BA2146.. It will be listed under the Valentine’s Day Category.
STEP 2: CUT AND WEED VINYL DESIGN
Open the design in your software program and resize it to fit your small piece of wood. My wood piece measures about 6″ across, so I resized the design to be about 5.25″ wide. When everything has been sized correctly, you can cut the designs with your Cricut or Silhouette.
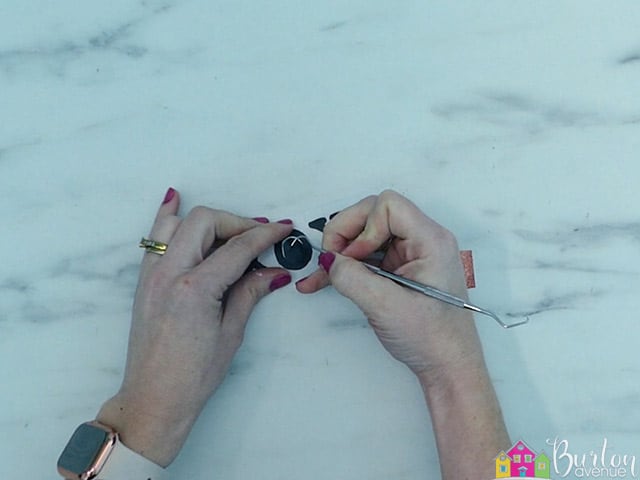
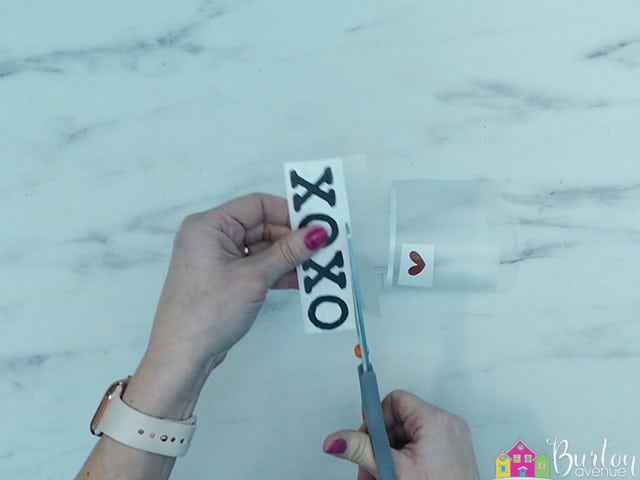
Remove the vinyl from your cutting mat and trim off any unused vinyl and weed away the excess vinyl from around the designs.
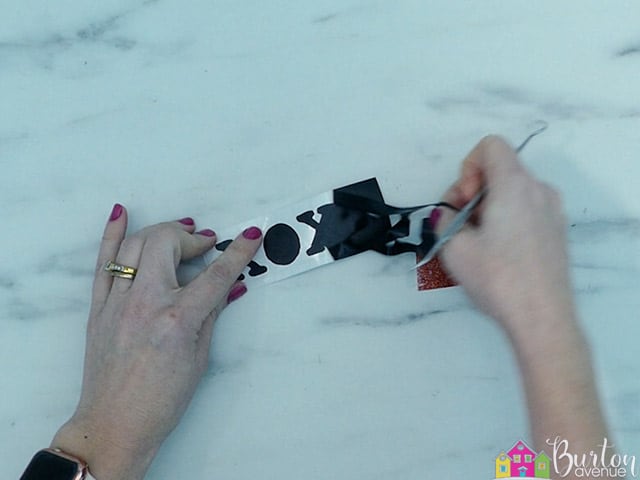
Use the weeding tool to help remove the excess vinyl from inside the letters.
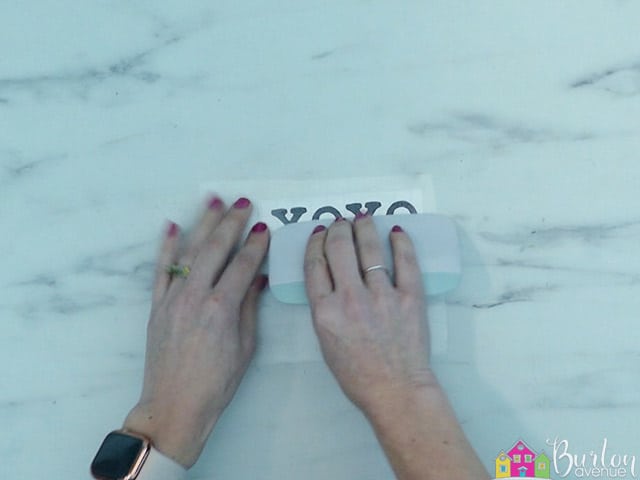
Cut a piece of transfer tape and place it sticky side up on your surface. Then place the vinyl on top of the transfer tape and smooth it down.
![]()
Rub over the designs firmly with your scraper tool.
Then, trim off the excess transfer tape and vinyl backing.
STEP 3: PREPARE THE PIECES FOR THE SIGN
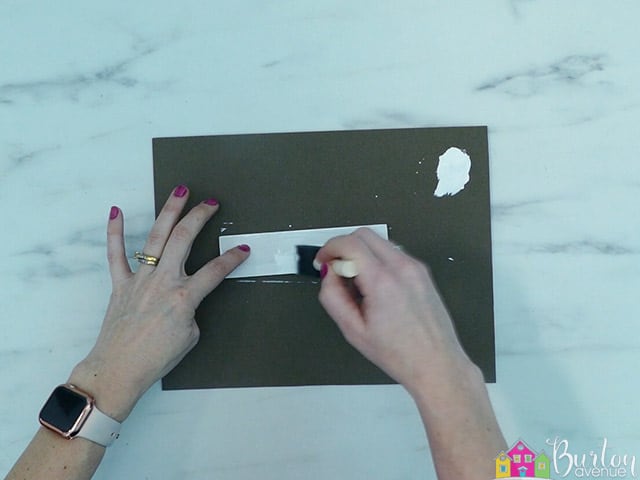
Next, we’re going to work on painting the little wooden sign. Sand your wood so it’s nice and smooth and then paint on a couple of coats of white paint and let that dry.
The wood pallet sign I’m using looks like it has been distressed with some gray paint.
To match that look, i dipped a dry brush in some gray paint and dabbed most of the paint off.
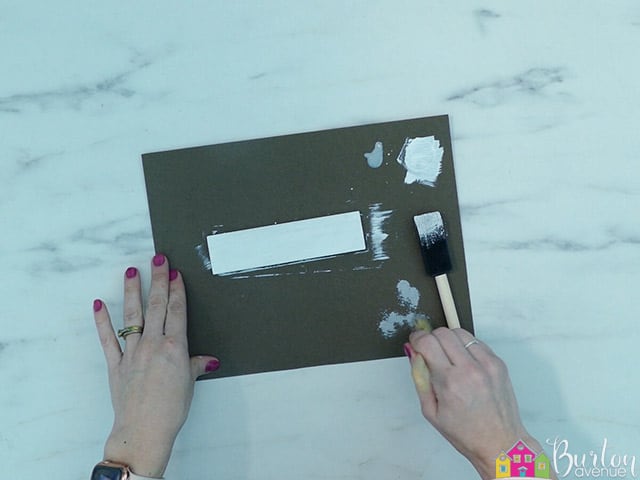
Then, I lightly brushed the bristles across my wood piece to mimick the look on the sign.
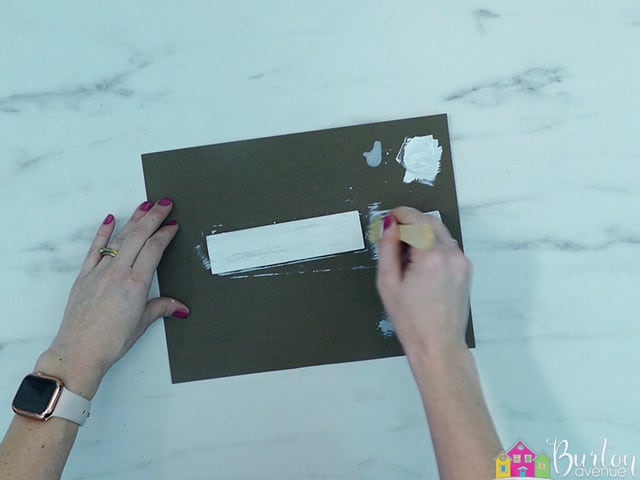
Once that paint has dried, it’s time to apply the vinyl design.
Remove the vinyl backing from the black vinyl and carefully position it on the sign without pushing it down. Then, do the same with the red heart. you might need to trim the transfer tape so it doesn’t overlap the other piece. Adjust the vinyl so it looks straight and centered on the wood piece.
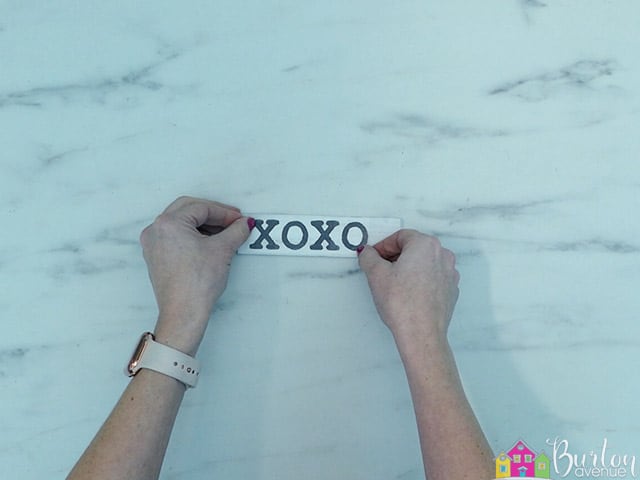
Once you’re happy with the placement, rub over the designs
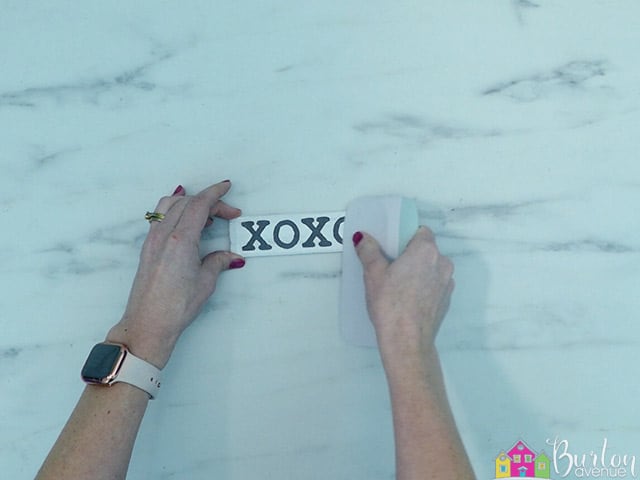
Then, carefully pull off the transfer tape.
![]()
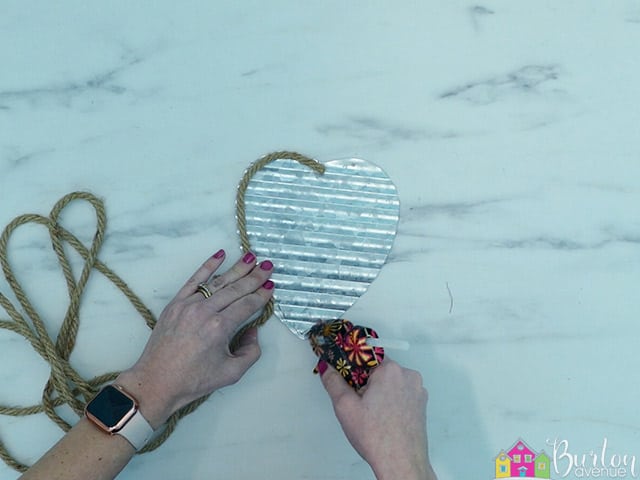
Glue some rope around the edge of the heart.
Glue the smaller ribbon down the center of the burlap lace ribbon to keep it in place.

STEP 4: ASSEMBLE THE SIGN
Now that everything is ready to go, let’s assemble this sign.
Place the ribbon down the center of your pallet sign. 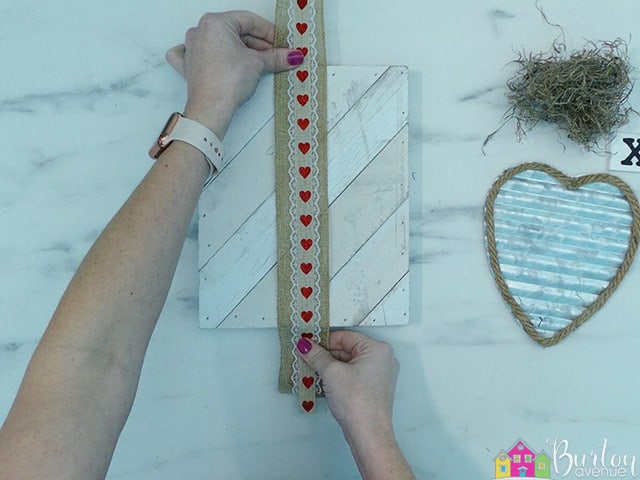
Flip the pallet sign over. Glue the ribbon to the back and trim off the excess on the ends.
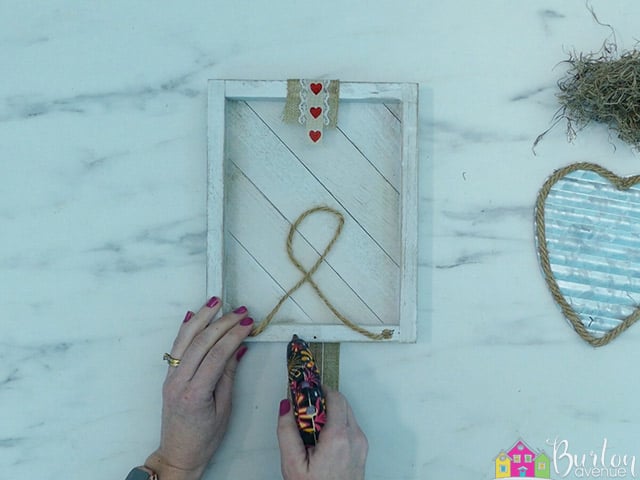
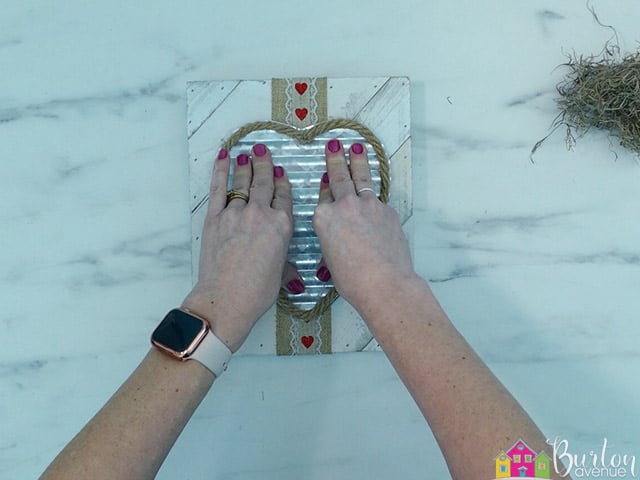
Add some hot glue to the back of the corrugated metal heart. Press that onto the center of the wood pallet sign.
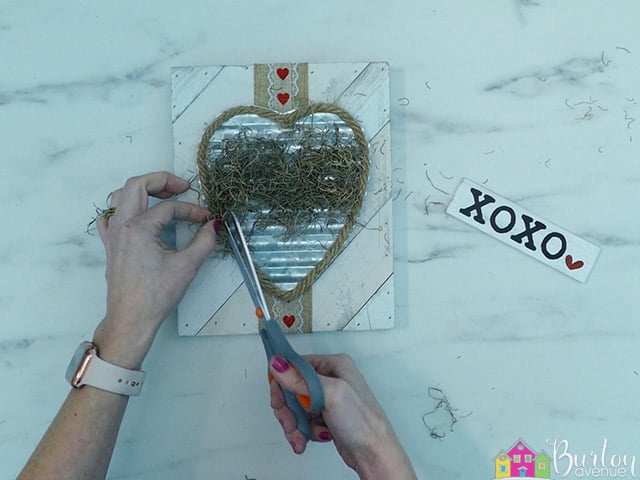
Now, Grab a handful of Spanish moss and glue it inside the heart, underneath where you’ll put the little wooden sign.
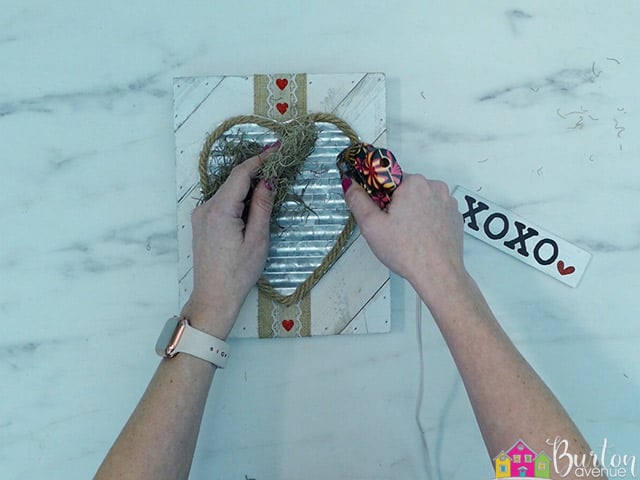
Trim off any moss that is covering the rope.
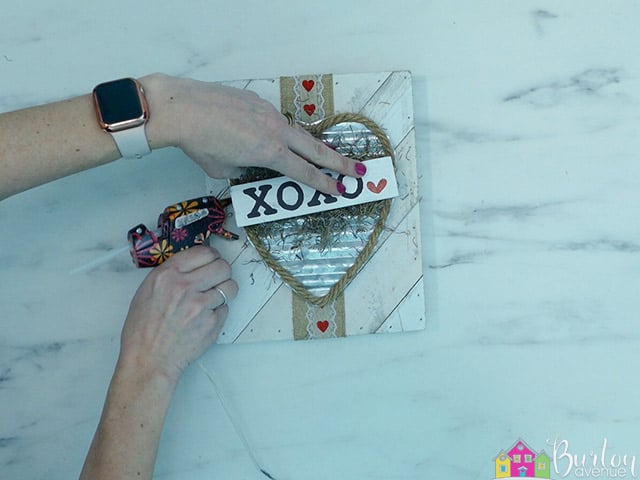
Position your little wooden sign over the metal heart. It can be straight or angled, both ways look cute. Then, glue the sign onto the rope.
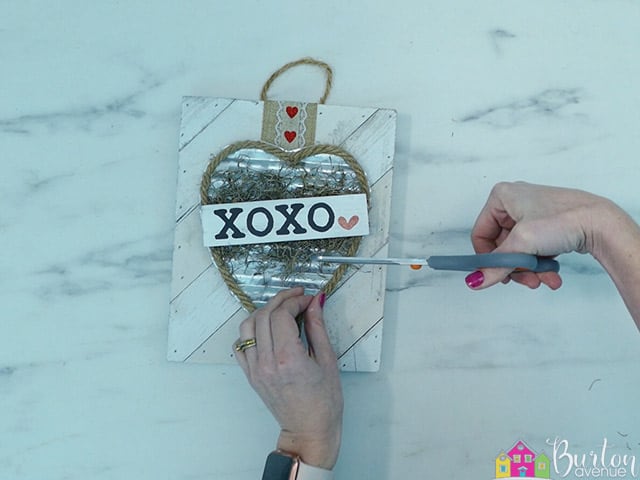
Trim off any moss that looks out of place.
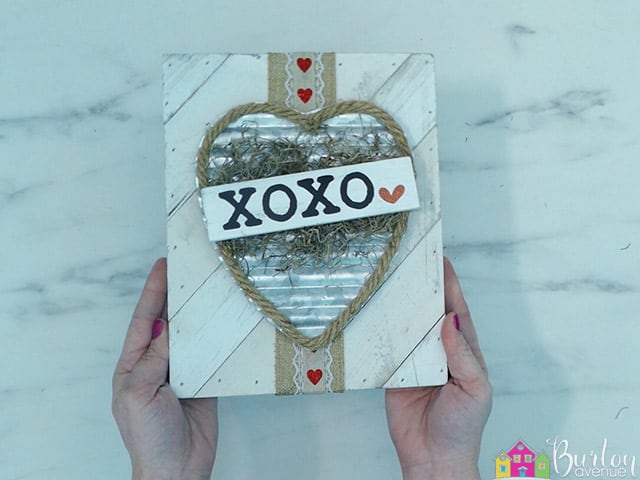
And that’s it, this project is complete.


Did you enjoy this post? Help spread the word! Share this post on your favorite Pinterest board. Thanks!
Want to make your own? Get the free cut file for this project in the resource library

What a cute sign!!! I love it!!!
Did you pick up theses items from the Dollar Tree this year (2023)?
Thanks so much for sharing this creative tutorial!!