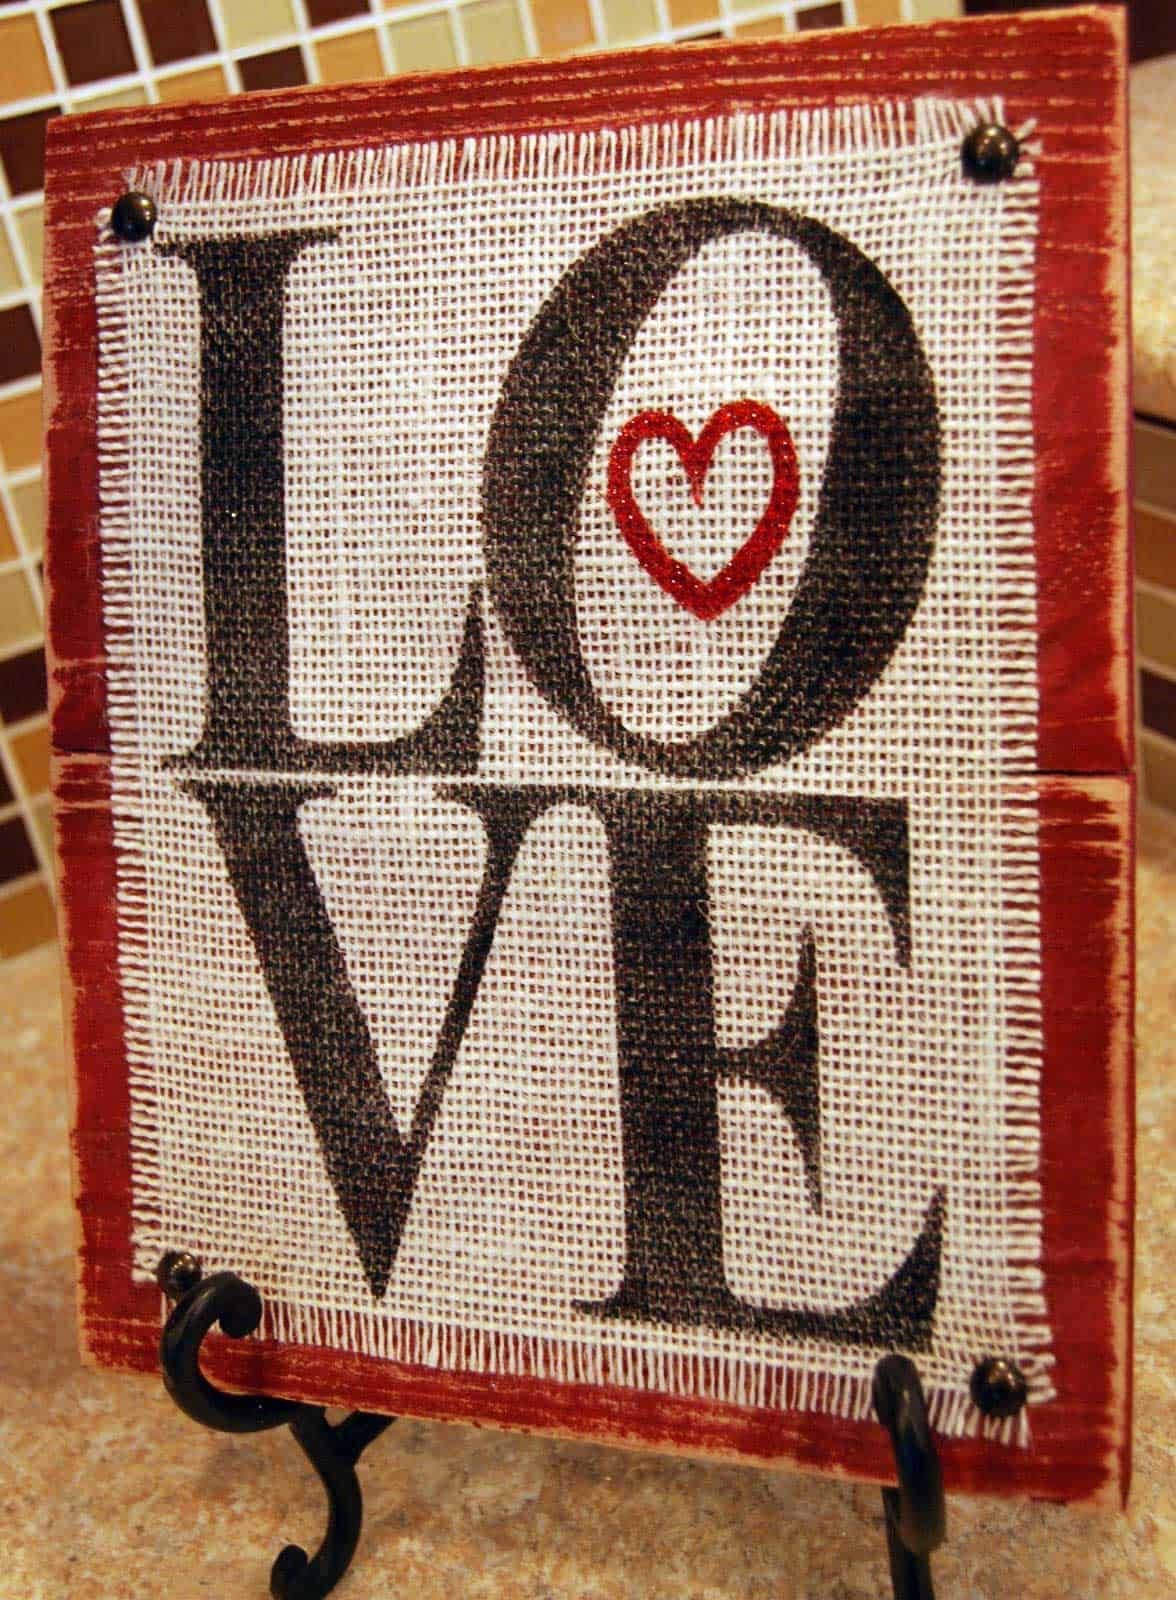
-Burlap
– Paint
-Decorative Nails
– Sandpaper
– Glitter (Optional)
– Transfer Tape
– Electronic cutter (cricut explore, silhouette or other cutter)
– Weeding tool
– Cut File (available for free in my resource library)
DOWNLOAD THE FREE SVG FILE
The first thing you’ll need to do is get the free SVG file you’ll use for this project. I keep all the SVG files I use for the projects I make in my SVG Library. These SVG files work with Cricut and Silhouette machines, as well as many others. This library is open to everyone and is free! You can access the library here. Look for the file called LOVE. It will be listed under the Valentine’s category.
1. Cut your board to 9″ x 11″ (mine is two boards glued together)
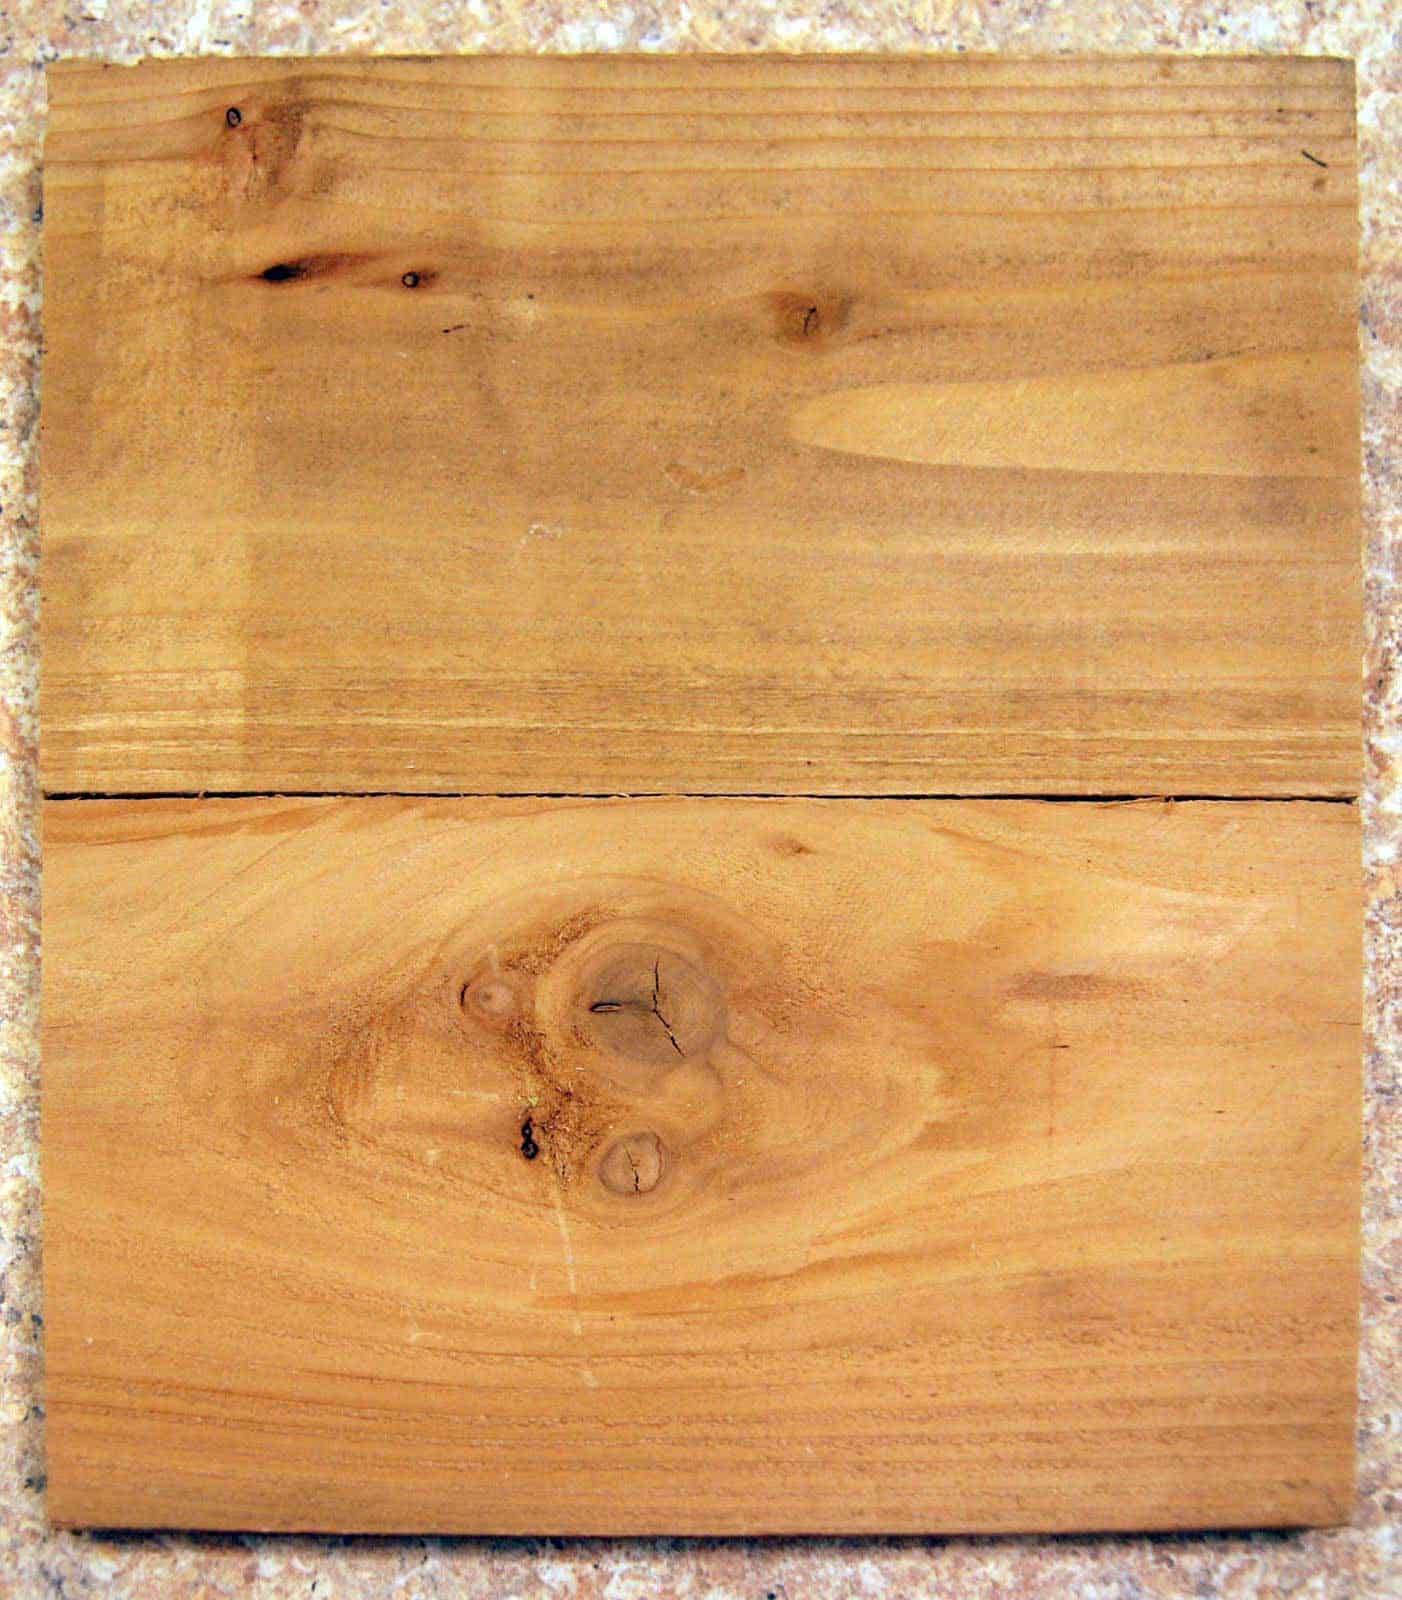
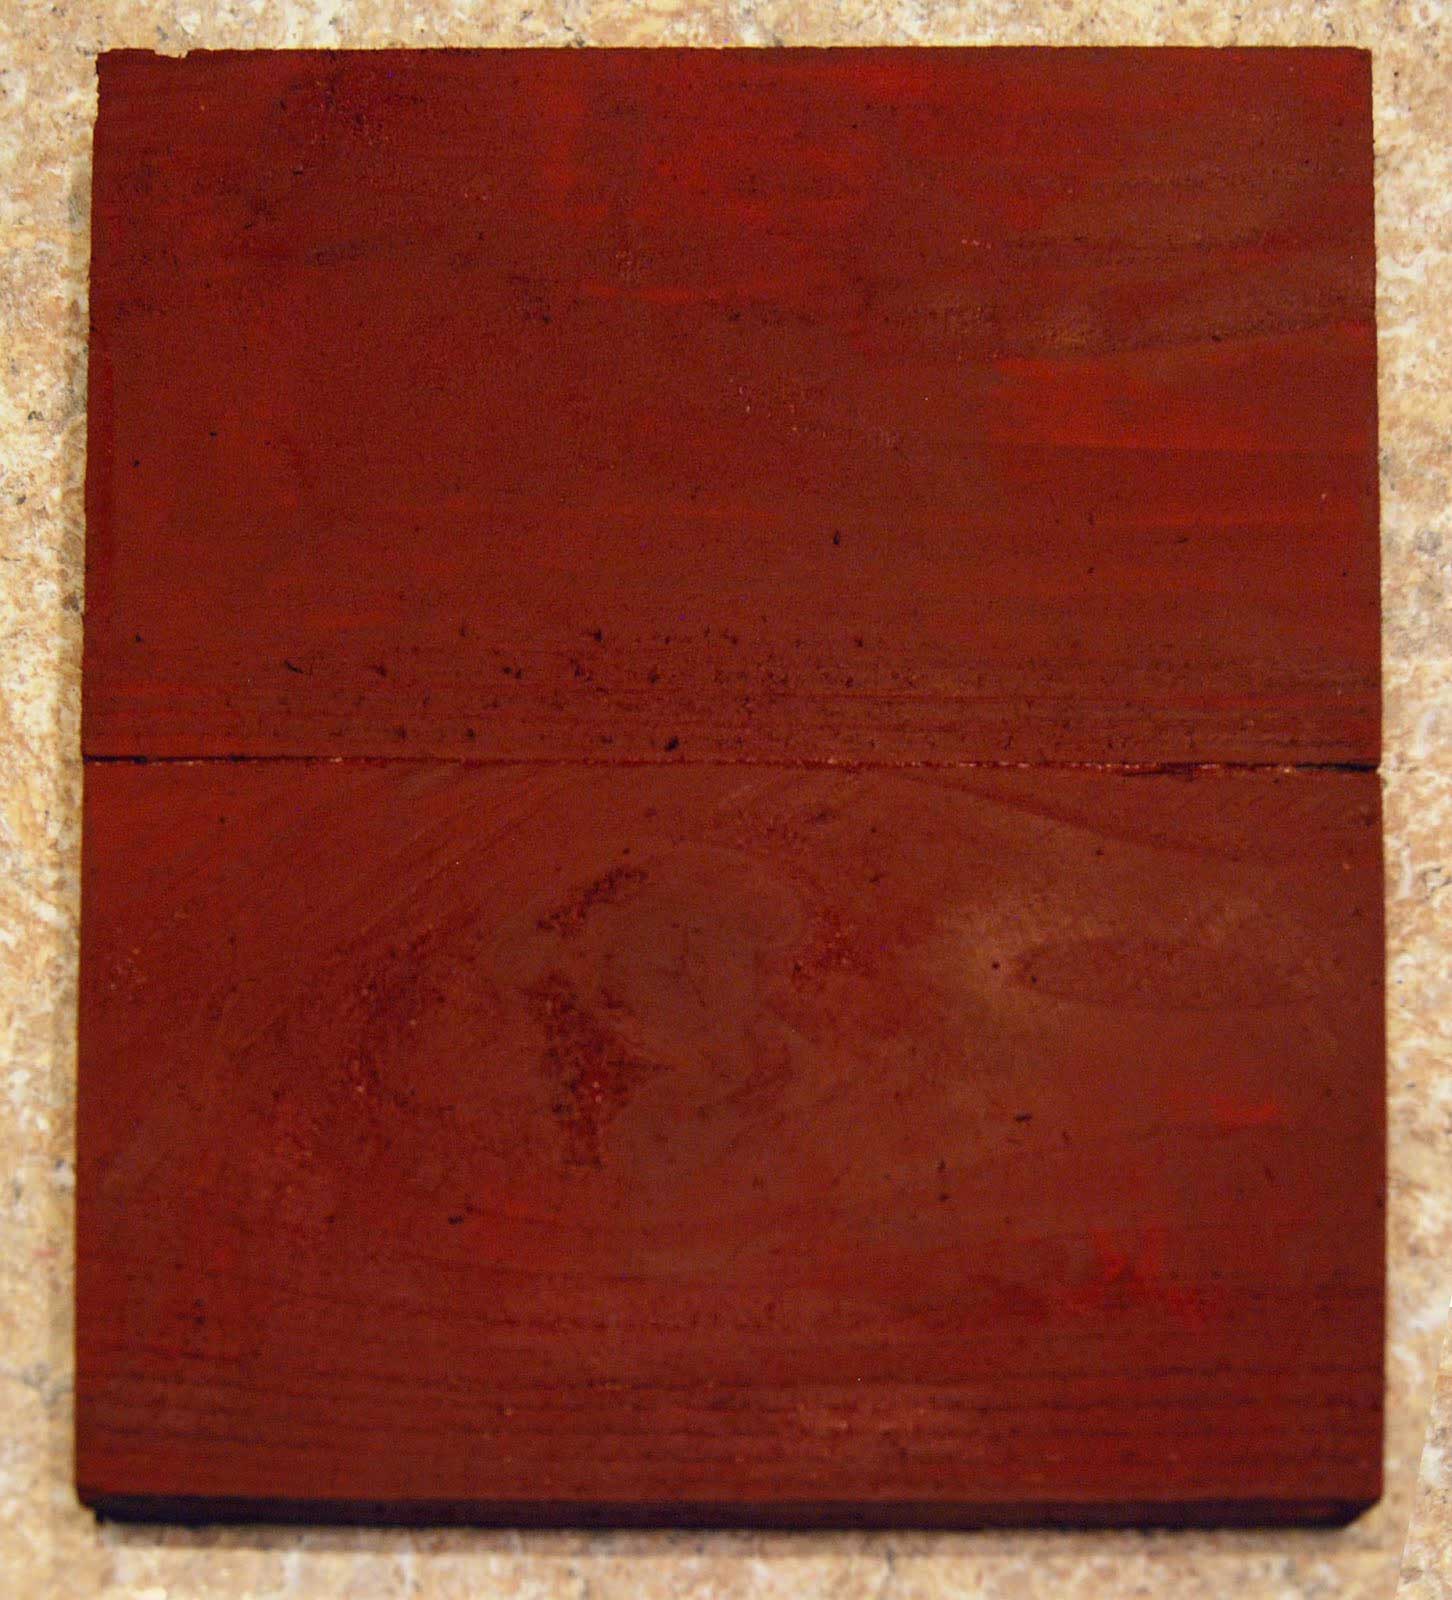
2. Paint your board and let it dry.
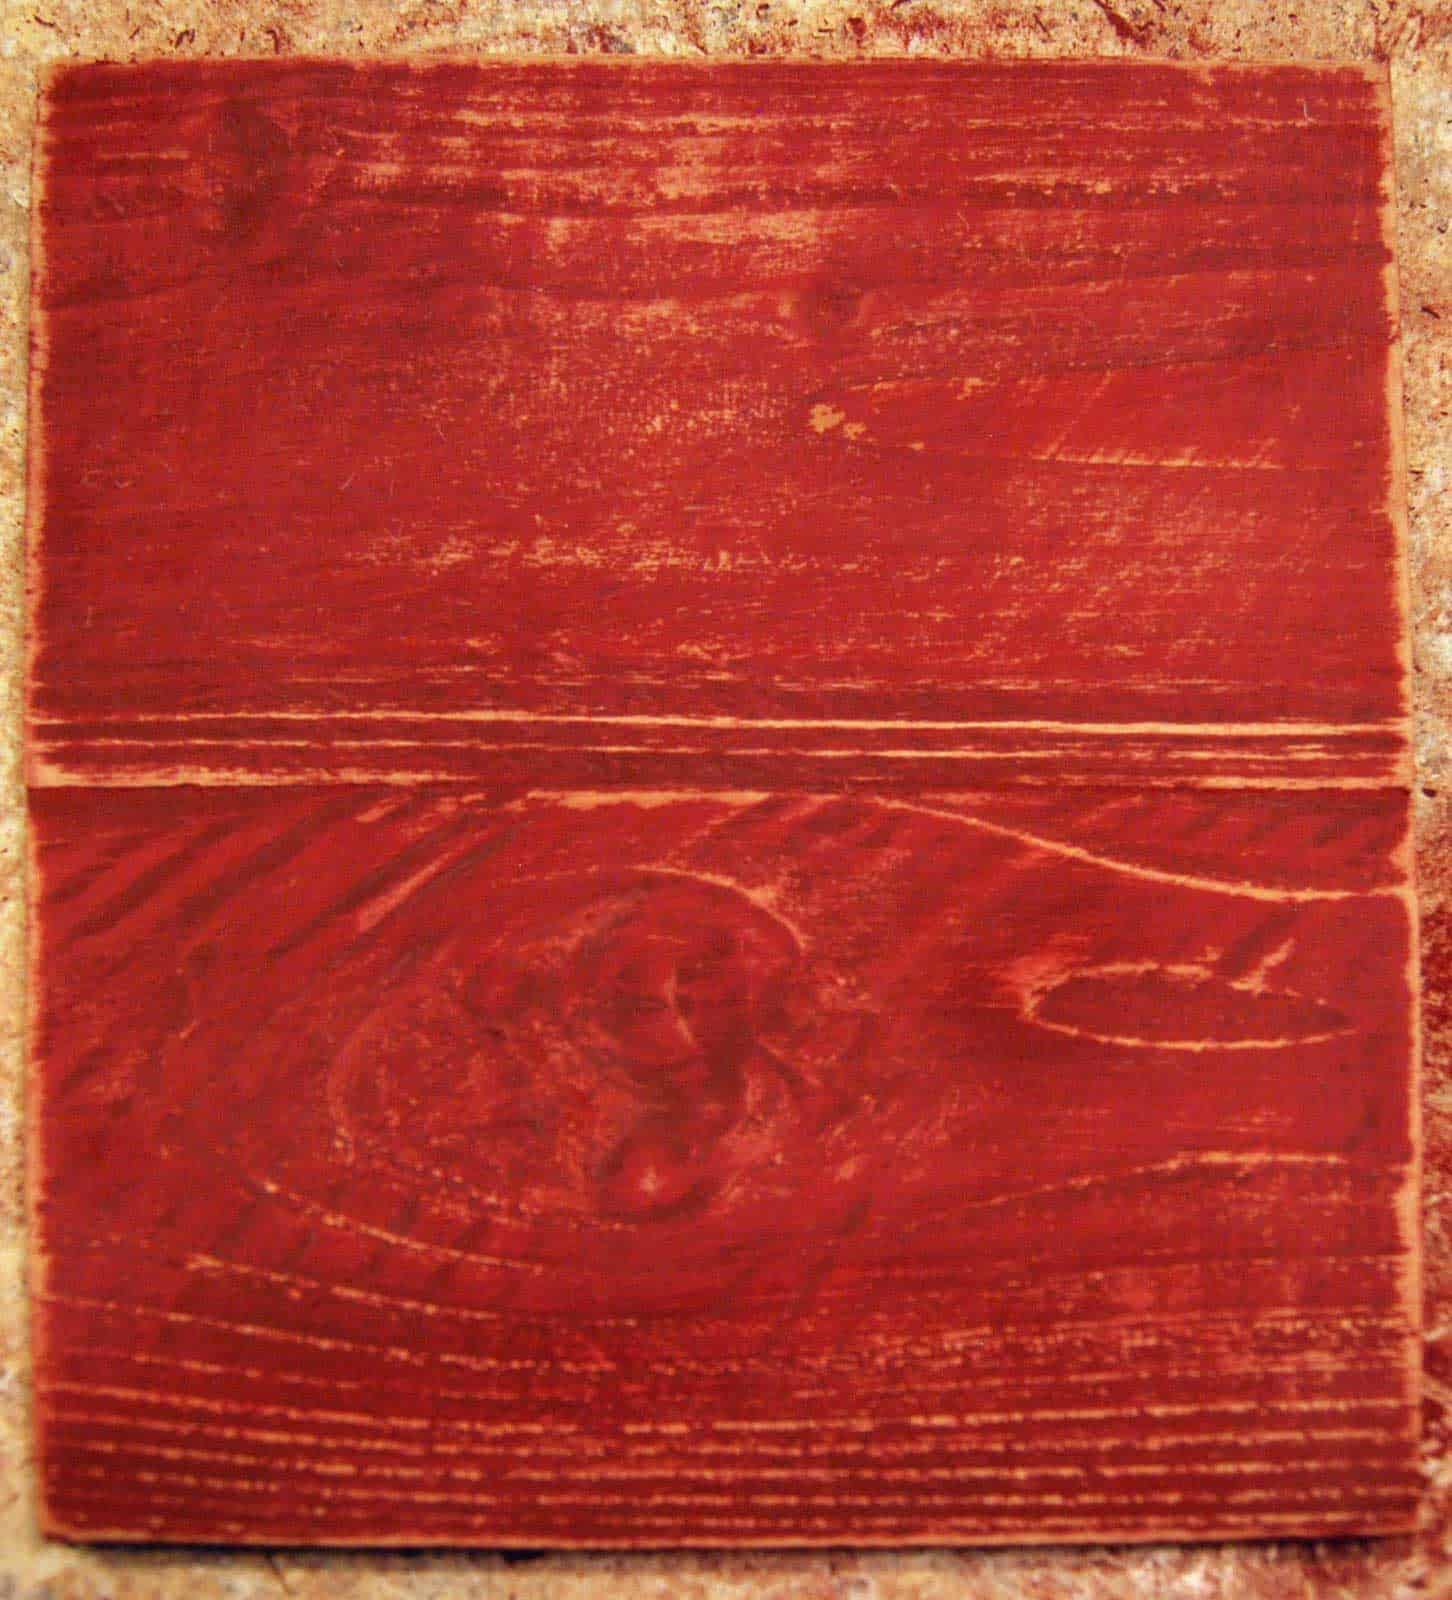
3. Sand until you like the results.
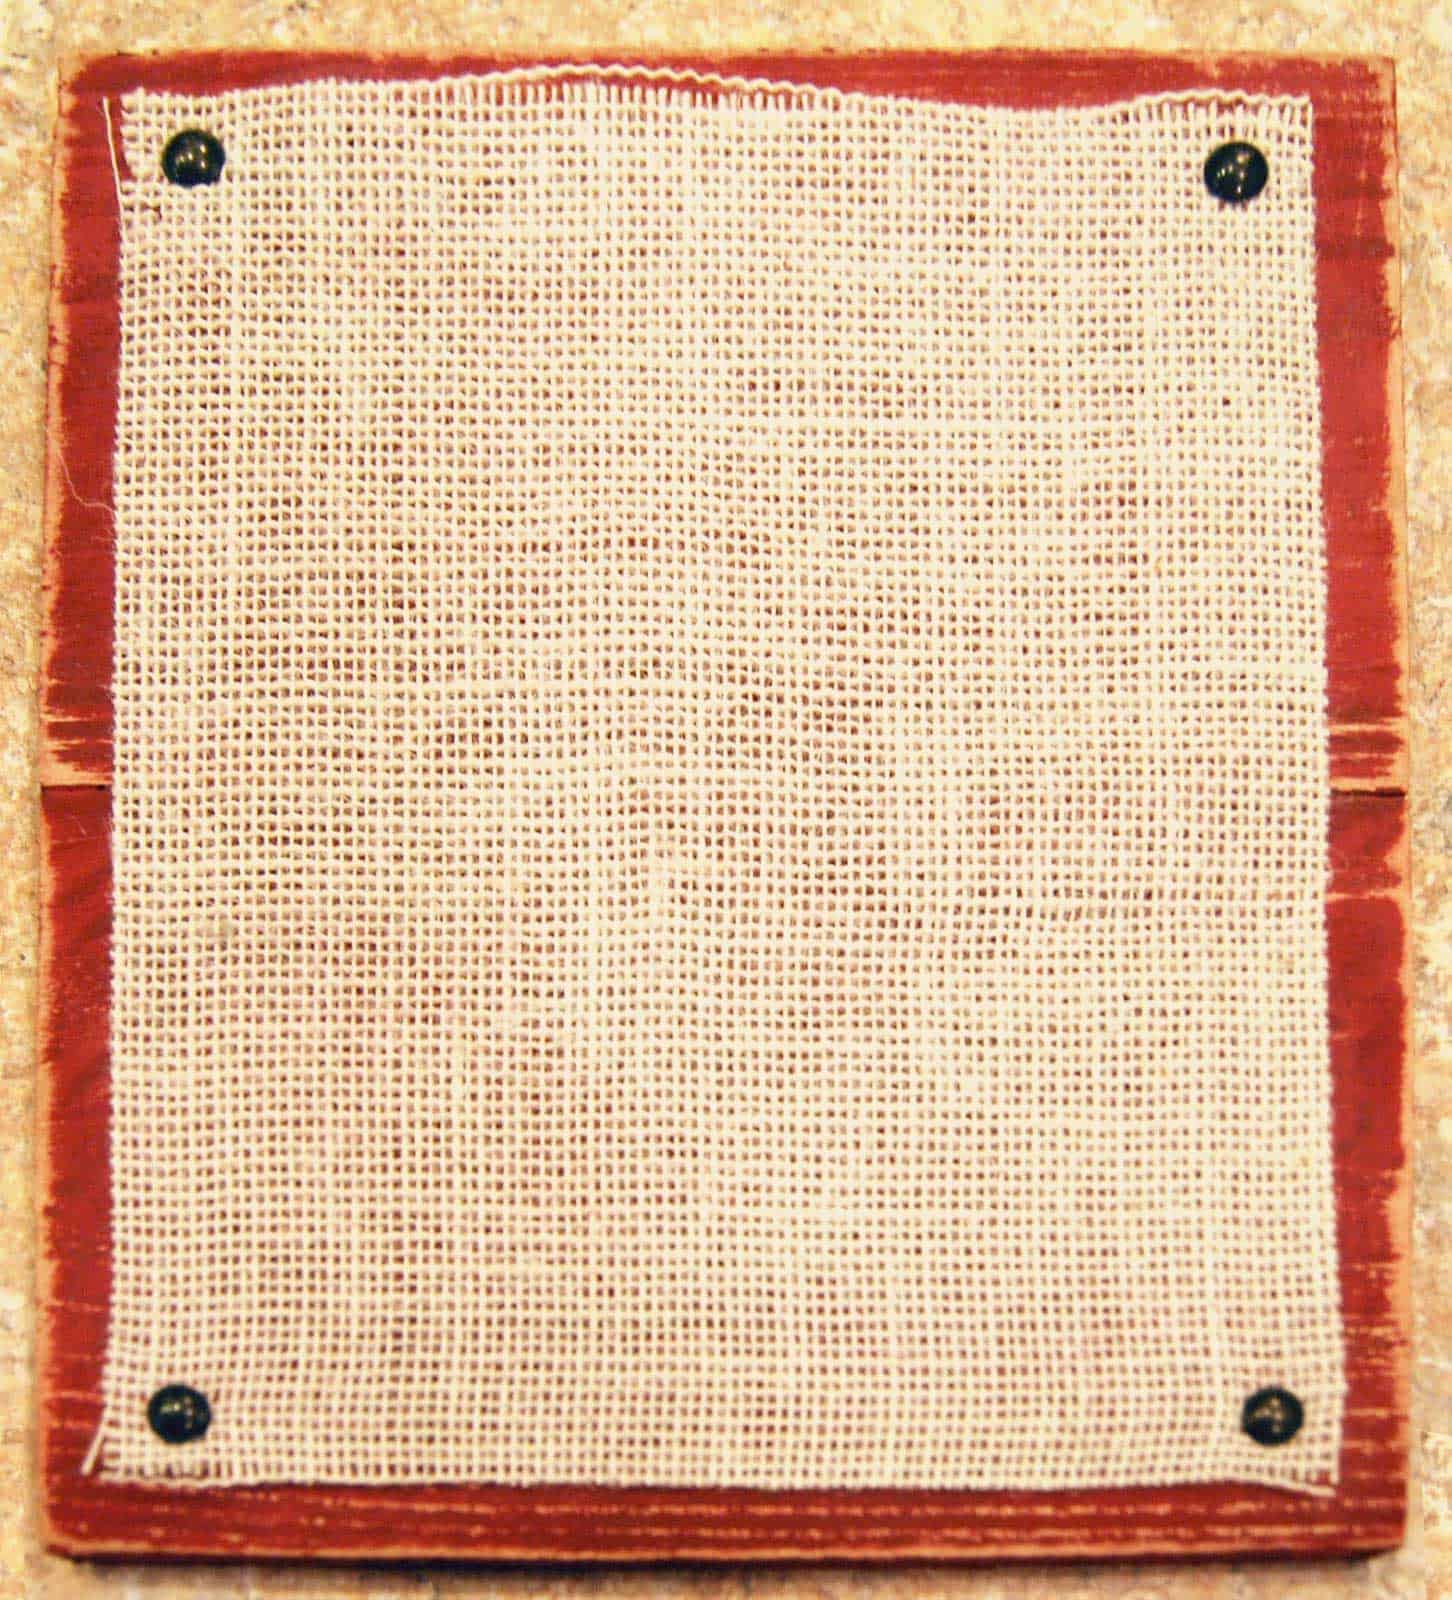
4. Cut a piece of burlap a little smaller than your board and nail in place with decorative nails.
5. Apply your vinyl stencil (it’s a bit tricky to get it to stick to the burlap and not the application tape, just go slow)
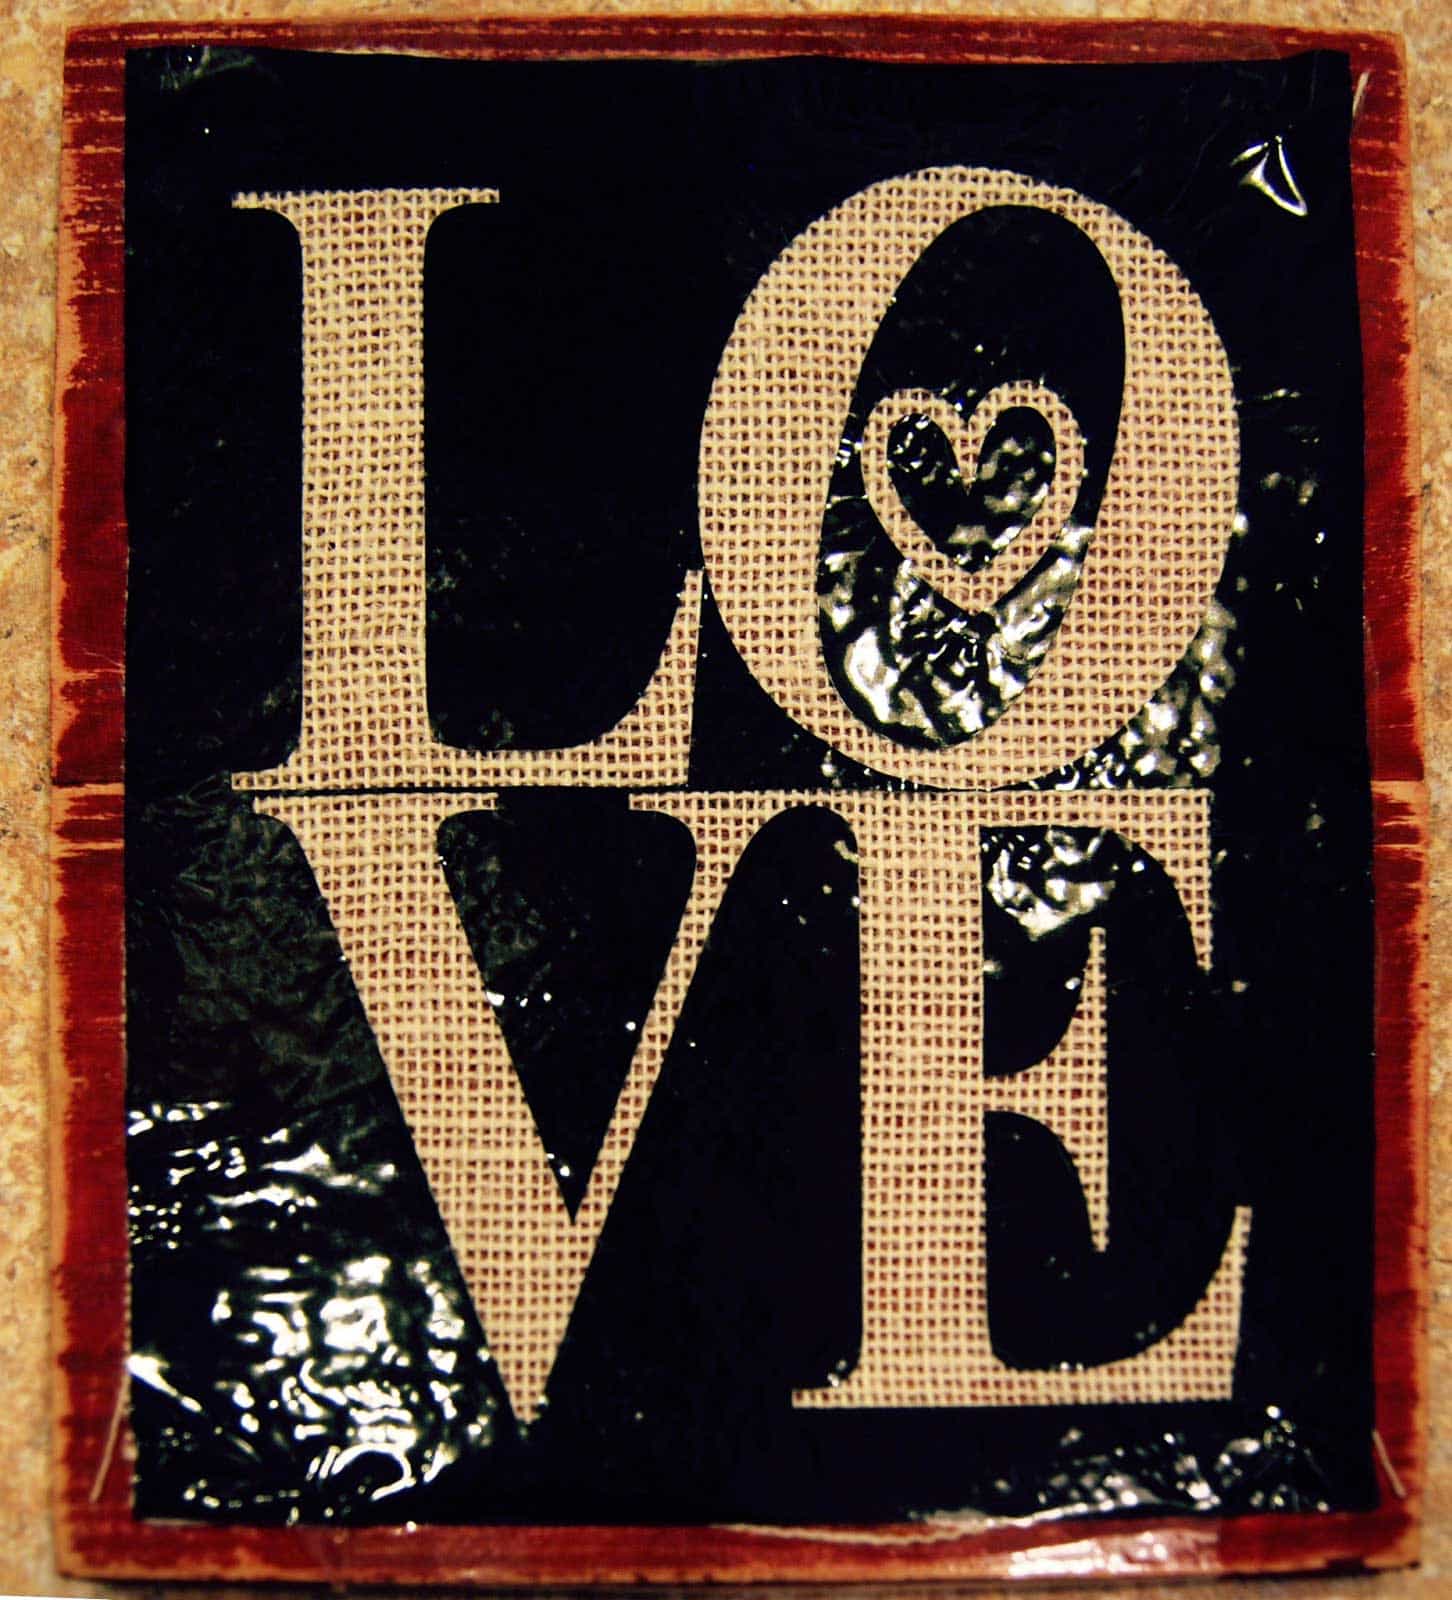
6. Paint the letters black and the heart red. While the heart is still wet, you can add a little red glitter.
I didn’t want my letters to be super dark, so after I dipped my brush
in the paint, I dabbed it on a paper towel to get most of the paint off.
Then, I brushed it on the burlap.
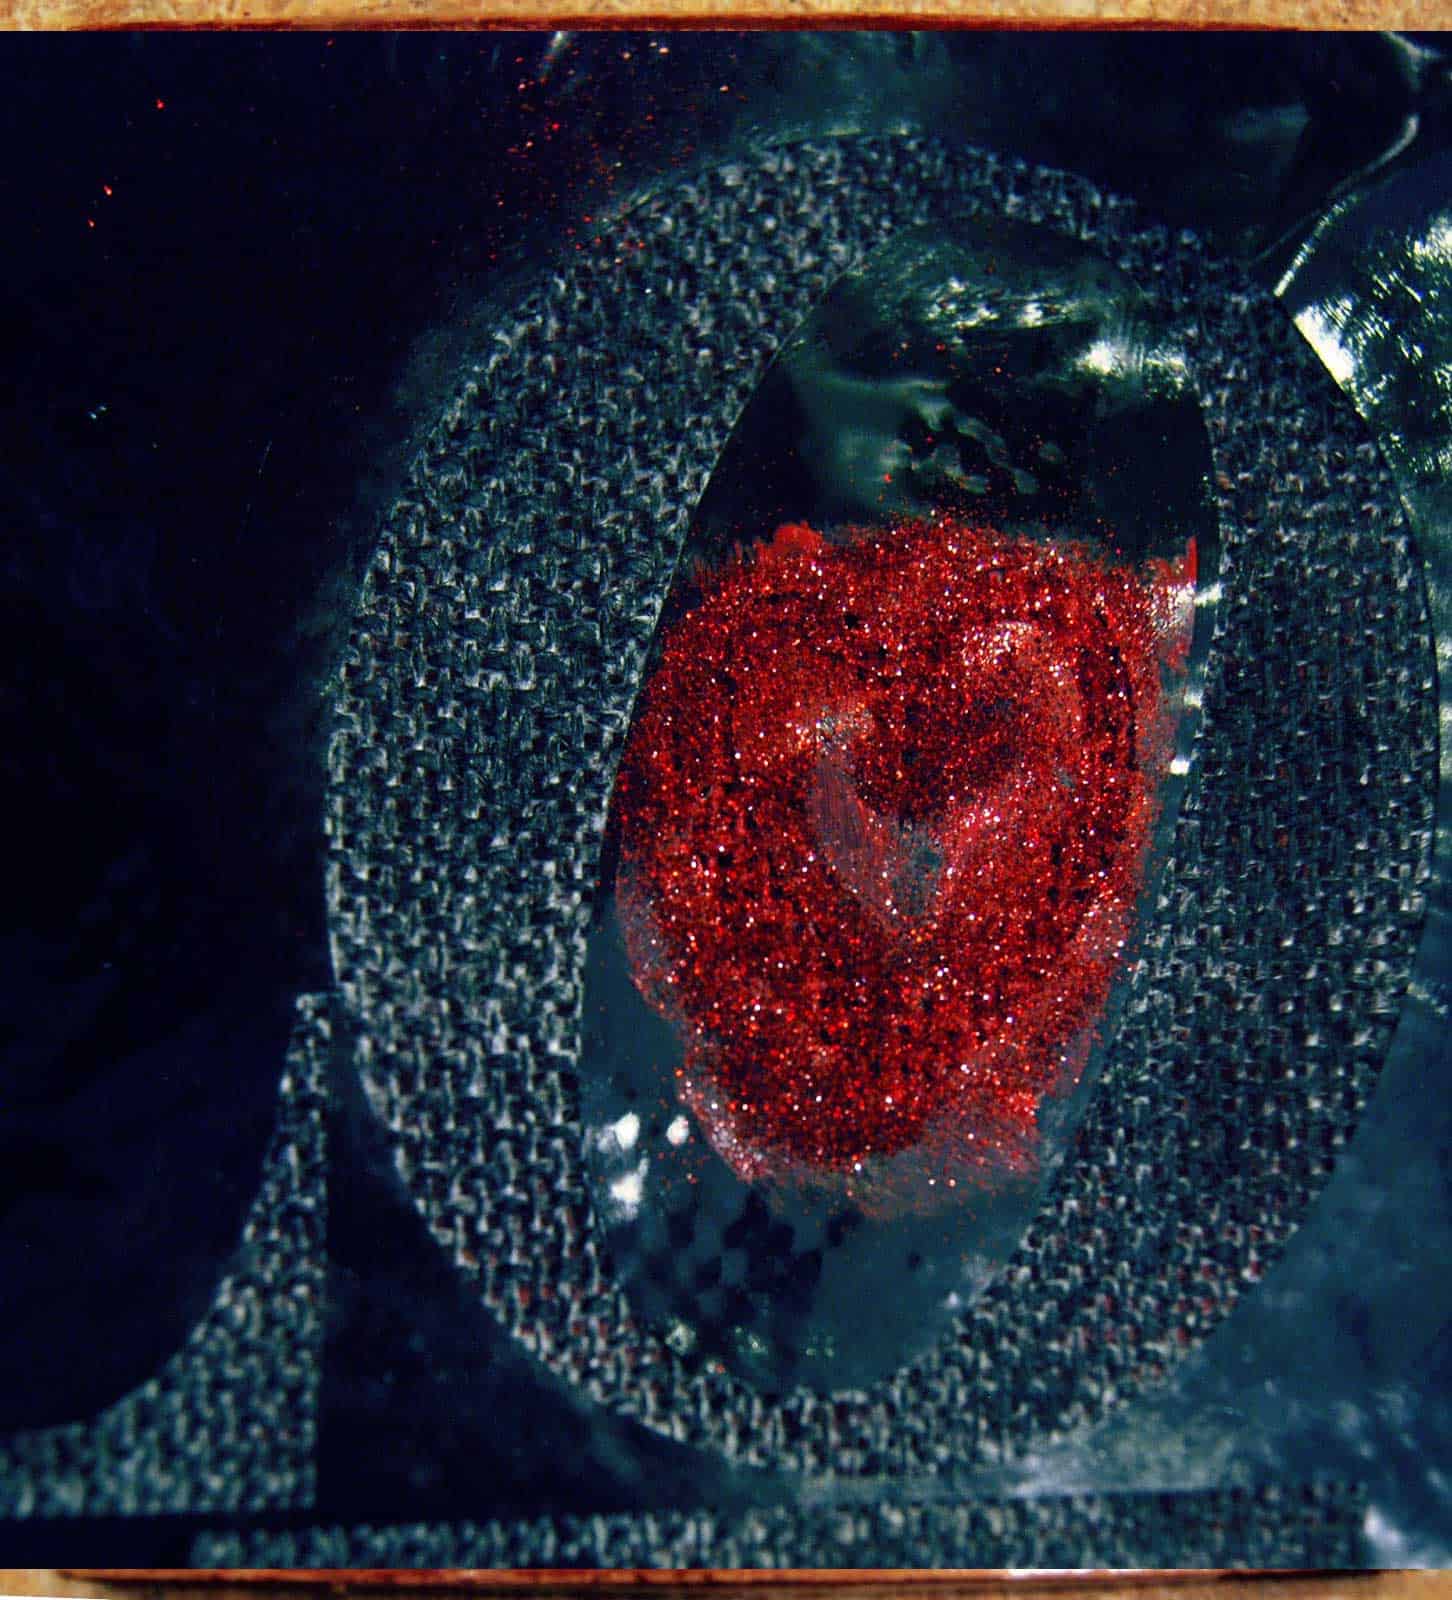
7. Carefully remove the vinyl stencil and fray the edges of the burlap.
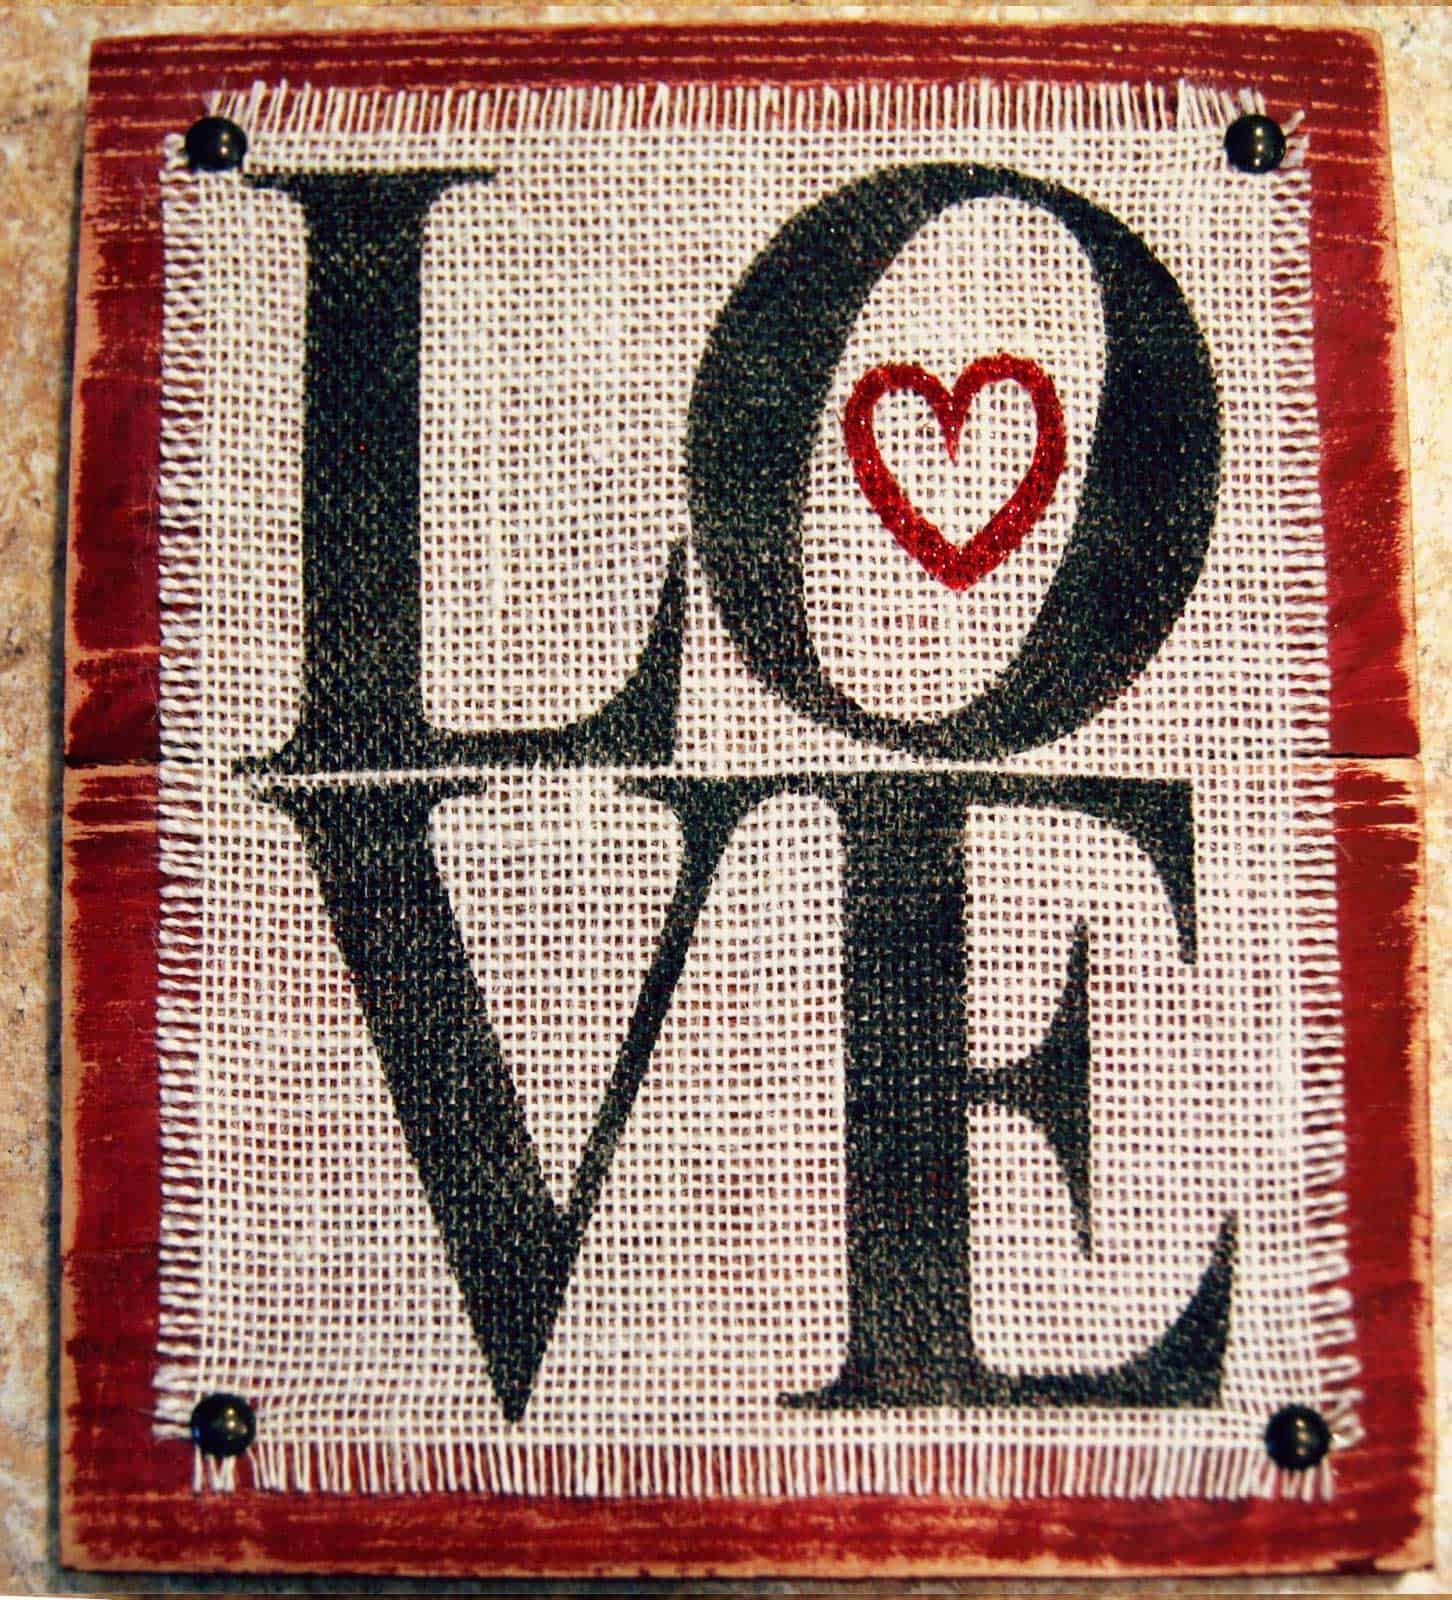
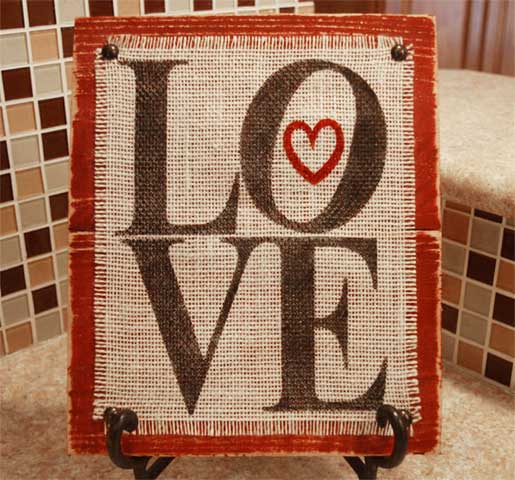
That’s it! Do you LOVE it?
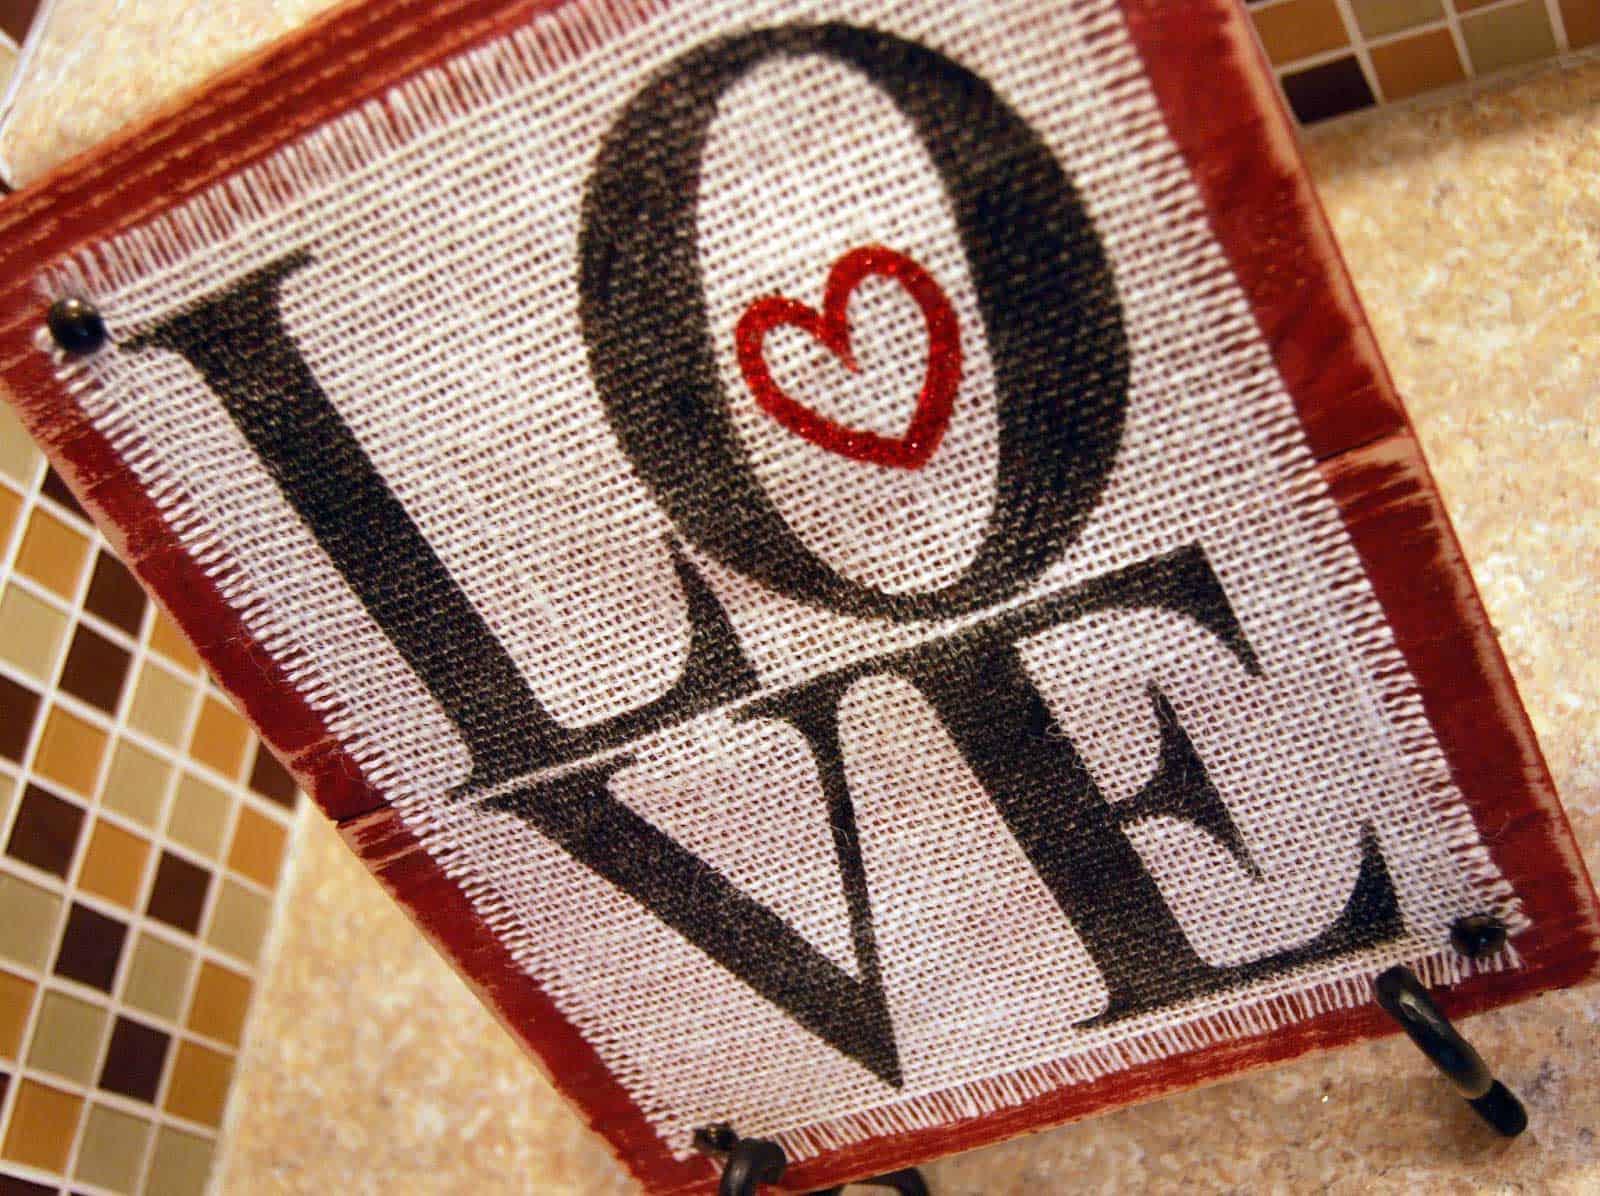
Since it says love, this sign doesn’t have to be put away after Valentine’s is over. It can stay up all year long!
