HERE’S WHAT YOU NEED
- Pumpkin
- Dremel Rotary Tool
- Dremel Carving/Engraving Kit
- Vinyl for Stencil (Color Doesn’t Matter)
- Application Tool
- Transfer Tape
- Plastic to cover work area
- Electronic cutter (cricut explore, silhouette or other cutter)
- Cut File (available for free in my resource library)
HERE’S WHAT YOU DO
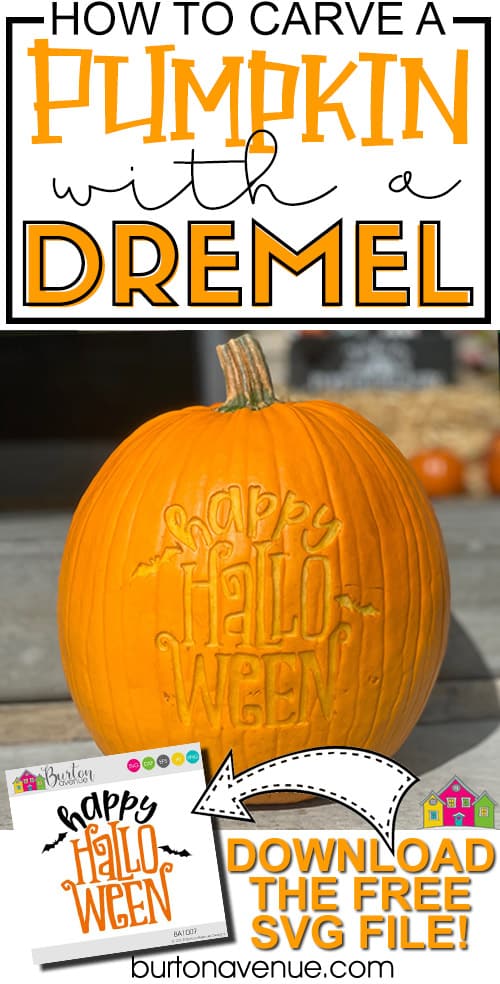
STEP 1: DOWNLOAD THE FREE SVG FILE
The first thing you’ll need to do is get the free SVG file you’ll use for this project. I keep all the SVG files I use for the projects I make in my SVG Library. These SVG files work with Cricut and Silhouette machines, as well as many others. This library is open to everyone and is free! You can access the library here.
STEP 2: CUT AND TAPE VINYL STENCIL
Open the design in your software program and size it to fit on your pumpkin. Add a rectangle around the design to create a stencil.
Do you need more help with creating a vinyl stencil? Check out these posts.
How to Make a Vinyl in Cricut Design Space.
How to Make a Vinyl Stencil in Silhouette Studio
I used Oracal 651 for the stencil because I have lots of it to use up, but you can also use Stencil Vinyl or Oracal 631.
When everything is sized correctly, cut the design with your Cricut or Silhouette. Once everything is cut, weed away the excess vinyl.
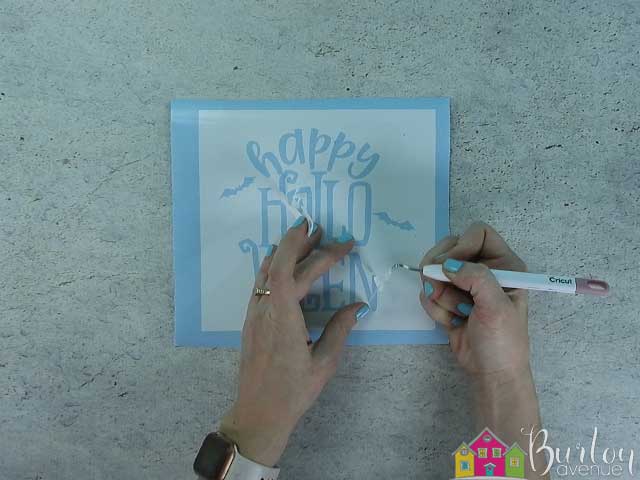
Cut a piece of transfer tape a little bigger than the design. Place the transfer tape on vinyl and smooth it down.
![]()
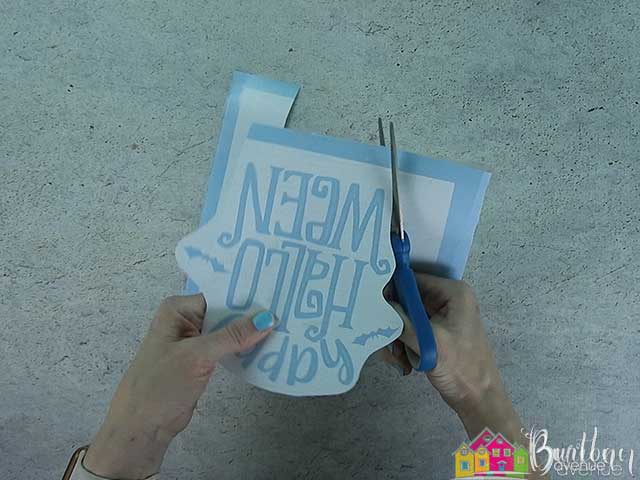
Trim off the excess vinyl and transfer tape. Normally, with a stencil, you’ll leave the rectangle around the design, but since this is going on a curved surface, you want to remove as much excess vinyl as possible.
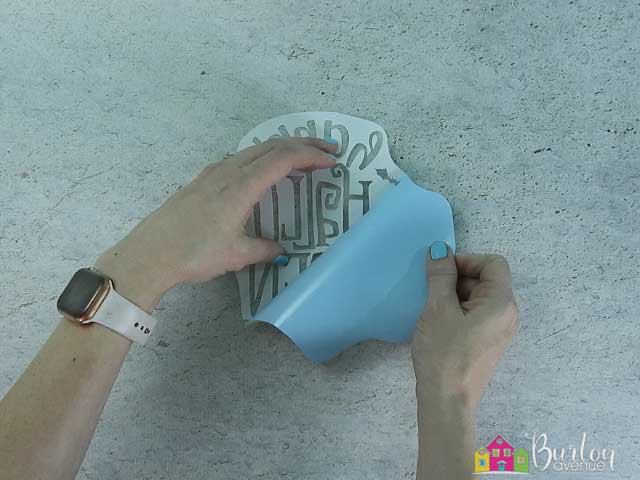
Place the vinyl so it’s facing down, and then pull off the vinyl backing. I like to do it this way so the vinyl doesn’t curl.
STEP 3: APPLY VINYL TO PUMPKIN
Make sure your pumpkin is clean and dry. Find the best looking side of the pumpkin and center the design over it.
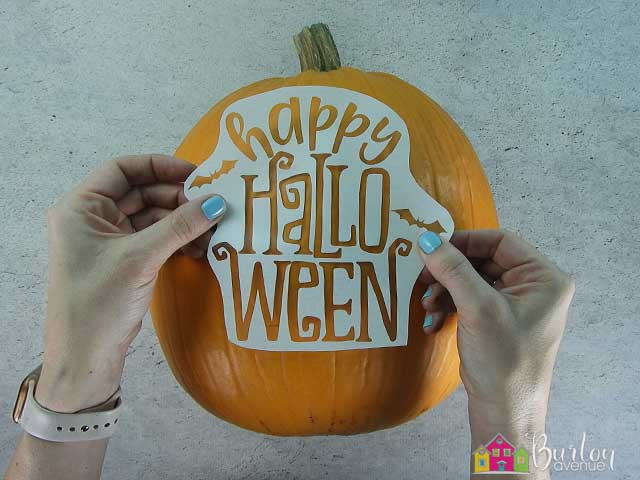
Start by pressing down on the center of the design. Then slide your fingers outward, then, up and down.
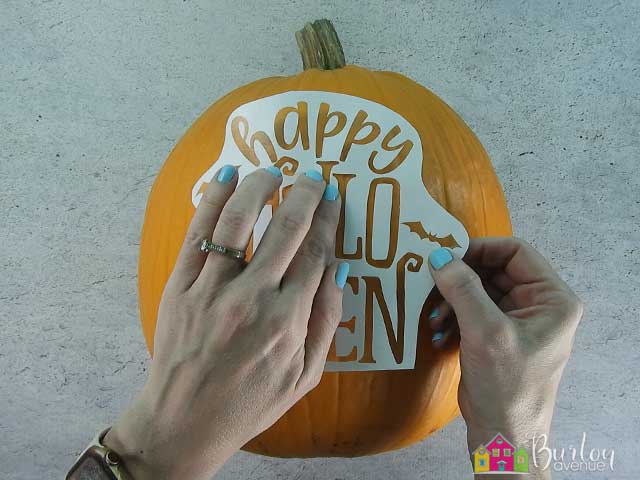
Because the pumpkin is curved, the vinyl won’t lay completely flat.
To help with this, make small cuts in the vinyl and slightly overlap the vinyl along the slits.
Repeat until the stencil is fairly flat on the pumpkin.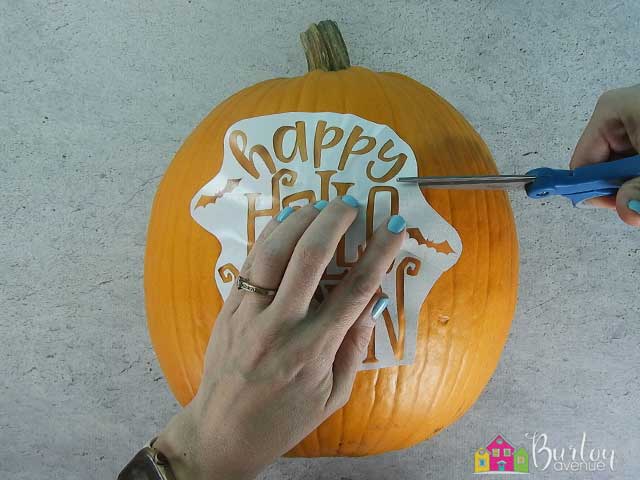
Carefully, pull off the transfer tape. The vinyl might not stick well to the pumpkin, so use your fingers to help hold the vinyl in place.
![]()
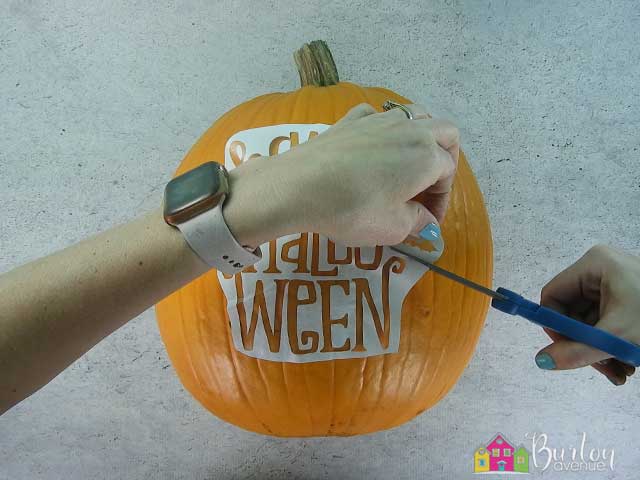
STEP 4: CARVE ALONG THE OUTLINE OF THE LETTERS
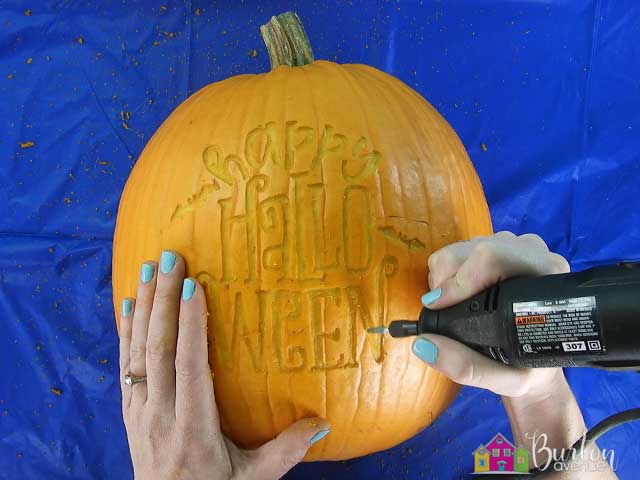
Now, it’s time to start carving! Cover your work area with plastic or something similar. These next few steps can get messy!
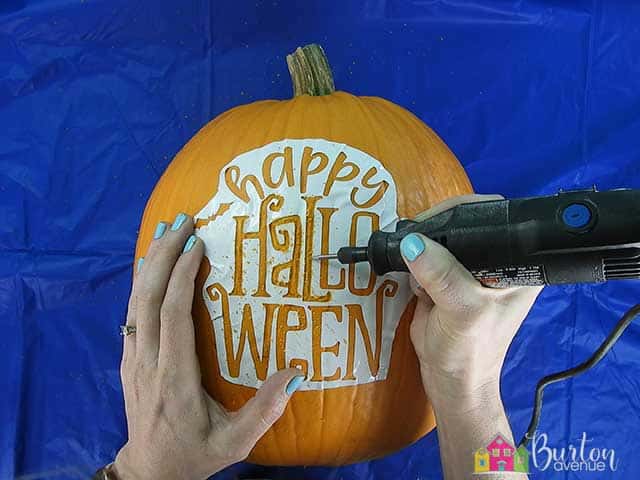
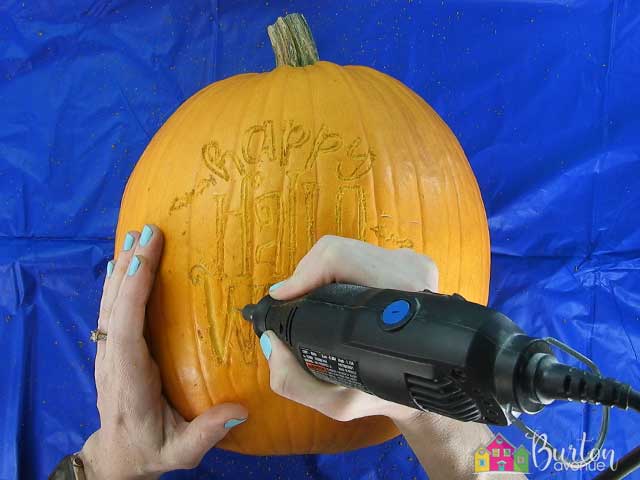
I used a Dremel to carve this pumpkin. A Dremel is a handheld rotary tool that can use a variety of attachments. You’ll want to use bit 107 to carve the outline of the letters. There are 2 ways to do this and I tried both to see which I thought was easier.
The first way is to use the Dremel and carve along the outline of the letters using the vinyl stencil as a guide.
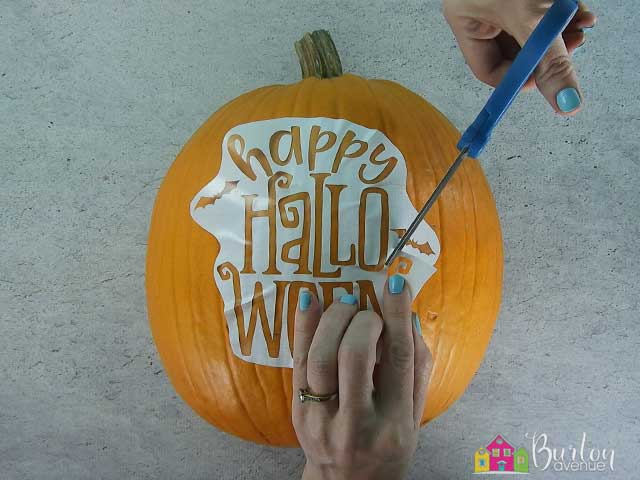
The second way is to trace the outline of the letters with a pen, remove the stencil, and then go over the outline with the Dremel.
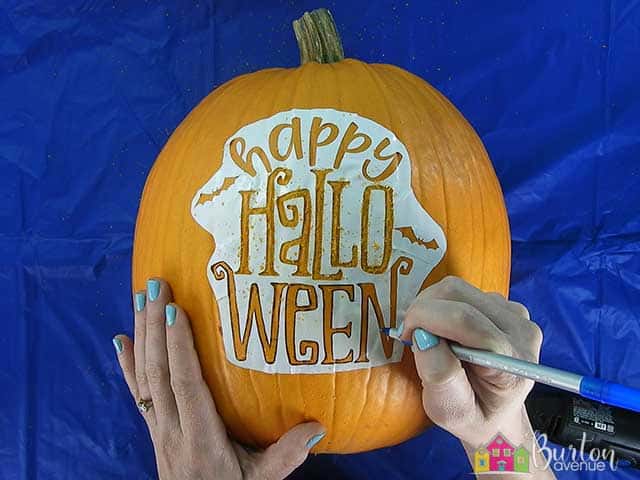
Both methods worked, but I prefered tracing the design first and then removing the stencil. It’s an extra step to trace, but I thought it made the process easier.
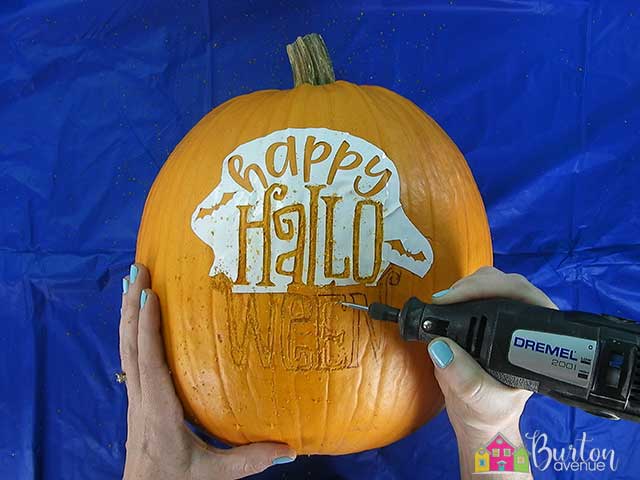
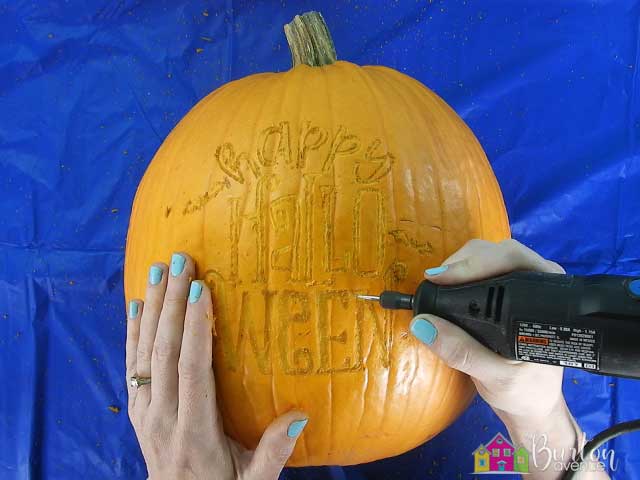
STEP 5: CARVE OUT THE INSIDES OF THE LETTERS
Once you’ve carved the outline of the letters, go back over the design and start carving out the insides of the letters (still using bit 107). You can go up and down or side to side. After doing a few letters, you’ll probably find which way you prefer.
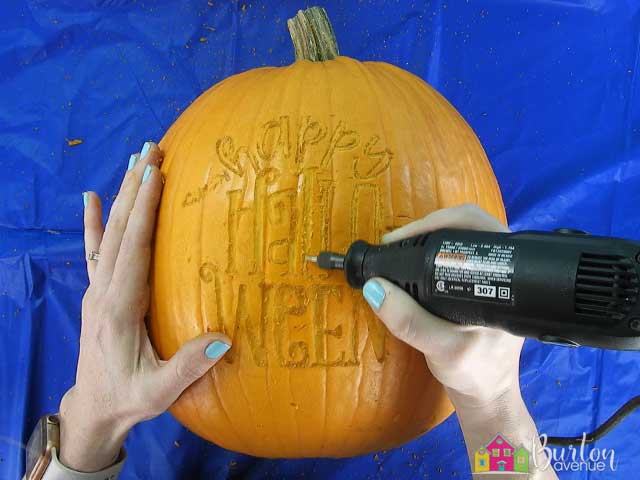
STEP 6: CLEAN UP DESIGN
Switch to bit 84922, the angled grinding stone. This is kind of like a mini sander and does a great job of cleaning and smoothing everything out.
Trace over the entire design with this bit to smooth out any rough areas.
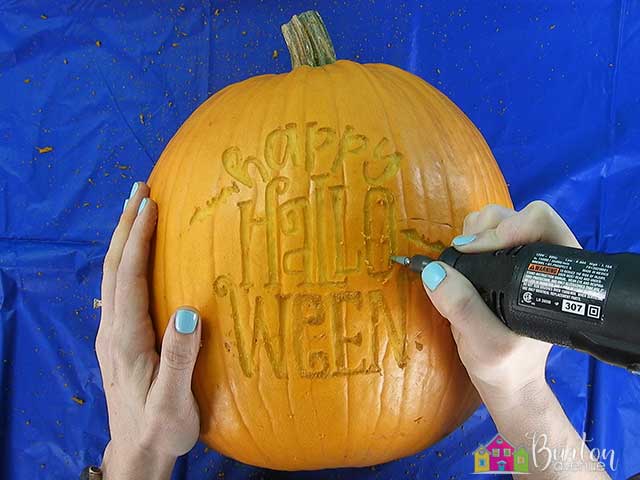
Since there are no pieces to remove, like traditional carving, you can skip cleaning out the inside.
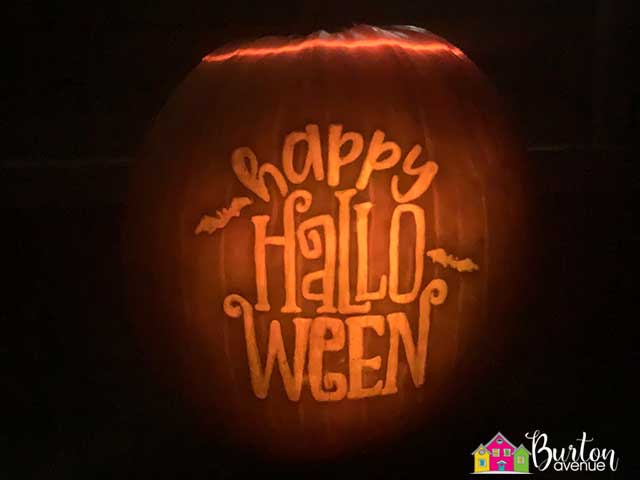
But, it looks super cool when it’s all lit up, so I think it’s totally worth the extra effort.
To light the pumpkin, cut a hole in the top and clean out the inside. Scrape off the flesh behind the design to allow the light to shine through. Use a bright led light like this one to make the design glow.
What do you think? Do you enjoy carving pumpkins? Is this something you would try? I’d love to know!
Did you enjoy this post? Help spread the word! Share this post on your favorite Pinterest board. Thanks!