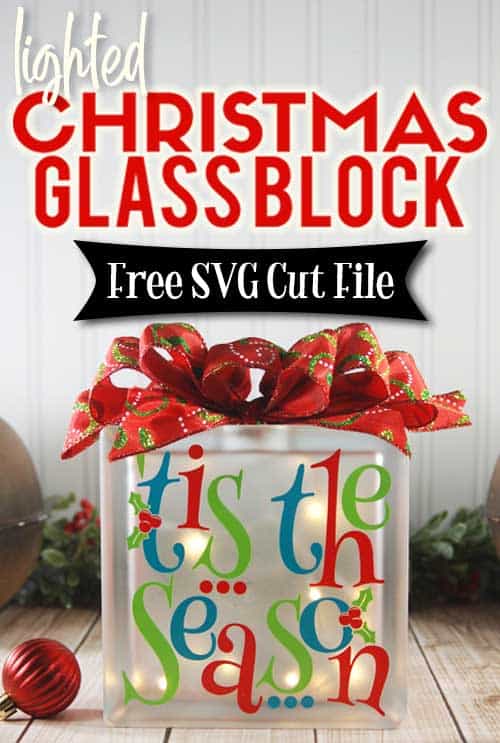
Welcome to day 18 of my 25 Days of Craftmas series! Today I’m showing you how to make a lighted Christmas glass block. Glass blocks are so pretty. If you add vinyl and lights, you’ve got a gorgeous decoration that only takes a few minutes to create.
Over the past couple of weeks, I’ve received a lot of emails asking about how I cut and apply designs with more than one color. So, today, I thought I’d show you how to do it.

HERE’S WHAT YOU NEED
- Glass Block with Hole
- Vinyl (I used red, lime tree green, and turquoise)
- Mini Light Set
- Christmas Ribbon
- Spray Frosted Glass (Optional)
- Transfer Tape
- Electronic cutter (cricut explore, silhouette or other cutter)
- Cut File (available for free in my resource library)
You can get glass blocks with pre-drilled holes at most craft stores and I’ve even found them at home improvement stores. If all else failes, you can get them online, but the shipping is a little pricey.
HERE’S WHAT YOU DO
The first thing you’ll need to do is get the free SVG file you’ll use for this project. I keep all the SVG files I use for the projects I make in my SVG Library. These SVG files work with Cricut and Silhouette machines, as well as many others. This library is open to everyone and is free! You can access the library here. Look for the file called ‘Tis the Season. It will either be listed under the Christmas category-25 Days of Craftmas 2018 – Day 18.
Start by opening the design in your software cutting program. Size and fit to your glass block. I usually make my design 1″ smaller than the block.
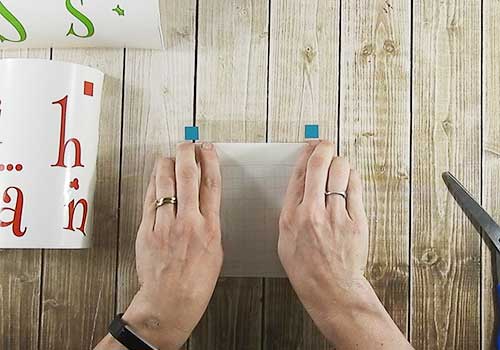
Next, you’ll want to add squares above the top of the design to use as registration marks. You’ll need to cut the squares with every color of vinyl you cut.
I created a tutorial for Silhouette Studio users and Cricut Design Space users to show how to set up and cut with registration marks. Even if you don’t use either of those software programs, check out the tutorials because they will give you a good idea of how to set up the registration marks in your own software.

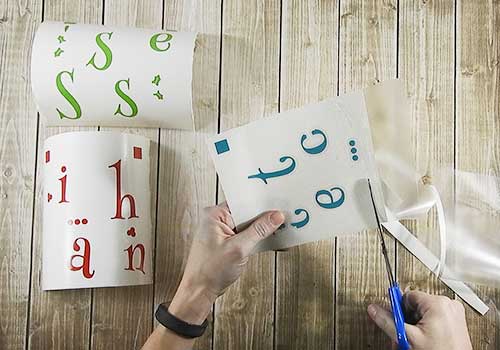
After you have cut each color of vinyl, weed away the excess. The squares should be cut on each color of vinyl.
Apply transfer tape to the top layer of vinyl. In this design, there technically isn’t any layering, meaning that there isn’t any vinyl that sits on top of another color., so it doesn’t matter which color goes on top. But, there are lots of designs that are actually layered and you’ll have to know the order of the layers. The transfer tape will always go on the top layer, then the next layer and repeat until you’ve gotten to the bottom layer. Also, the transfer tape you apply to the first layer needs to be as big as the whole design.
So, for this example, apply the transfer tape to the turquoise vinyl.
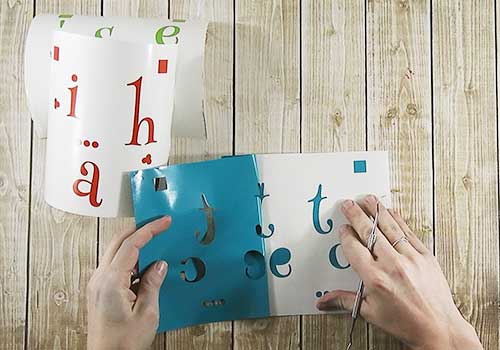
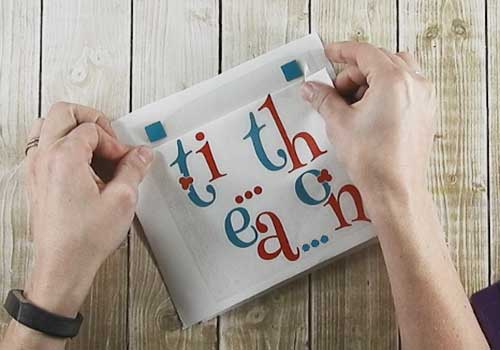
Flip the vinyl over and fold down the vinyl backing so just the registration marks are uncovered.
Place the turquoise vinyl over the red vinyl.
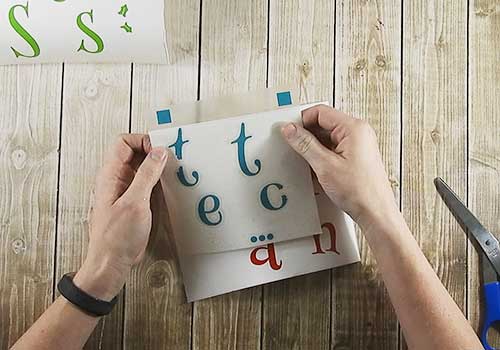
Match up the registration marks. Take your time and make sure the squares are exactly on top of each other. Then press down on the transfer tape.
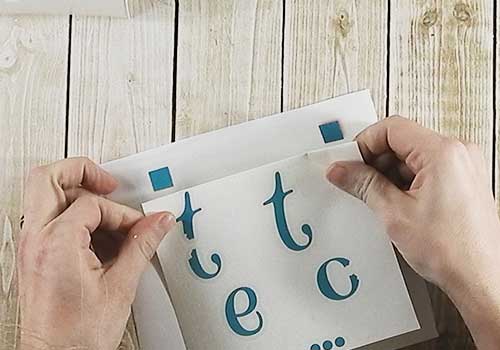
Carefully remove the backing from the turquoise layer of vinyl.
Now flip the vinyl over again. Fold down the backing so the registration marks are uncovered.
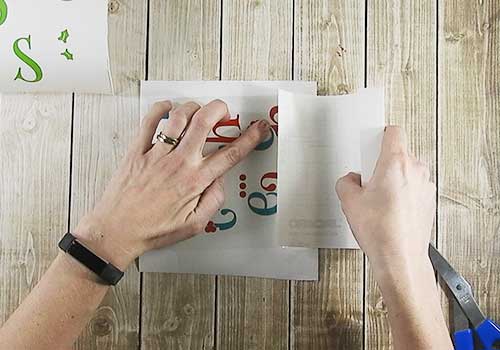
Now, it’s time to add the green vinyl to the layers.

Match up the registration marks and press down on the transfer tape.
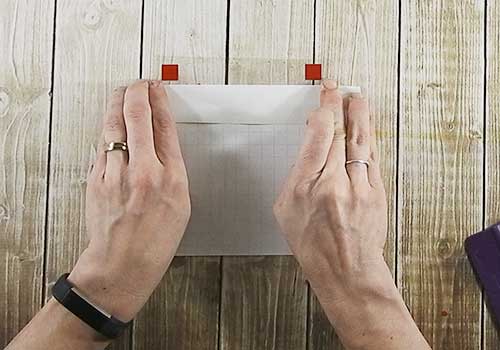
Carefully remove the backing from the turquoise and red layer.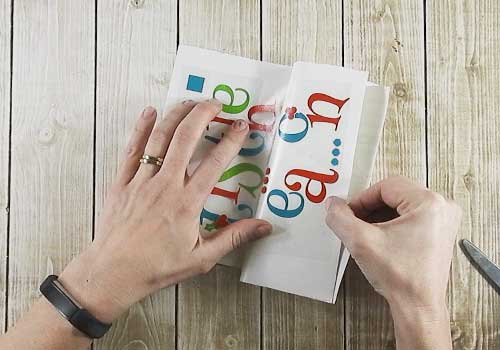
Now, your design is all layered and it’s time to apply it to the glass block. Remove about 1-2″ of the backing and position your design on the glass block. Make sure the opening of the block is at the bottom.
*Note* I did spray my glass block with frosted glass spray before I applied the vinyl. This step is totally optional. I just like that it gives the glass a frosted look and makes it not quite so transparent.

Use an application tool or scraper to rub to vinyl onto the glass block. Start at the bottom of the design and push upward. 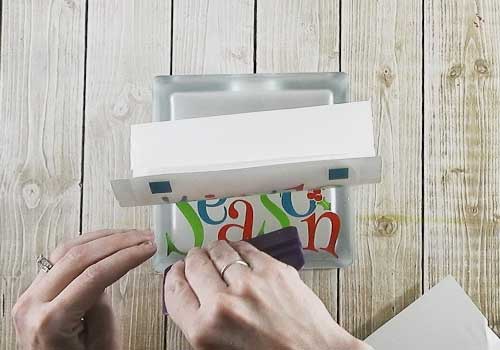
Remove the backing in small sections and keep pressing upward on the vinyl. Once it has all been applied, remove the transfer tape.
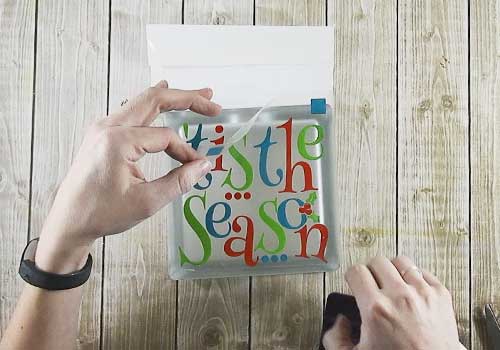
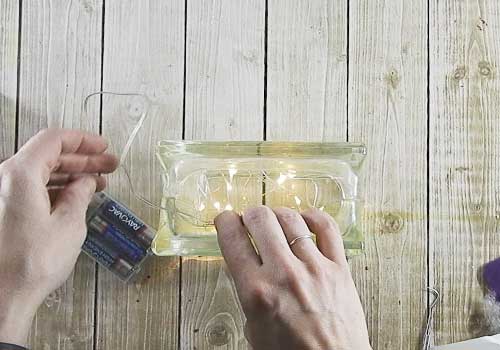
Place some battery operated lights inside the opening. If your opening is big enough, you can also place the battery pack inside. If it’s not big enough, just place it behind the block. Replace the plastic cover.
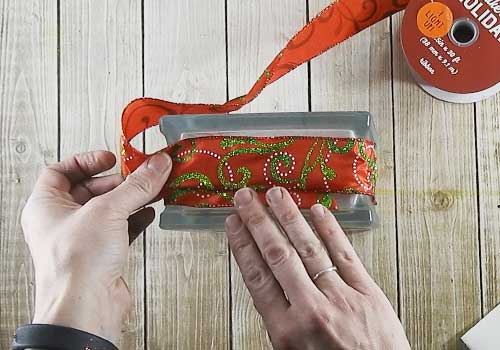
Glue some Christmas ribbon around the block
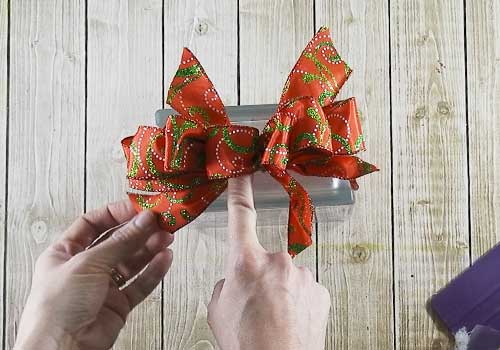
Then, add a decorative bow to the top.
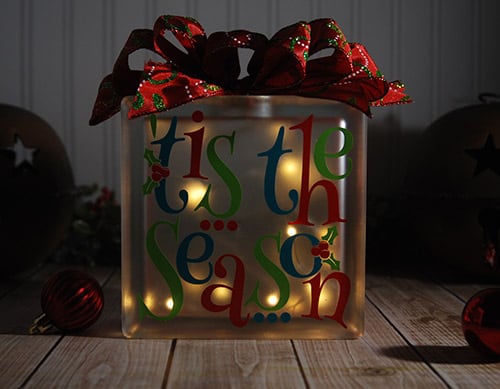
I think adding the lights is the perfect touch for Christmas. The lights I purchased are the same lights I used in the lighted Christmas Canvas. They have a timer, so I never have to remember to turn them off or on. It’s amazing.

It’s so cute to see it lit up in the dark.
Did you enjoy this post? I’d love for you to pin it to your favorite pinterest board.
Another fabulous tutorial! Thanks. Pinned.
Thanks and thanks for pinning!