Multi-color designs are fun to make, but sometimes layering adhesive vinyl can be a bit tricky. Did you know that you can add registration marks to your designs to make layering easy? Adding registration marks to your design eliminates the guesswork and produces a perfect layering job every time. I think Silhouette has added some great tools to make this process really easy to do. So today, I’m going to show you how to add registration marks to your design in Silhouette Studio so it’s set up for a perfect layering job.

How to Add Registration Marks for a Multi-Color Design Silhouette Studio
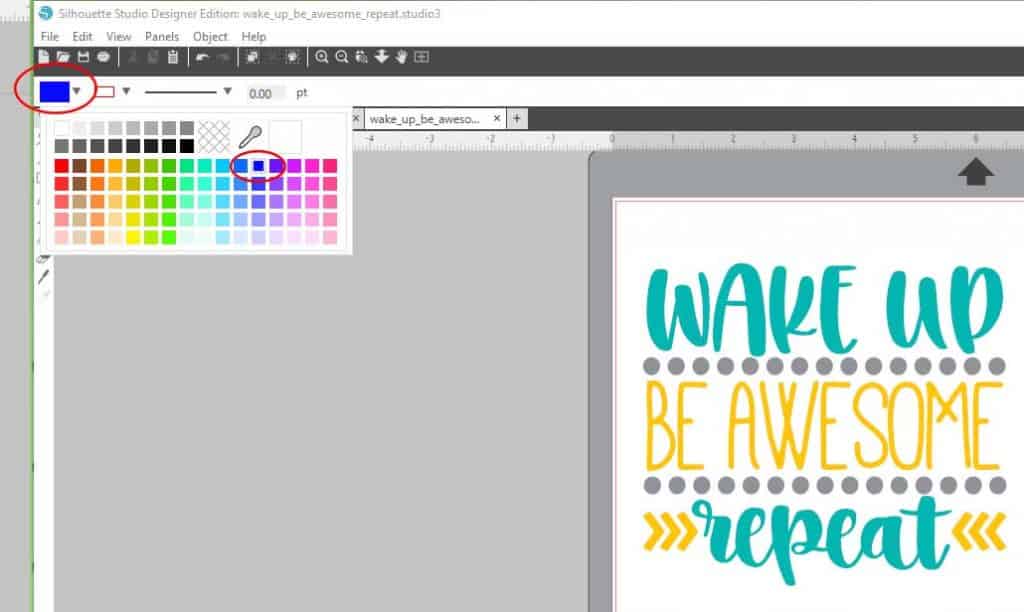
Start by importing your design into Silhouette Studio and resize it to the dimensions you need. If you need help importing an SVG, follow this tutorial. If you need help with a DXF, follow this tutorial. For today’s example, I’ll be using this Wake Up, Be Awesome, Repeat file. You can download the file for free here. After you’ve resized your design, we need to create registrations marks. But, before we create them, we need to set the fill color of the registration marks. Click somewhere off your design to be sure nothing is selected. Then, click on the fill color drop-down box on the top left of your screen. Choose a fill color that is not in your design. I’m choosing a bright blue for this project.
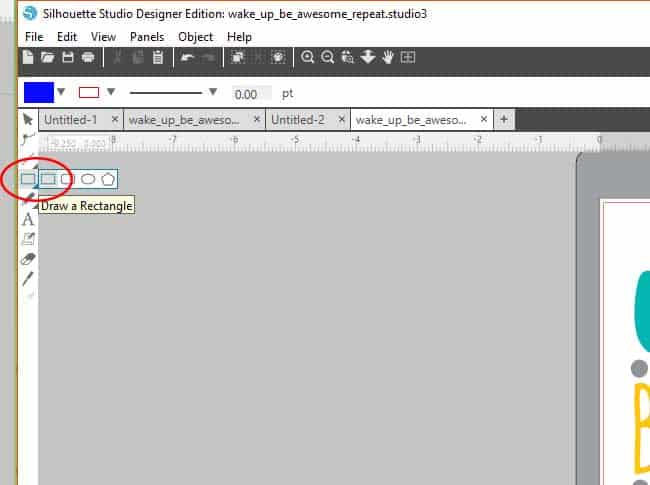
Now, it’s time to draw the registration marks. On the left-hand tool panel, select that shapes tool, and then choose Draw a Rectangle. The shape really doesn’t matter, you can pick a square, rectangle, pentagon, or anything else (except a circle).
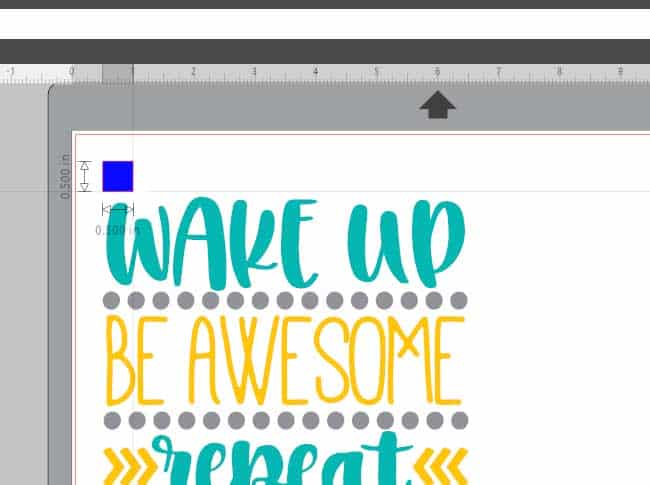
 Now, draw a small square above and to the left side of your design. Make sure it’s not touching any part of the design. I sized mine to .5″. The size of the registration marks doesn’t matter, either. Just pick a size that works for you.
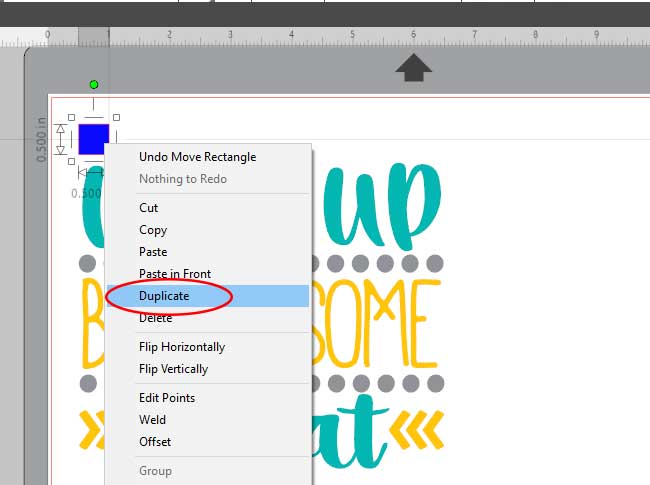
 With the square still selected, right click and then choose Duplicate. This will create a second square.
Select the second square and move it above and to the right side of your design.

Next, click on the send button in the upper right-hand corner.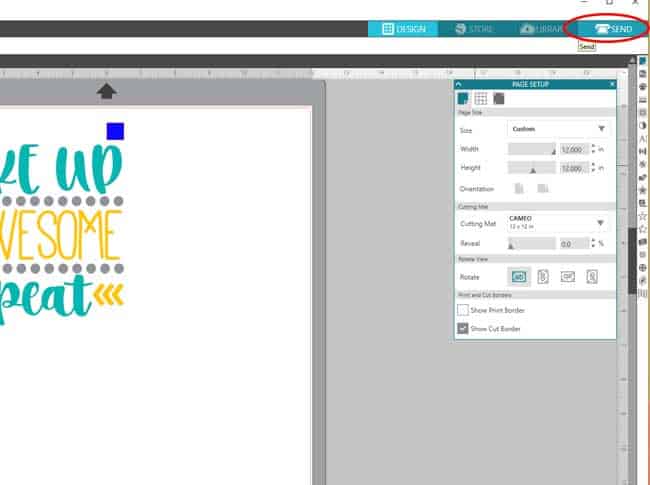
Then, click on the fill icon, also located in the upper right-hand corner.
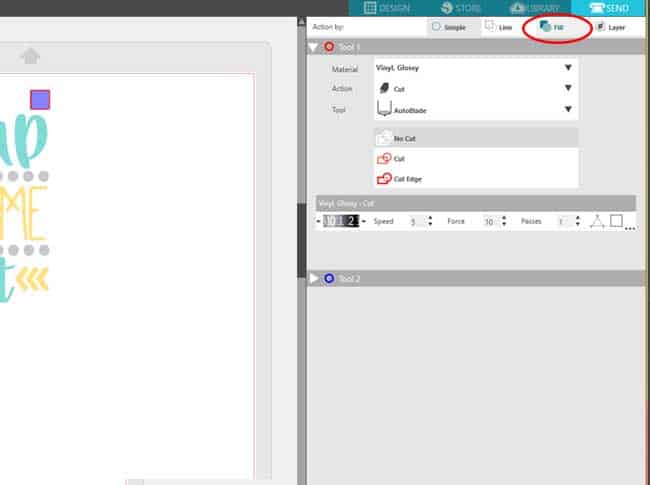 This screen will list all the colors in your design including the color of your registration marks. You’ll notice each color has a checkmark next to it. You can also see that cutlines in corresponding colors are now drawn around your design. If you toggle the check marks off, you’ll also see cut lines turn off.
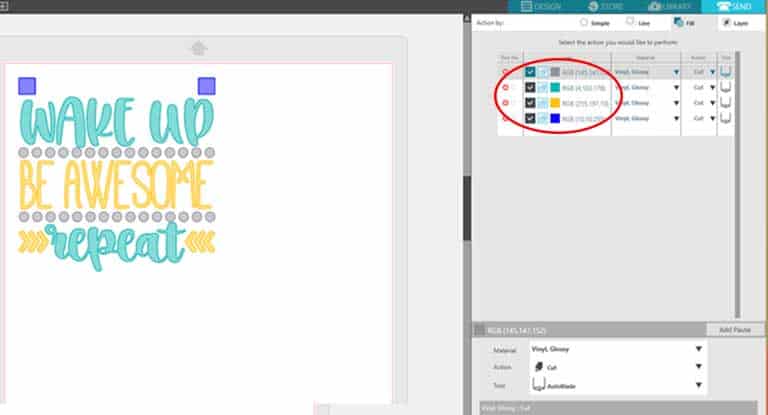
We’re going to cut the turquoise vinyl first. Start by unchecking all the colors except turquoise and the bright blue. If you look carefully at the image on the left, there is a dark turquoise outline around all of the turquoise design elements and a dark blue outline around the registration marks. These outlines show what your machine is going to cut. Now, load your vinyl (or whatever you’re cutting) into your machine and click send.
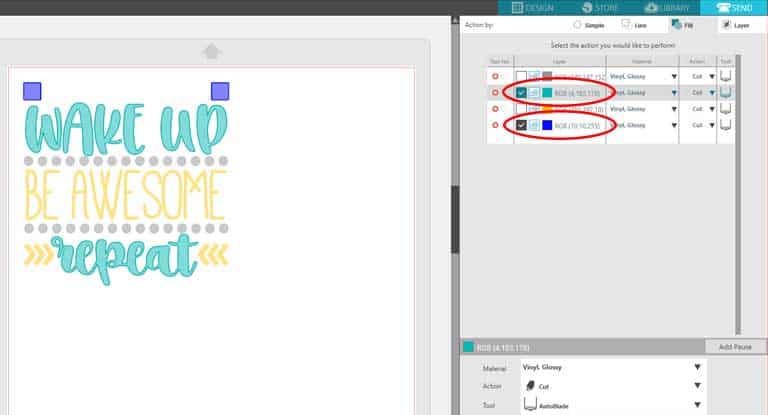
Once your machine has cut the turquoise, you can move onto the next color. Let’s do gray. So, you’ll uncheck the turquoise box and check the gray box. When cutting designs with registration marks, you’ll always want two colors checked, the color you are working on and the color of the registration marks. You want the registration marks to cut with every color of vinyl. Now you can cut the gray. Once your machine has finished cutting the gray, you can move onto the yellow and repeat the steps above.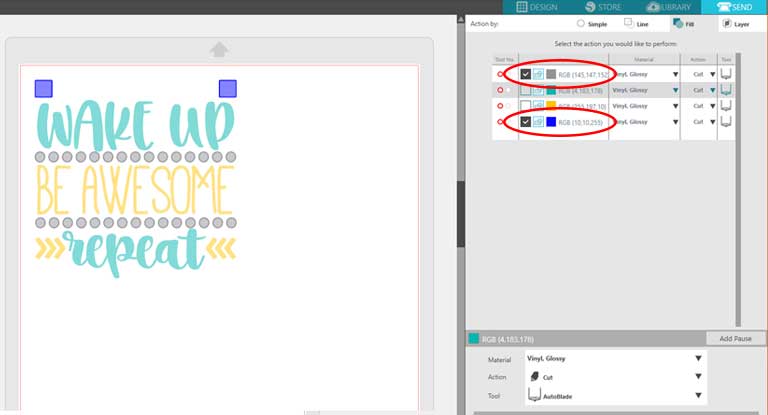
Once everything has been cut, it’s time to weed and layer the vinyl. Stayed tuned for a tutorial on how to layer the vinyl.