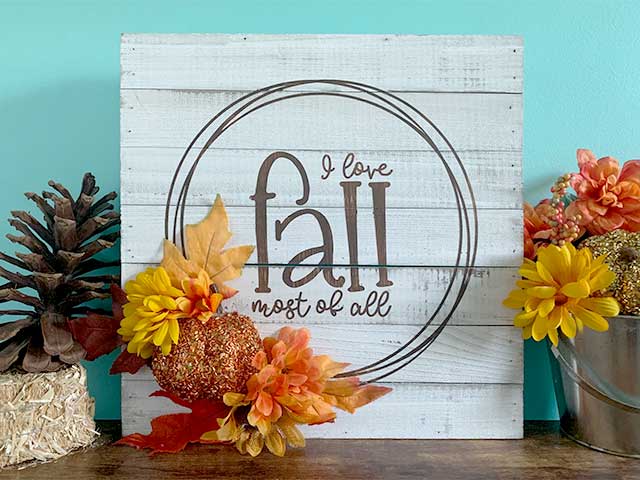
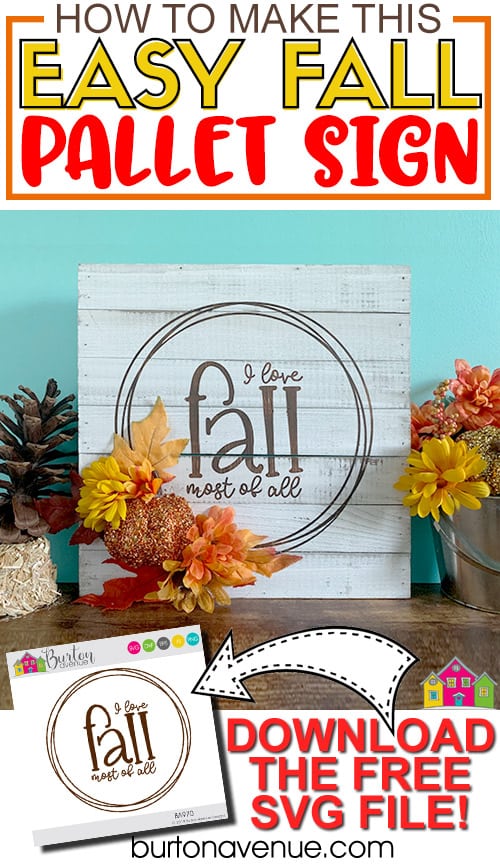
Last weekend, we hit record highs for September. Yuck. But this weekend, things are starting to change. We are finally starting to see some cooler temperatures! Yay for fall weather. After a super hot summer, I really appreciate the fall weather. So, today’s project is totally appropriate. I love how this sign turned out. It’s a really easy project to make with your Silhouette or Cricut. I used a premade pallet sign, which saved me tons of time. I think it turned out super cute! Do you want to make your own? Read on for the full tutorial.
HERE’S WHAT YOU NEED
- Pallet Sign 14″ x 14″ (I found mine at Michaels)
- Vinyl for Stencil (Color Doesn’t Matter)
- Leaves, Flowers, Styrofoam Pumpkin (from Dollar Tree)
- Hot glue and glue gun
- Acrylic Paint & Brushes (I used a light and dark brown)
- Mod Podge
- Application Tool
- Transfer Tape
- Electronic cutter (cricut explore, silhouette or other cutter)
- Cut File (available for free in my resource library)
HERE’S WHAT YOU DO
STEP 1: DOWNLOAD THE FREE SVG FILE
The first thing you’ll need to do is get the free SVG file you’ll use for this project. I keep all the SVG files I use for the projects I make in my SVG Library. These SVG files work with Cricut and Silhouette machines, as well as many others. This library is open to everyone and is free! You can access the library here.
STEP 2:
CUT AND WEED VINYL STENCIL
Open the design in your software program. My pallet sign is 14″ x 14″ and I sized my design to about 11″. Then, I added a rectangle around the design to create a stencil.
Do you need more help with creating a vinyl stencil? Check out these posts.
How to Make a Vinyl in Cricut Design Space.
How to Make a Vinyl Stencil in Silhouette Studio
I used Oracal 651 for the stencil because I have lots of it to use up, but you can also use Stencil Vinyl or Oracal 631.
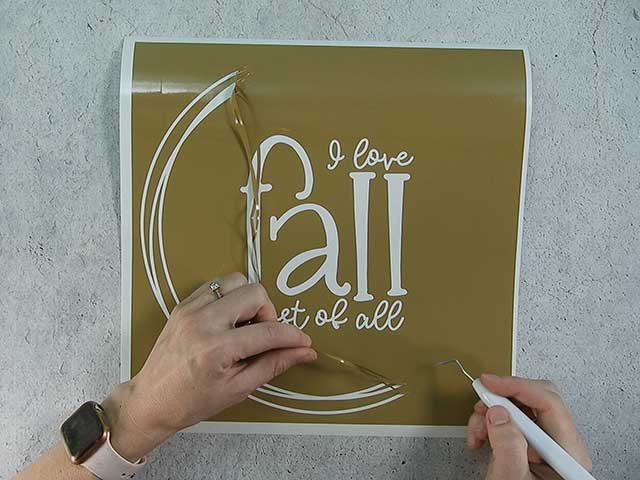
When everything is sized correctly, you can cut the stencil with your Cricut or Silhouette. Once it has finished cutting, weed away the excess vinyl.
STEP 3: APPLY TRANSFER TAPE
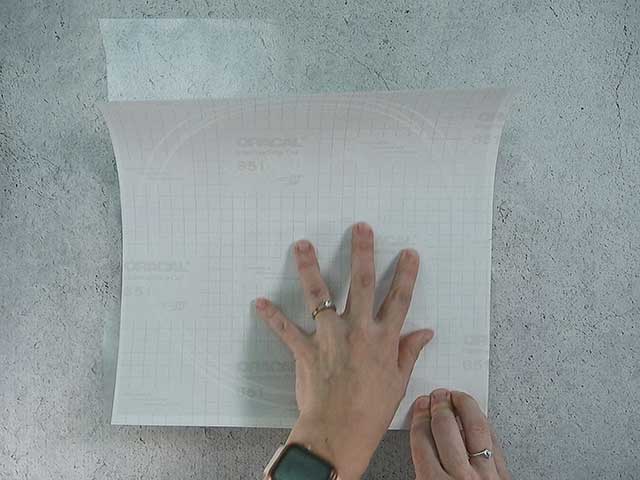
Cut a piece of transfer tape a little larger than the design. Place the vinyl on the transfer tape. Use an application tool to rub over the design. Then, trim off the excess transfer tape.
STEP 4: REMOVE VINYL BACKING
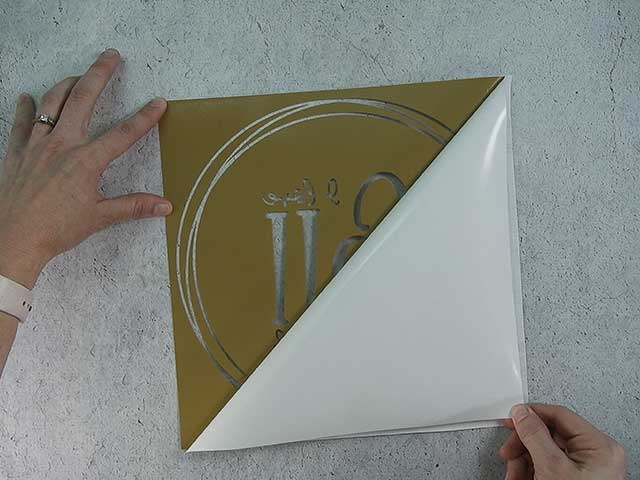
Place the vinyl so it’s facing down, and then pull off the vinyl backing. I like to do it this way so the vinyl doesn’t curl.
STEP 5: CENTER DESIGN ON PALLET SIGN
Normally, before I apply vinyl to a wood sign, I sand it down so it’s nice and smooth. But, this wood sign already had a distressed finish that I didn’t want to mess up by sanding. Instead, I used a damp paper towel to clean off any dust or loose paint, so the vinyl would stick better. Then, I waited until it was completely dry before putting on the vinyl stencil.
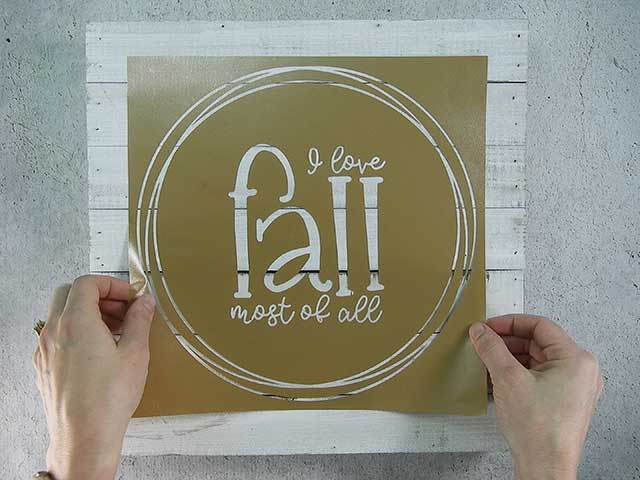
Place the vinyl on the pallet and use a ruler to center the design. Once it’s in place, use a scraper and rub over the entire design.
STEP 6: REMOVE TRANSFER TAPE
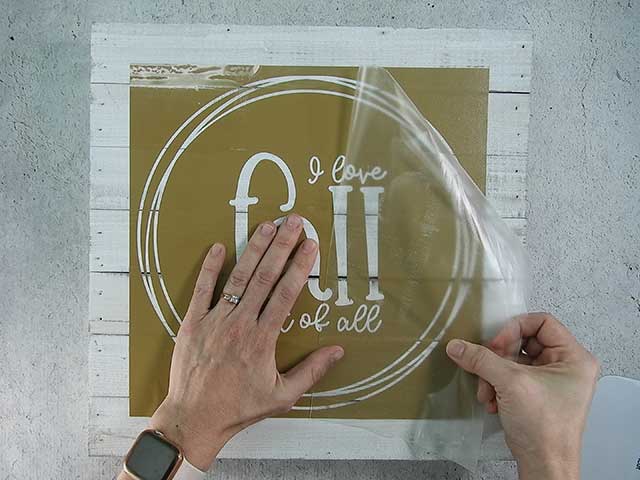
Carefully pull off the transfer tape. It might be a little tricky to get the vinyl to stick to the pallet sign, just go slow and use your fingers to help the vinyl to stay on the sign.
STEP 7: PAINT OVER THE STENCIL WITH MOD PODGE
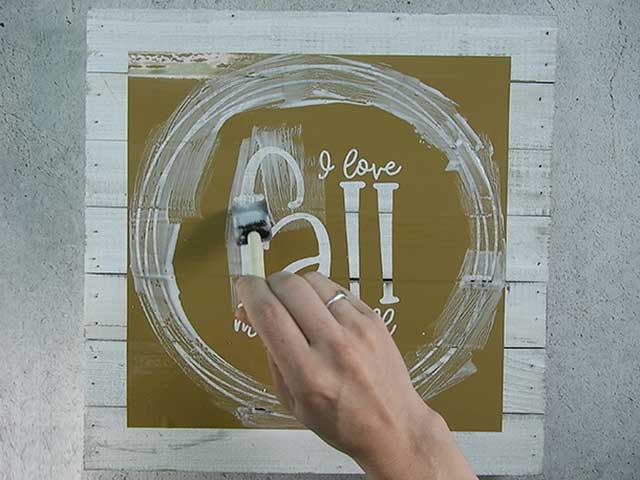
Paint a generous layer of Mod Podge over the stencil.
Why do we do this? To help prevent bleeds.
Sometimes there are small gaps between the stencil and the wood. Since Mod Podge dries clear, our hope is that the Mod Podge will fill in these gaps, instead of the paint.
STEP 8: FILL IN THE STENCIL
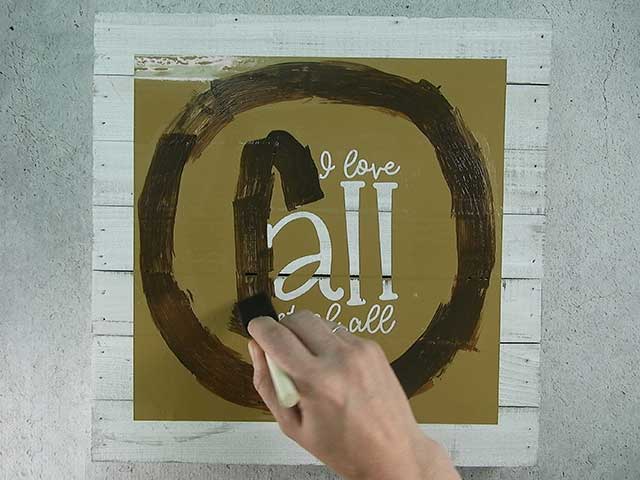
Once the Mod Podge is dry to the touch, fill in the stencil with paint. I used a mixture of light brown and dark brown paint.
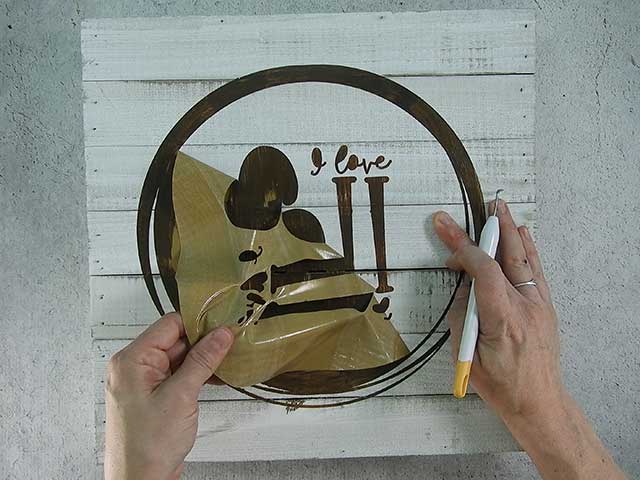
STEP 9: REMOVE VINYL STENCIL
Once the paint is dry to the touch, carefully pull off the stencil. You can use a craft knife or weeding tool to pull out the centers of the letters. If there’s any bleeding, you can scrape it off with a craft knife.
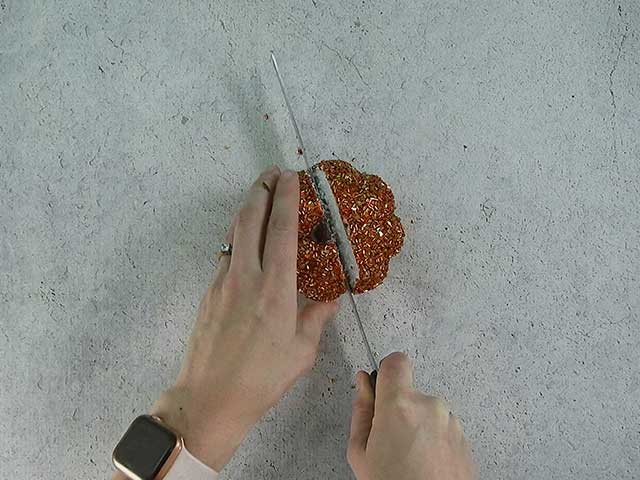
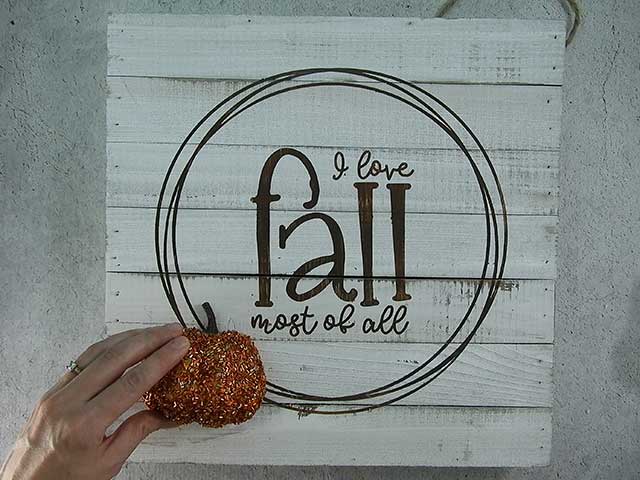
STEP 9: CUT STYROFOAM PUMPKIN IN HALF AND ATTACH TO SIGN
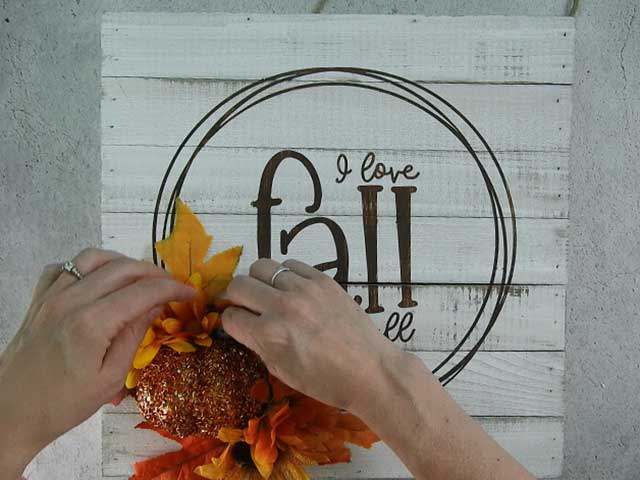
Use a serrated knife to cut the pumpkin in half. Then, attach to the lower left side of the sign with hot glue.
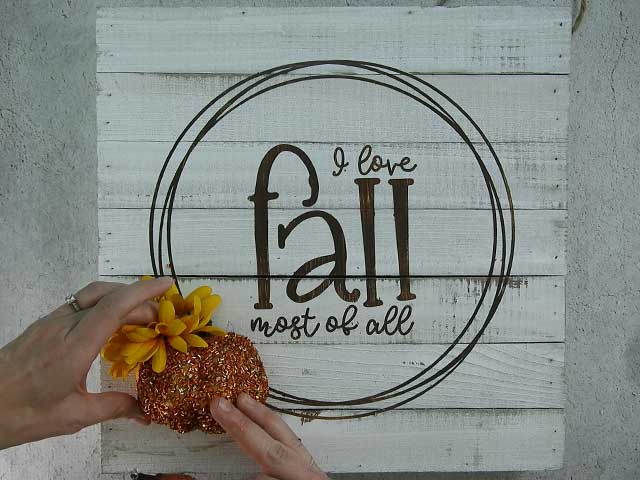
STEP 10: ADD OTHER DECORATIVE FALL ITEMS
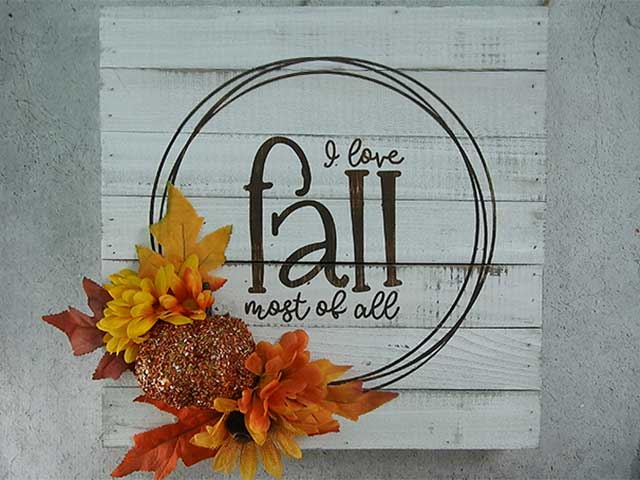
Use hot-glue to attach flowers and leaves around the pumpkin. Try to keep all the letters visible.
That’s it! This sign is so easy to customize with your Silhouette or Cricut. I really love the dimension those extra embellishments add to the sign. It’s so cute!

Angie, I have to thank you again for your generosity! Your free files are wonderful and your crafts are so easy and fun! Thank you, thank you, thank you!
Ah, thanks so much for the sweet comment! I’m so glad you enjoy them.
Oh, I absolutely love this! Such an easy, yet beautiful fall project! Can’t wait to make it. Thanks for another cute file!
You have the best ideas, thank you so much for sharing. I have cute things I would not have thanks to you.
Ah, thanks so much! I’m so glad you like them and that you have made your own.
Simply lovely! Thank you. Just an FYI. Here is how I prevent bleeding around stencils. Once I apply the vinyl to the wood or canvas – and instead of using Mod Podge – I apply a coat of the background paint over the stencil. This step fills in the gaps around the stencil and I don’t have a problem with my stencil paint bleeding through. It’s my go-to technique.
Love crafting I dont have a Cricut yet,but i guess soon ,thanks for the inspiration