HERE’S WHAT YOU NEED
-
- Cardstock (Black, Red, Green, Light Brown, & Dark Brown)
- Glue
- Tootsie Pops
- Electronic cutter (cricut explore, silhouette or other cutter)
- Cut File – Reindeer Favor BA1804 (available for free in my Free SVG Library)
HERE’S WHAT YOU DO
STEP 1: DOWNLOAD THE FREE SVG FILE
The first thing you’ll need to do is get the free SVG file you’ll use for this project. I keep all the SVG files I use for the projects I make in my SVG Library. These SVG files work with Cricut and Silhouette machines, as well as many others. This library is open to everyone and is free! You can access the library here. Look for the file called Reindeer Favor BA1804. It will be listed under the Craftmas 2021 Category-Day 17.
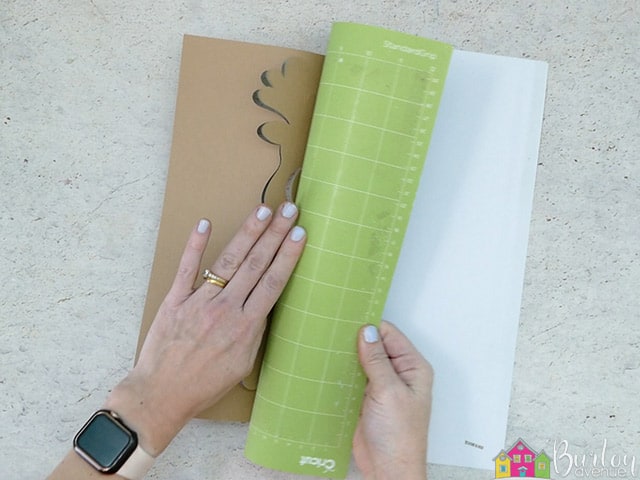
STEP 2: CUT THE PIECES FOR THE REINDEER
Open the design in your software program. There are enough pieces to create 2 pumpkin favors. Resize everything to 11″ tall. Keep everything grouped together while you resize the design. This design will work with other types of suckers, but you might have to adjust the size.
Once the first piece of cardstock is finished cutting, remove it from the cutting mat. You’ll want to slightly bend the cutting mat and carefully pull off the cardstock.
Remove any inside pieces that didn’t come off with the mat and load on the next color. Repeat until everything has been cut.
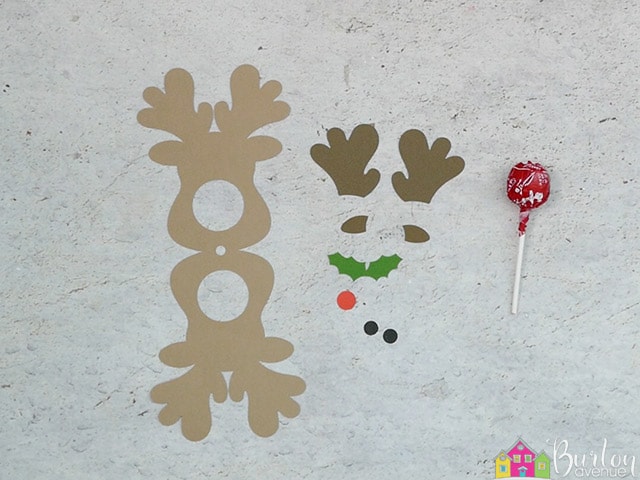
Each reindeer will need 1 reindeer head, 2 antlers, 2 ears, 1 holly leaf cutout, 1 berry, 2 eyes, and of course, you’ll need a tootsie pop.
STEP 3: ASSEMBLE FAVORS
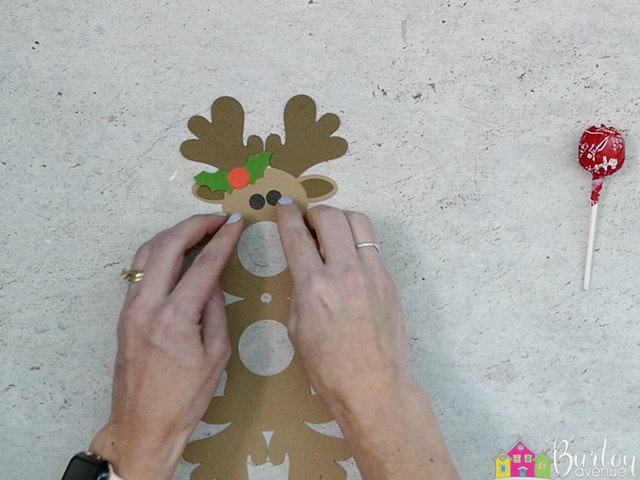
Start by gluing the antlers, ears, holy leaves, berry, and eyes onto the reindeer head.
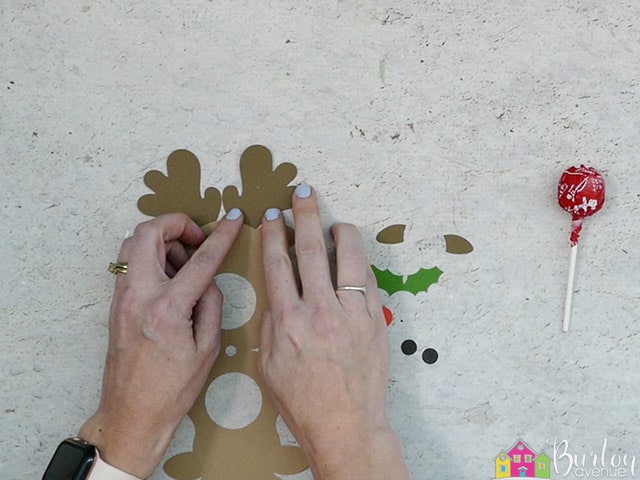
The reindeer head cutout is symmetrical, so it doesn’t matter which side you use.
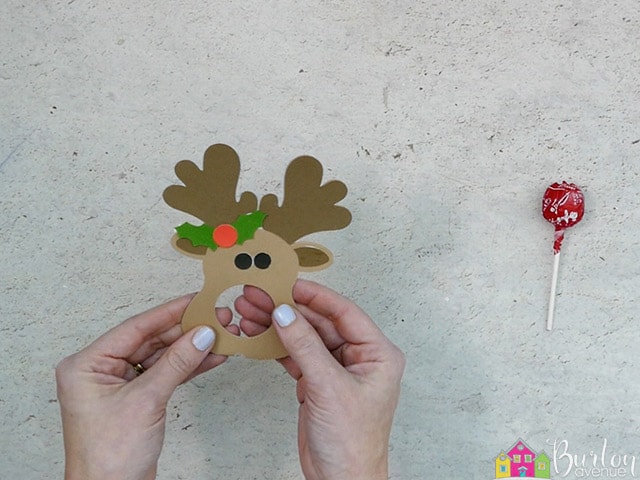
After the glue has had some time to dry, fold the reindeer head along the perforation lines.
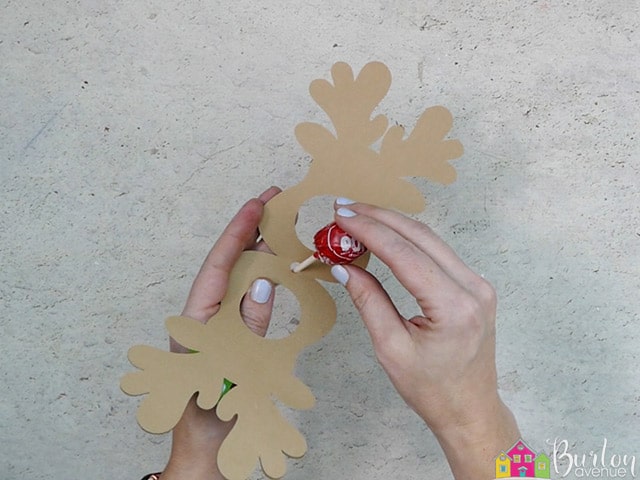
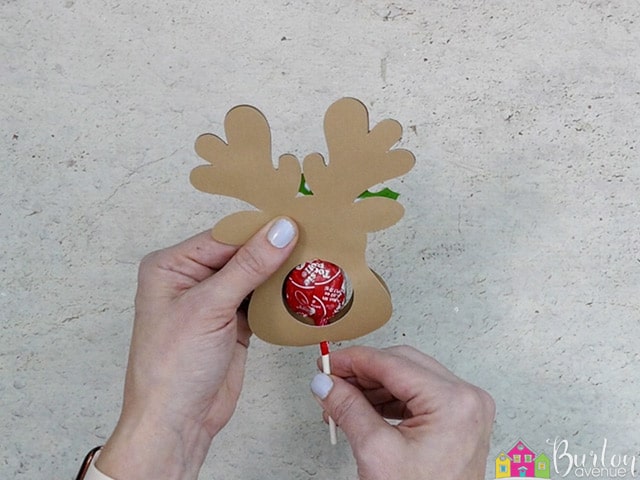
Grab the sucker and twist the bottom of the wrapper tightly around the stick.
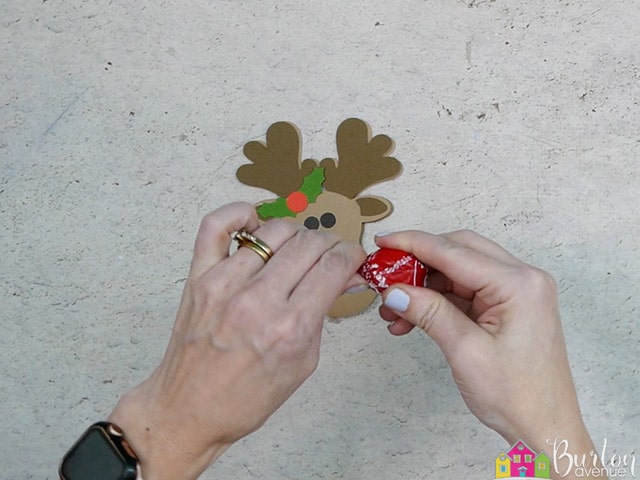 Then, thread the stick through the hole in the center of the reindeer head.
Add glue around the edge of the reindeer. You can start the glue an inch or two up from the bottom of the head.
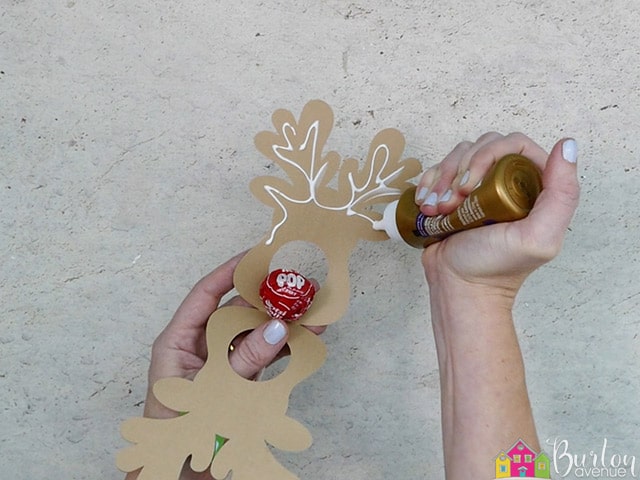
Press the front and back of the head together. Make sure that all the pieces match up. 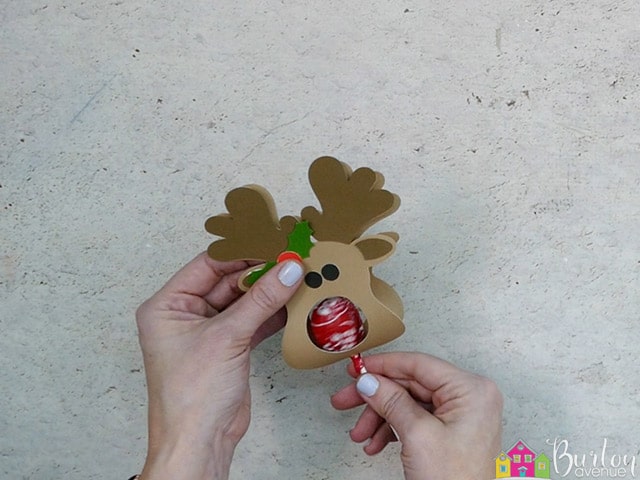
If the reindeer head is a bit floppy, you can add some hot glue to the top of the sucker.
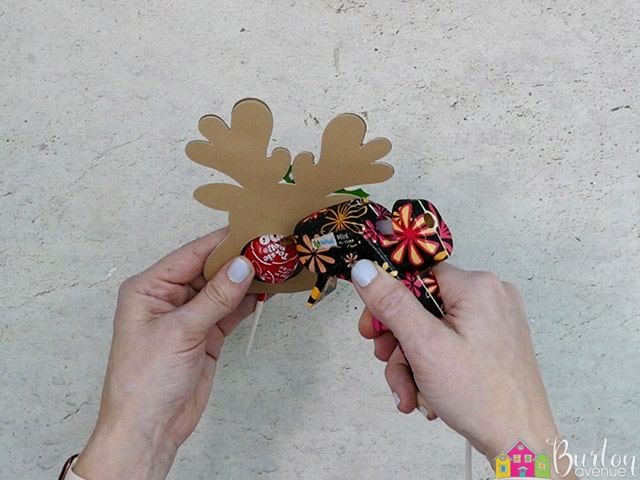
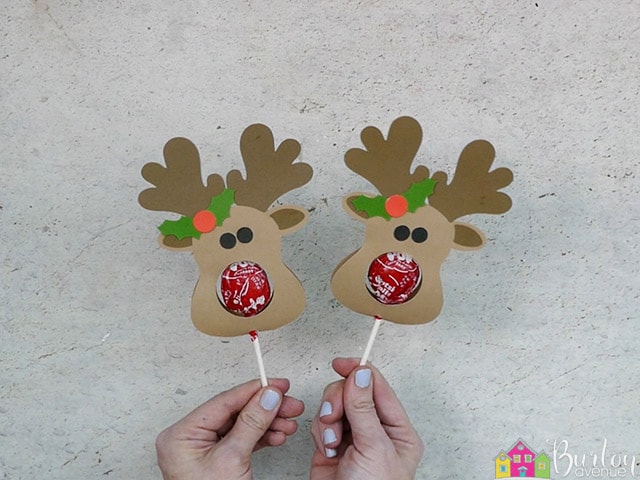
Then, push the sucker up until it hits the top of the circle cutout and hold it in place until the glue cools down.
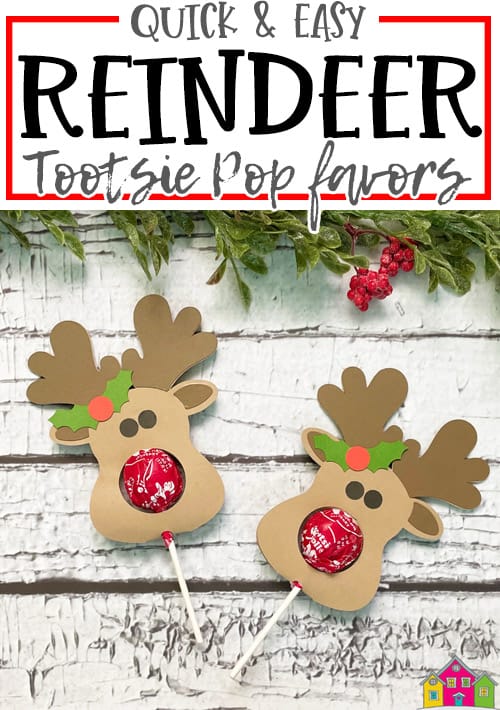
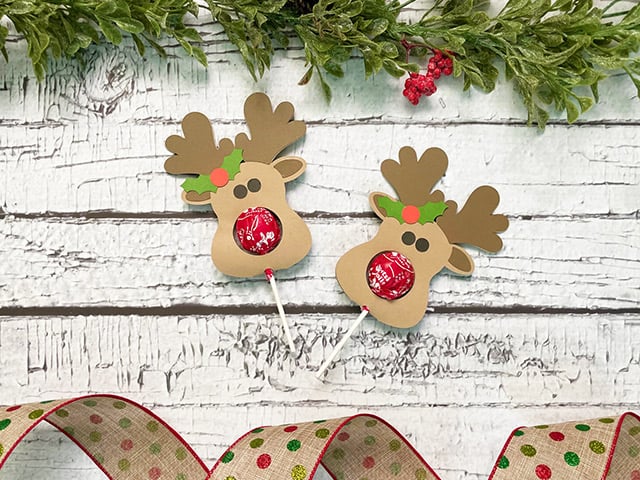
And that’s it. Now you have some super cute reindeer favors for Christmas.
Did you enjoy this post? Help spread the word! Share this post on your favorite Pinterest board. Thanks!