When we were designing our new house, one of the features I was really excited about was the front porch. In my head, I had big ideas about how I would decorate it and make it look cute for each holiday and season. Since Spring is finally here (hopefully the weather gets that message), I decided to make a sign to welcome the new season.
Recently, porch signs have been popping up all over my Pinterest feed. So, I figured it would be a perfect time to try my own version of DIY Porch Sign. I did some research and found that there really isn’t a standard size for porch signs. So, I decided to go big. Go big or go home, right? I made my sign with cedar wood we had left over from our fence project and I used paint I already had, so this project was super inexpensive to make. And, it makes a huge impact on our front porch. I’ve already had several comments about how cute it looks.
This technique can be used to make signs for every holiday/season or you can make a welcome sign that stays up all year long. The process is fairly easy, everything is just way bigger than you’re probably used to.
HERE’S WHAT YOU NEED
- Wood (Mine measures approx 11.5″ x 6′)
- Vinyl (color doesn’t matter)
- Transfer Tape
- Paint (I used acrylic paints)
- Stain
- Paintbrushes or Make-up Sponges (I used these sponges)
- Craft knife (for touch ups)
- Spray Matte Finish Acrylic Sealer
- Electronic cutter (cricut explore, silhouette or other cutter)
- Cut File (available for free in my resource library)
HERE’S WHAT YOU DO
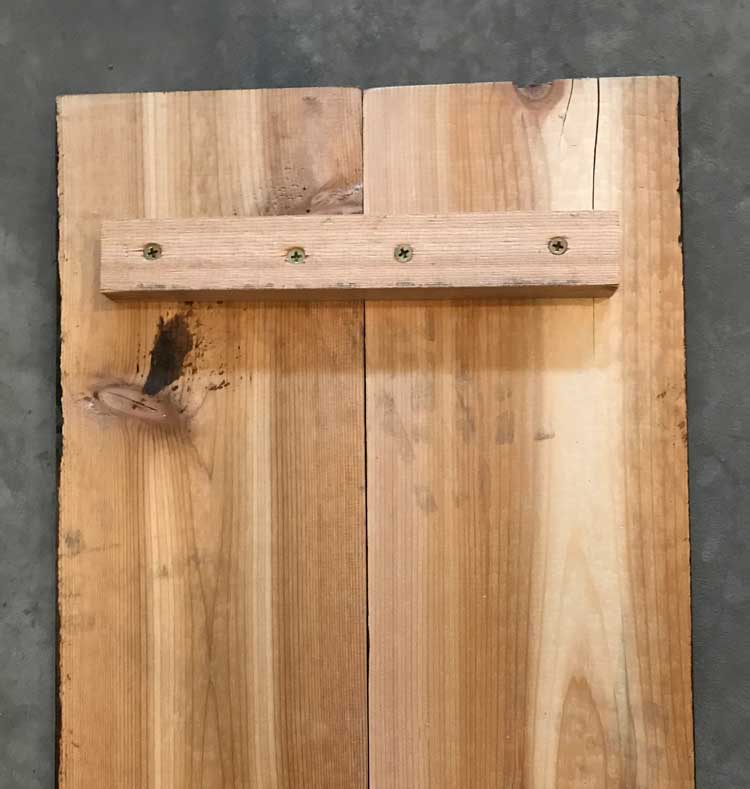
Cut your board down to size and then stain or paint and let dry (I let my stained board dry overnight). The type of wood you use is up to you. I used two cedar slats we had left over from a fencing project. I cut them to the 72″ and then stained them dark brown. Once they were dry, I used a small piece of wood as a brace and screwed the two pieces together. I used three braces on the boards, one on the top, bottom, and middle.
While the wood is drying, open the cut file in your vinyl cutting software. Resize the design to fit on your board, (Mine ended up measuring about 10″ x 64″). There are two ways to cut out the vinyl and the method you choose will depend on your machine’s cutting abilities.
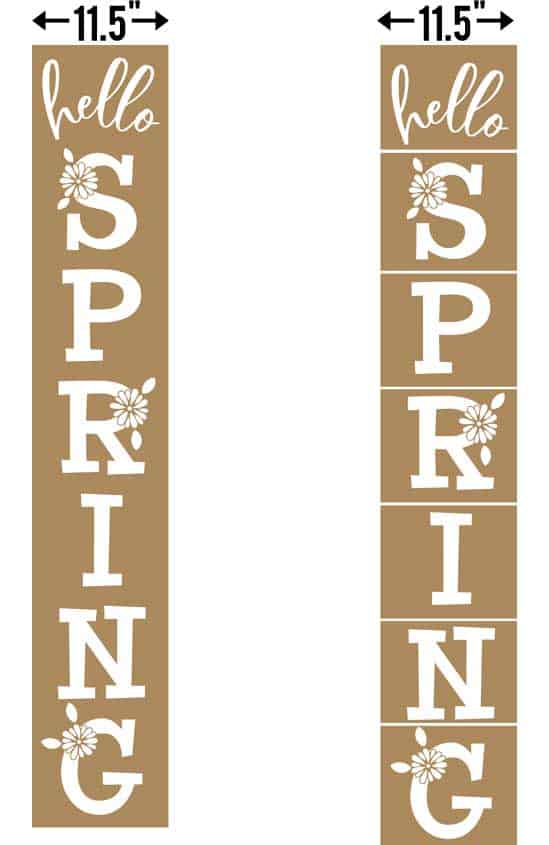
If your machine can cut long lengths of vinyl, draw a rectangle around the design that is the same width as your board. This will make laying out the stencil on your board so much easier. The height can just be a couple of inches taller than your design. This is the method I used and so I drew a rectangle that measured 11.5″ x 68″.
If your machine can’t cut long lengths of vinyl, draw a rectangle around each letter. Make sure the rectangle is the same width as your board. The height just needs to be a little taller than each letter. You might need to ungroup and use the slice or knife tool to get the stencil to cut correctly. Once you’re done, the stencil should look like one of the two examples below.
Cut out the design in vinyl and pull up the negative space so you’re left with a stencil. Then, apply transfer tape over the design.
When doing a large project like this, I like to use some of my older vinyl or a color that never gets used.
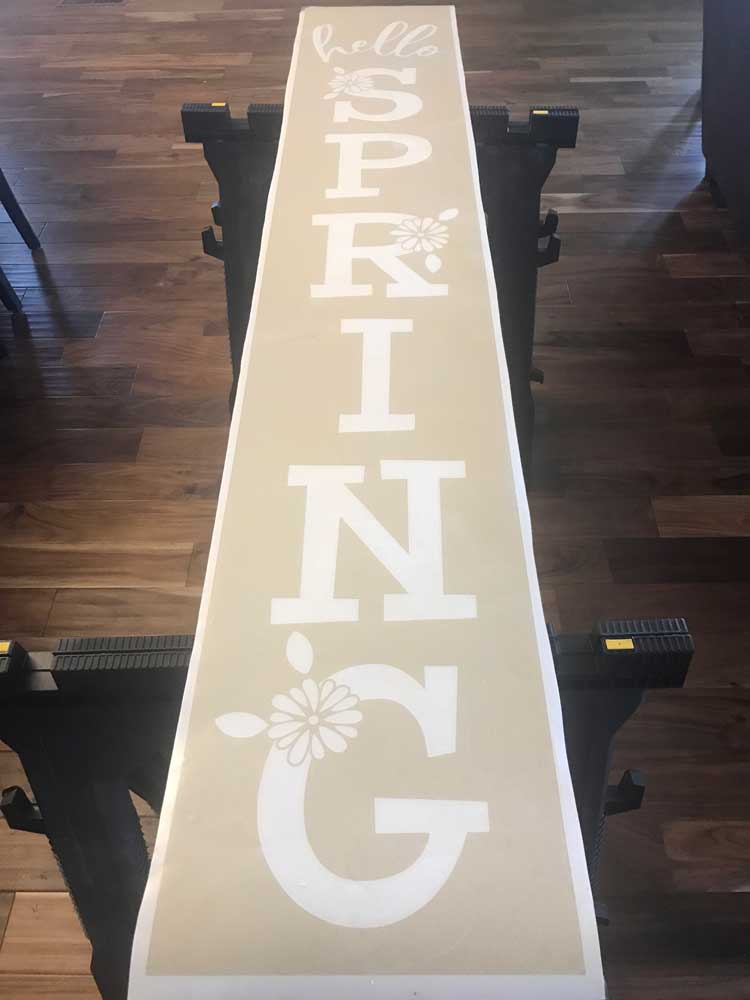
Remove the vinyl backing and apply the vinyl stencil to your wood. When you apply the vinyl to the board, match up the straight edges of the vinyl stencil with the straight edges of the board. This is why I suggest making the rectangles the same width as your board. It makes it quick and easy to put the stencil on straight.
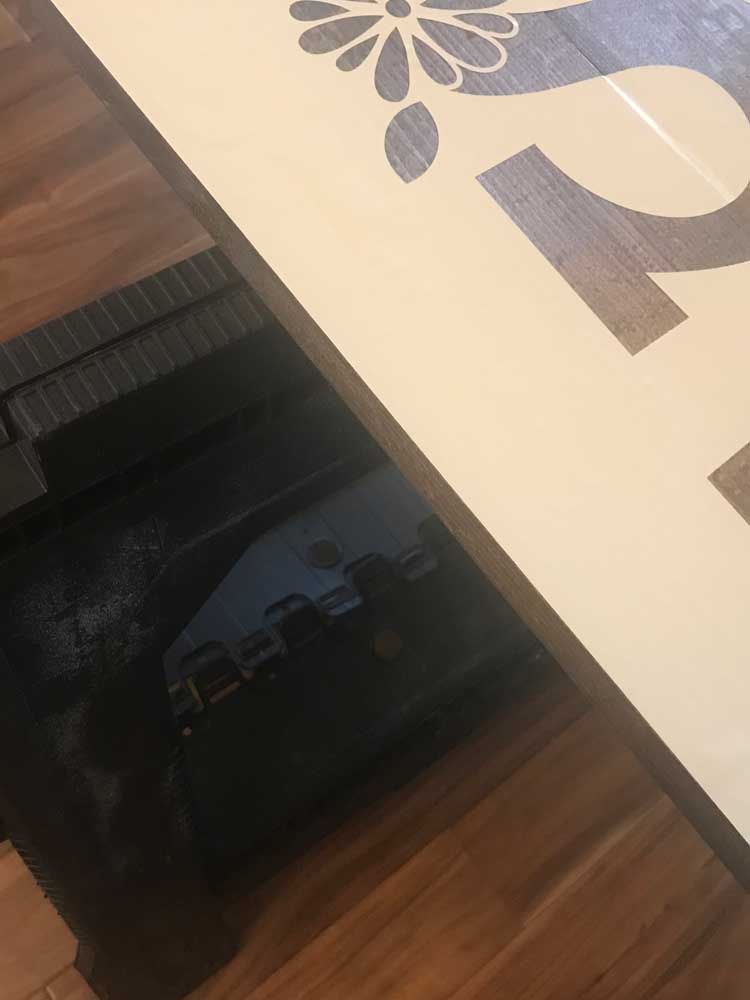
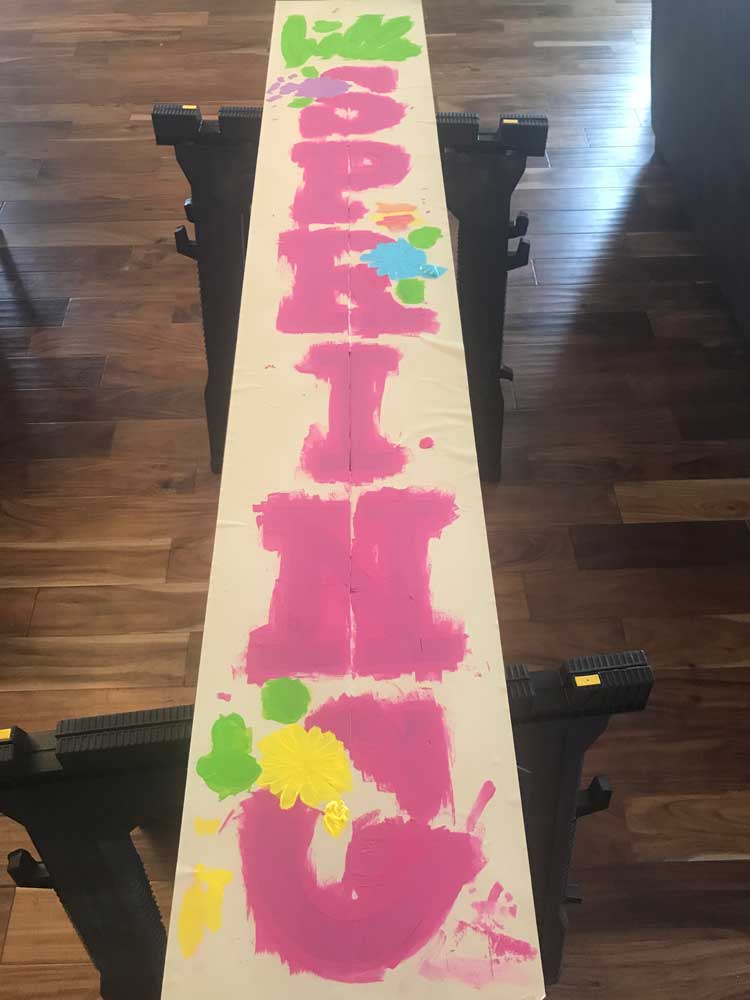
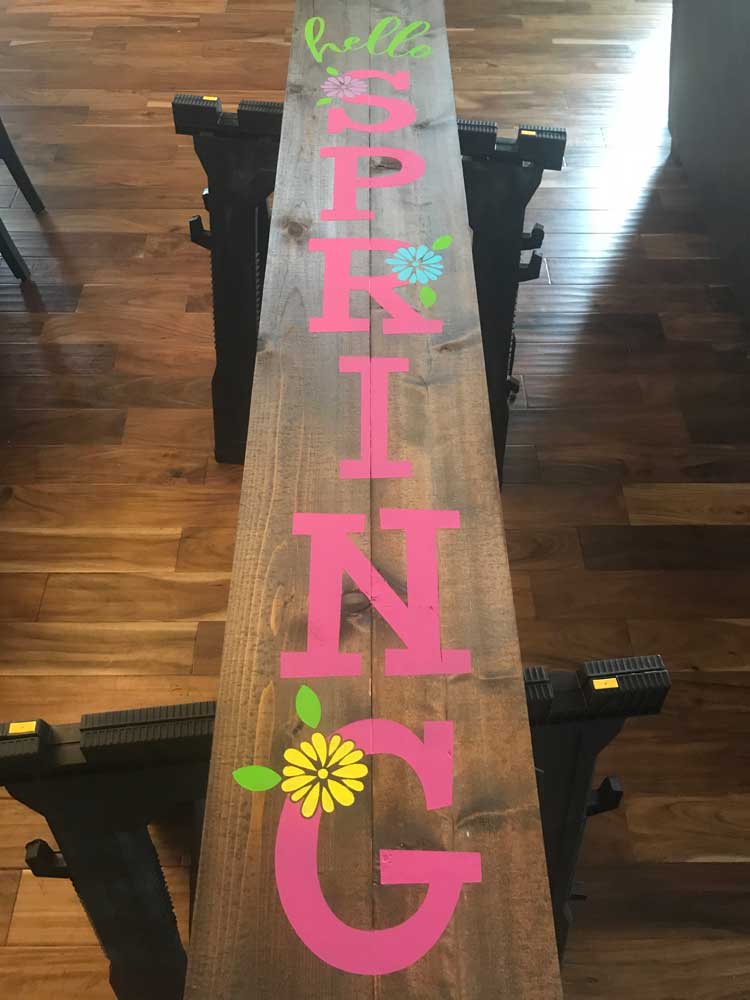
Rub over the entire vinyl stencil to help it stick to the board. Now, remove the transfer tape and rub over everything one more time. Now, you’re ready to paint. Paint several light coats of paint instead of one thick coat.
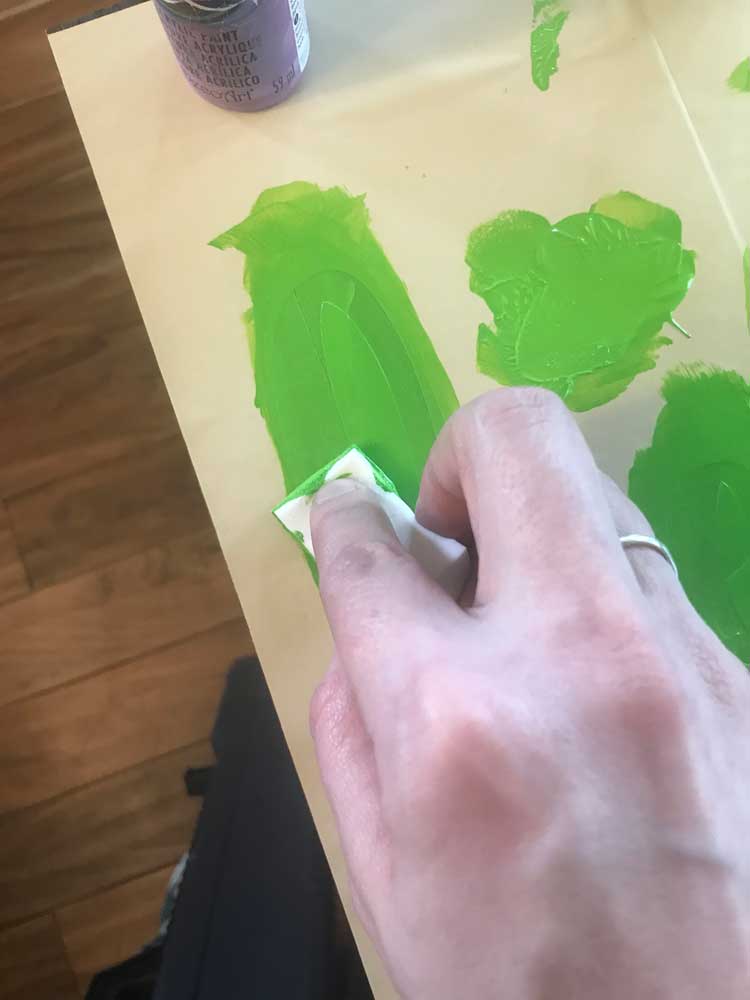
For the bigger sections of the design, I use a makeup sponge to apply the paint. I just love how smooth the paint goes on with the sponges. For the small, tight areas around the flowers, I used a small paintbrush.
Let the paint dry between each coat. I ended up painting about 3 layers.
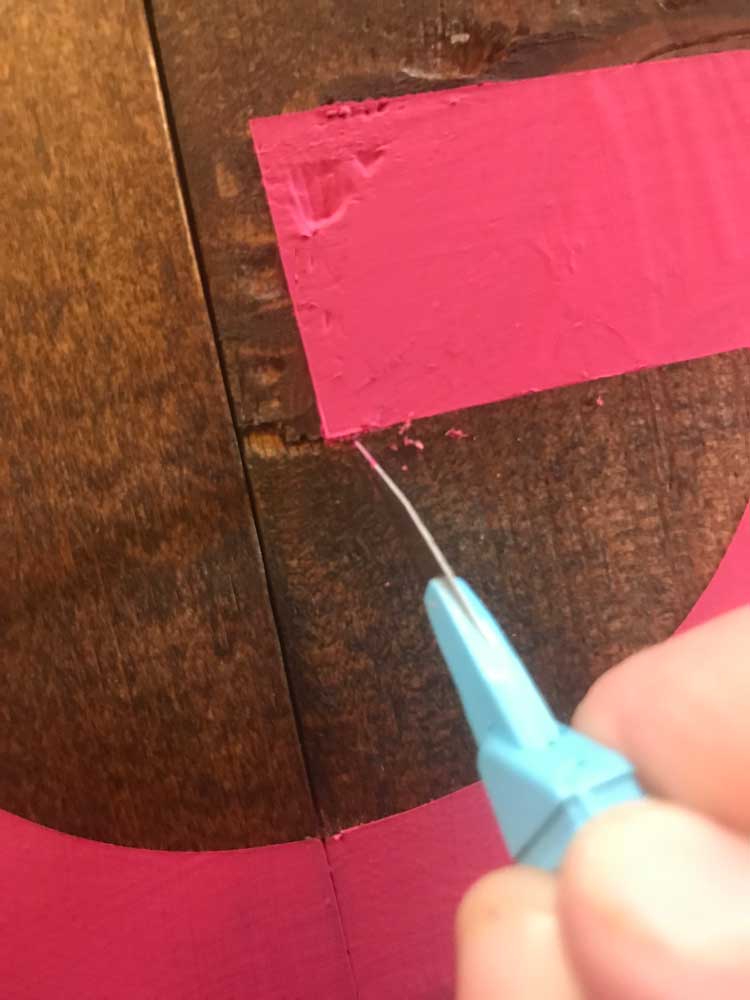
Once the paint is dry to the touch, pull up the vinyl stencil. If there are any bleeds, you can use a craft knife to carefully scrape off the excess paint.
If desired, seal your wood with an acrylic sealer.
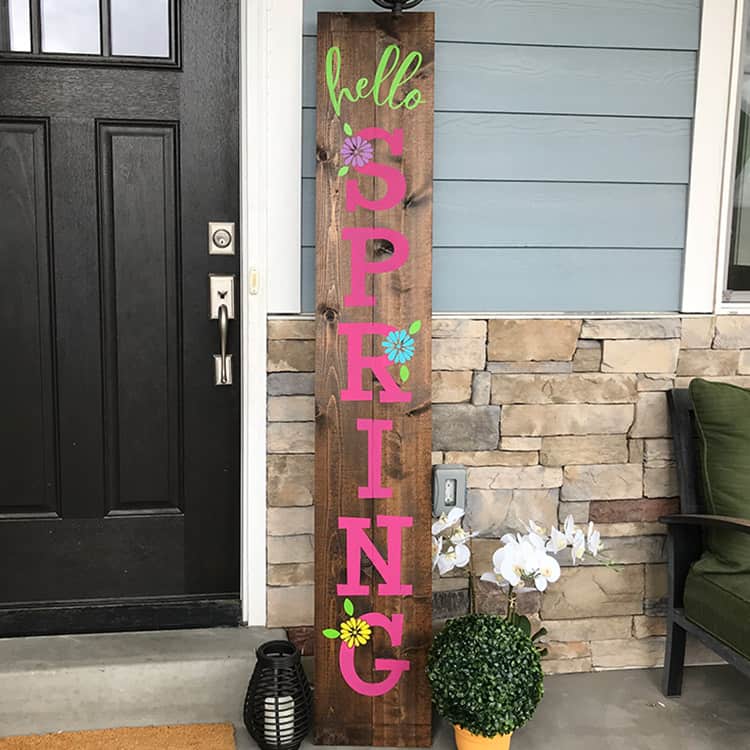
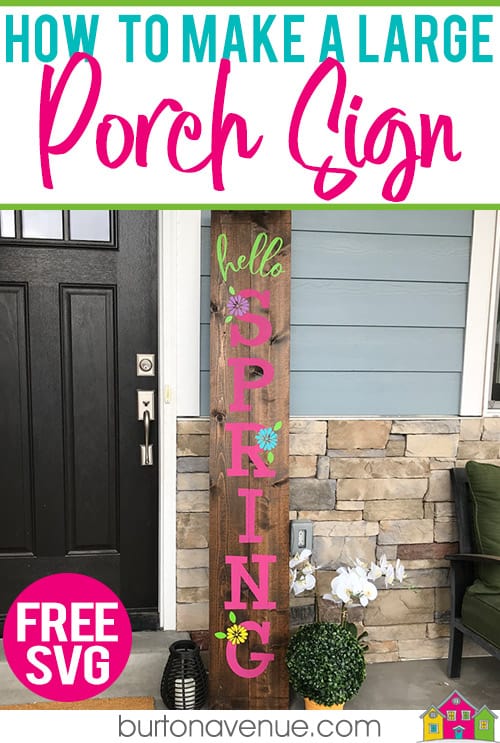
Once everything is dry, display your new sign on your porch.the new sign on our front porch. I think this sign turned out so cute. I love the pop of color it gives to the front of our house.

Has this tutorial inspired you to make your own porch sign? Download the free cut file from the resource library and make your own!
Did you enjoy this post? Help spread the word! Share this post on your favorite Pinterest board. Thanks!
Want to make your own? Get the free cut file for this project in the resource library
Adorable and just what my porch needs!!!
Oh Angie, this is such a lovely welcome sign!!! I can’t wait to make one for our front porch! Thank so much for your time and generosity!
Thank you!
Thank you. Great tutorial, and beautiful sign. 💗💗💗
Can you tell me what font your Hello was on your sign?
Bushel and Peck