 This post contains affiliate links for your convenience (which means if you make a purchase after clicking a link I will earn a small commission but it won’t cost you a penny more)! Read my full disclosure policy.
HERE’S WHAT YOU NEED
- Fabric (I got mine here)
- Red HTV (I got mine here)
- Embroidery Hoop (I got mine here)
- Jute
- Hot Glue and Glue Gun
- Christmas Embellishments (I got mine here)
- Shiplap Sign Blank (I got mine here)
- Iron or Easy Press
- Electronic cutter (cricut explore or maker, silhouette or other cutter)
- Cut File – Merry & Bright BA2117 (click here to get the SVG file for free from my free SVG Library)
HERE’S WHAT YOU DO
STEP 1: DOWNLOAD THE FREE SVG FILE
The first thing you’ll need to do is get the free SVG file you’ll use for this project. I keep all the SVG files I use for the projects I make in my SVG Library. These SVG files work with Cricut and Silhouette machines, as well as many others. This library is open to everyone and is free! You can access the library here. Look for the file called Merry & Bright BA2117. It will be listed under the Craftmas 2022 Category-Day 17.
STEP 2: PREPARE THE VINYL DESIGN
Open the design in your software program and size it to fit on your door hanger. I used a 9″ embroidery hoop, so I sized my design to about 6.5″ wide. Before you send the designs to your machine to cut, be sure to mirror everything.
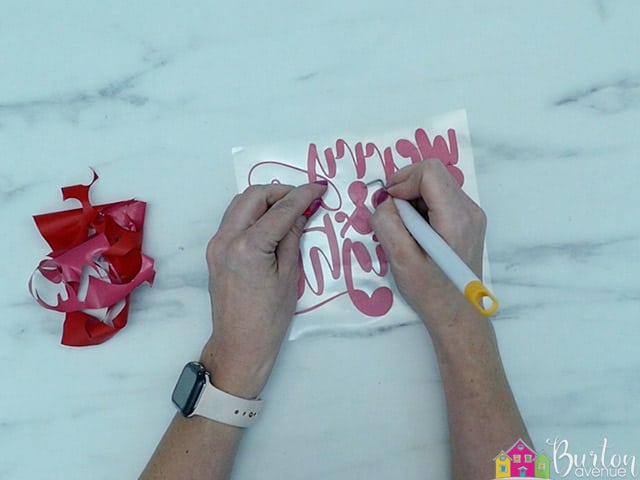
When everything is sized correctly, you can cut the stencil with your Cricut or Silhouette. Once it has finished cutting, weed away the excess vinyl. Remember the design should be mirrored, so it will look backward as you’re weeding.

Use a weeding tool to remove the small pieces inside the letters.
STEP 3: PREPARE THE FABRIC FOR THE EMBROIDERY HOOP
Cut a piece of fabric a little larger than the embroidery hoop. You can use any type of fabric that can be ironed.
I found this cute striped fabric at Walmart. It was actually a fat quarter and worked great for this project
Place the vinyl design on the fabric.
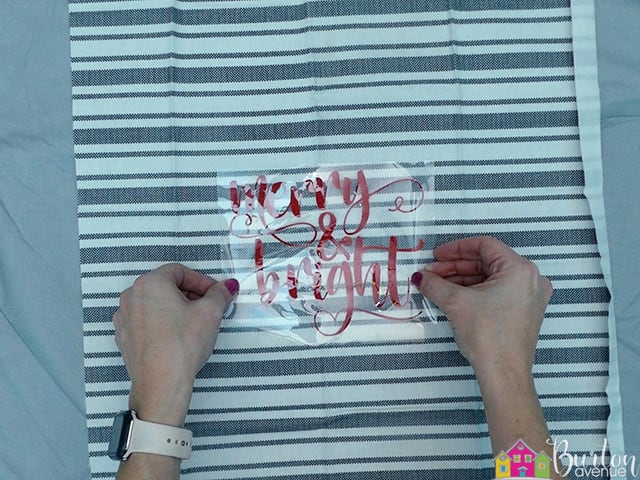
Press the design according to the manufacturer’s directions. I pressed the design for 15 seconds at 315 degrees.

Once the entire design has been pressed, you can pull off the clear carrier sheet.
![]()
STEP 4: ASSEMBLE THE SIGN
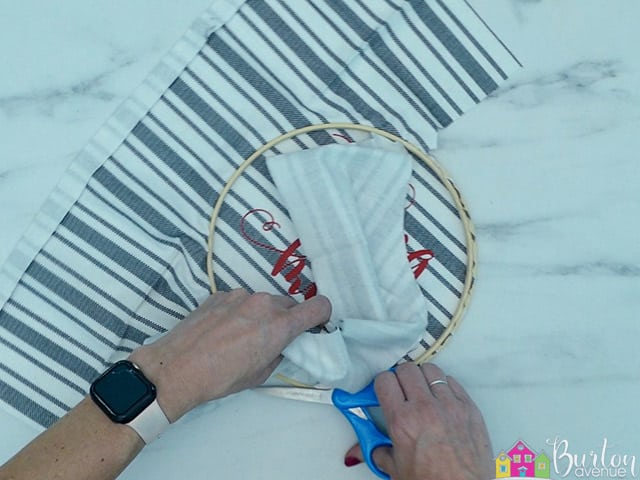
Separate the embroidery hoop and place the fabric over the outside hoop. I centered the design from right to left and top to bottom.

Press the insdie hoop back into the outside hoop.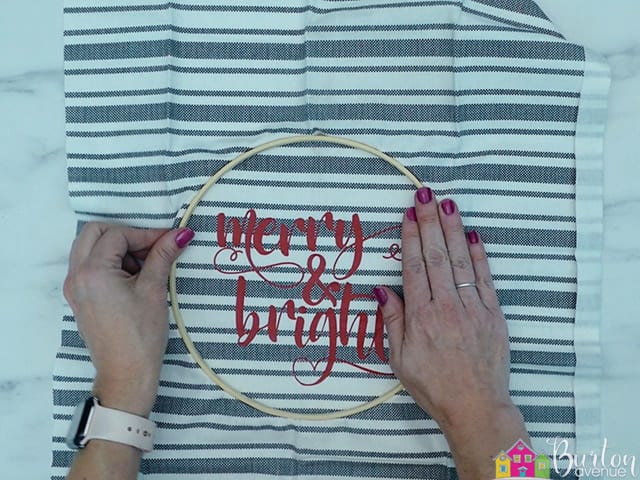
If the design shifted and isn’t centered, you can gently pull at the fabric to put it back in place. Once the design is centered, tighten the hoop.

Next, you’ll want to trim off all but about 1/8″ of the excess fabric.
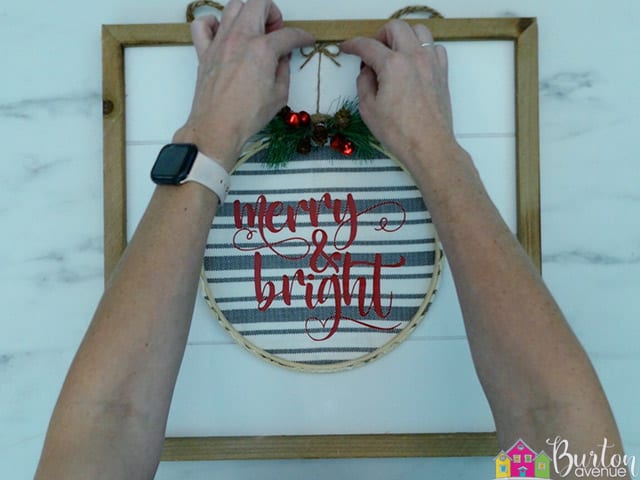
Glue some Christmas embellishments to the top of the embroidery hoop.
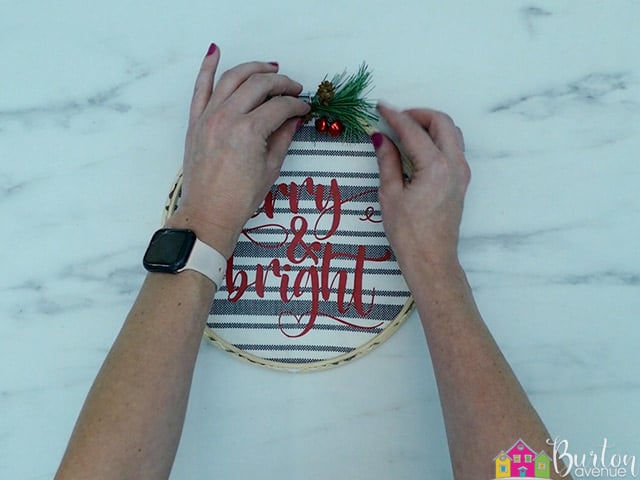
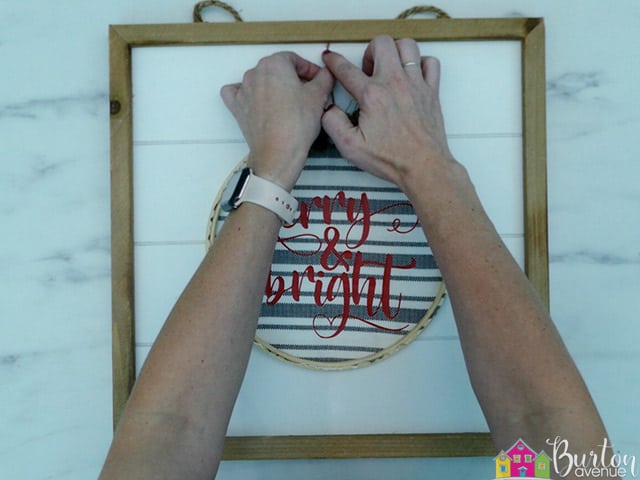
Wrap some jute twine around the top of the hoop several times and then glue it in place. Don’t cut the end of the twine yet, we’ll do that in a later step.
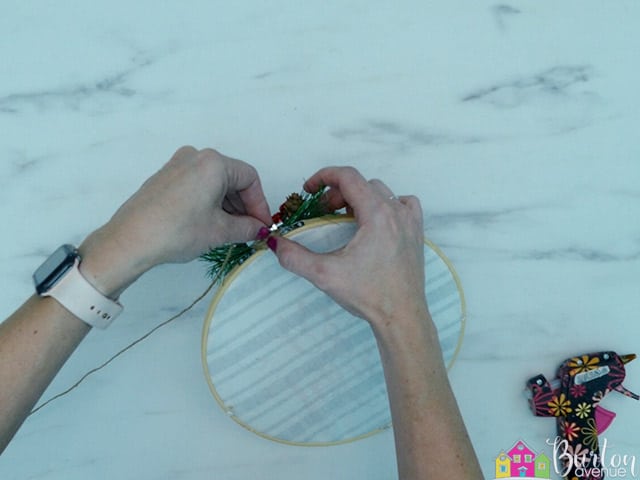
Position the hoop on the center of the sign.

Measure how much twine you’ll need for the piece to go to the top of the sign.
Then, trim off the excess.
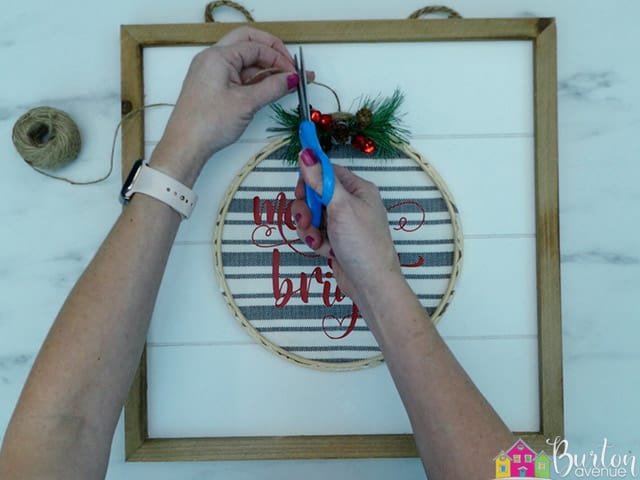
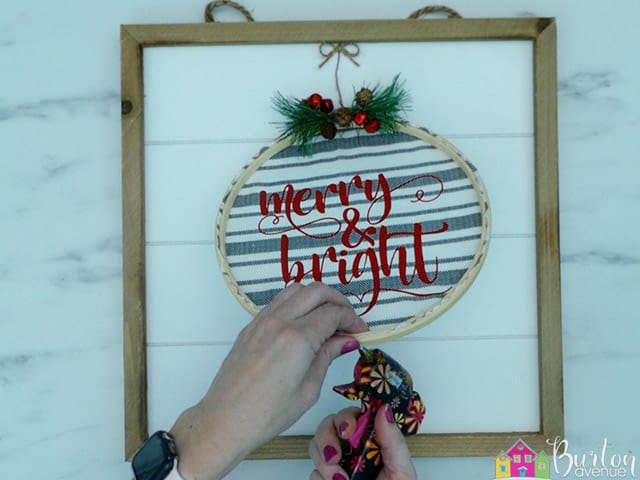
Glue to end to the top of the sign, right in the middle.
Then, make a little bow out of twine and glue that to the top, too.
Add some glue to the back of the embroidery hoop.
Press it down onto the sign and hold it in place until the glue cools.
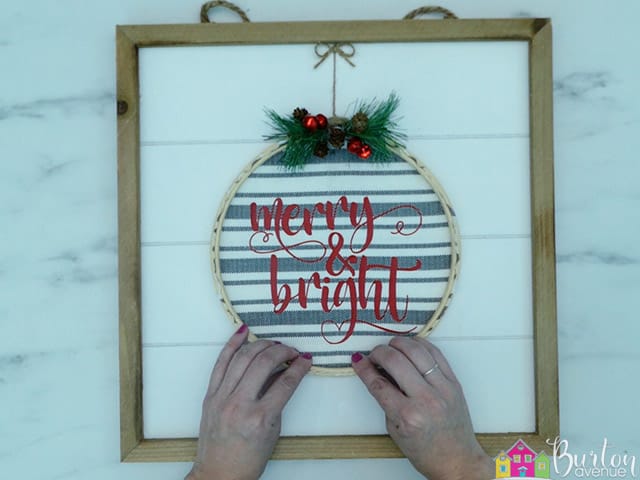
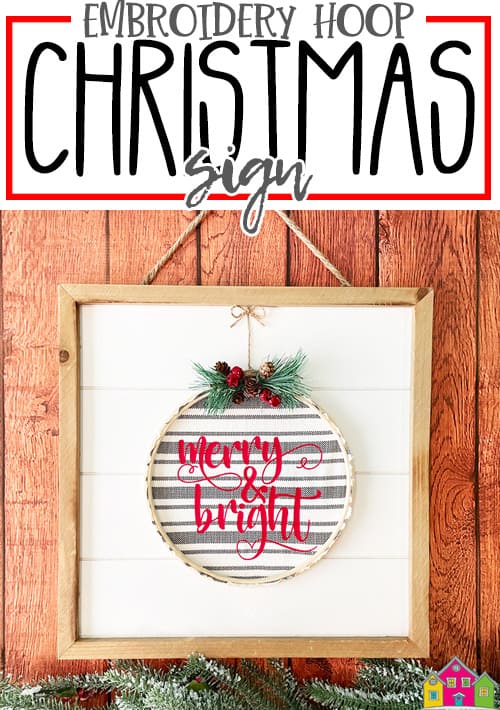
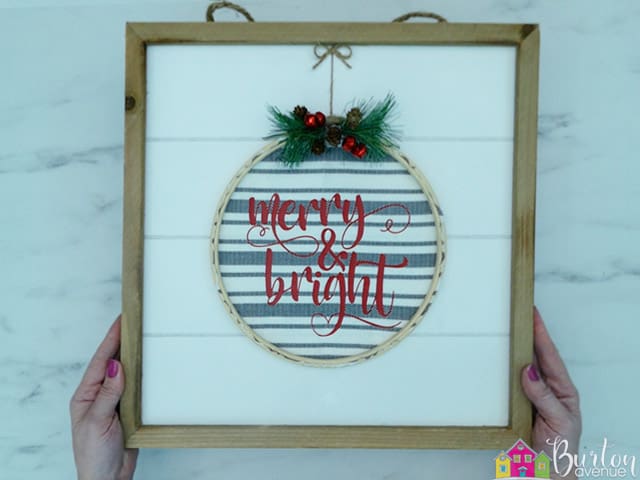
And that’s it, this project is finished.
Did you enjoy this post? Help spread the word! Share this post on your favorite Pinterest board. Thanks!