

HERE’S WHAT YOU NEED
- Corrugated Metal Sign
- Wood Sign
- Vinyl (I used red and black)
- Transfer Tape
- Weeding Tool & Scraper\
- Paint & Brush
- Christmas Embellishments
- Glue (Hot Glue or E6000)
- Electronic cutter (cricut explore or maker, silhouette or other cutter)
- Cut File – Joy to the World BA2113 (click here to get the SVG file for free from my free SVG Library)
HERE’S WHAT YOU DO
STEP 1: DOWNLOAD THE FREE SVG FILE
The first thing you’ll need to do is get the free SVG file you’ll use for this project. I keep all the SVG files I use for the projects I make in my SVG Library. These SVG files work with Cricut and Silhouette machines, as well as many others. This library is open to everyone and is free! You can access the library here. Look for the file called Joy to the World BA2113. It will be listed under the Craftmas 2022 Category-Day 13.
STEP 2: CUT THE VINYL DESIGN
Open the design in your software program. Resize the design to fit on the wooden square. The square I used measures 5.5″, so I resized the design to about 4.5″
When everything is sized correctly, cut the design with your Cricut or Silhouette.
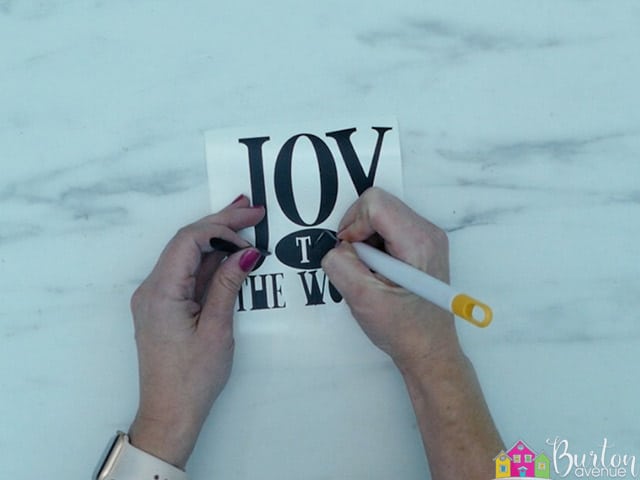
Once everything is cut, weed away the excess vinyl.

Use your weeding tool to pull out the pieces inside of the letters.
Cut a piece of transfer tape a little larger than your design and place the vinyl on top of it.
![]()
Rub over the design with your scraper.
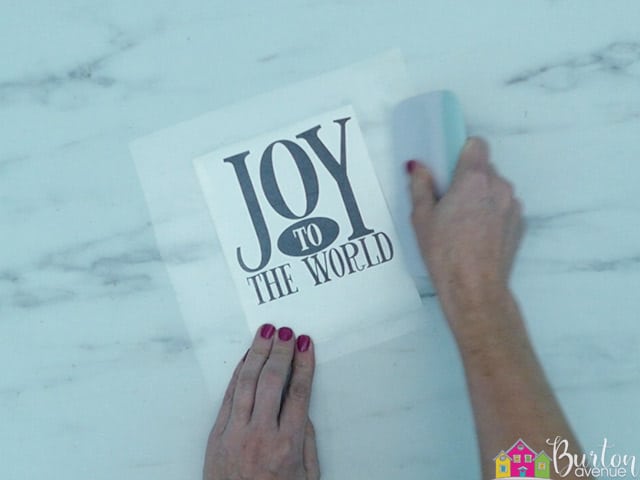
Trim off the excess transfer tape.

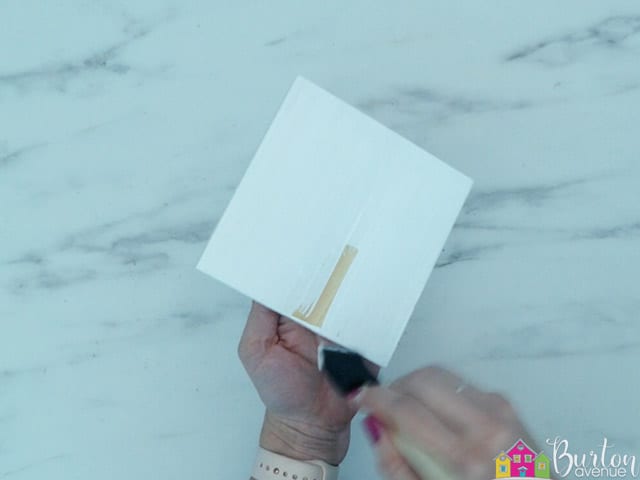
STEP 3: PREPARE THE WOOD SQUARE
Next, we’re going to paint the little wooden square. You’ll need to paint the sides and the front. Since you won’t see the back at all, you can skip that. You’ll probably need to do 2-3 coats of white paint.
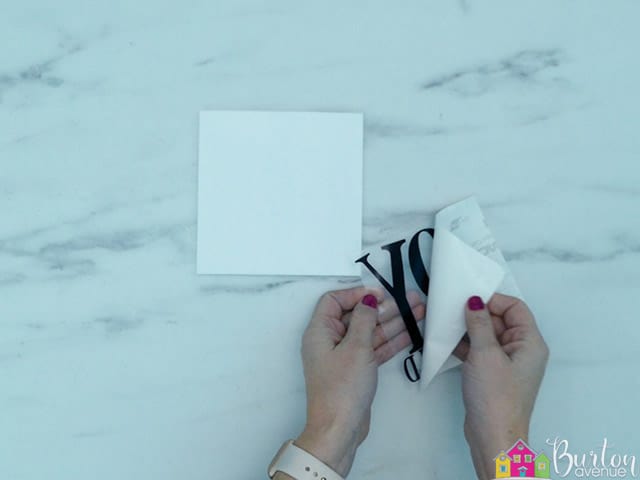
STEP 4: APPLY THE VINYL DESIGN
Once the paint is dry, it’s time to apply the vinyl. So, grab the vinyl design and pull off the vinyl backing.
Position the design in the center of the wooden square. You can use a ruler, but I just kind of eyed it.

Once it’s in place, you can rub over it again with your scraper.
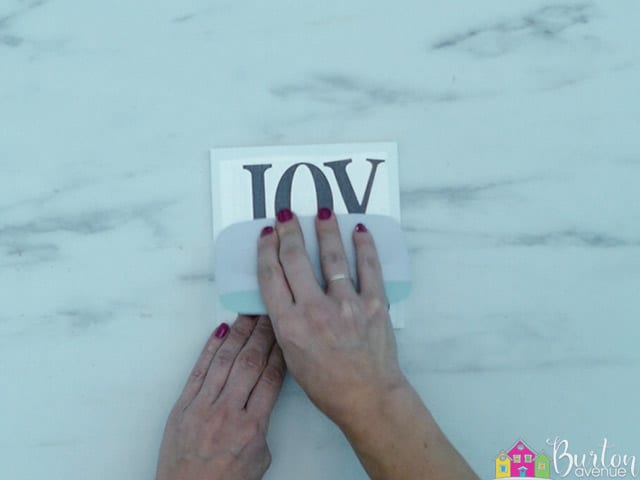
Then, carefully pull off the transfer tape.
![]()
STEP 5: FINISH THE SIGN
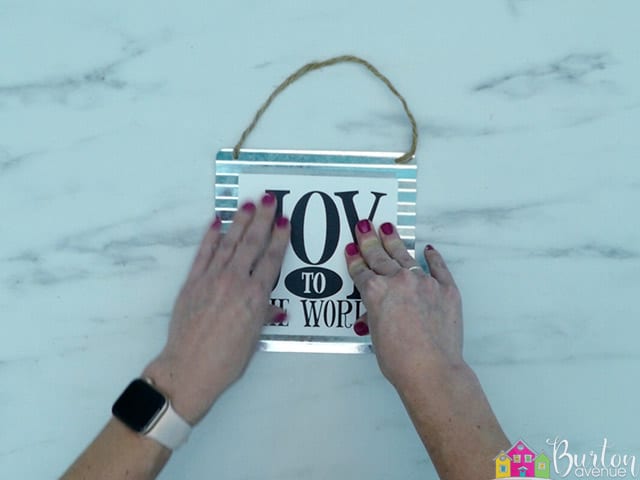
Add some glue to the raised parts of the metal sign.
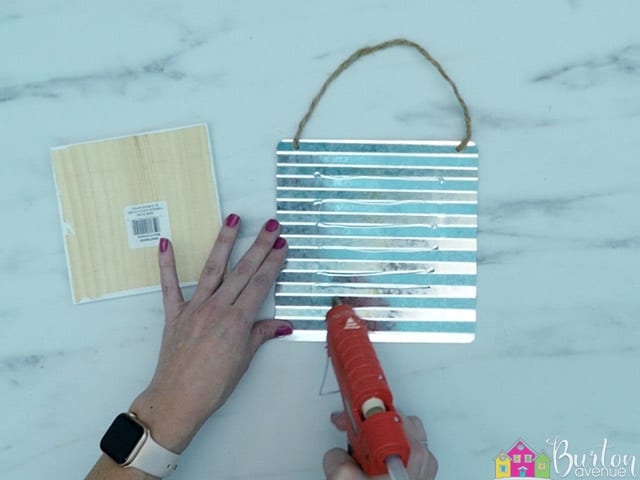
Then, push the wooden sign onto the glue.
To finish off the sign, you can glue some pine and berries to the top of the sign

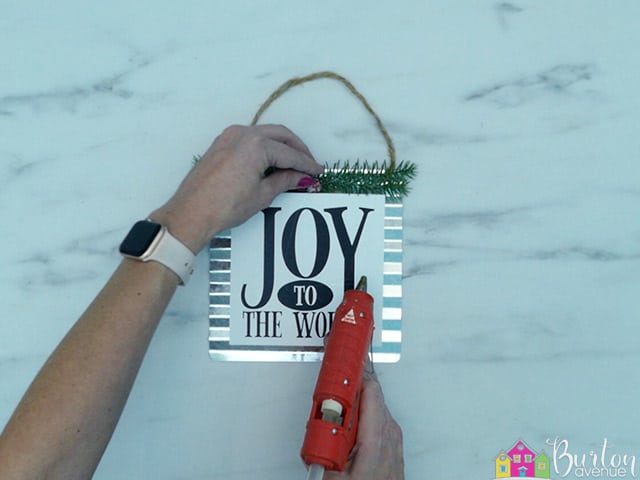
And that’s it, it is finished and it’s so cute! I just love how it turned out.

Did you enjoy this post? Help spread the word! Share this post on your favorite Pinterest board. Thanks!

Want to make your own? Get the free cut file for this project in the resource library